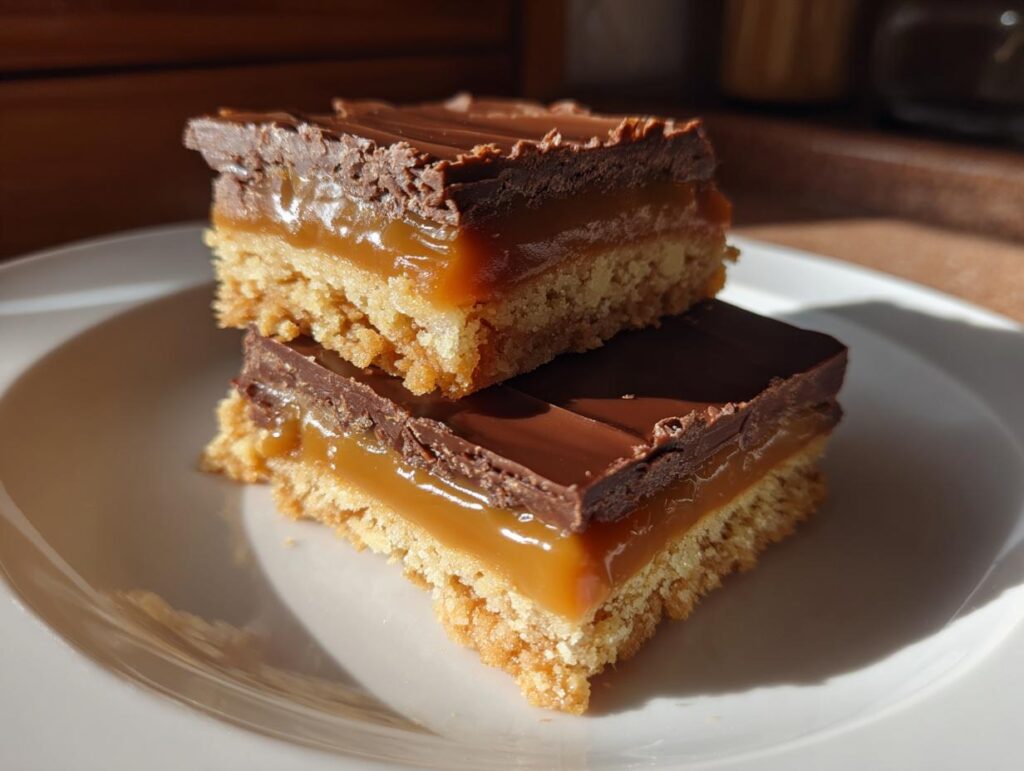
Oh my gosh, do you remember that first magical bite of a Twix bar as a kid? That perfect combination of crisp shortbread, sticky caramel, and rich chocolate coating? That’s exactly what I tried to recreate when I first made these Twix cookies for our neighborhood cookie exchange. After some hilarious trial and error (let’s just say I learned the hard way not to pour hot caramel onto warm shortbread), I finally nailed the recipe. Now I make these every Christmas – they always disappear first from the cookie platter! There’s just something about that buttery, caramel-y magic that takes me right back to childhood.

Speaking of sweet memories, I’ve been pinning some gorgeous cookie inspiration on Pinterest if you’re looking for more holiday baking ideas. But honestly, these Twix cookies? They’re the real star of my meal planning during the busy holiday season – so much easier than fussy decorated cookies, but with that same wow factor. And bonus – they’re naturally gluten-free if you use the right flour, perfect if you’re doing any special diet planning this year!
Why You’ll Love These Twix Cookies
Let me tell you why these cookies are my absolute favorite to make (and eat!):
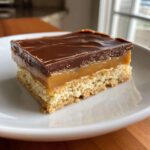
- That buttery shortbread base – it’s crisp yet melts in your mouth, just like the real thing
- The gooey caramel layer that’s way easier than you think – no candy thermometer needed!
- A chocolate shell that stays perfectly shiny and cracks just right when you bite into it
- They look fancy enough for gifting but take half the effort of decorated sugar cookies
Trust me, once you try these, they’ll become your go-to for cookie exchanges and holiday meal planning every year!
Ingredients for Twix Cookies
Okay, let’s gather the good stuff! I promise this isn’t one of those recipes where you need ten specialty ingredients. Everything here is pretty basic, but when they come together? Pure magic. I like to separate them by layer so nothing gets missed – don’t want you forgetting the caramel like I did that one Christmas (whoops!).
For the Shortbread Base:
- 1 cup unsalted butter, softened (trust me, real butter makes ALL the difference)
- 1/2 cup granulated sugar
- 2 cups all-purpose flour
- 1/4 teaspoon salt (use the flaky kind if you have it – gives the best flavor)
For the Caramel Layer:
- 1 cup caramel sauce (homemade or store-bought is fine, just make sure it’s cooled to room temp)
For the Chocolate Topping:
- 1 cup semi-sweet chocolate chips (or chop up a good quality chocolate bar if you’re feeling fancy)
- 1 teaspoon coconut oil (this is my secret for that perfect shiny snap!
See? Simple ingredients, but when you layer them just right, they transform into cookie magic. Now let’s get baking!
How to Make Twix Cookies
Alright, let’s get down to the fun part – turning those simple ingredients into showstopping Twix cookies! I’ll walk you through each step just like I would if we were baking together in my kitchen. The key here is patience (especially when waiting for things to cool – trust me, I’ve ruined batches by rushing this part!).
Preparing the Shortbread Base
First, preheat your oven to 350°F (175°C) and line a baking sheet with parchment paper. Now grab that softened butter – it should be cool but give slightly when pressed. Cream it with the sugar in a mixing bowl until light and fluffy. This takes about 2 minutes with a mixer. Then gently mix in the flour and salt just until combined. The dough might feel crumbly, but it’ll come together when you press it. Speaking of pressing, dump it onto your prepared pan and press into an even 1/4-inch thick rectangle. Try using the bottom of a glass to get it perfectly smooth! Bake for 15-18 minutes until golden at the edges, then let it cool completely.
Adding the Caramel and Chocolate Layers
Once your shortbread is cool (and I mean completely cool – ask me how I know!), spread the caramel evenly over it. If you’re using homemade caramel from this recipe, make sure it’s thick but still spreadable. Pop the pan in the fridge for 10 minutes to set the caramel slightly. Meanwhile, melt the chocolate chips with the coconut oil in 30-second bursts in the microwave, stirring between each. When smooth, pour it over the caramel layer and tilt the pan to spread evenly. Let it set at room temperature until firm (about 2 hours) or speed things up with 30 minutes in the fridge. Use a sharp knife to slice into bars for that perfect Twix look!
Pro tip from my many cookie disasters: If you’re making these for a cookie exchange as part of your holiday meal planning, they actually taste best the next day when all the layers have set completely. And if you love shortbread as much as I do, you might want to try these melt-in-your-mouth whipped shortbread cookies too!
Tips for Perfect Twix Cookies
After making these cookies more times than I can count (and learning from plenty of messy mistakes!), here are my absolute must-know tips for perfect Twix cookies every time:
First, don’t skip the chilling – that caramel layer needs time to set before you add chocolate, or you’ll end up with a swirled mess. I pop mine in the fridge for just 10 minutes – long enough to firm up but still stay soft. And parchment paper is non-negotiable! It makes cleanup a breeze and lets you lift the whole batch out for easier slicing.
For those gorgeous clean cuts, run your knife under hot water and dry it between slices. Works like magic! And if you’re meal planning ahead, you can bake the shortbread base up to 3 days in advance and store it airtight. Just add caramel and chocolate the day you need them – keeps everything perfectly crisp!
Twix Cookies FAQs
I get so many questions about these cookies – they’re definitely one of the most popular in my holiday baking lineup! Here are the answers to everything you might be wondering:
Can I use store-bought caramel for these cookies?
Absolutely! I’ve used both homemade and store-bought caramel with great results. The trick is to look for a thicker caramel sauce (the ice cream topping kind works perfectly). If it’s too thin, it’ll soak into the shortbread – and trust me, sticky fingers are no fun when you’re putting together your Christmas cookie boxes! Just make sure whatever you use is cooled to room temperature before spreading.
How do I prevent the chocolate layer from cracking?
Oh, this was my biggest headache when I first started making these! The secret is that teaspoon of coconut oil mixed into the chocolate – it gives just enough flexibility. Also, let the chocolate set at room temperature instead of rushing it in the fridge (unless you’re really short on time). And when you slice, use a sharp knife heated under warm water – clean cuts every time!
How long do Twix cookies keep fresh?
These actually get better after a day as the flavors meld! At room temp in an airtight container, they’ll stay perfect for 5 days (if they last that long!). For longer storage, you can freeze them for up to 3 months – just separate layers with wax paper. They thaw in about an hour at room temp. Perfect for meal planning ahead of holiday parties!
Can I make these gluten-free?
Yes! Just swap the all-purpose flour for your favorite 1:1 gluten-free blend. The texture comes out nearly identical, and no one will guess they’re GF. These are always a hit at gatherings where dietary restrictions are involved. If you’re looking for more gluten-free holiday options, check out these easy Christmas cookies that work with simple substitutions.
My caramel is sliding around when I add the chocolate – help!
Been there! The key is to chill that caramel layer for about 10 minutes before adding chocolate. Not too long, or it’ll get too firm. Just enough to set it slightly. And when you pour the chocolate, do it gently in a thin stream, then tilt the pan to spread it – don’t press down with a spatula. Works like a charm!
Nutritional Information
Just a little heads up – these nutrition estimates may vary slightly depending on your specific ingredients and brands. As with any indulgent treat, Twix cookies are best enjoyed in moderation as part of balanced meal planning!
More Cookie Recipes to Try
If you loved these Twix cookies (and I know you did!), you’re going to flip for these other favorites from my cookie jar. First up, my caramel apple cookies – they’ve got that same irresistible sweet-salty combination but with a fun fall twist. And for classic cookie lovers, you can’t beat these perfect chocolate chip cookies – crispy edges, chewy centers, just like Grandma used to make. Honestly, I can’t decide which ones to bake first when holiday meal planning rolls around!
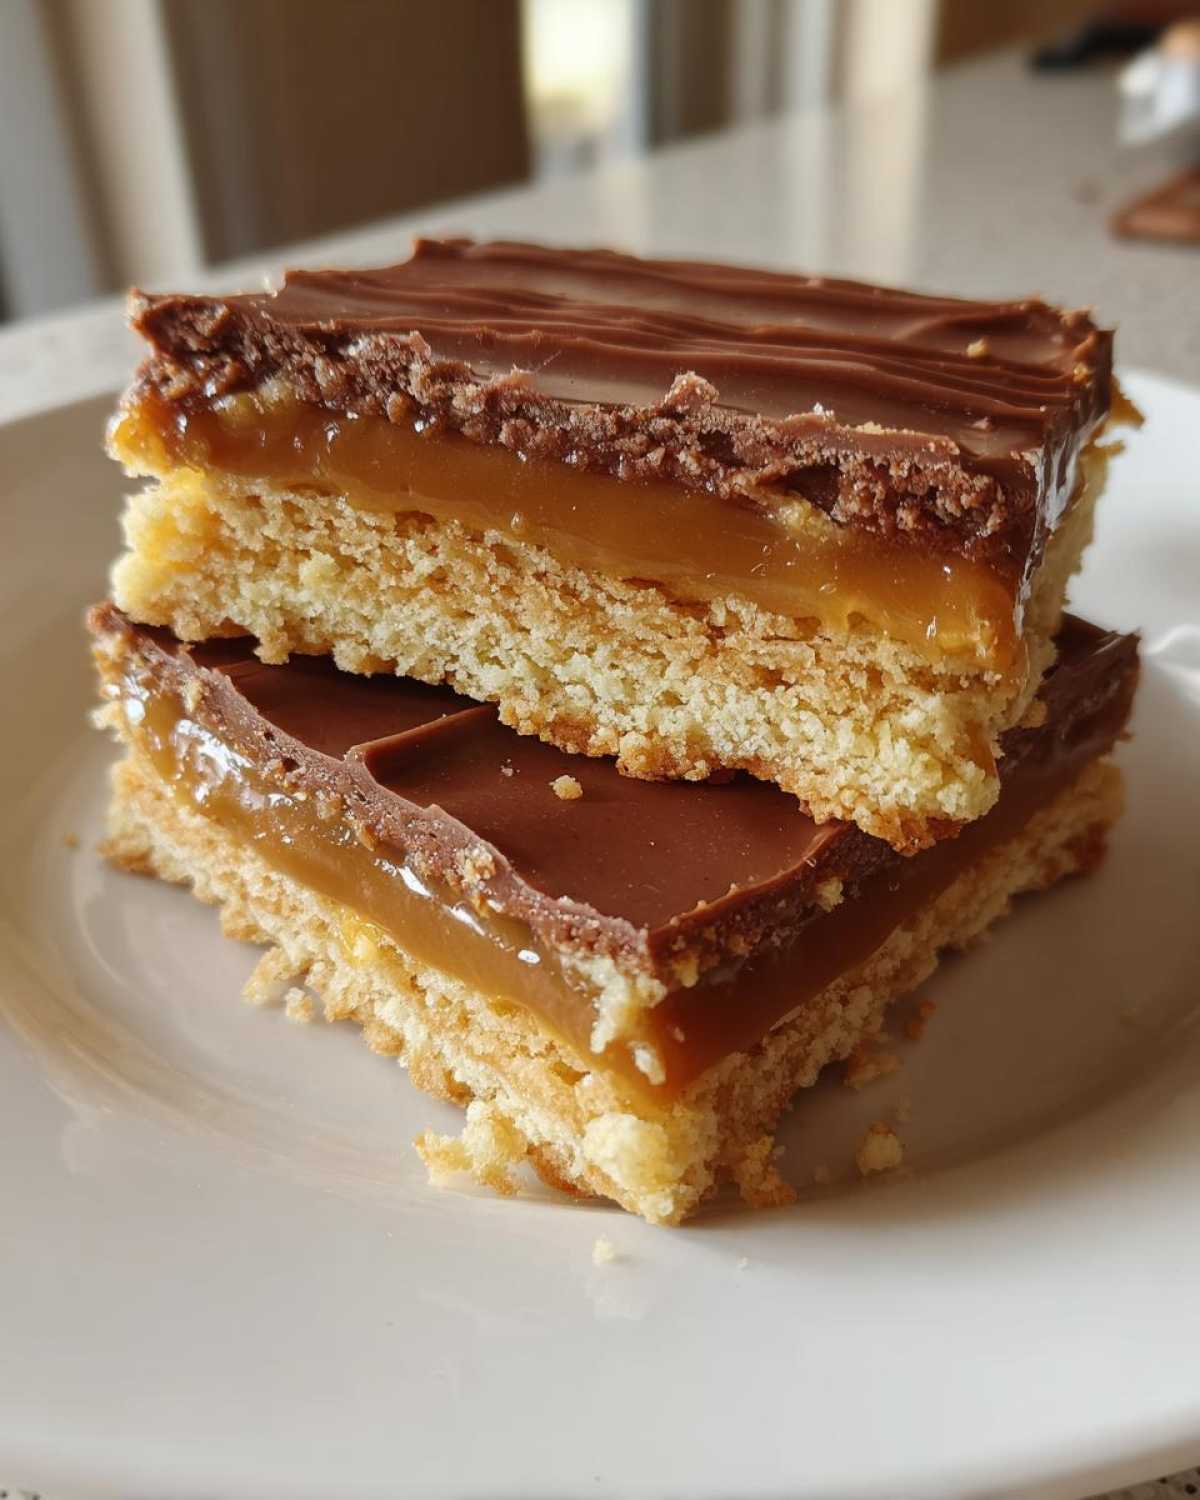
PrintTwix Cookies
Copycat shortbread cookies with caramel and chocolate shell, perfect for cookie exchanges.
- Prep Time: 20 min
- Cook Time: 18 min
- Total Time: 38 min
- Yield: 24 cookies 1x
- Category: Dessert
- Method: Baking
- Cuisine: American
- Diet: Vegetarian
Ingredients
- 1 cup unsalted butter, softened
- 1/2 cup granulated sugar
- 2 cups all-purpose flour
- 1/4 tsp salt
- 1 cup caramel sauce
- 1 cup semi-sweet chocolate chips
- 1 tsp coconut oil
Instructions
- Preheat oven to 350°F (175°C). Line a baking sheet with parchment paper.
- In a bowl, cream butter and sugar until light and fluffy.
- Mix in flour and salt until a dough forms.
- Press dough into a rectangle on the baking sheet, about 1/4-inch thick.
- Bake for 15-18 minutes until edges are golden. Let cool completely.
- Spread caramel sauce evenly over the cooled shortbread.
- Melt chocolate chips with coconut oil and pour over caramel layer.
- Let set at room temperature or refrigerate until firm. Slice into bars.
Notes
- Use a sharp knife for clean slices.
- Chill the caramel layer before adding chocolate for easier handling.
Nutrition
- Serving Size: 1 cookie
- Calories: 150
- Sugar: 10g
- Sodium: 50mg
- Fat: 8g
- Saturated Fat: 5g
- Unsaturated Fat: 2g
- Trans Fat: 0g
- Carbohydrates: 18g
- Fiber: 1g
- Protein: 2g
- Cholesterol: 15mg