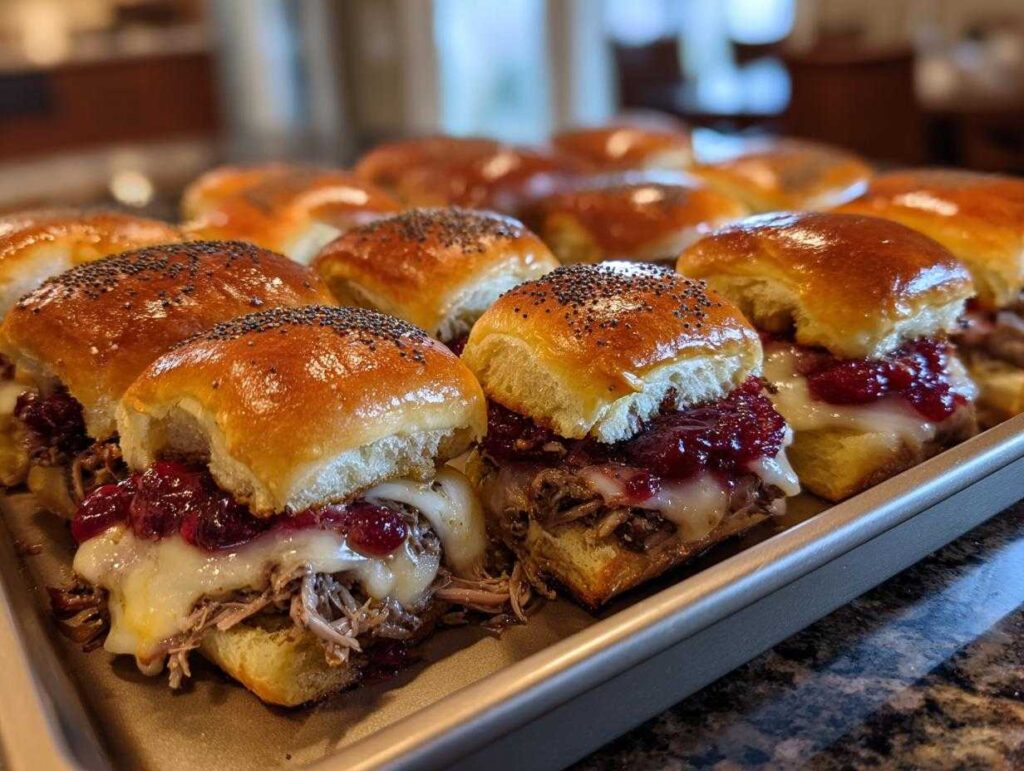
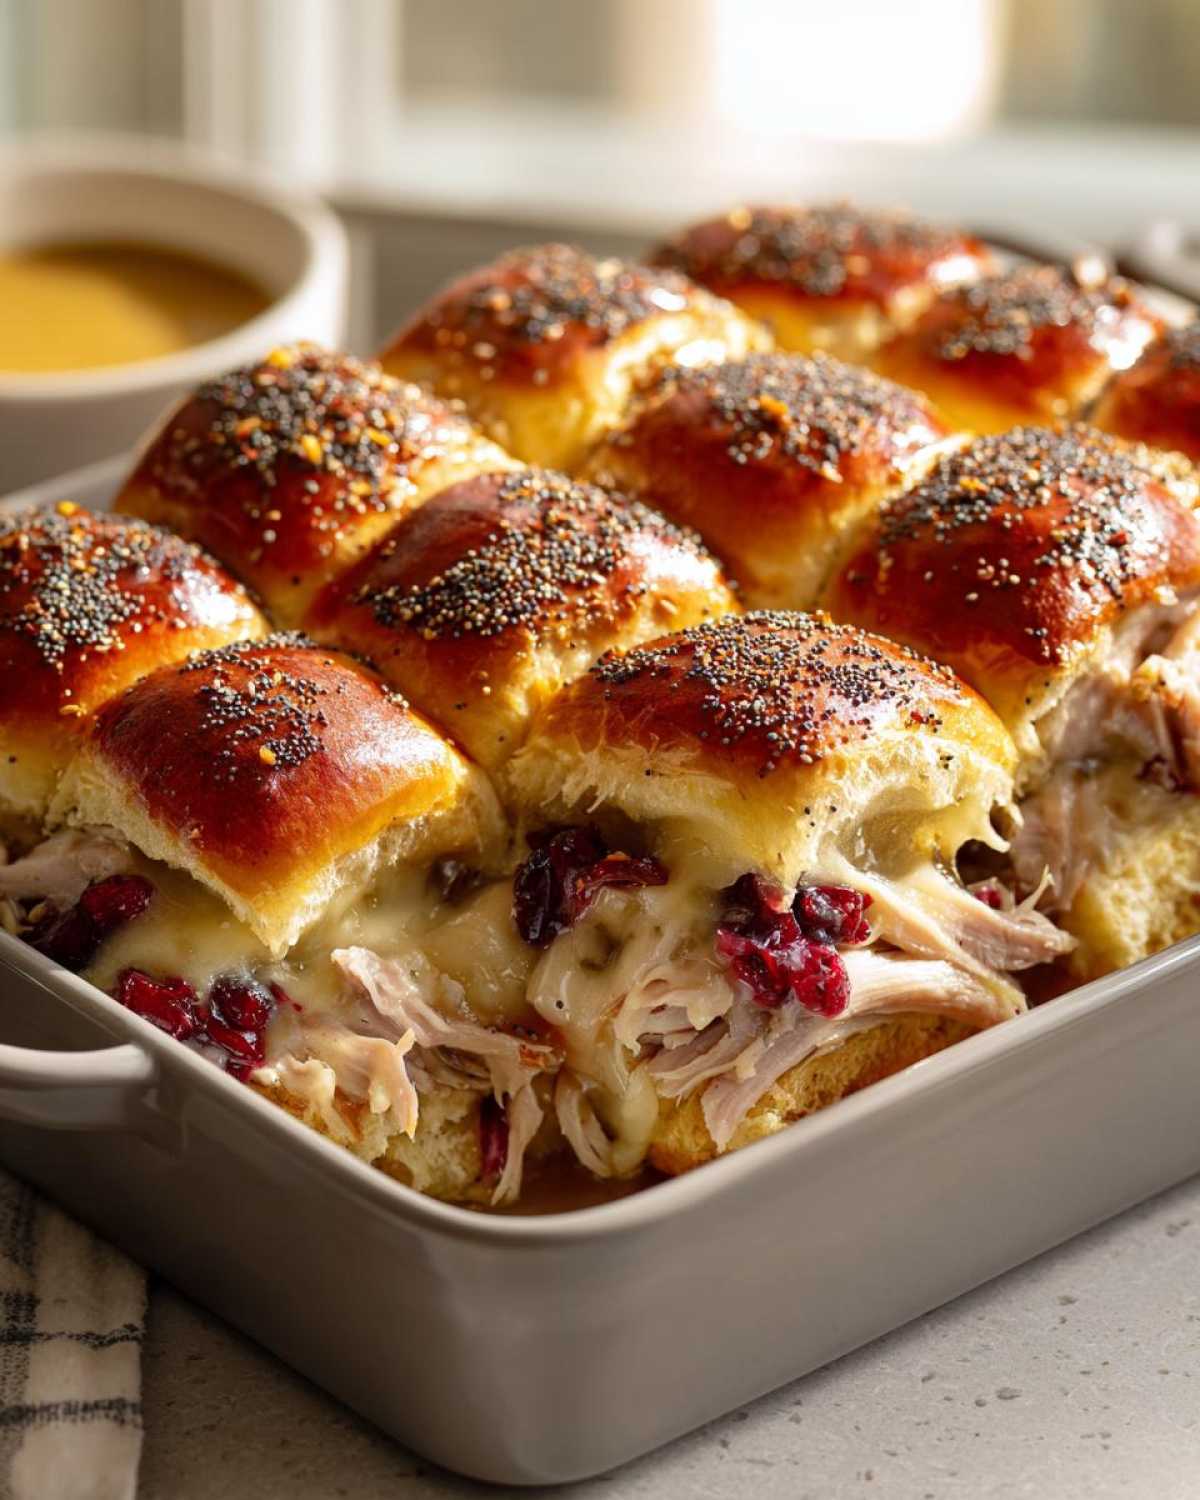
Nothing screams “holiday magic” like the sight of leftover turkey sitting in your fridge, just begging to be transformed into something deliciously new. That’s where these turkey cranberry sliders come in—my all-time favorite way to repurpose Thanksgiving leftovers in under 30 minutes. I first made these for a cozy family gathering last Christmas Eve, and let me tell you, they disappeared faster than presents get torn open on Christmas morning. Now they’re my go-to for game day spreads and holiday parties alike. The sweet-tart pop of homemade cranberry sauce mingling with melty Swiss cheese? Absolute perfection. These sliders prove that leftovers can—and should—steal the show all over again.
- Why You’ll Love These Turkey Cranberry Sliders
- Ingredients for Turkey Cranberry Sliders
- How to Make Turkey Cranberry Sliders
- Tips for Perfect Turkey Cranberry Sliders
- Serving Suggestions for Turkey Cranberry Sliders
- Storage and Reheating Instructions
- Nutritional Information
- Frequently Asked Questions
- Share Your Turkey Cranberry Sliders
Why You’ll Love These Turkey Cranberry Sliders
Trust me, these little beauties are about to become your new best friend in the kitchen. Here’s why:
- Quick & easy: Just 10 minutes of prep and 15 minutes in the oven – perfect for when you’re short on time but want something impressive.
- Flavor bomb: The combo of savory turkey, tangy cranberry, and melty cheese will make your taste buds dance.
- Leftover hero: Gives your Thanksgiving turkey a delicious second life (though honestly, I’ve been known to roast a turkey just to make these!).
- Crowd-pleaser: Kids, adults, picky eaters – everyone goes crazy for these warm, buttery sliders.
- Perfect for meal planning: Make ahead and reheat easily when you need a quick party appetizer or snack.
Ingredients for Turkey Cranberry Sliders
You won’t believe how simple these ingredients are – I bet you have most of them already! Here’s everything you’ll need for my famous turkey cranberry sliders:
- For the sliders:
- 12 Hawaiian rolls (trust me, that sweet bread makes all the difference!)
- 2 cups shredded turkey (leftover roasted turkey works best, but deli slices are fine in a pinch)
- 1/2 cup cranberry sauce (homemade or store-bought – I won’t judge!)
- 6 slices Swiss cheese (pro tip: tear them to fit the rolls perfectly)
- For the magical poppy-seed glaze:
- 1/4 cup butter, melted (real butter only, please!)
- 1 tablespoon poppy seeds
- 1 tablespoon Dijon mustard (this secret ingredient adds the perfect kick)
- 1/2 teaspoon onion powder (my grandma’s trick for extra flavor depth)
That’s it! Just 7 simple ingredients (well, 8 if you count both parts of the rolls separately) and you’re on your way to slider heaven. If you’re craving more cheesy goodness, check out my cheesy hashbrown casserole that pairs perfectly with these sliders!
How to Make Turkey Cranberry Sliders
Now comes the fun part – transforming these simple ingredients into golden, gooey perfection! Don’t let the fancy appearance fool you; these sliders are practically foolproof. I’ve made this recipe dozens of times (okay, maybe hundreds – who’s counting?), and I’ll walk you through every step to ensure yours turn out perfectly.
Step 1: Prepare the Rolls and Layers
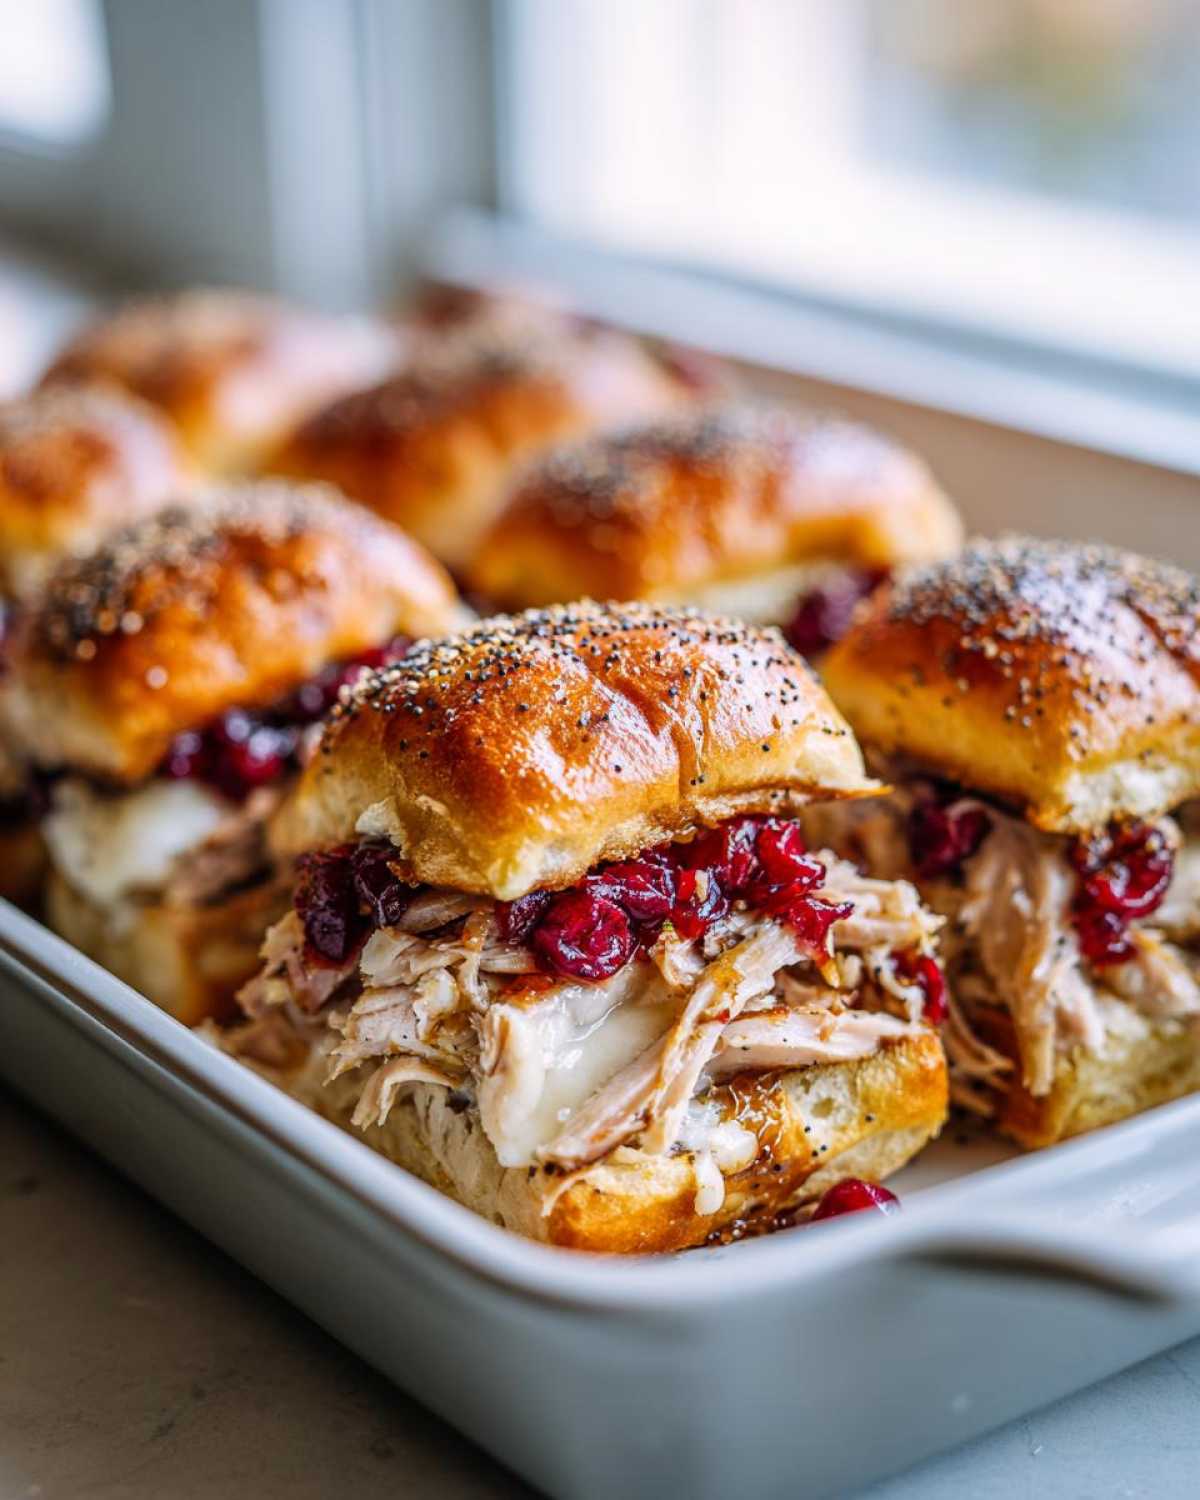
First things first – grab your Hawaiian rolls (don’t separate them yet!) and slice the whole package in half horizontally, like you’re making one giant sandwich. Place the bottom half in a baking dish – I use my trusty 9×13 pan. Now start layering: first goes the turkey (pile it on nice and thick), then spoon over that beautiful cranberry sauce (watch for drips – it happens to the best of us!), and finally layer on the Swiss cheese. The key here is to spread everything evenly so each slider gets equal amounts of deliciousness.
Step 2: Make the Buttery Poppy-Seed Glaze
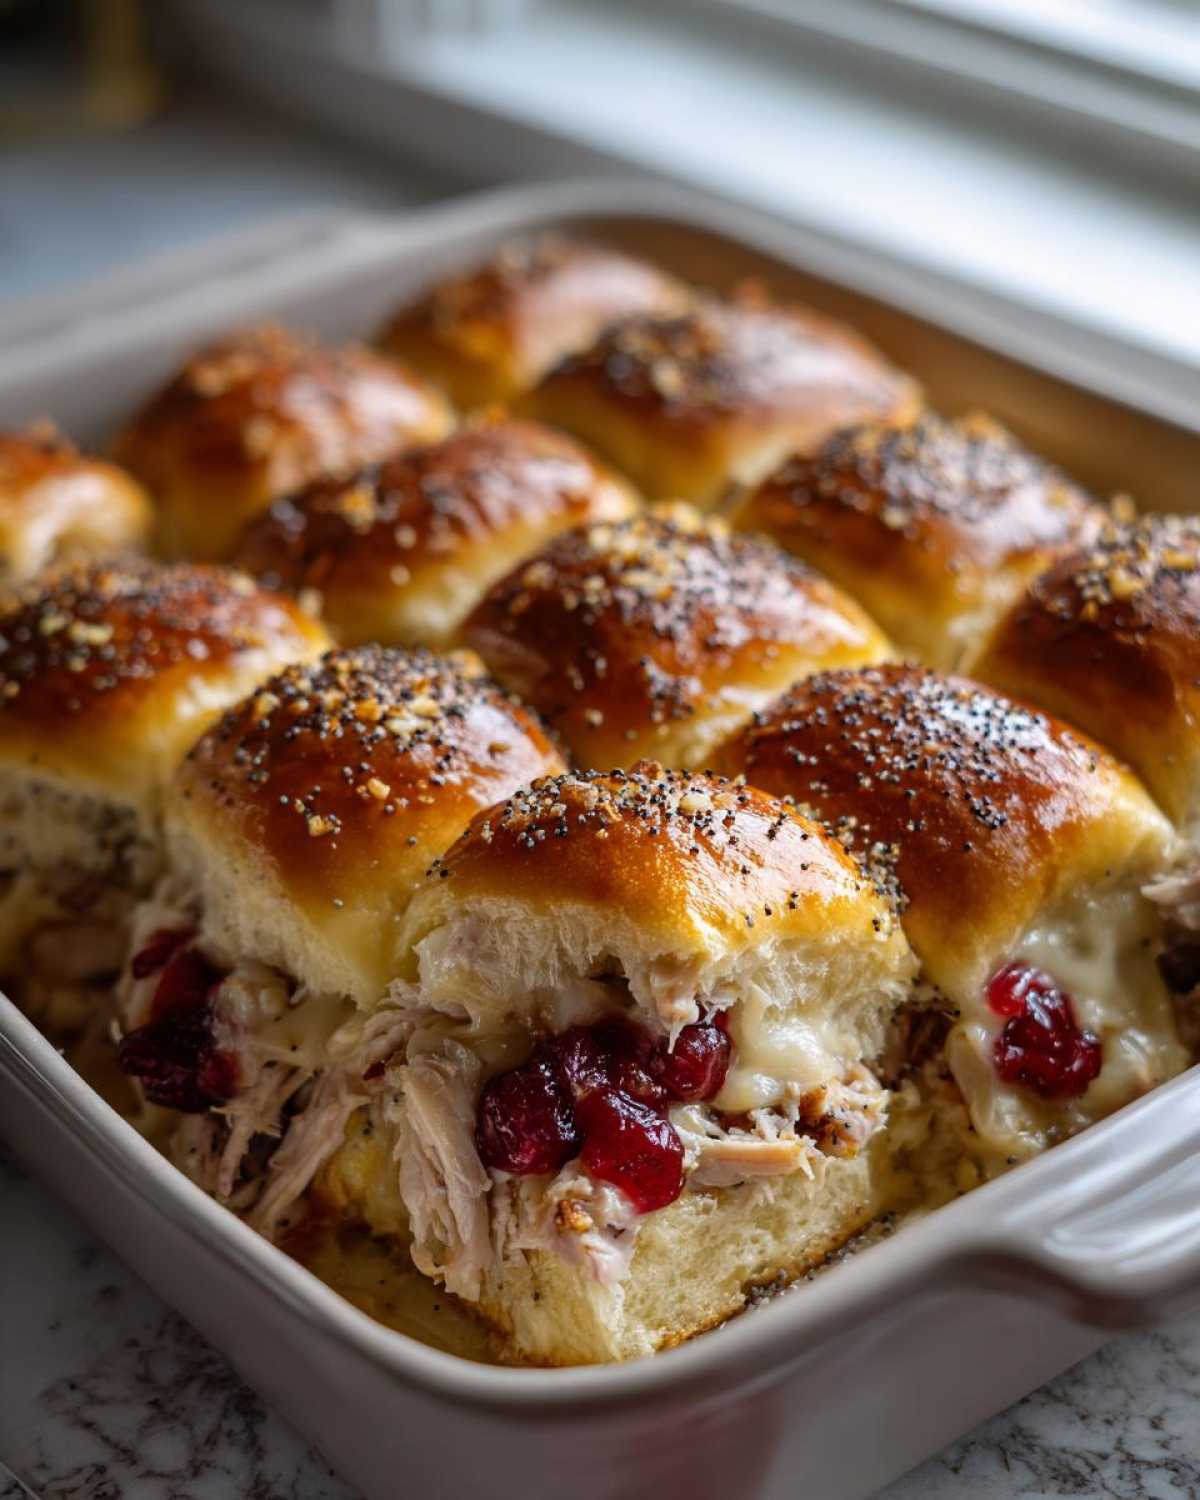
While your oven preheats to 350°F (that’s our magic number), let’s whip up that magical glaze. Melt the butter (I microwave it in 20-second bursts to avoid splattering), then whisk in the poppy seeds, Dijon mustard, and onion powder. The mustard might seem unusual, but trust me, it adds just the right zing to balance the sweetness. Once smooth, grab a pastry brush and generously coat the top halves of the rolls before placing them back on top. Then go to town brushing the whole gorgeous top with the remaining glaze – those poppy seeds will toast up beautifully in the oven.
Step 3: Bake to Perfection
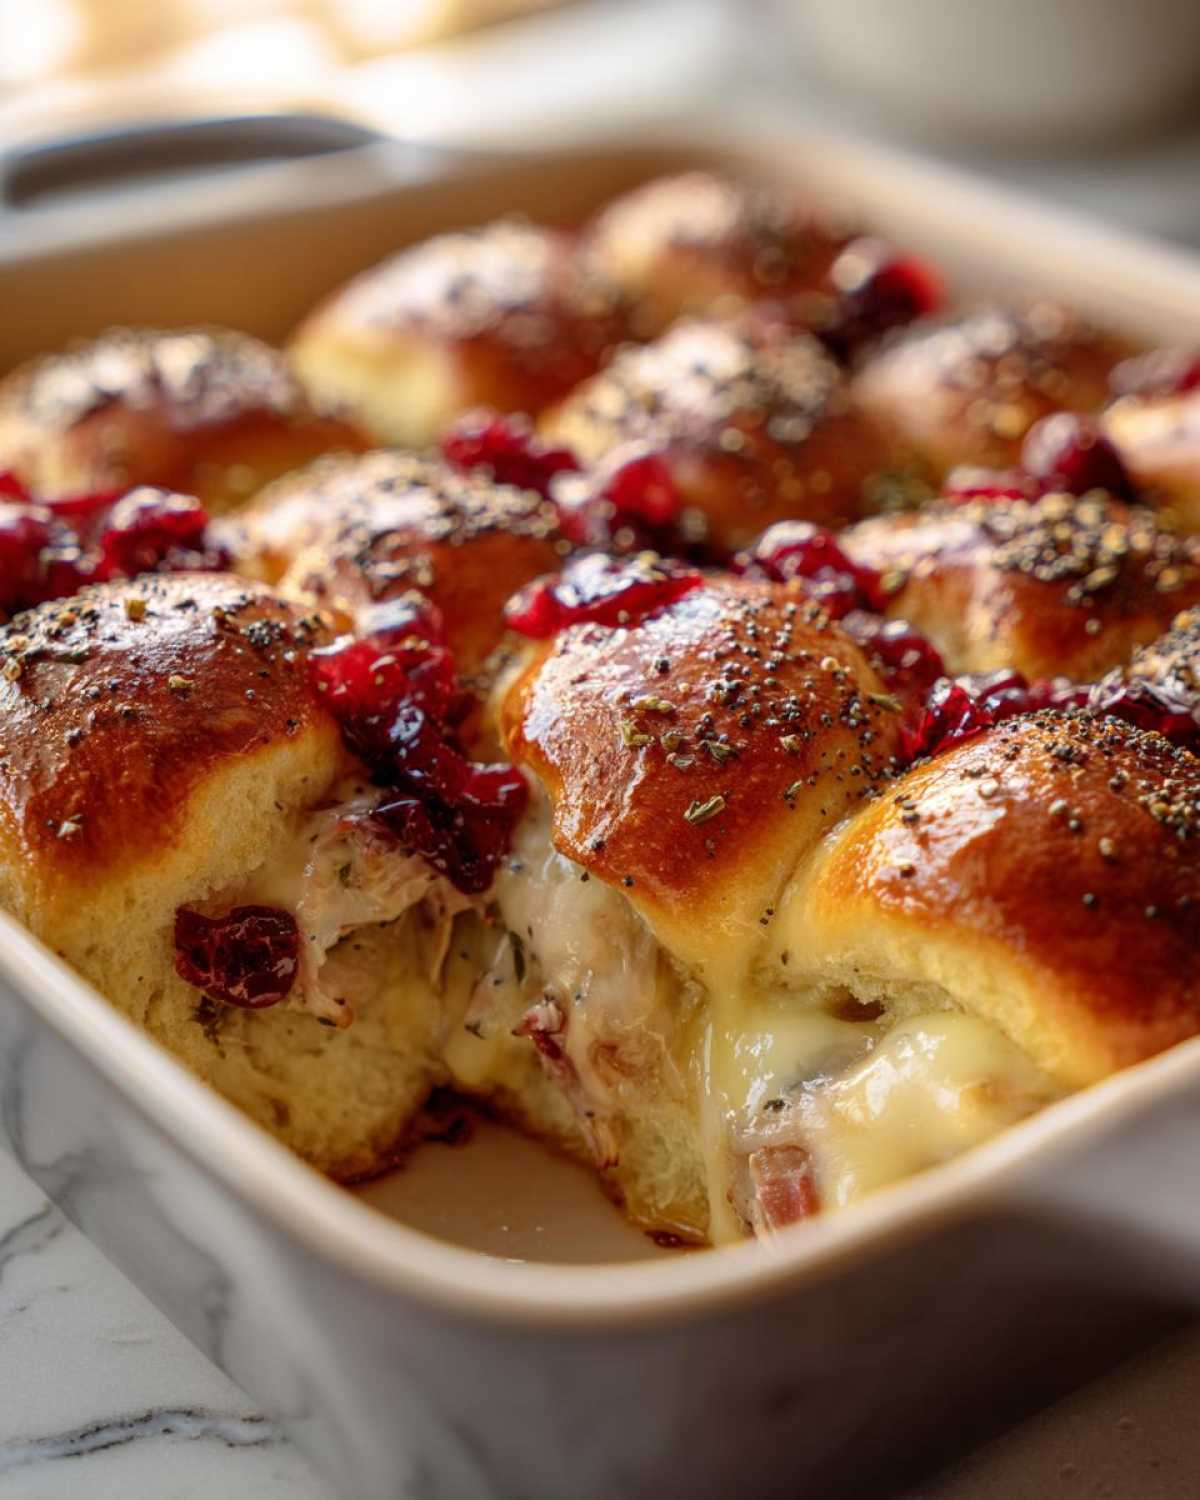
Pop your masterpiece into the oven and set your timer for 15 minutes. You’ll know they’re done when the cheese is melted (peek between the rolls if you must!), the tops are golden brown, and your kitchen smells like heaven. Pro tip: cover loosely with foil if the tops brown too quickly. Let them rest just a minute before diving in – I know it’s hard to wait, but trust me, that cooling time lets the flavors marry perfectly. The result? Warm, buttery sliders with just the right amount of crunch from that irresistible glaze.
Tips for Perfect Turkey Cranberry Sliders
After way too many test batches (and happy taste-testers!), here are my can’t-miss tips for slider success:
- Fresh herbs are your friend: Toss some chopped rosemary or thyme into the turkey layer for an extra flavor boost that’ll wow your guests.
- Cheese swaps work wonders: Not a Swiss fan? Try provolone for meltiness or sharp cheddar for a bolder kick.
- Even baking is key: Rotate your pan halfway through to prevent one side from browning too much (learned that the hard way!).
- Don’t rush cutting: Let sliders rest 5 minutes after baking so the cheese sets – otherwise you’ll have a delicious but messy situation.
- Golden brown magic: If the tops aren’t crispy enough, broil for just 30-60 seconds – but watch like a hawk!
Serving Suggestions for Turkey Cranberry Sliders
These little sliders steal the show whenever I serve them! They’re perfect for casually tossing on the table during football Sundays (I always make a double batch for the big game), or as the star of holiday buffets. At Christmas parties, I arrange them on a festive platter surrounded by my savory sausage balls – the sweet-meets-savory combo is always a hit. For a complete meal, pair with a crisp green salad or some roasted sweet potato wedges. Honestly though? They disappear so fast I rarely need sides!
Storage and Reheating Instructions
Here’s the good news – these sliders store and reheat like a dream! If you somehow have leftovers (rare in my house), just wrap them tightly in foil or pop them in an airtight container. They’ll keep in the fridge for 3-4 days. To reheat, I love using my toaster oven at 325°F for 5-8 minutes – gets them crispy again without drying out! Want to prep ahead? Assemble everything (including the glaze) and refrigerate overnight – just add an extra 2-3 minutes baking time. Freezing works too! Wrap individual sliders in plastic wrap, then foil, and freeze for up to 2 months. Thaw overnight in the fridge before reheating.
Nutritional Information
Just a quick heads up – nutrition info can vary based on your specific ingredients and brands used. While each slider averages about 210 calories, think of these numbers as a friendly guideline rather than strict measurements. After all, extra cranberry sauce never hurt anyone!
Frequently Asked Questions
I get so many questions about these irresistible turkey cranberry sliders – here are the answers to the ones I hear most often! (And if you don’t see yours here, just holler in the comments – I love chatting about slider tips!)
Can I use deli turkey instead of leftover roasted turkey?
Absolutely! While I adore the depth of flavor from leftover Thanksgiving turkey, deli turkey works beautifully in a pinch. Just stack it thick (none of those skimpy slices!) and maybe give it a quick warm-up in the microwave to make it extra tender before layering.
Can I freeze these sliders?
Yes indeed! These are perfect for meal planning and freezer meals. After baking, let them cool completely, then wrap individual sliders tightly in plastic wrap followed by foil. They’ll keep for 2 months frozen. Reheat straight from frozen at 350°F for about 15 minutes – just as good as fresh!
What can I use instead of Hawaiian rolls?
While Hawaiian rolls are my favorite for their sweet-soft magic, you can use slider buns, dinner rolls, or even sliced brioche in a pinch. Just adjust baking time slightly as some breads toast faster. For more fabulous recipe ideas, check out my Pinterest boards!
Share Your Turkey Cranberry Sliders
Nothing makes me happier than seeing your slider creations come to life! Did you add your own twist with different cheeses or herbs? Snap a pic and share it in the comments below – I’d love to hear how they turned out. If you enjoyed this recipe (I know you did!), please leave a star rating to help other home cooks discover it too. Craving more easy, crowd-pleasing recipes? Follow along on Pinterest for endless delicious inspiration. Now go forth and spread the slider love!
PrintTurkey Cranberry Sliders

Use Thanksgiving leftovers to make these easy, cheesy sliders with a buttery poppy-seed glaze. Perfect for game day or holiday parties.
- Prep Time: 10 min
- Cook Time: 15 min
- Total Time: 25 min
- Yield: 12 sliders 1x
- Category: Appetizer
- Method: Baking
- Cuisine: American
- Diet: Low Lactose
Ingredients
- 12 Hawaiian rolls
- 2 cups shredded turkey
- 1/2 cup cranberry sauce
- 6 slices Swiss cheese
- 1/4 cup butter, melted
- 1 tbsp poppy seeds
- 1 tbsp Dijon mustard
- 1/2 tsp onion powder
Instructions
- Preheat oven to 350°F.
- Slice rolls in half and place the bottom halves in a baking dish.
- Layer turkey, cranberry sauce, and cheese on the rolls.
- Place the top halves of the rolls back on.
- Mix melted butter, poppy seeds, mustard, and onion powder. Brush over the rolls.
- Bake for 15 minutes, or until cheese melts and tops are golden.
Notes
- Use leftover roasted turkey or deli turkey.
- Try adding a sprinkle of fresh herbs for extra flavor.
- Find more recipes on my Pinterest.
Nutrition
- Serving Size: 1 slider
- Calories: 210
- Sugar: 8g
- Sodium: 320mg
- Fat: 9g
- Saturated Fat: 4g
- Unsaturated Fat: 4g
- Trans Fat: 0g
- Carbohydrates: 22g
- Fiber: 1g
- Protein: 12g
- Cholesterol: 35mg