 Skip to content
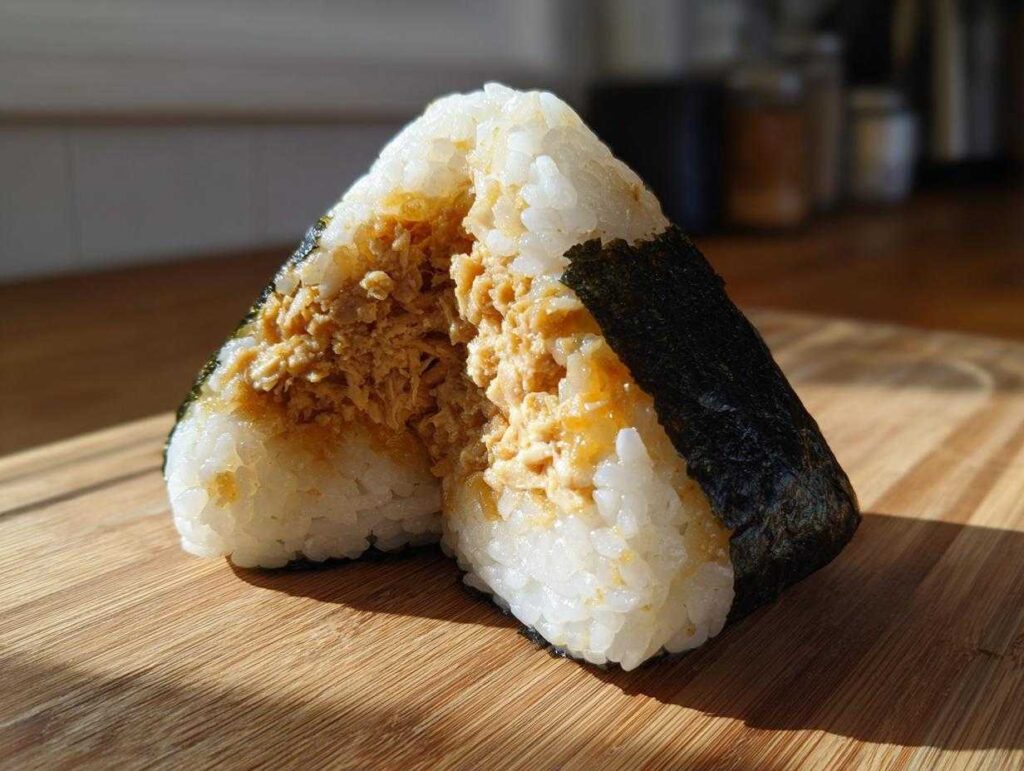
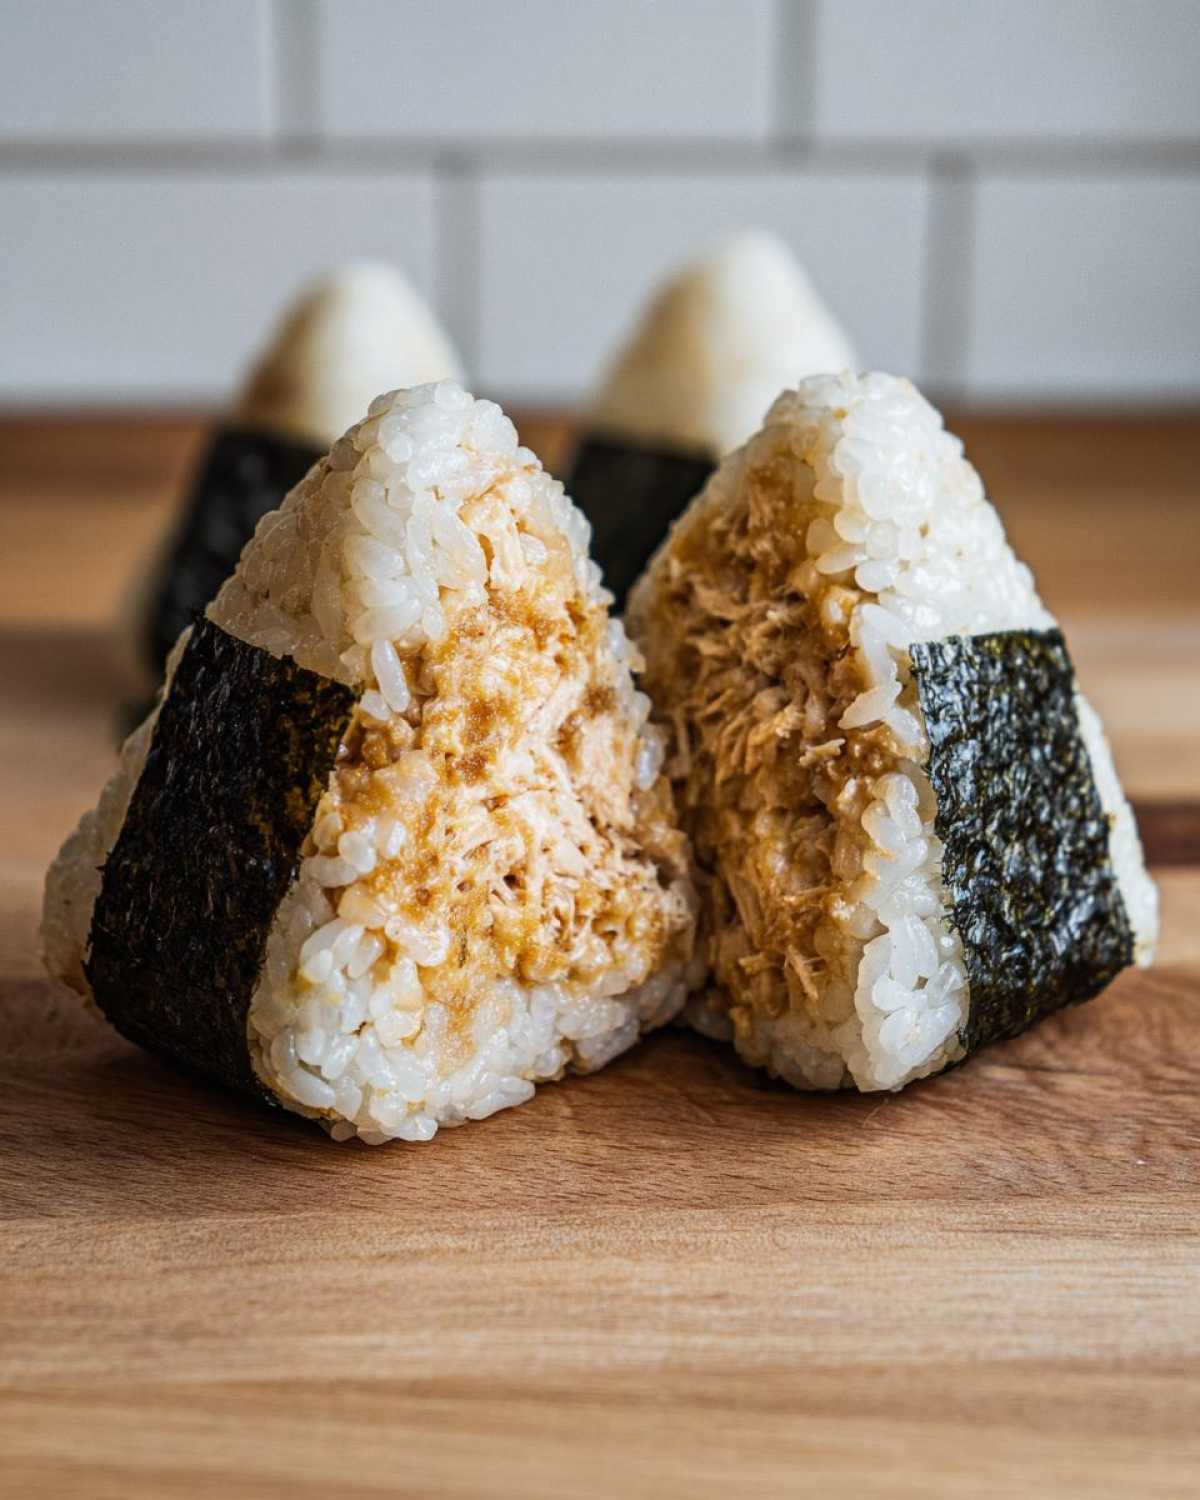
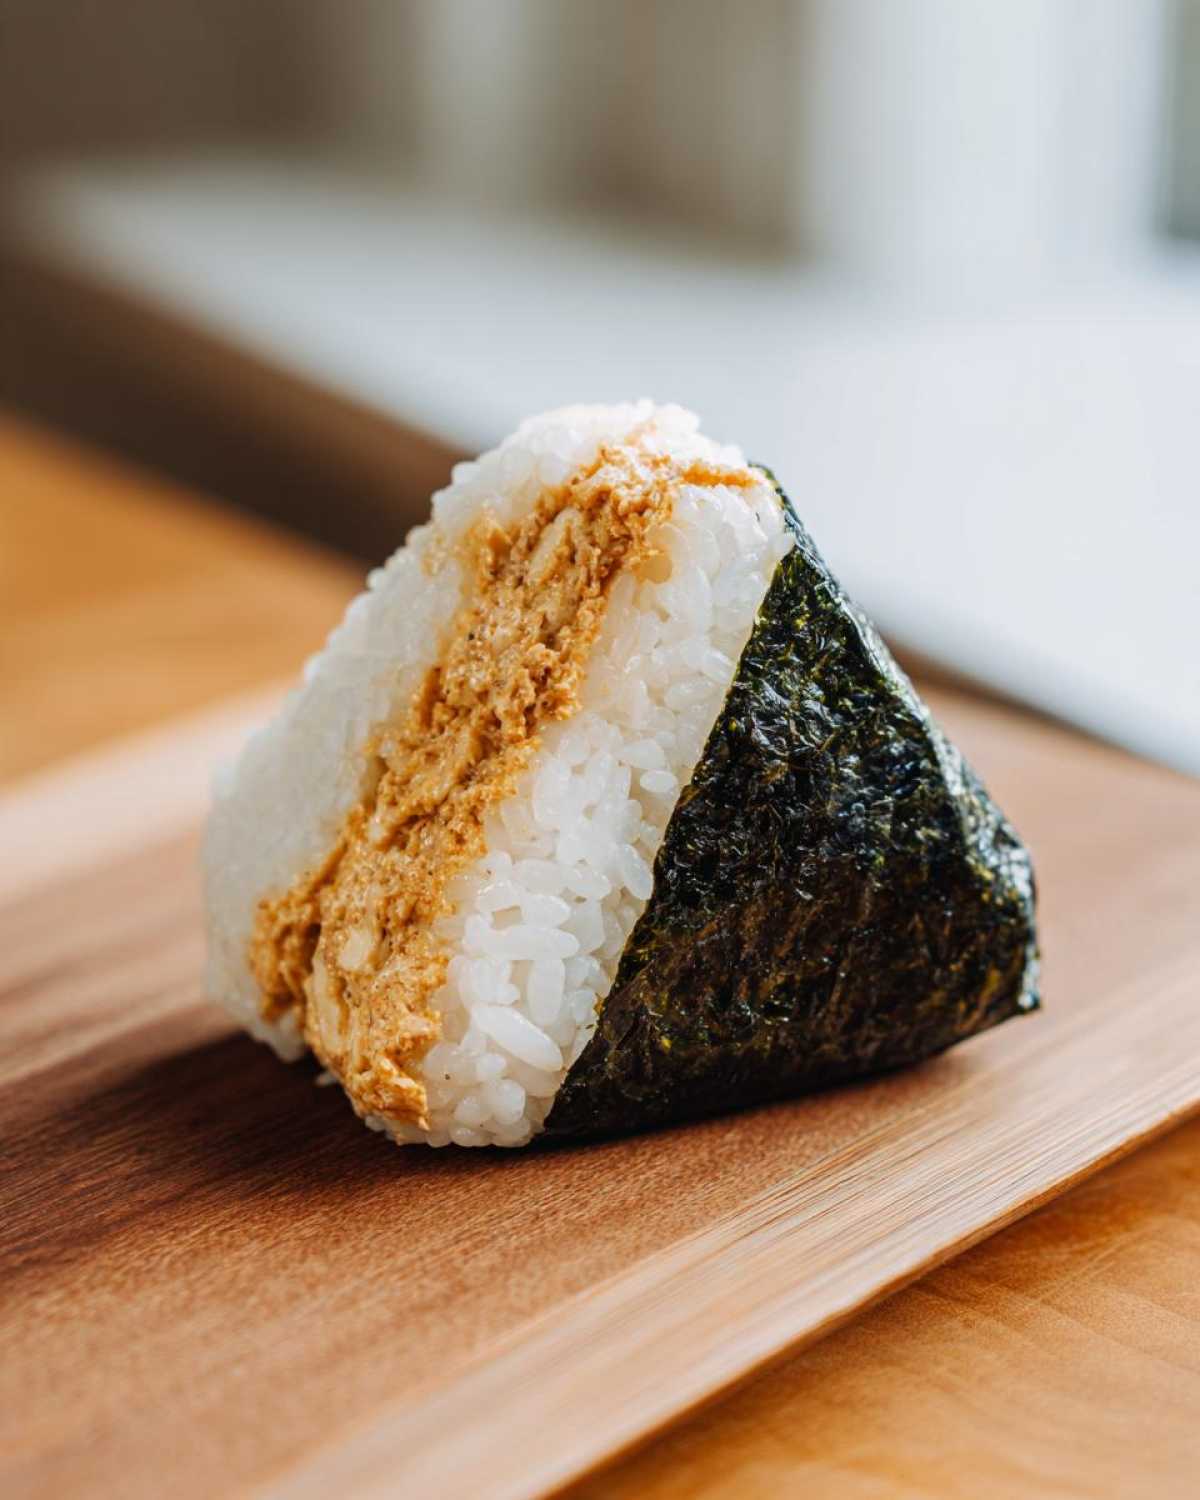
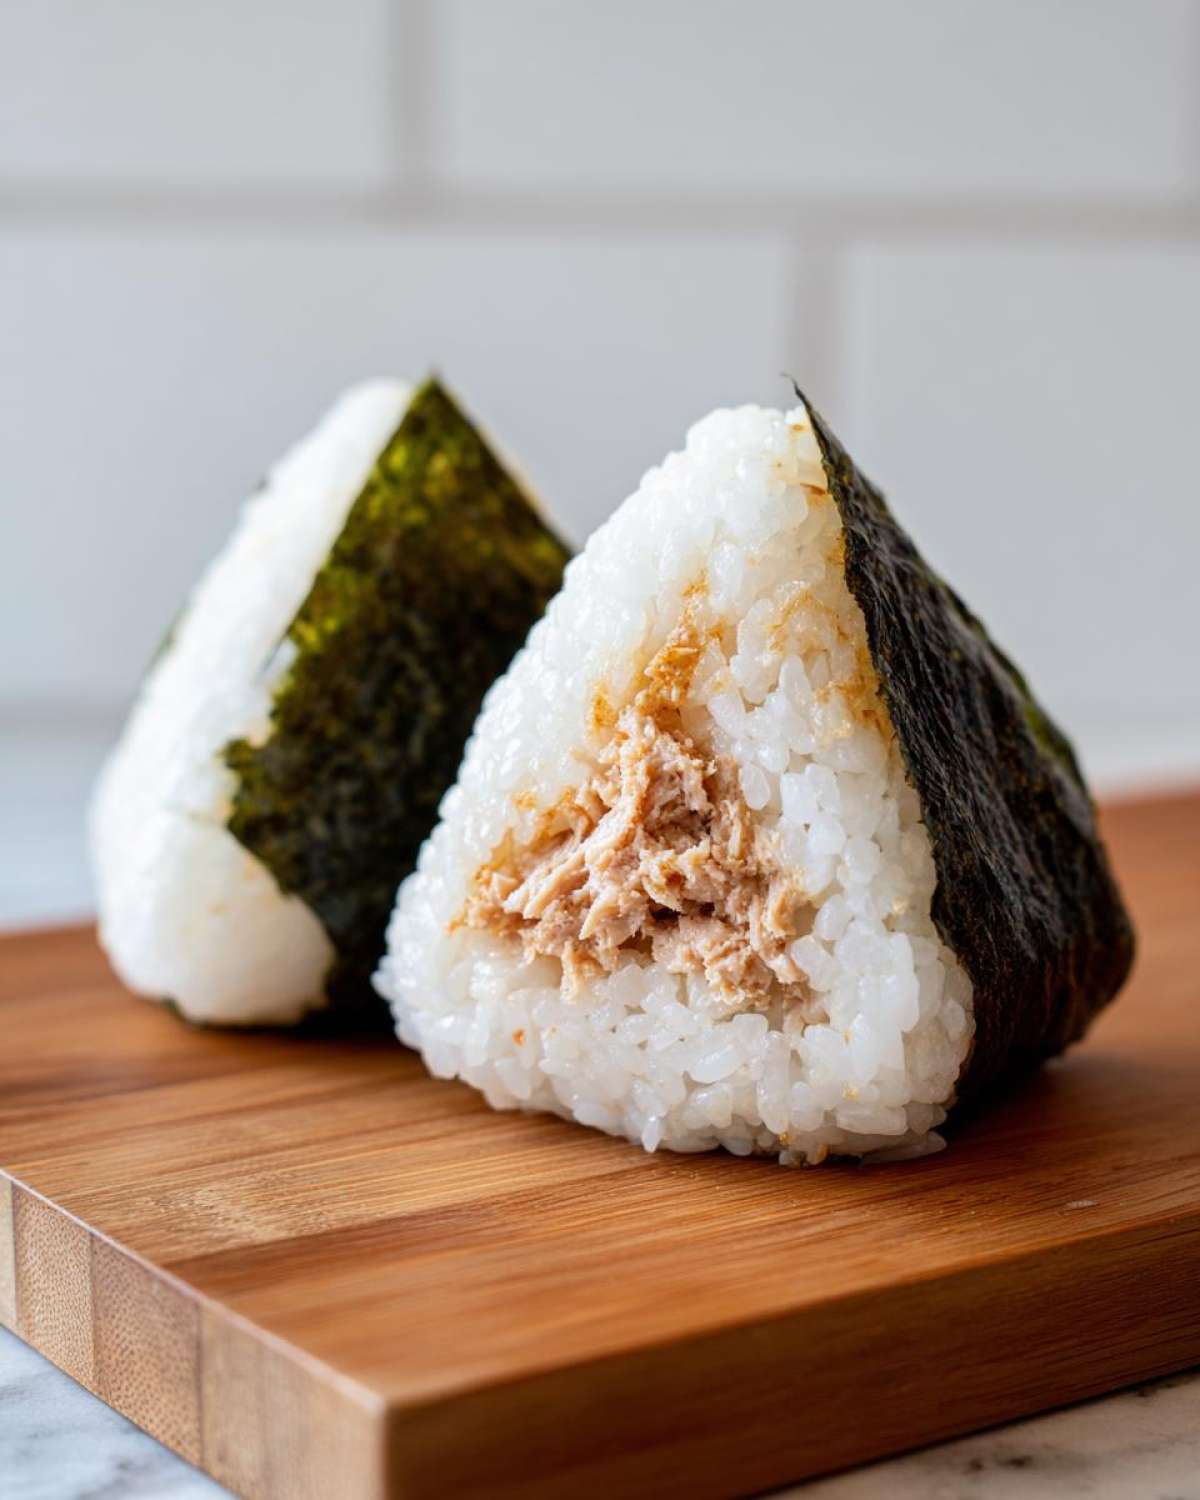
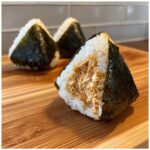
Nothing makes me happier than watching my kids devour these tuna rice balls before our family hikes – crumbs everywhere, big smiles, and zero complaints about lunch! That’s the magic of these Japanese-style onigiri stuffed with creamy tuna-mayo filling. Whether you’re packing bento boxes or need a quick snack, these little flavor bombs have saved my sanity as a busy parent more times than I can count.
I fell in love with tuna rice balls years ago during my first trip to Tokyo. The convenience stores had rows of them, each perfectly wrapped in crisp nori. My Japanese friend’s grandmother showed me her secret: just the right balance of savory tuna and sweet mayo tucked into warm rice. Now I make batches every Sunday – they disappear faster than I can say “itadakimasu!”
What makes this recipe special? Five simple ingredients transform into portable meals that don’t require reheating. The nori stays crunchy when packed separately, and even picky eaters can’t resist the fun triangle shape. Trust me, once you try homemade tuna rice balls, those sad desk salads will become a distant memory!
Why You’ll Love These Tuna Rice Balls
Listen, I’ll be honest – when I first tried making tuna rice balls at home, I never expected them to become such a game-changer in my kitchen routine. Now I can’t imagine life without these little flavor-packed bundles! Here’s why they’ll steal your heart too:
- Lazy cook approved: 15 minutes is all you need – less time than waiting for takeout!
- Kid magic: Mine call them “triangle sushi” and actually beg for seconds (a parenting win right there).
- No plate needed: The perfect grab-and-go snack for soccer practice or afternoon hunger emergencies.
- Pantry superhero: Canned tuna + leftover rice = dinner saved when the fridge looks bare.
- Flavor playground: Add sriracha, sesame seeds, or even avocado – make them yours!
Seriously, these are the edible equivalent of that friend who’s always flexible, never fussy, and consistently delicious. What’s not to love?
Ingredients for Tuna Rice Balls
Gather these simple ingredients – I bet most are already in your kitchen! The magic happens when these humble items come together:
- 2 cups cooked Japanese short-grain rice (sushi rice works best)
- 1 (5 oz) can tuna in water, drained well (save that tuna water for your cat!)
- 2 tbsp mayonnaise – the creamier the better
- 1 tsp soy sauce – my secret flavor booster
- 1/2 tsp sugar – just a pinch to balance the tang
- 2 sheets nori seaweed, cut into strips – the crisp wrapper that makes it fun
That’s it! Six ingredients standing between you and lunchtime happiness. I always double the batch because, trust me, these disappear fast.
Ingredient Notes & Substitutions
No Japanese rice? No problem! While short-grain rice holds together best, medium-grain works in a pinch (just avoid long-grain – it’s too dry). I’ve even used brown rice when feeling extra healthy, though the texture changes.
Out of mayo? Greek yogurt makes a great tangy substitute. For gluten-free folks, tamari works instead of soy sauce – I actually prefer its deeper flavor! And if you’re feeling fancy, mix in some toasted sesame seeds or chopped scallions.
The tuna is flexible too – I’ve used oil-packed when that’s all I had (just pat it dry). The key is making sure your rice is slightly warm when shaping – cold rice just won’t stick together properly. Now let’s get rolling!
How to Make Tuna Rice Balls
Okay, let’s get our hands sticky – in the best way possible! After making hundreds of these (no exaggeration – my kids are obsessed), here’s my foolproof method for perfect tuna rice balls every time:
- Mix your filling: In a small bowl, mash together the drained tuna, mayo, soy sauce and sugar until creamy. Taste it – this is your moment to adjust flavors! Want more tang? Add mayo. Need more umami? Another splash of soy sauce. Set aside while you prep the rice.
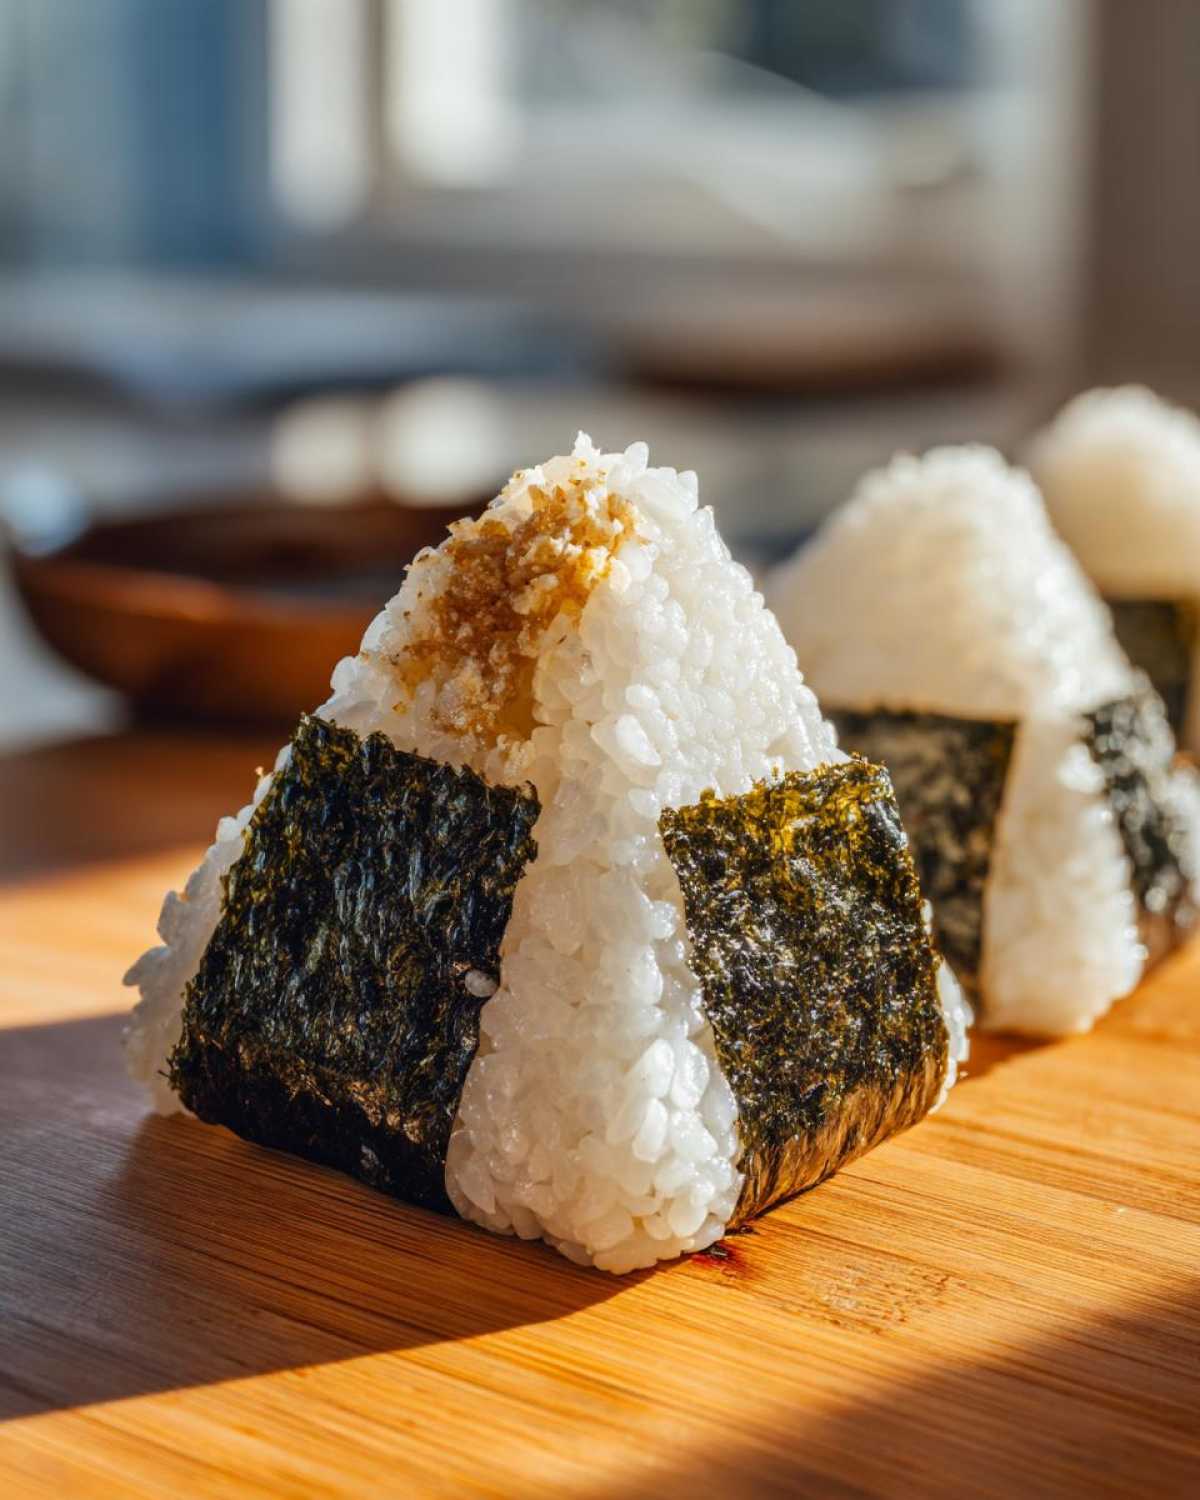
- Prep your station: Fill a small bowl with water and keep it nearby. Trust me, you’ll need it to wet your hands between shaping. Spread out your nori strips – I like cutting them about 1-inch wide with kitchen scissors.
- Shape with confidence! Wet your hands (this prevents sticking), grab about 1/4 cup of slightly warm rice, and flatten it gently in your palm. Spoon a generous teaspoon of filling in the center – don’t be shy!
- Enclose the goodness: Cup your hand and use your fingers to push the rice up and over the filling, gently pressing to seal. Rotate and shape into a triangle by pressing between your palms – no perfection needed here!
- Nori magic: Wrap a seaweed strip around the base (it’ll stick to the rice’s moisture). Pro tip: Add the nori right before eating to keep it crispy!
See? Even my 8-year-old can do it (with minimal rice casualties). The whole process takes less time than scrolling TikTok!
Shaping Tips for Perfect Tuna Rice Balls
If your first few rice balls look more like abstract art than triangles, don’t panic! Here are my secret weapons: plastic wrap (place rice on it, gather edges to form the shape – no sticky fingers!), firm pressure (those gentle pats won’t cut it – really compact the rice), and keeping the filling centered (off-center filling bursts through like a tuna volcano). And if they crack? Just wet your fingers and patch them up – no one will know!
Storage and Serving Suggestions
Here’s my secret for keeping these tuna rice balls fresh and delicious—pop them in an airtight container with parchment paper between layers, and they’ll stay perfect for up to 2 days in the fridge (if they last that long!). Pack extra nori strips on the side—they cling to the rice right when you’re ready to eat, staying crisp and flavorful. These are picnic superheroes—no reheating, no mess. I love setting them out with pickled ginger or a drizzle of sriracha mayo for dipping. Just watch them disappear!
Tuna Rice Balls Variations
Once you’ve mastered the basic recipe, the fun begins! My family calls these “flavor experiments” – here are our favorite twists: Toasted sesame seeds pressed into the rice add nutty crunch, while spicy mayo (just mix in sriracha!) gives a kick. Avocado lovers can slice thin pieces to layer under the tuna filling – revolutionary! Vegetarians? Mash seasoned tofu with mayo for a brilliant plant-based version. The possibilities are endless – what will you try first? Check out my Pinterest for more creative combos!
Nutritional Information
Keep in mind these are rough estimates – your exact tuna rice balls may vary based on ingredients! Each piece typically contains about 120 calories, 5g protein, and makes you smile instantly. Now that’s nourishment!
Frequently Asked Questions
I’ve gotten so many great questions about these tuna rice balls over the years – let me share the answers I wish I’d known when I first started making them!
Can I use brown rice instead of white?
You absolutely can, but I’ll warn you – the texture won’t be quite the same. Brown rice doesn’t stick together as nicely, so your rice balls might be a bit more ‘freeform art’ than perfect triangles! My trick? Add an extra teaspoon of mayo to the rice to help bind it. The nutty flavor actually pairs beautifully with the tuna though!
How do I stop my rice balls from falling apart?
Oh, I’ve been there – nothing worse than tuna-mayo leaking everywhere! The secret is using slightly warm rice (not hot, just warm enough to still handle). Cold rice won’t stick. Also, don’t be afraid to really compact the rice – I press much harder than feels natural. Wet hands help too – the moisture acts like edible glue!
Can I freeze tuna rice balls?
Honestly? I wouldn’t recommend it. The texture gets really weird when thawed – the rice turns grainy and the mayo separates. These babies are best fresh made or stored in the fridge for up to 2 days. They’re so quick to make anyway! If you must freeze, skip the nori and add it fresh when eating.
Share Your Tuna Rice Balls Creations
I’d love to see your own tasty tuna rice ball creations! Snap a photo of those beautiful rice triangles and share your genius flavor twists. Find me on Pinterest where I’m always collecting new bento inspiration – your masterpiece might just inspire someone else’s lunchbox magic!
PrintTuna Mayo Rice Balls (Onigiri)
Easy Japanese tuna rice balls stuffed with creamy tuna-mayo filling. Perfect for bento boxes, snacks, or grab-and-go lunches.
- Prep Time: 10 mins
- Cook Time: 5 mins
- Total Time: 15 mins
- Yield: 6 rice balls 1x
- Category: Snack
- Method: No-Cook
- Cuisine: Japanese
- Diet: Low Lactose
Ingredients
- 2 cups cooked Japanese short-grain rice (sushi rice)
- 1 (5 oz) can tuna in water, drained
- 2 tbsp mayonnaise
- 1 tsp soy sauce
- 1/2 tsp sugar
- 2 sheets nori (seaweed), cut into strips
Instructions
- Mix tuna, mayonnaise, soy sauce, and sugar in a bowl.
- Wet your hands and grab a handful of rice. Flatten it slightly.
- Place 1 tbsp tuna filling in the center.
- Shape rice into a triangle or ball, enclosing the filling.
- Wrap a nori strip around the base.
- Repeat with remaining rice and filling.
Notes
- Use warm rice for easier shaping.
- Add sesame seeds or furikake for extra flavor.
- Store in an airtight container for up to 2 days.
- Find more bento ideas on our Pinterest.
Nutrition
- Serving Size: 1 rice ball
- Calories: 120
- Sugar: 1g
- Sodium: 150mg
- Fat: 3g
- Saturated Fat: 0.5g
- Unsaturated Fat: 2g
- Trans Fat: 0g
- Carbohydrates: 18g
- Fiber: 1g
- Protein: 5g
- Cholesterol: 5mg