 Skip to content
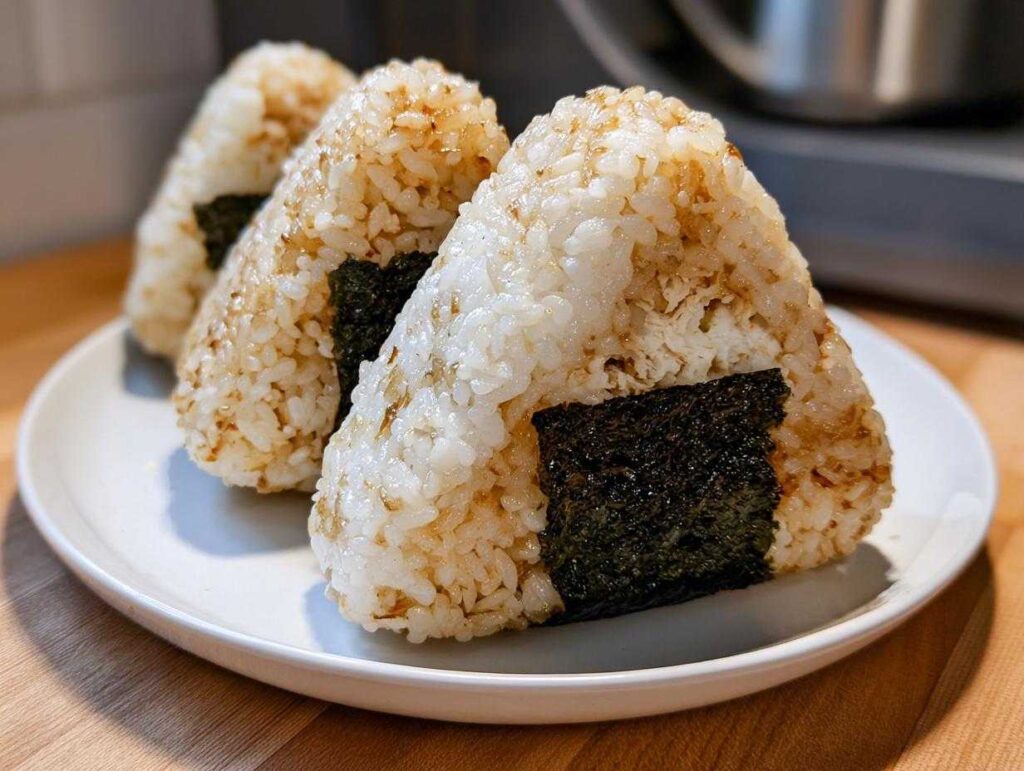
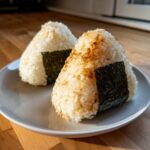
Oh man, let me tell you about the first time I stumbled upon tuna onigiri at a tiny Tokyo konbini. That perfect little triangular package – warm rice hugging creamy tuna-mayo filling, all wrapped in that crisp nori – became my instant addiction. Now I make them weekly because they’re the ultimate grab-and-go lunch. Seriously, what’s not to love? They’ve fueled Japanese salarymen for decades, star in every 7-Eleven fridge, and fit perfectly in bento boxes. My kitchen disaster attempt at shaping them the first time (let’s just say some looked more like modern art than triangles) led me straight to mastering the secrets I’m about to share with you.
Why You’ll Love This Tuna Onigiri Recipe
This recipe is my go-to for so many reasons, and trust me, you’ll fall in love too!
- 7-Eleven nostalgia – Taste just like those irresistible tuna mayo onigiri from Japanese convenience stores
- Quick fix – Ready in 30 minutes flat (even faster if you’ve got leftover rice!)
- Perfectly portable – The nori wrapping makes them mess-free for lunchboxes
- Meal prep hero – Makes 4 servings that keep beautifully for next-day snacks
- Flavor bomb – That creamy tuna-mayo filling? Absolute magic against the warm rice
Seriously, once you master these, you’ll be making them weekly just like I do. They’re the snack that works for breakfast, lunch, or that 3pm hunger emergency!
Ingredients for Tuna Onigiri
Okay, let’s gather our simple but mighty ingredients! Every single one plays a special role in creating that perfect 7-Eleven-style tuna onigiri magic. Here are my tried-and-true essentials–trust me, I’ve learned through way too many disasters that skipping certain steps won’t end well!
- For the rice:
- 2 cups Japanese short-grain rice (don’t substitute long-grain – the stickiness matters!)
- 2 cups water
- Pinch of salt (for shaping)
- For the legendary tuna-mayo filling:
- 1 can (5 oz) tuna in water, drained really well (oil-packed works too if you prefer richer flavor)
- 2 tbsp mayonnaise (my secret? Kewpie mayo makes it taste like the real konbini deal)
- 1 tsp soy sauce (just enough to add umami without making it soggy)
- ½ tsp sugar (balances everything perfectly – no one will know it’s there)
- The finishing touch:
- 2 sheets nori (seaweed), cut into 1-inch strips right before using (stays crisp this way)
Pro tip from my early fails: Please, PLEASE use actual Japanese short-grain rice like Koshihikari or Calrose varieties. That medium-grain stuff from the supermarket makes sad, crumbly onigiri. Found mine at an Asian grocery after three attempts with the wrong rice type – lesson painfully learned!
How to Make Tuna Onigiri
Alright, let’s dive into the fun part – making those perfect little rice triangles! Don’t worry if your first attempts look like abstract art (mine sure did). I’ll walk you through each step with all the messy lessons I’ve learned so you can nail it the first time!
Step 1: Cook the Rice
First things first – that rice needs to be perfect! Rinse your Japanese short-grain rice in cold water until the water runs clear (this removes excess starch). I like to swish it around with my hands – it’s oddly satisfying! Cook it in either a rice cooker (easy button) or on the stove with 2 cups water until tender but still slightly sticky. Pro tip: Let it cool just until you can handle it – warm rice shapes beautifully but hot rice will burn your fingers!
Step 2: Prepare the Tuna Mayo Filling
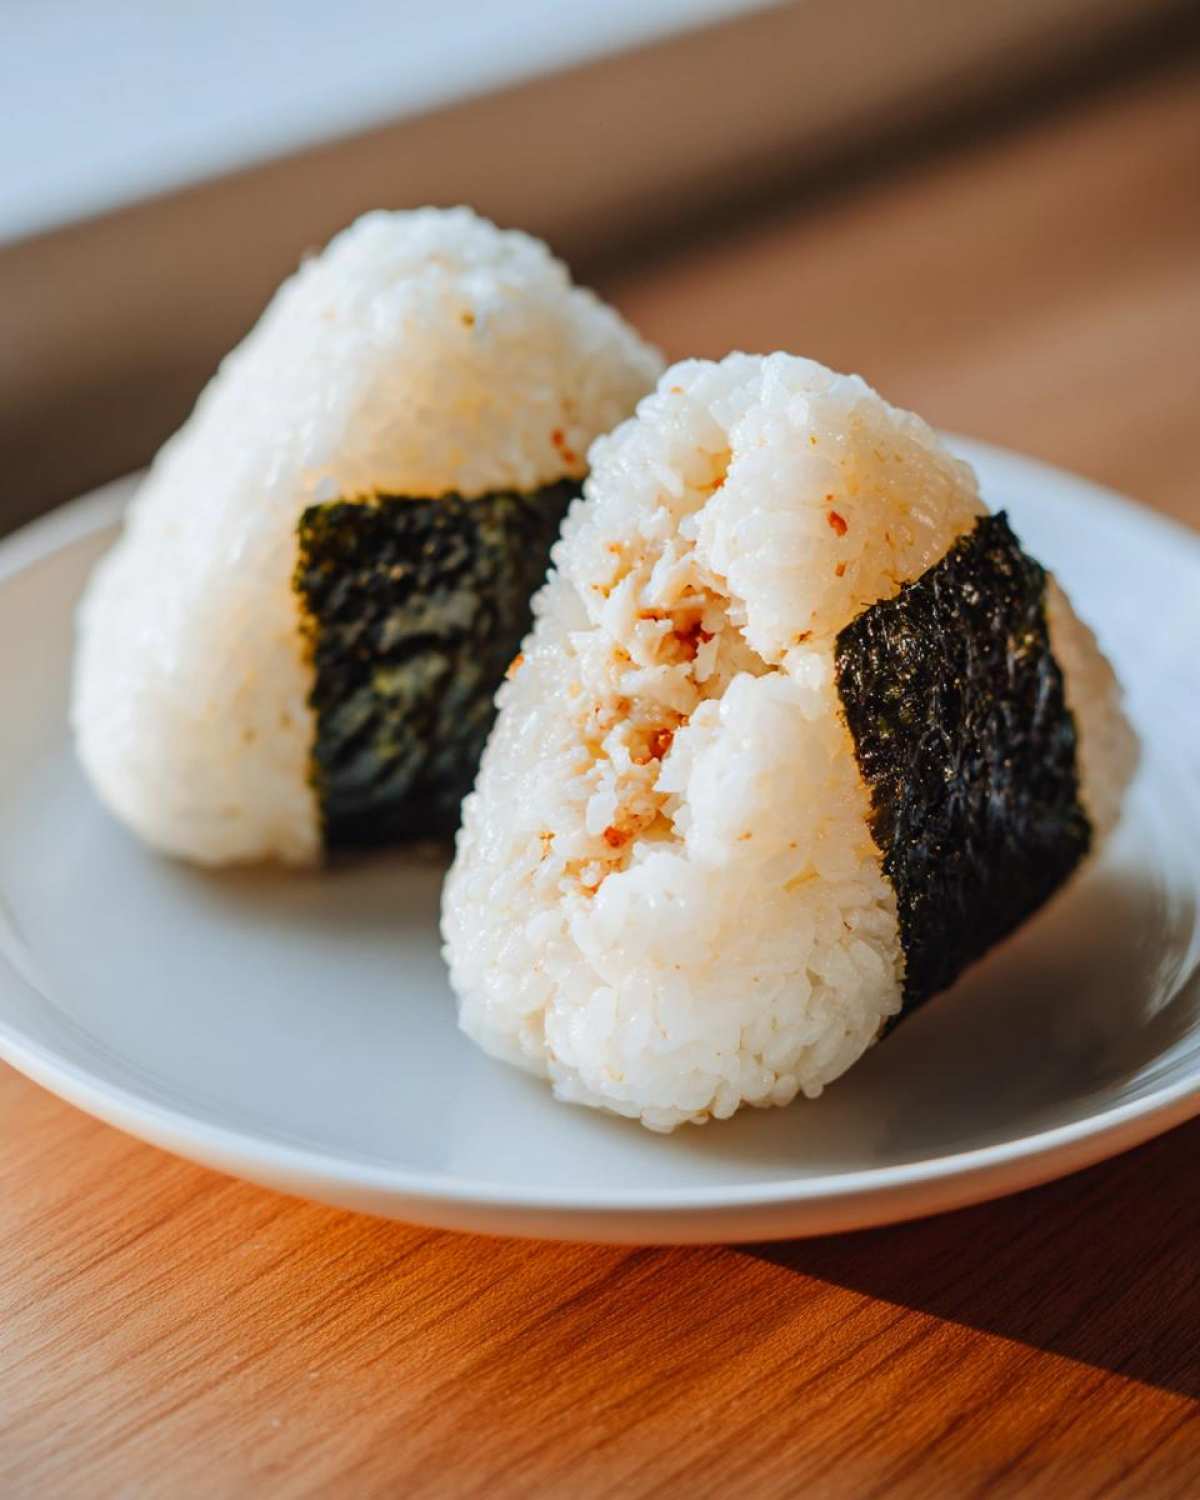
Okay, this is where the magic happens! Drain that tuna really well (I press it against the can lid to get every last drop out – nobody likes soggy onigiri). Mix it with Kewpie mayo (trust me, it makes all the difference), soy sauce, and that sneaky bit of sugar. Want to level up? Throw in some toasted sesame seeds or sriracha for a kick! The filling should hold together when you pinch it.
Step 3: Shape the Onigiri
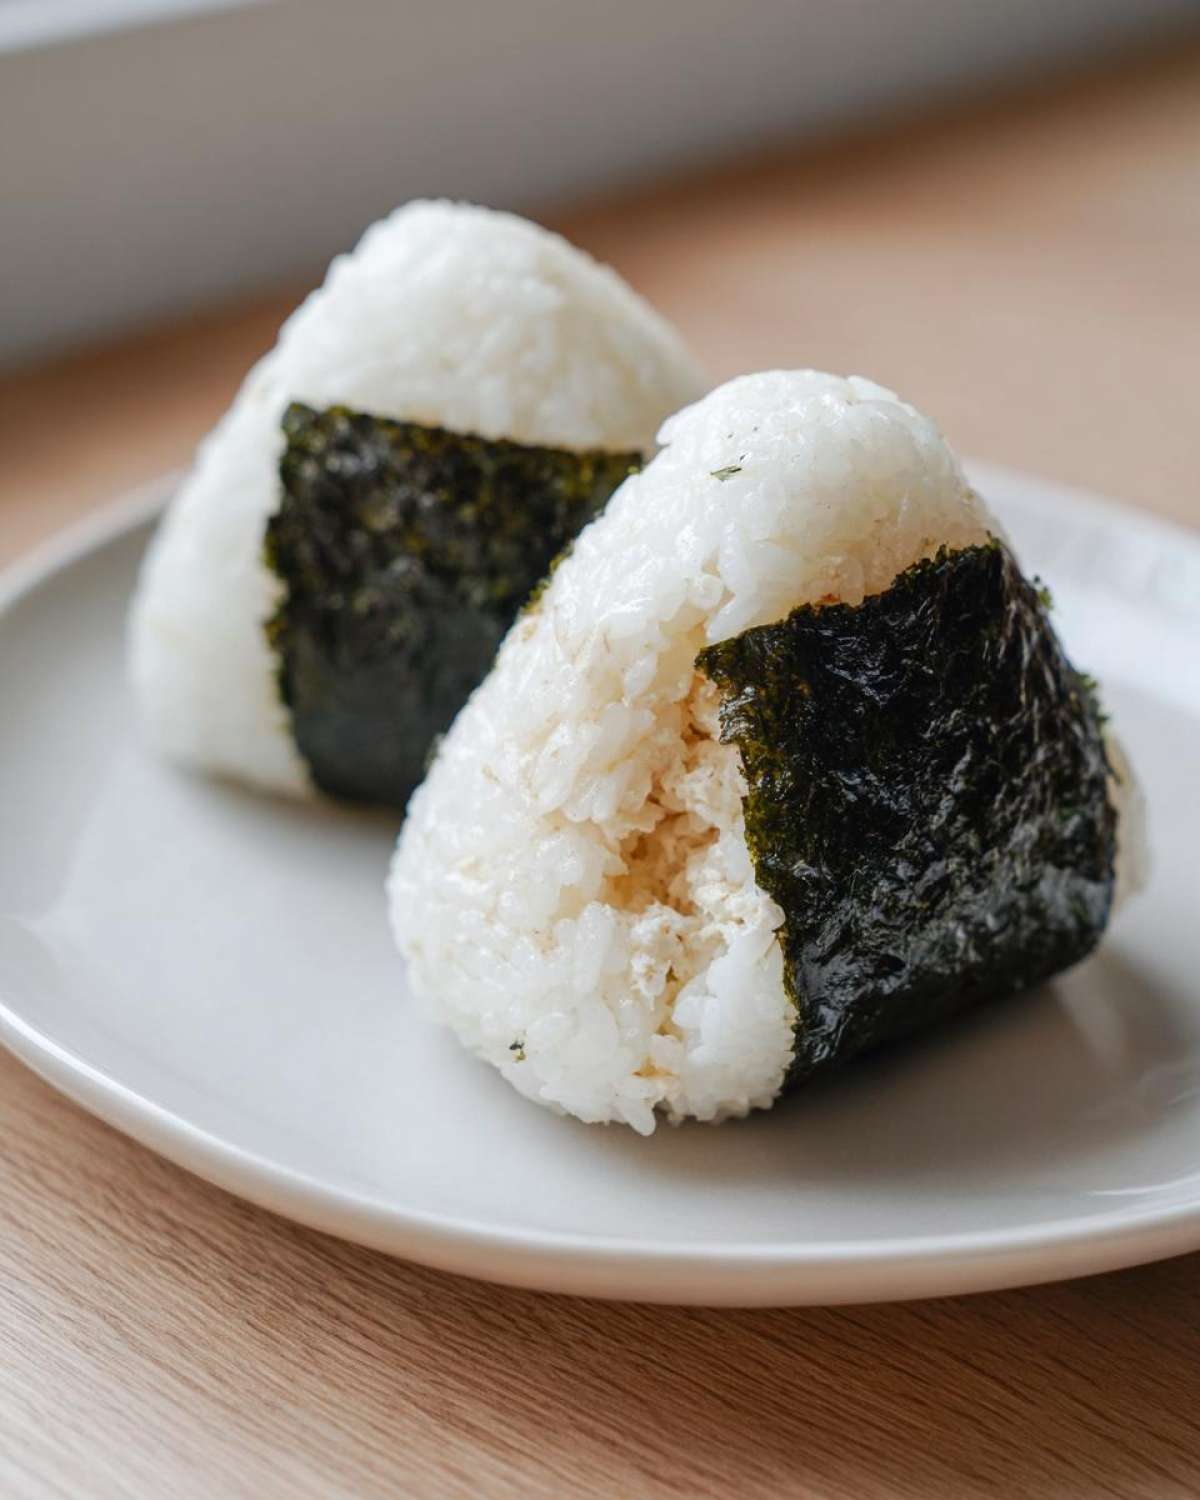
Here comes the slightly messy part! Wet your hands (this is crucial!) and rub them with a tiny bit of salt. Grab about 1/2 cup warm rice, flatten it in your palm, and make a little well in the center. Add a spoonful of filling – don’t overstuff! Now gently fold the rice over and start shaping into a triangle by pressing with both hands, turning as you go. If it sticks, wet your hands again! Don’t panic if it’s not perfect – even lumpy onigiri taste amazing.
Step 4: Wrap with Nori
The grand finale! Take your nori sheet and cut it into 1-inch strips with scissors (it’s way easier than trying to tear it). Wrap it around the base while the rice is still slightly warm – the moisture helps it stick. Pro move: Wrap just before eating to keep that nori crisp, or do it now if you’re meal prepping. And voila – you’ve just made konbini-worthy tuna onigiri!
Tips for Perfect Tuna Onigiri
After many rice-stuck-to-everything disasters, I’ve mastered the little tricks that’ll make your tuna onigiri look like they came straight from a Tokyo konbini! Here’s what genuinely works:
Rice temperature is EVERYTHING. That sweet spot? Right after it’s cooled just enough to handle but still steaming slightly. Cold rice won’t stick together, and piping hot rice will burn your fingers off (learned that the hard way).
Your hands are tools – treat them right! Keep a bowl of cold water nearby and re-wet them constantly. That salty coating? It’s not just for flavor – it creates a slick barrier so the rice slides off instead of gluing itself to your palms.
Filling ratio matters more than you think. One teaspoon per onigiri is my golden rule. Overstuff it, and you’ll get tuna explosions (messy but tasty troubleshooting snack!). Underfill it, and you’ll be sad with bland bites.
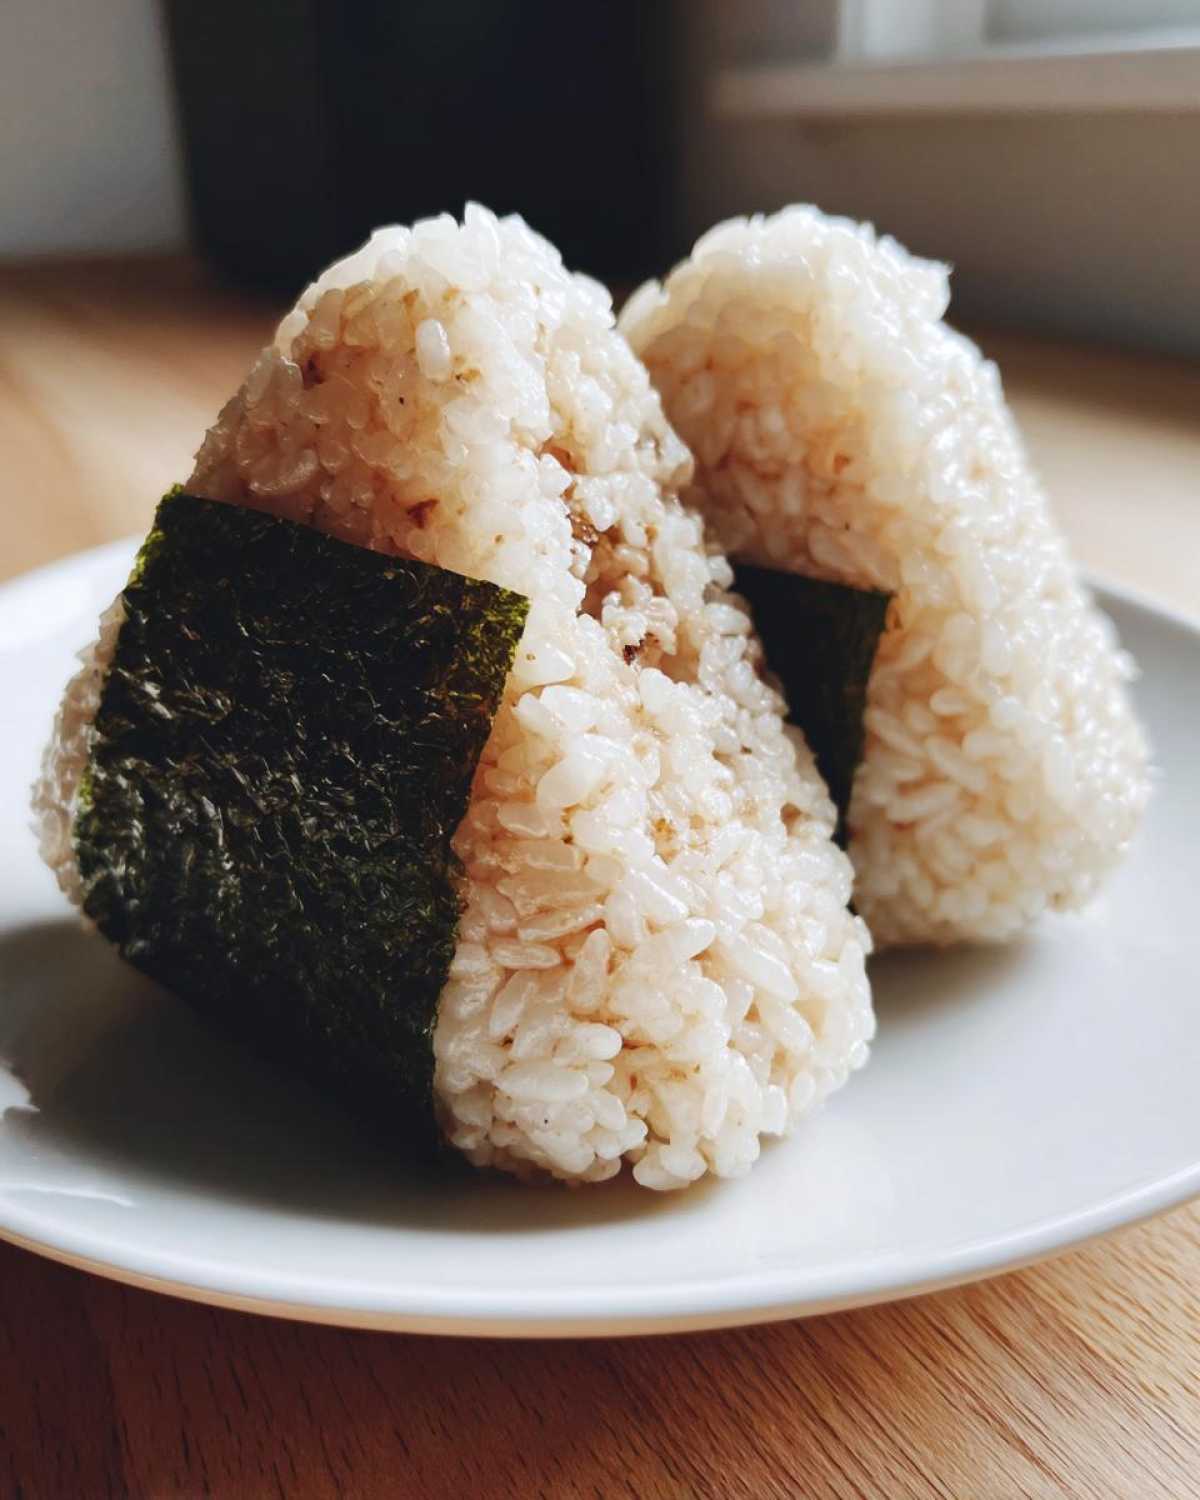
Squeeze with purpose! When shaping, gentle pressure firms it without crushing. I make triangles by rotating three times – press one side flat against my palm, turn 90 degrees, press again. The Japanese call this “te no hira” technique (basically using your palm like a professional mold).
Oh, and if your first attempts look like rice pancakes? Totally normal! Mine did too. The secret is… they still taste amazing even when ugly. Keep practicing – by batch three, you’ll be a rice ball ninja slicing nori strips like a pro!

Storage and Meal Prep Tips
Ah, the joy of making extra tuna onigiri for later! Here’s how I keep them tasting fresh – learned through many sad, dried-out rice ball tragedies. Pop them in an airtight container separated by parchment paper. They’ll stay perfect for about 24 hours in the fridge. Need to revive them? A 10-second microwave blast brings back that just-made warmth!
Want to freeze them? Genius move – just skip the nori wrap (it gets weirdly chewy when thawed). Freeze the plain rice balls on a tray first, then transfer to freezer bags. When cravings hit, thaw overnight in the fridge or give ’em a quick microwave defrost. Add fresh nori strips right before eating for that signature crunch!
Tuna Onigiri Variations
Once you’ve mastered the classic tuna mayo version, oh boy – the flavor playground begins! My favorite way to jazz these up? Spicy mayo for sure – just mix sriracha into the mayo before adding to tuna. Absolute game changer! Avocado fans? Smash some into the filling for creamy goodness. Traditionalists will love umeboshi (pickled plum) in the center – that tangy punch wakes up your taste buds! The best part? These variations all use the same simple shaping technique we just learned. Mix and match to make your perfect rice ball!
Nutritional Information
Just a quick heads up – these nutritional estimates can vary depending on your exact ingredients and brands (especially that tuna and mayo situation!). Think of these numbers as friendly ballpark figures per single onigiri, not exact science. At the end of the day, we’re making tasty rice balls here, not lab experiments!
Frequently Asked Questions
Here are answers to the tuna onigiri questions I get asked most often – straight from my rice-stained recipe notebook!
Can I use brown rice for tuna onigiri?
You can, but it won’t hold together like Japanese short-grain rice does. Brown rice lacks the stickiness needed for perfect shaping. If you must, try mixing half brown and half white rice – I’ve had decent results this way! Just know it’ll never quite mimic that classic 7-Eleven onigiri texture we all love.
How do I prevent my onigiri from crumbling?
Ah, the rice ball struggle is real! Three things that changed my life: 1) Use rice that’s still slightly warm (not cold!), 2) Wet your hands CONSTANTLY while shaping, and 3) Press firmly enough so you can see the rice grains smushing together a bit. Also, that pinch of salt on your hands? Not just for flavor – it creates traction!
What’s the best nori for tuna mayo onigiri?
After testing way too many brands, I swear by roasted nori labeled specifically for onigiri – it’s slightly thicker than sushi nori. My go-to is the Ajishima or Marukai brands from Japanese markets. You want that satisfying crispy-crunch when you bite in!
Can I make tuna onigiri ahead of time?
Absolutely! They’re my favorite grab-and-go lunch prep. Just wrap them tightly without the nori (it gets soggy) and refrigerate up to 24 hours. When ready, add fresh nori strips. The rice firms up overnight but stays delicious when you’re craving that authentic tuna rice ball experience!
Share Your Tuna Onigiri Creations
Tag me on Pinterest (@KitchenUser – search for my cute rice ball board!) to show off your tuna onigiri masterpieces – I wanna see those perfect triangles! Or drop a comment below about your first shaping adventures. Did yours stay intact or did we have another abstract sculpture situation like my early attempts? Either way, delicious wins every time!
PrintTuna Mayo Onigiri (Japanese Rice Balls)
Learn how to make authentic tuna mayo onigiri, perfect for bento boxes or a quick snack. These rice balls are easy to prepare and packed with flavor.
- Prep Time: 10 mins
- Cook Time: 20 mins
- Total Time: 30 mins
- Yield: 4 onigiri 1x
- Category: Snack
- Method: No-Cook (Filling), Stovetop (Rice)
- Cuisine: Japanese
- Diet: Low Lactose
Ingredients
- 2 cups Japanese short-grain rice
- 2 cups water
- 1 can (5 oz) tuna in water, drained
- 2 tbsp mayonnaise
- 1 tsp soy sauce
- 1/2 tsp sugar
- 2 sheets nori (seaweed), cut into strips
- Salt (for shaping)
Instructions
- Rinse the rice until the water runs clear. Cook with water in a rice cooker or pot.
- Mix drained tuna, mayonnaise, soy sauce, and sugar in a bowl.
- Wet your hands and lightly salt them. Take a handful of rice and flatten it in your palm.
- Add a spoonful of tuna filling in the center and shape the rice into a triangle or ball.
- Wrap a strip of nori around the base for easy handling.
- Serve immediately or store in an airtight container for up to 24 hours.
Notes
- Use freshly cooked rice for the best texture.
- Wet your hands often to prevent sticking.
- For extra flavor, add a sprinkle of sesame seeds to the filling.
- Find more recipes on our Pinterest page.
Nutrition
- Serving Size: 1 onigiri
- Calories: 180
- Sugar: 1g
- Sodium: 200mg
- Fat: 5g
- Saturated Fat: 1g
- Unsaturated Fat: 3g
- Trans Fat: 0g
- Carbohydrates: 28g
- Fiber: 1g
- Protein: 6g
- Cholesterol: 10mg