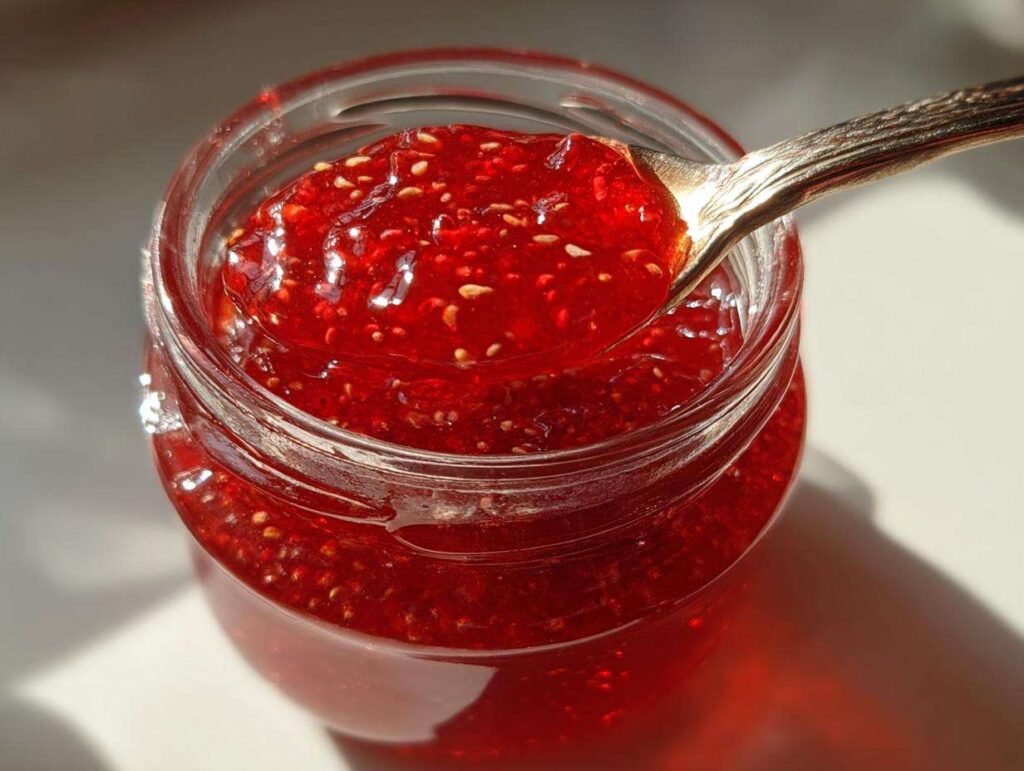
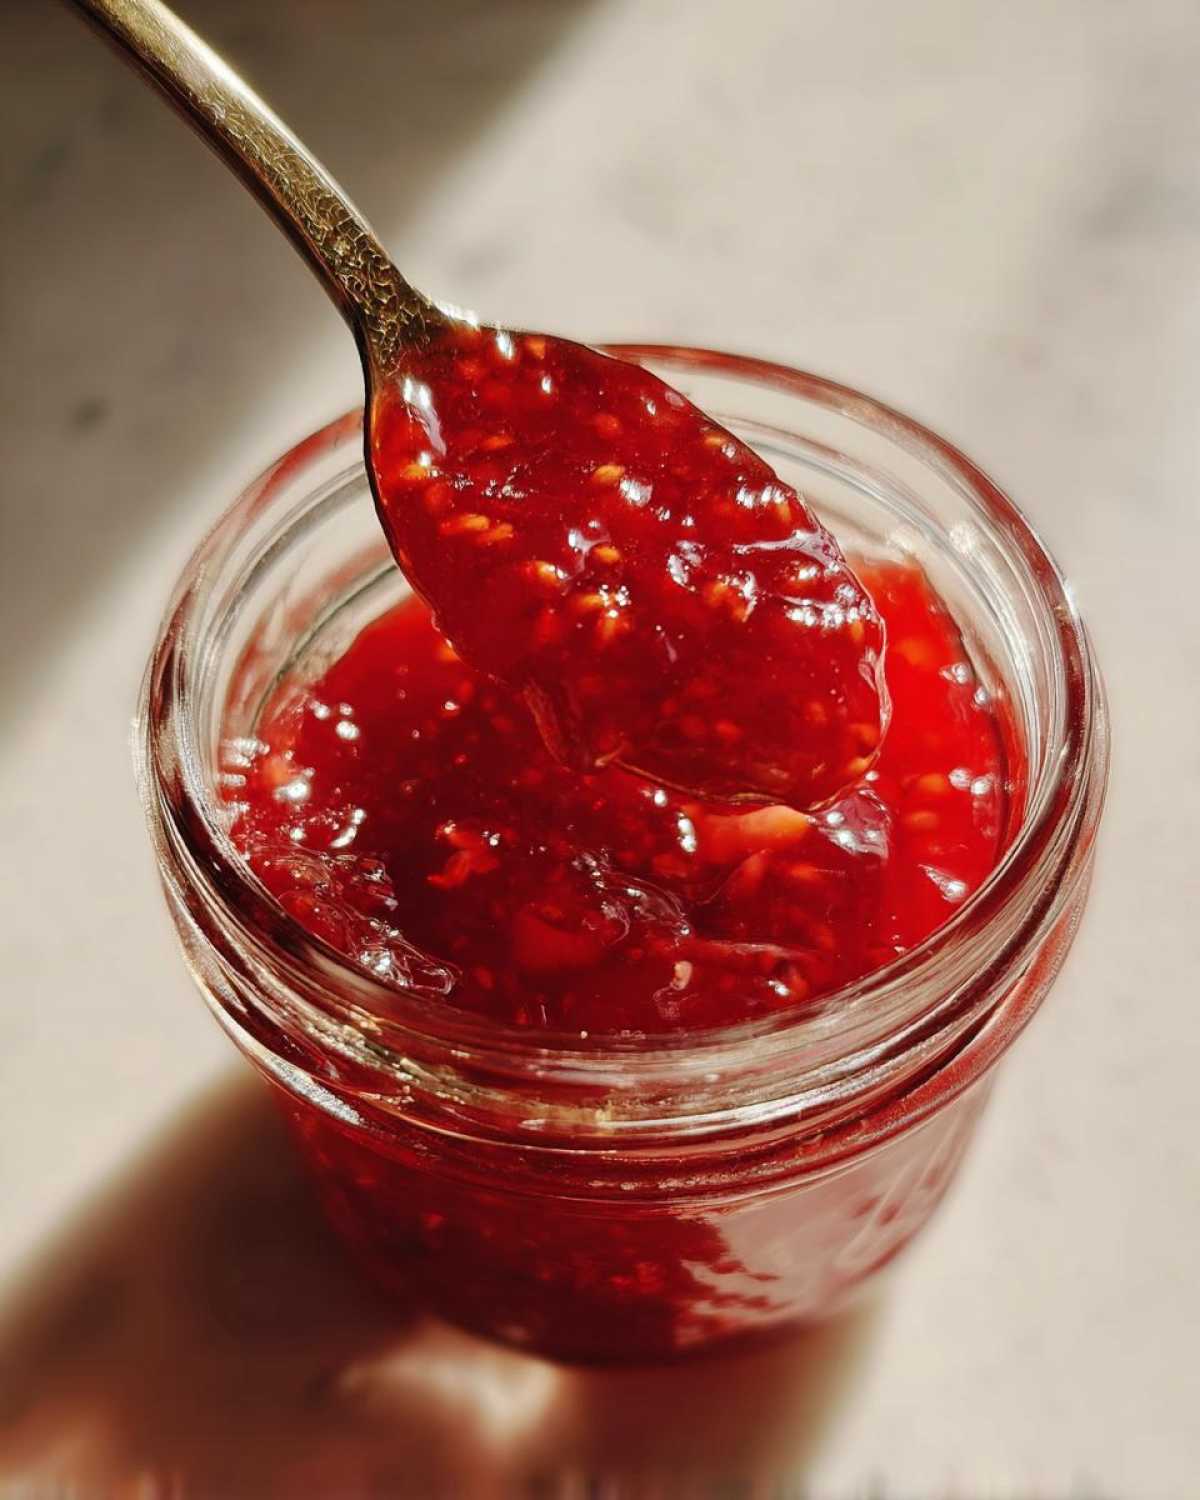
There’s something magical about opening a jar of homemade strawberry preserves in the middle of winter and getting hit with that sweet, summery aroma. Takes me right back to my grandma’s kitchen, where she’d make big batches every June when the berries were at their peak. Her secret? Keeping it simple – just fresh strawberries, sugar, and a splash of lemon to brighten everything up. No fancy equipment needed, just a pot and some patience while the fruit transforms into that gorgeous ruby-red jam. Trust me, once you taste these preserves on your morning toast, you’ll never go back to store-bought!
- Why You’ll Love These Strawberry Preserves
- Ingredients for Strawberry Preserves
- How to Make Strawberry Preserves
- Tips for Perfect Strawberry Preserves
- Strawberry Preserves Variations
- Serving Suggestions for Strawberry Preserves
- Storing and Reheating Strawberry Preserves
- Strawberry Preserves FAQs
- Nutritional Information
Why You’ll Love These Strawberry Preserves
This recipe is my go-to for so many reasons:
- Pure strawberry flavor – No artificial junk, just the real taste of summer berries
- Easy as can be – Only 4 ingredients and one pot needed
- Better than store-bought – You control the sweetness and texture
- Endless uses – Perfect on toast, swirled into yogurt, or as a cake filling
- Makes great gifts – Everyone goes crazy for homemade preserves
Seriously, once you try this simple method, you’ll be hooked. The hardest part is waiting for the jars to cool before digging in!
Ingredients for Strawberry Preserves
Here’s all you need to make the most amazing strawberry preserves – I promise it’s nothing fancy:
- 4 cups fresh strawberries – hulled and chopped into 1/2-inch pieces (about 2 pounds whole berries)
- 2 cups granulated sugar – the white stuff, none of that fancy substitutes if you want that classic jam texture
- 1 tablespoon fresh lemon juice – squeeze it yourself, none of that bottled stuff!
- 1 teaspoon lemon zest – that bright yellow part only, none of the bitter white pith
See? Told you it was simple. Now let’s get those berries cooking!
How to Make Strawberry Preserves
Making strawberry preserves is like conducting a sweet symphony – each step builds on the last to create something greater than the sum of its parts. Don’t let the simplicity fool you; there’s an art to getting that perfect spreadable consistency. Here’s exactly how I do it:
Preparing the Strawberries
First things first – give those berries some love! I rinse them gently under cool water (no soaking!) and pat them dry with a clean towel. The hulling part? My grandma taught me to use a small spoon to scoop out the green tops – way easier than trying to cut them. Then comes the chopping: aim for pieces about the size of your pinky nail. Too big and they won’t break down properly; too small and you’ll lose that lovely chunky texture. Pro tip: save any juice that collects while chopping – it all goes in the pot!
Cooking the Preserves
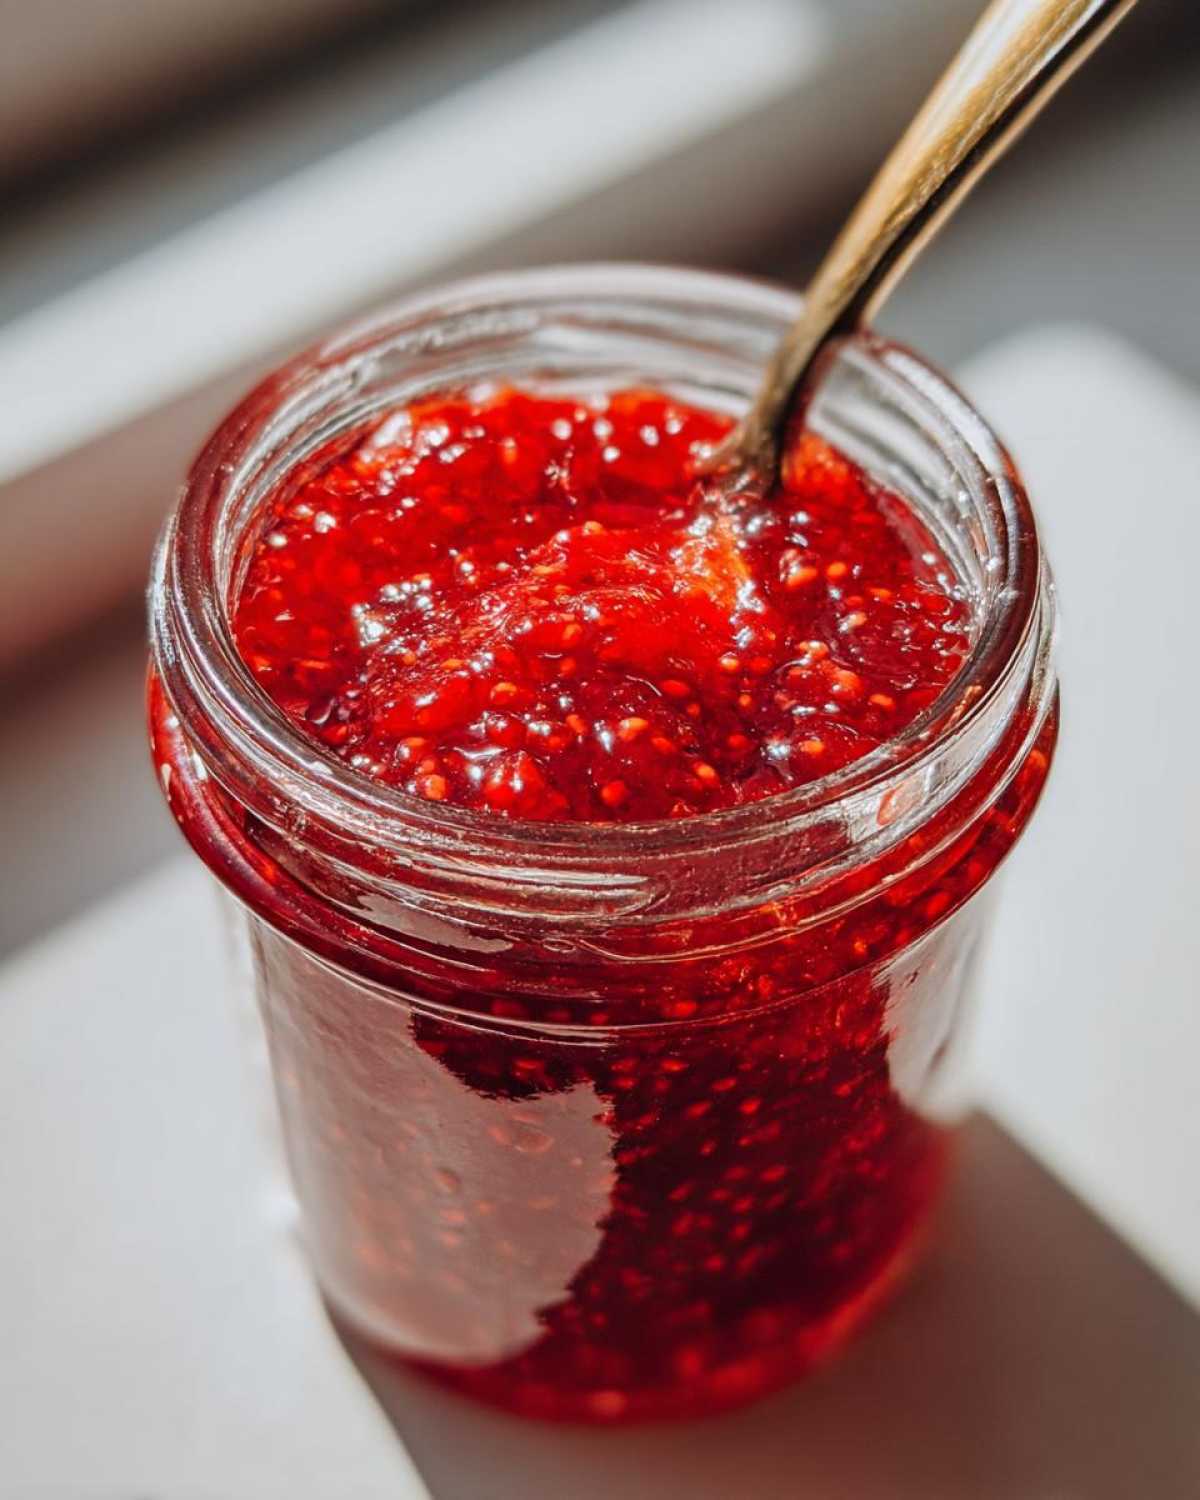
Now the magic happens! Combine everything in your heaviest pot (trust me, a thin pot will scorch). Medium heat is your friend here – you want the sugar to dissolve completely before boiling, about 5 minutes of gentle stirring. Once it starts bubbling, reduce to a lively simmer. This is when I set my timer for 20 minutes but keep an eye on it. The preserves are ready when they coat the back of a spoon without dripping right off, and when you drag a spatula across the bottom, it leaves a clear path for a second. That gorgeous ruby color deepens as it cooks – you’ll know it’s perfect when it looks like liquid jewels!
Jarring and Storing
While the preserves cook, I sterilize my jars by boiling them for 10 minutes. When the preserves are ready, I work quickly – ladling the hot mixture into hot jars, leaving about 1/4 inch headspace. Wipe the rims with a clean, damp cloth (this step is crucial for sealing!), then screw on the lids finger-tight. As they cool, you’ll hear that satisfying “pop” of the lids sealing. Unopened jars will keep in the pantry for up to a year, but let’s be real – they never last that long in my house!
Tips for Perfect Strawberry Preserves
After making countless batches (and yes, a few flops), here are my hard-earned secrets for foolproof strawberry preserves every time:
- Pick berries at their peak – Wait for deep red, fragrant strawberries. Underripe ones won’t give you that jammy sweetness.
- Stir like you mean it – Frequent stirring prevents sticking, but don’t go crazy – you still want some whole berry pieces.
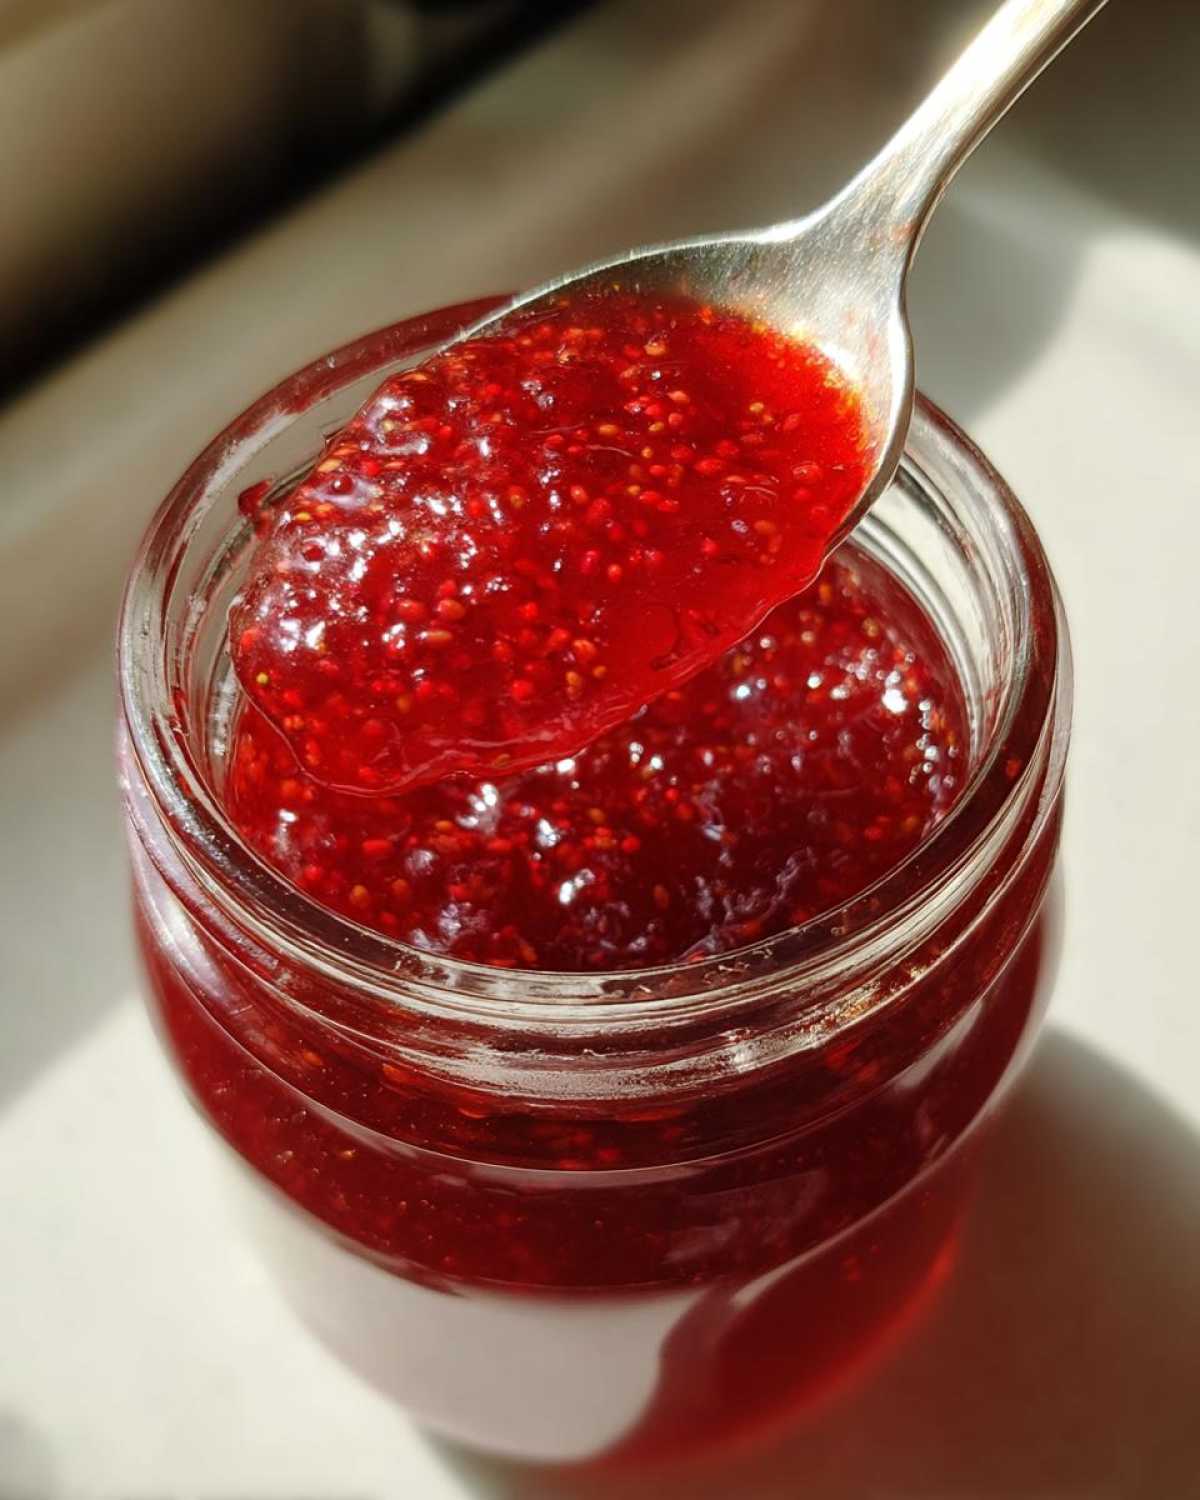
- Test thickness early and often – The spoon test never lies! If it runs right off, keep cooking. If it wrinkles when cooled, it’s done.
- Skim the foam – That frothy stuff on top? Scoop it off with a spoon for clearer preserves.
- Listen to your jam – When the bubbles go from big and splashy to small and thick, you’re close to done.
Remember – preserves thicken as they cool, so don’t overdo it! Better slightly runny than cement-like.
Strawberry Preserves Variations
Once you’ve mastered the basic recipe, try these fun twists to mix things up:
- Vanilla bean – Split one lengthwise and toss it in while cooking for a floral depth
- Fresh basil or mint – Add 2-3 chopped leaves at the end for a refreshing kick
- Balsamic vinegar – Just 1 tablespoon adds a sophisticated tang
- Black pepper – Sounds weird, but a pinch makes the berries taste even sweeter
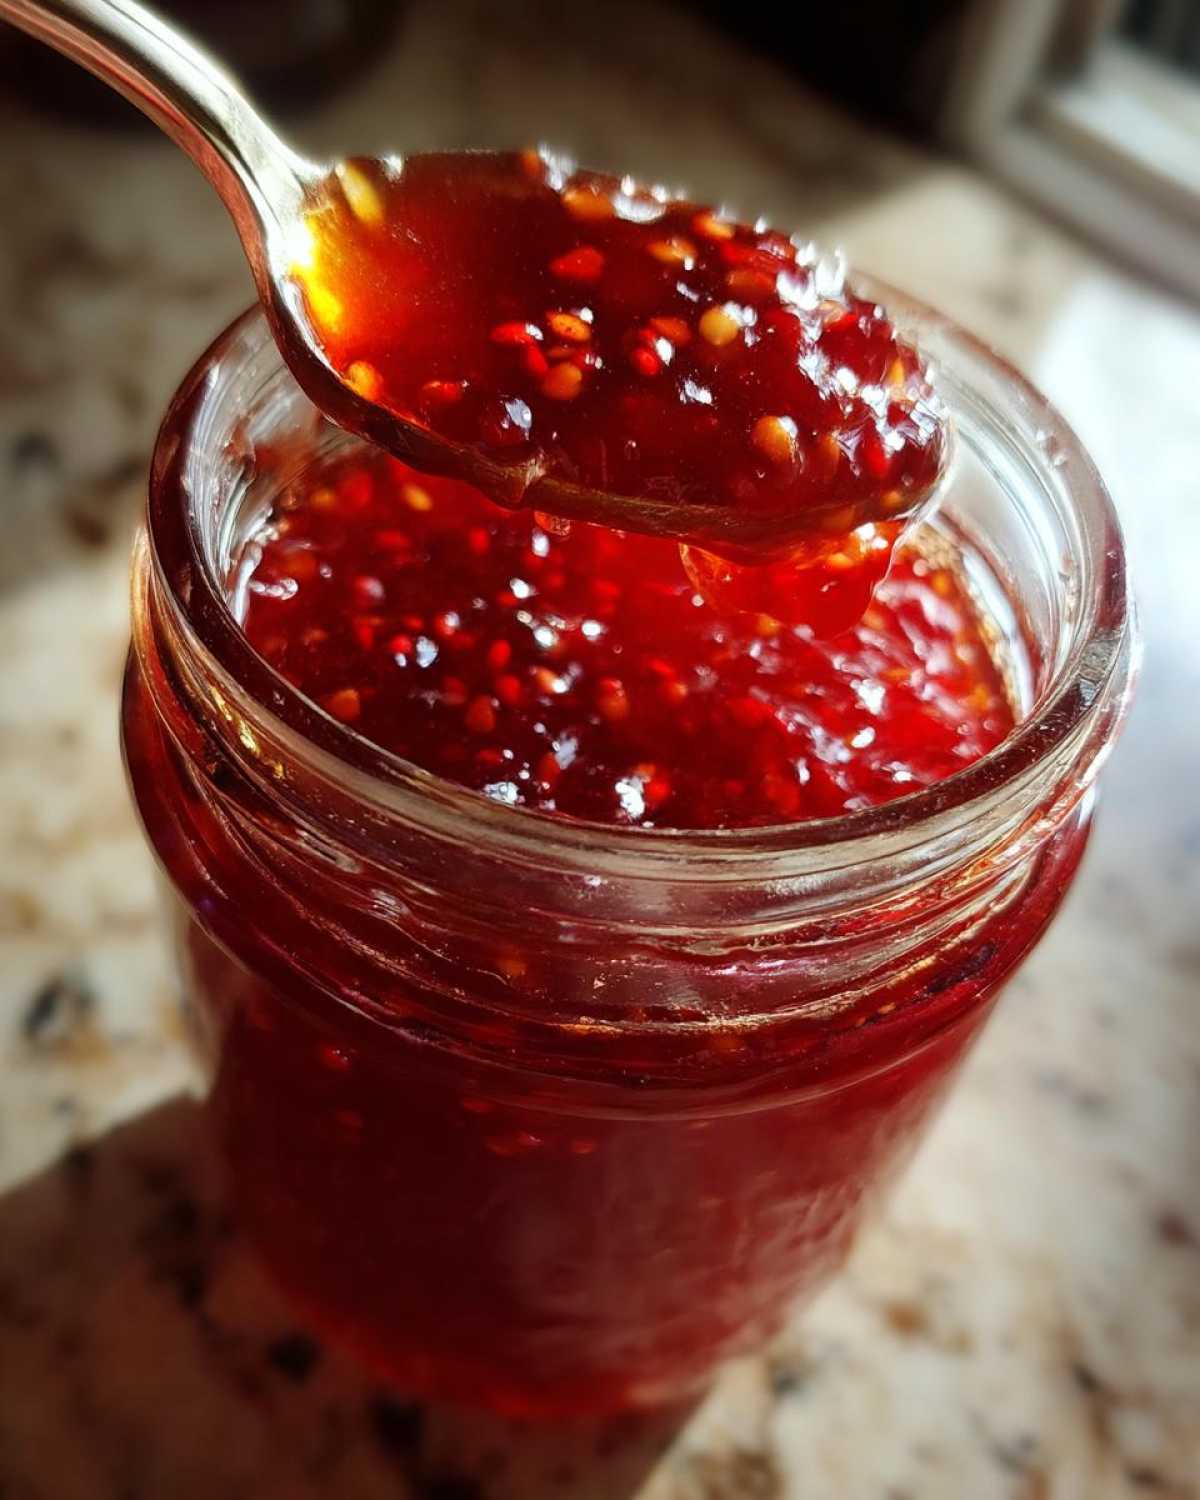
My personal favorite? A splash of orange liqueur right before jarring – makes the preserves taste like summer in Provence!
Serving Suggestions for Strawberry Preserves
Oh, the places these preserves will go! Here are my favorite ways to enjoy them:
- Morning toast – Slathered thick on warm, buttered sourdough
- Yogurt swirl – Folded into Greek yogurt with granola
- Cheese pairings – Perfect with creamy brie or sharp cheddar
- Pancake topping – Way better than syrup (trust me!)
- Ice cream companion – Warm it slightly for a decadent drizzle
My secret? A spoonful straight from the jar when no one’s looking. Don’t judge!
Storing and Reheating Strawberry Preserves
Proper storage keeps your strawberry preserves tasting fresh for months! Unopened jars stay shelf-stable in a cool, dark place for up to a year – my pantry works perfectly. Once opened, they’ll keep in the fridge for about 3 weeks. If the preserves thicken too much in the fridge, just stir in a teaspoon of warm water to loosen them up. Need to reheat? A quick 30 seconds in the microwave or gentle warming on the stove brings back that just-made texture. Pro tip: Always use a clean spoon to scoop out preserves – no double-dipping if you want them to last!
Strawberry Preserves FAQs
I get asked about strawberry preserves all the time – here are the questions that pop up most often in my kitchen (and my honest answers!):
Can I use less sugar or sugar substitutes?
You can reduce the sugar slightly, but it affects both texture and shelf life. For every cup less sugar, add 1 tablespoon lemon juice for safety. Honey or maple syrup work in a pinch, but they’ll change the flavor dramatically. My advice? Stick with granulated sugar for your first batch to understand the baseline.
Do I need to add pectin?
Nope! Strawberries have natural pectin that activates with sugar and acid. The long cooking time does the work for you. Adding commercial pectin actually makes the preserves too firm in my experience – you want that perfect spoonable consistency.
How can I tell if my preserves went bad?
Trust your senses! Mold (obviously), an off smell, or bubbles forming in sealed jars mean toss it. Properly sealed preserves last a year, but once opened, eat within 3 weeks. If the lid pops up or the seal breaks, it’s time to say goodbye.
Why did my preserves turn out runny?
Probably didn’t cook long enough – they thicken as they cool. Next time, do the plate test: put a spoonful on a chilled plate and tilt it. If it runs, keep cooking. If it wrinkles when you push it, it’s done!
Can I double the recipe?
I don’t recommend it – larger batches cook unevenly and take forever to reduce. Stick to 4 cups berries max per batch for best results. Want more? Just make multiple batches – the extra effort’s worth it!
Nutritional Information
Just so you know what you’re enjoying (not that you’ll care once you taste it!), here’s the nutritional breakdown per tablespoon of these strawberry preserves. Remember, these are estimates – actual values can vary based on your exact ingredients:
- Calories: 50
- Total Carbohydrates: 13g
- Sugars: 12g
- Fiber: 0.5g
- Protein: 0g
- Fat: 0g
Now go make a batch and tag me when you do – I’d love to see your homemade strawberry preserves!
Print4-Ingredient Strawberry Preserves That Taste Like Summer
Homemade strawberry preserves with fresh strawberries and simple ingredients.
- Prep Time: 15 mins
- Cook Time: 25 mins
- Total Time: 40 mins
- Yield: 2 cups 1x
- Category: Preserves
- Method: Stovetop
- Cuisine: American
- Diet: Vegetarian
Ingredients
- 4 cups fresh strawberries, hulled and chopped
- 2 cups granulated sugar
- 1 tbsp lemon juice
- 1 tsp lemon zest
Instructions
- Wash and hull strawberries, then chop them into small pieces.
- Combine strawberries, sugar, lemon juice, and lemon zest in a large pot.
- Cook over medium heat, stirring occasionally, until sugar dissolves.
- Bring to a boil, then reduce heat and simmer for 20-25 minutes until thickened.
- Skim off any foam and remove from heat.
- Pour into sterilized jars and seal while hot.
Notes
- Use ripe strawberries for the best flavor.
- Store in a cool, dark place for up to a year.
- Check for proper sealing before storing.
Nutrition
- Serving Size: 1 tbsp
- Calories: 50
- Sugar: 12g
- Sodium: 0mg
- Fat: 0g
- Saturated Fat: 0g
- Unsaturated Fat: 0g
- Trans Fat: 0g
- Carbohydrates: 13g
- Fiber: 0.5g
- Protein: 0g
- Cholesterol: 0mg