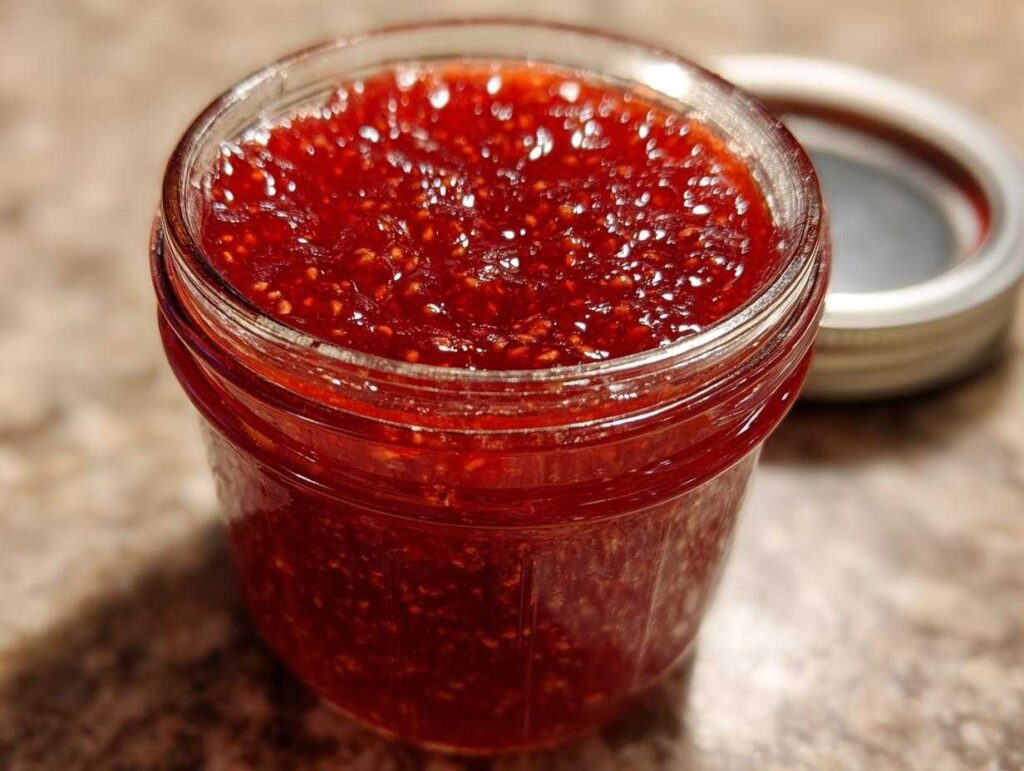
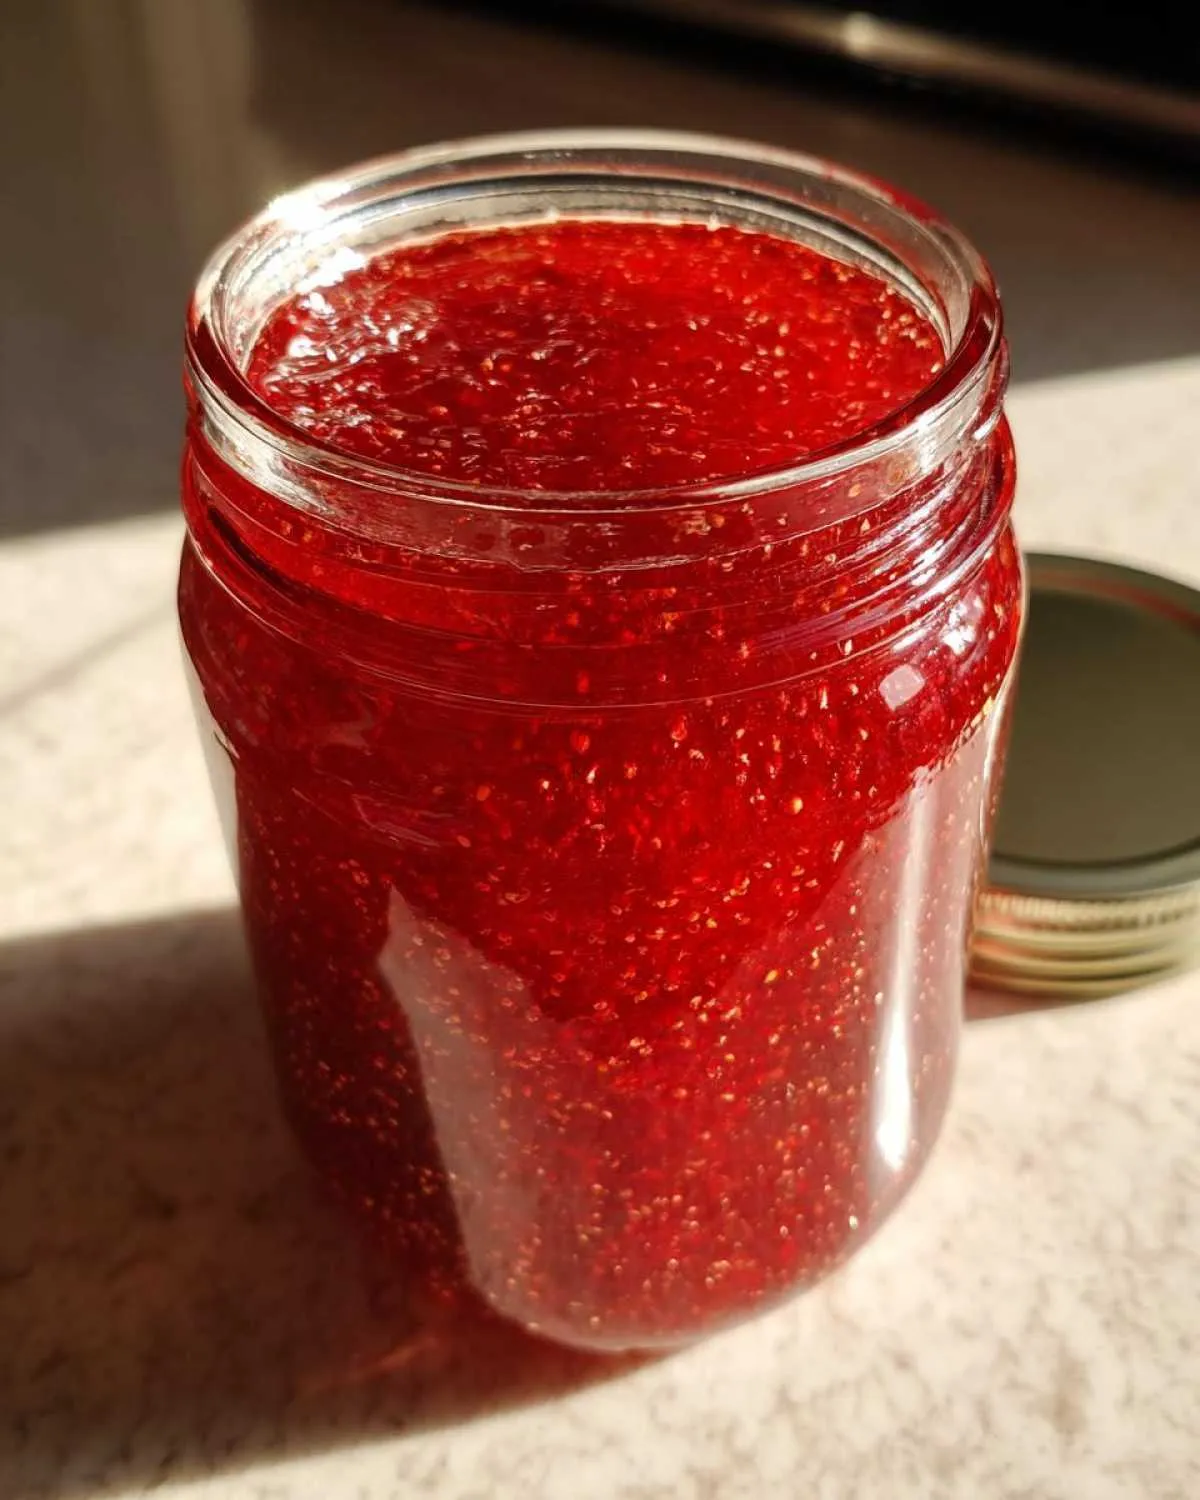
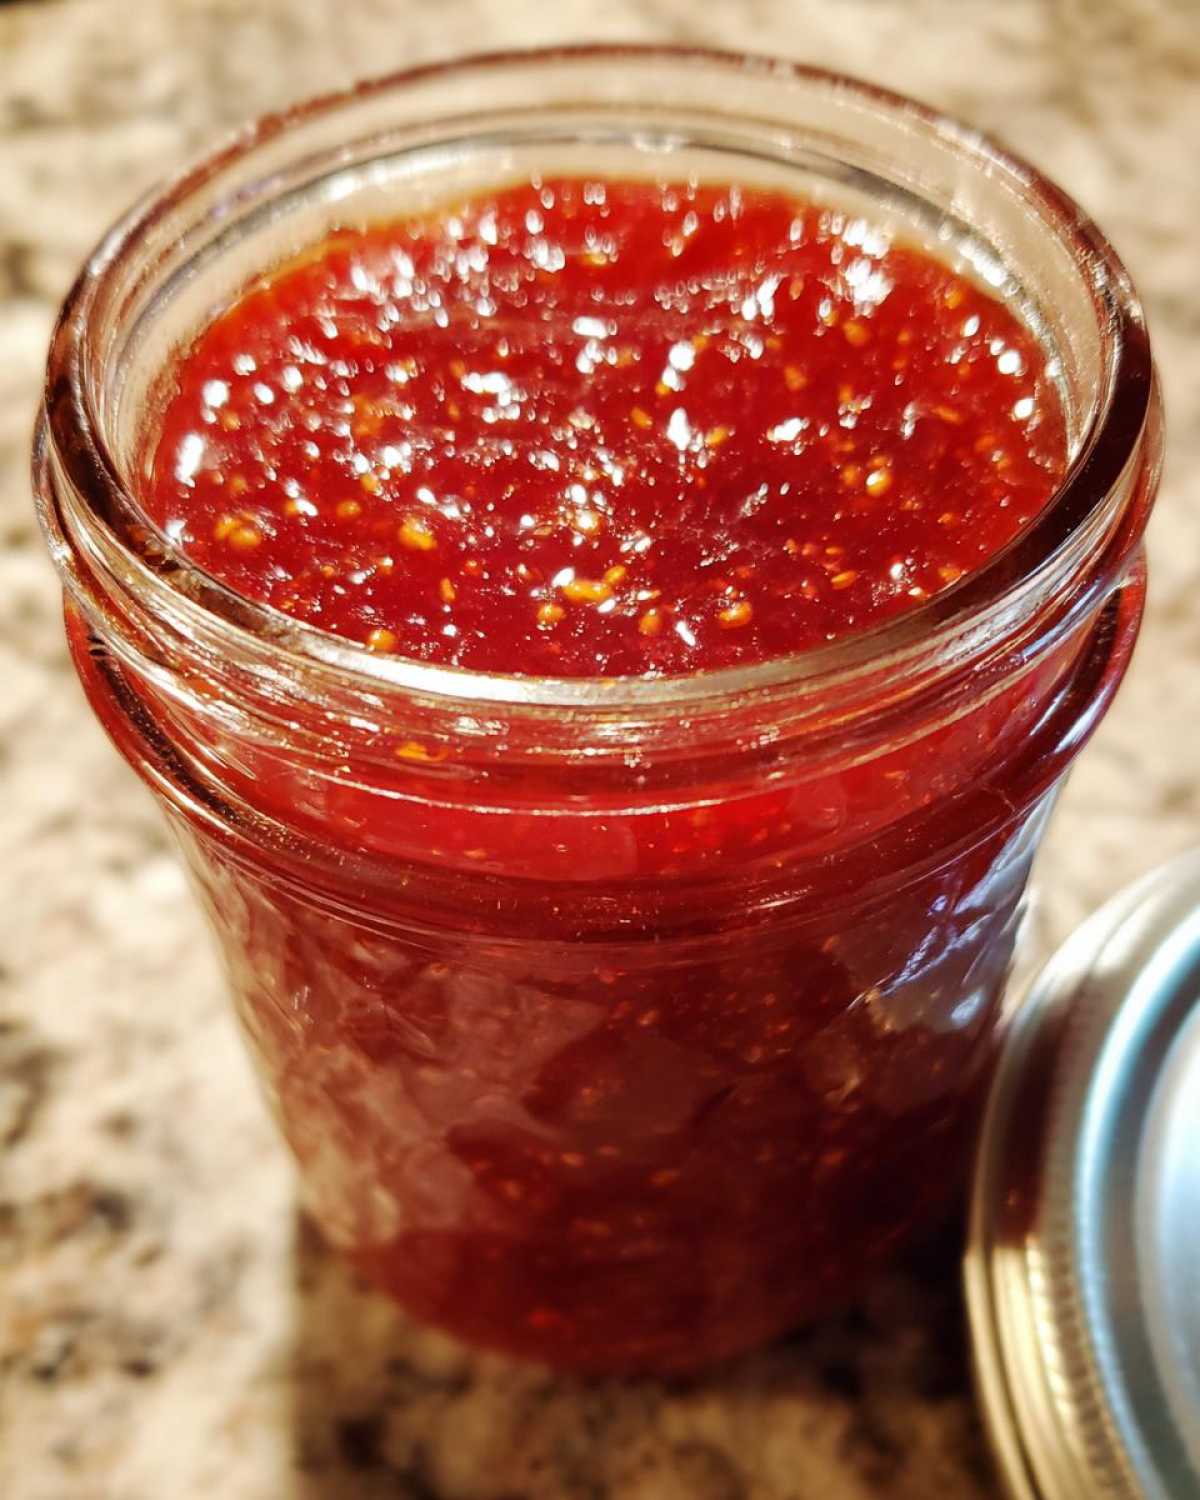
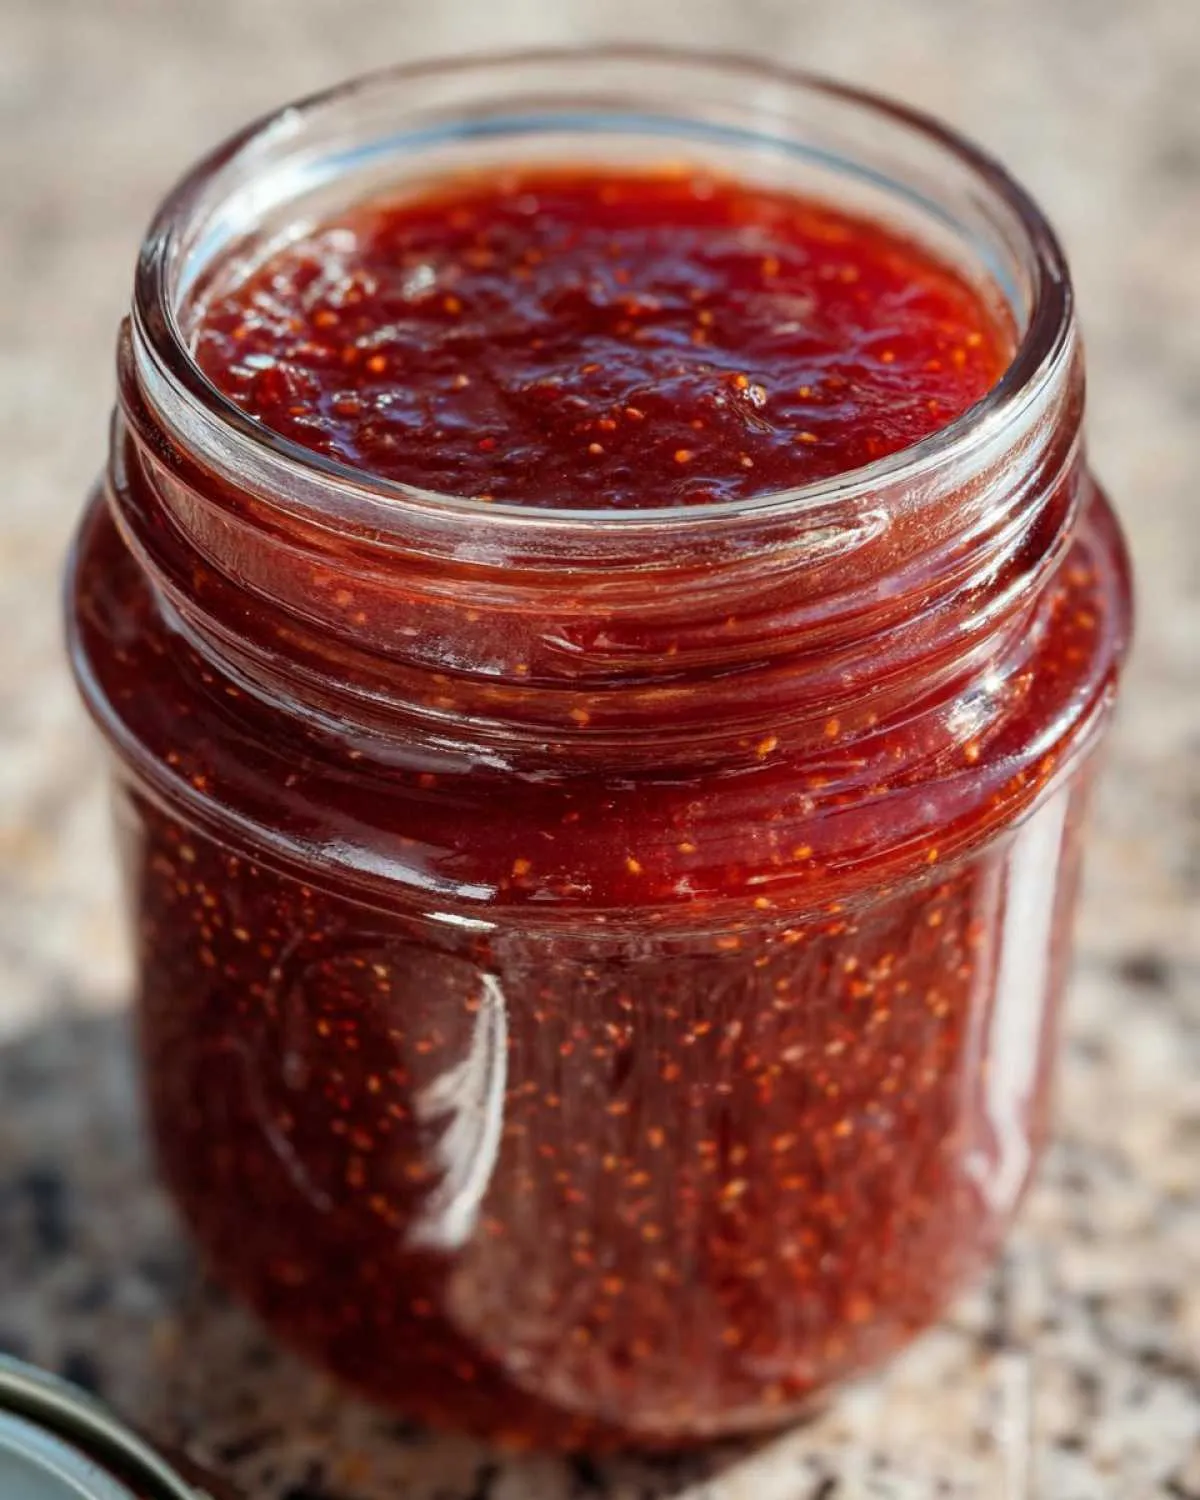
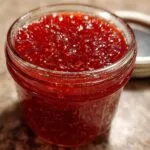
Nothing beats the taste of homemade strawberry jam made with fresh-picked berries – it’s summer captured in a jar! My strawberry jam recipe canning journey began as a kid helping my grandma in her steamy kitchen, where the scent of bubbling fruit and sugar filled the air. Now I carry on her tradition with this USDA-approved water bath method that’s both safe and delicious.
This classic strawberry jam recipe canning process creates shelf-stable preserves bursting with real berry flavor. Whether you’re a first-timer or seasoned canner, you’ll love how simple it is to transform just four ingredients – strawberries, sugar, lemon juice, and pectin – into jars of ruby-red goodness. The secret? Using perfectly ripe berries and following the tested ratios that ensure proper setting and food safety.
I still get that same thrill seeing the rows of sealed jars cooling on my counter that I did as a child. And my kids? They’ve inherited my strawberry jam recipe canning obsession – though they’re mostly in it for licking the spoon! There’s something magical about preserving summer’s bounty to enjoy all year long.
- Why You'll Love This Strawberry Jam Recipe Canning
- Ingredients for Strawberry Jam Recipe Canning
- Equipment Needed for Strawberry Jam Canning
- Step-by-Step Strawberry Jam Recipe Canning
- Tips for Perfect Strawberry Jam Recipe Canning
- Variations for Strawberry Jam Canning
- Storing and Serving Your Strawberry Jam
- Nutritional Information
- Frequently Asked Questions
- Share Your Strawberry Jam Success
Why You’ll Love This Strawberry Jam Recipe Canning
Trust me, once you try this strawberry jam recipe canning method, you’ll never go back to store-bought! Here’s why it’s my go-to every berry season:
- Shelf-stable magic: Properly canned jars last up to a year in your pantry – no fridge space needed until opened!
- USDA-approved safety: I’ve tested this water bath method for years – it follows all the latest food safety guidelines so you can gift jars worry-free.
- Sweetness you control: Crave less sugar? Just reduce it to 2 cups and add pectin. Want old-fashioned intensity? Go full 6 cups sugar with no pectin.
- Gifts that wow: Nothing says “I care” like homemade jam. Tie a ribbon around these ruby jars and watch faces light up!
Seriously, the smell alone – that bubbling berry sweetness filling your kitchen – makes every sticky spoon worth it. And wait till you taste your first toast slathered with jam you made yourself!
Ingredients for Strawberry Jam Recipe Canning
Gathering the right ingredients is the first step to jam-making magic! Here’s what you’ll need for my classic strawberry jam recipe canning:
- 4 cups crushed strawberries – hulled first (that’s about 2 quarts whole berries)
- 4 cups granulated sugar – yes, it seems like a lot, but trust me, it’s what makes the jam set properly
- 1/4 cup lemon juice – fresh squeezed gives the best flavor, but bottled works in a pinch
- 1 package powdered pectin (optional) – I use this when making low-sugar versions
That’s it! Just four simple ingredients for jars of pure strawberry bliss. The sugar amount might make you blink – I know I did the first time – but it’s crucial for both safety and that perfect jammy texture. For low-sugar versions, we’ll tweak this later!
Equipment Needed for Strawberry Jam Canning
Don’t worry – you don’t need fancy gadgets for strawberry jam recipe canning! Here’s my trusty toolkit that gets the job done year after year:
- Water bath canner – A big pot with rack works if you don’t have a dedicated canner
- Half-pint jars & new lids – I reuse rings but always use fresh lids for proper seals
- Canning funnel – Saves so much mess when filling those little jars!
- Ladle & bubble remover – A chopstick works fine for bubbles in a pinch
- Jar lifter – Essential for safely moving hot jars
That’s really all you need! I keep mine in a special “canning season” box that makes me smile when I pull it out each summer.
Step-by-Step Strawberry Jam Recipe Canning
Let me walk you through my foolproof strawberry jam recipe canning process – it’s easier than you think once you get the rhythm! I’ve made this exact method dozens of times, and it never fails to give me perfect jars of ruby-red preserves.
Preparing the Strawberries
The key to great strawberry jam recipe canning starts with properly prepped berries! I hull them first (just twist off the green tops), then crush them with a potato masher until I’ve got exactly 4 cups of pulpy goodness. Pro tip: measure after crushing – whole berries take up more space! You want some texture, not complete mush.
Cooking the Jam Mixture
Here’s where the strawberry jam recipe canning magic happens! Combine your crushed berries, sugar, and lemon juice in a heavy pot. Bring to a full rolling boil that doesn’t stop bubbling when stirred – this is crucial for proper setting. If using pectin, stir it in now, then boil hard for exactly 1 minute while stirring constantly. The foam will rise dramatically, but don’t worry – just keep stirring!
Canning the Strawberry Jam
While your strawberry jam recipe canning mixture boils, have sterilized jars ready. Skim off foam, then ladle the hot jam into jars, leaving 1/4-inch headspace. Wipe rims clean, apply lids, and process in a water bath canner for 10 minutes (add 1 minute per 1,000 feet above sea level). Let jars sit 5 minutes after processing before removing – this prevents siphoning. Then listen for those satisfying “pings” as they seal!
Tips for Perfect Strawberry Jam Recipe Canning
After years of canning trials (and a few sticky failures!), I’ve gathered my best tricks to guarantee perfect jars every time:
- Test your set: Before filling jars, chill a spoonful on a frozen plate for 2 minutes. If it wrinkles when pushed, it’s ready! No wrinkle? Boil 1 more minute.
- Foam be gone: That foamy layer drives me nuts! A pat of butter stirred in at the end reduces it beautifully without affecting flavor.
- Seal check: After cooling 24 hours, press each lid’s center. If it pops, refrigerate that jar immediately. Proper seals stay firm!
Want more canning hacks? I share my favorite preserving tips on Pinterest – come follow my boards for berry season inspiration!
Variations for Strawberry Jam Canning
One of my favorite things about strawberry jam recipe canning is how easily you can tweak it to suit your taste! Here are my go-to variations that still follow safe canning principles:
- Low-sugar lover? Use just 2 cups sugar plus 1 package pectin – the pectin helps it set with less sweetener. The flavor really pops!
- Old-school no-pectin jam? Bump sugar to 6 cups and boil until it sheets off a spoon (about 15-20 minutes). Thick, glossy perfection!
- Small batch tester? Halve all ingredients and use 4-ounce jars – perfect when you’ve only got a pint of berries to spare.
See? There’s a strawberry jam recipe canning version for every preference and pantry!

Storing and Serving Your Strawberry Jam
Your homemade strawberry jam recipe canning masterpiece deserves proper storage to keep that fresh-picked flavor! Unopened jars stay shelf-stable for up to a year in a cool, dark place – my pantry shelves are lined with last summer’s ruby treasures. Once opened, refrigerate and enjoy within 3 months (though mine never lasts that long!).
Oh, the ways to enjoy it! Beyond classic toast, I love swirling strawberry jam into yogurt, layering it in parfaits, or warming it slightly to drizzle over vanilla ice cream. My kids beg for PB&Js made with our homemade jam – the ultimate stamp of approval!
Nutritional Information
Nutrition varies based on ingredients and serving size. Values are estimates – each tablespoon contains about 50 calories and 12g sugar from the natural fruit sweetness.
Frequently Asked Questions
After teaching countless friends my strawberry jam recipe canning method, I’ve gathered the most common questions – here’s everything you need to know:
Can I use frozen strawberries for strawberry jam canning?
Absolutely! Thaw them completely first and drain excess liquid before measuring. Frozen berries work great for water bath strawberry jam when fresh aren’t available – just expect slightly softer texture in your final preserves.
How do I adjust processing time for altitude in strawberry jam recipe canning?
For every 1,000 feet above sea level, add 1 minute to your processing time. At 3,000 feet, process jars for 13 minutes instead of 10. This altitude adjustment keeps your classic strawberry jam safe and shelf-stable!
Why did my strawberry jam recipe canning turn out runny?
Usually means it didn’t reach a full rolling boil or wasn’t boiled long enough. For perfect set next time, test on a chilled plate first. But don’t worry – runny jam still makes amazing pancake syrup!
Can I make no pectin strawberry jam with this canning recipe?
You bet! Just increase sugar to 6 cups and boil until it thickens naturally (15-20 minutes). This old-fashioned no pectin strawberry jam method yields sweeter but delicious results – just like Grandma made!
Share Your Strawberry Jam Success
I’d love to hear about your strawberry jam recipe canning adventures! Did your jars seal perfectly? Maybe you tried a fun variation? Leave a comment below or tag me on Pinterest – nothing makes me happier than seeing your ruby-red jars lined up proudly. Happy canning, friends!
PrintClassic Strawberry Jam Canning Recipe
A tested USDA-approved water-bath canning recipe for shelf-stable strawberry jam with proper pectin-to-sugar ratios, jar sizes, and altitude adjustments.
- Prep Time: 30 minutes
- Cook Time: 20 minutes
- Total Time: 50 minutes
- Yield: 5 half-pint jars 1x
- Category: Preserves
- Method: Water Bath Canning
- Cuisine: American
- Diet: Vegetarian
Ingredients
- 4 cups crushed strawberries
- 4 cups granulated sugar
- 1/4 cup lemon juice
- 1 package powdered pectin (optional for low-sugar version)
Instructions
- Wash and hull strawberries, then crush them.
- Combine strawberries, sugar, lemon juice, and pectin in a large pot.
- Bring to a rolling boil, stirring constantly.
- Boil for 1 minute, then remove from heat.
- Skim off foam and ladle hot jam into sterilized jars.
- Process jars in a water bath canner for 10 minutes (adjust for altitude).
- Remove jars and let cool for 24 hours before storing.
Notes
- For low-sugar jam, use 2 cups sugar and 1 package pectin.
- For no-pectin jam, use 6 cups sugar and boil longer until thickened.
- Adjust processing time for altitudes above 1,000 feet.
- Check seals before storing – lids should not flex when pressed.
Nutrition
- Serving Size: 1 tablespoon
- Calories: 50
- Sugar: 12g
- Sodium: 0mg
- Fat: 0g
- Saturated Fat: 0g
- Unsaturated Fat: 0g
- Trans Fat: 0g
- Carbohydrates: 13g
- Fiber: 0g
- Protein: 0g
- Cholesterol: 0mg