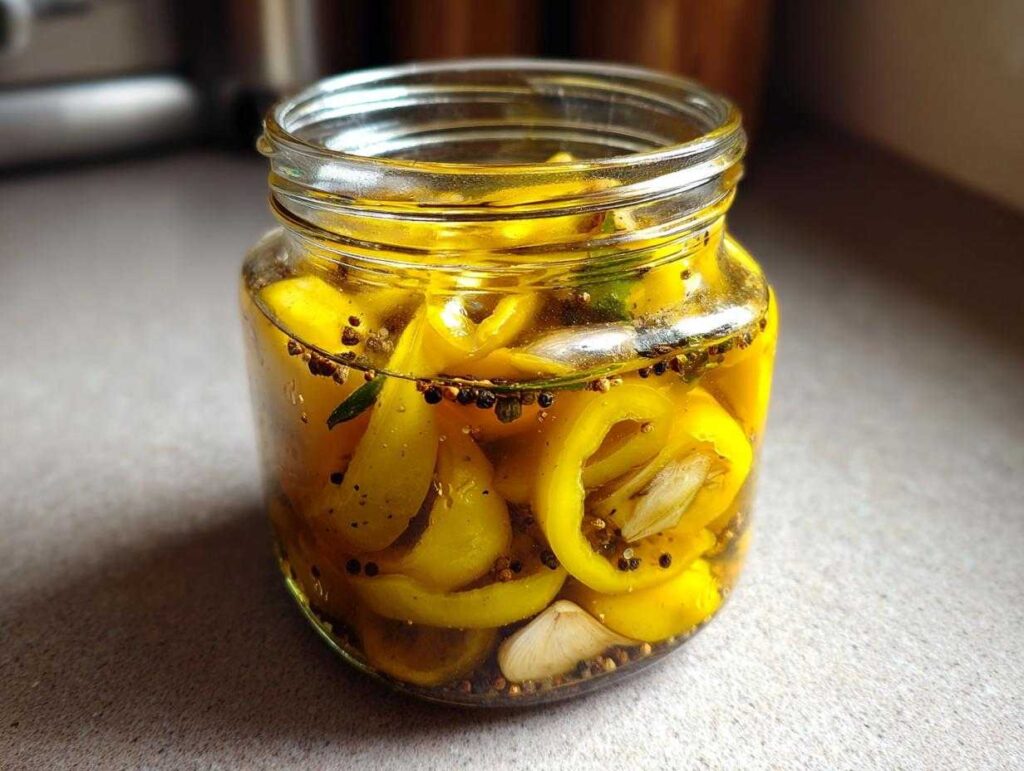
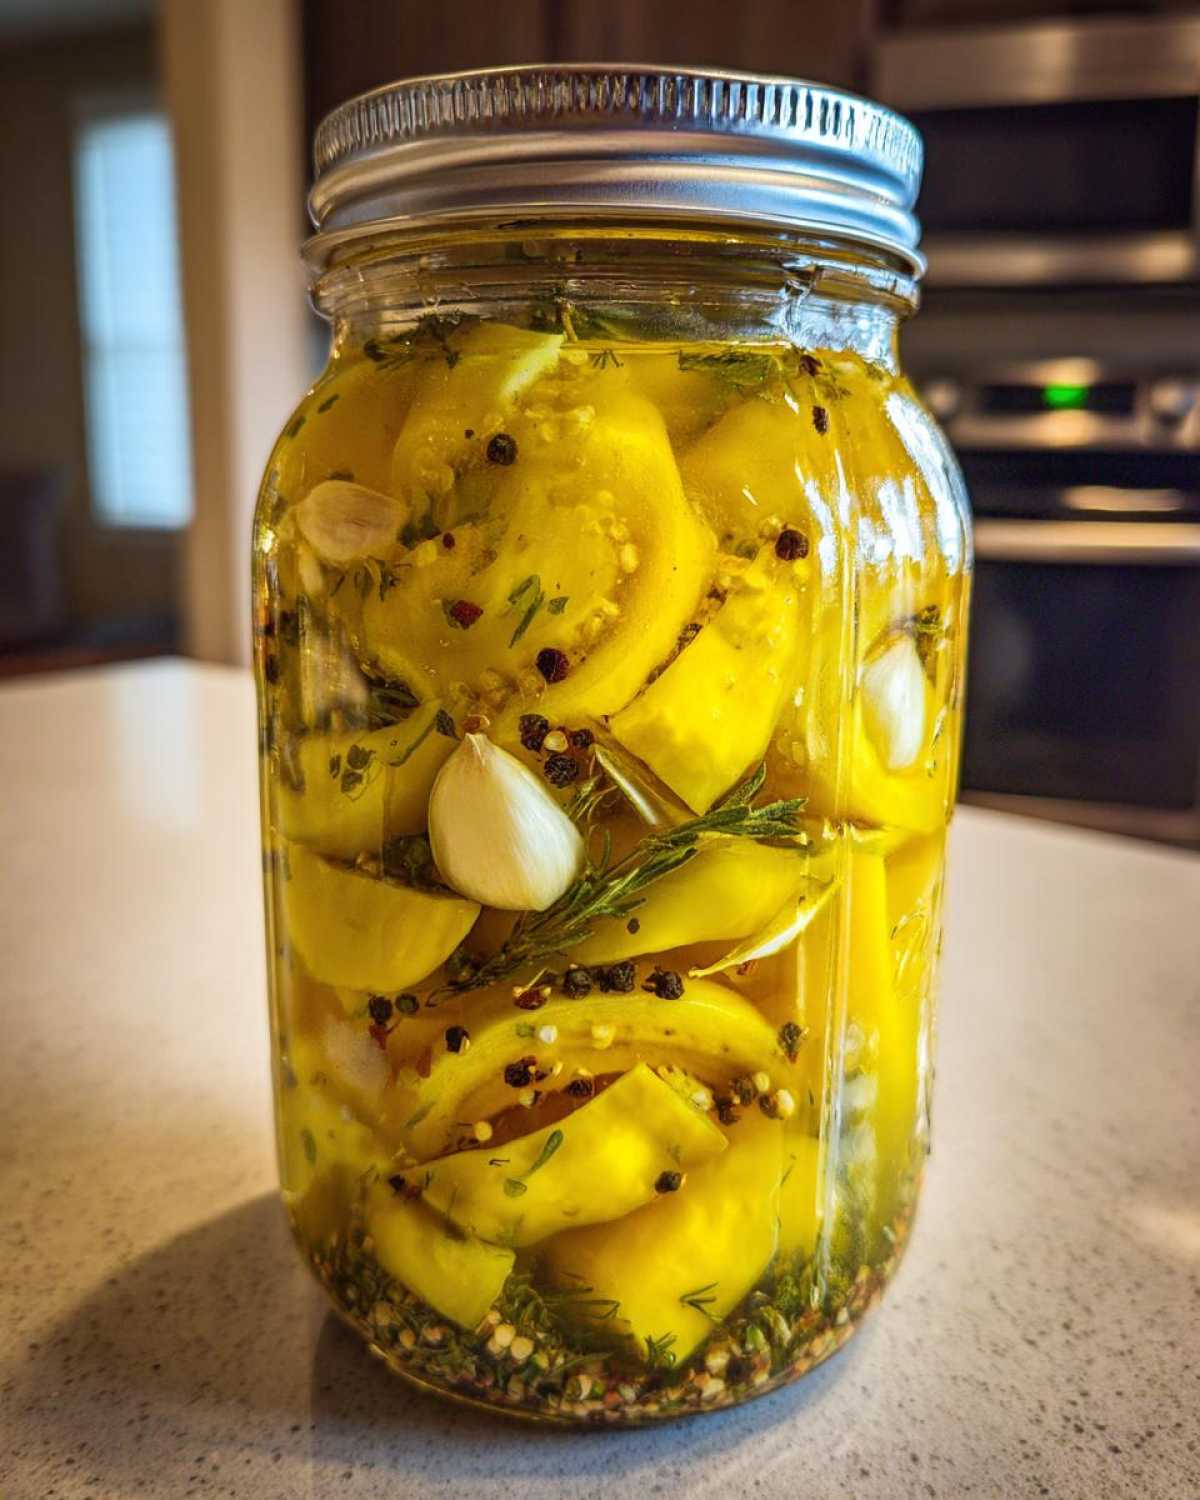
Oh my gosh, what’s better than biting into a sandwich piled high with those perfect pickled banana pepper rings? Nothing! That’s what I told my husband the first time I tried making this pickled banana peppers recipe—and promptly burned my fingers fishing them out of the hot brine (oops!). These beauties are my secret weapon for adding zip to everything from burgers to salads to late-night snacks straight from the jar.
After years of tweaking recipes, I landed on this perfect Ball’s-tested brine ratio for pickled banana peppers—just enough vinegar punch without overwhelming those lovely mild peppers. It’s the same method my grandma swore by when she canned bushels of peppers from her garden. What I love most? Unlike store-bought versions swimming in mystery liquid, you know exactly what goes in these jars: crisp banana peppers, garlic that’ll make your kitchen smell amazing, and spices that’ll have neighbors peeking over the fence.
The magic happens in less than an hour. By tomorrow, you’ll have jars of sunshine-ready pickled banana peppers that last months. Trust me, once you taste homemade pickled banana peppers, those soggy deli versions will never cut it again!
- Why You'll Love This Pickled Banana Peppers Recipe
- Ingredients for Pickled Banana Peppers
- Equipment You'll Need
- How to Make Pickled Banana Peppers
- Tips for Perfect Pickled Banana Peppers
- Variations for Pickled Banana Peppers
- Serving Suggestions
- Storage and Reheating
- Nutritional Information
- Frequently Asked Questions
- Share Your Pickled Banana Peppers
Why You’ll Love This Pickled Banana Peppers Recipe
Alright my fellow pepper-lovers, let me tell you why this recipe has become my go-to for pickled banana peppers year after year…
- That perfect CRUNCH – The ice water soak trick (spoiler alert – I’ll share that later) keeps these banana pepper rings crisp for months. None of that sad soggy nonsense!
- Just the right kick – Mildly spicy but won’t set your mouth on fire. My kids even eat these (after carefully picking out the garlic cloves, of course).
- Sandwich superstar – I keep jars of these at my deli-style sandwich station. They elevate everything from turkey clubs to Philly cheesesteaks.
- Endless customization – Love garlic? Double it. Prefer Italian flavors? Swap in basil. Make these banana pepper rings your own!
- Shelf-stable goodness – Thanks to that trusty Ball-approved brine ratio, these stay crunchy and flavorful up to a year when stored properly!
See what I mean? This pickled banana peppers recipe is your new pantry MVP. Wait till you taste them atop a grilled brat… life-changing!
Ingredients for Pickled Banana Peppers
Okay friends, let’s gather those pantry staples! Here’s what you’ll need for the crispiest, most flavorful pickled banana peppers this side of your favorite sub shop:
- 2 lbs banana peppers – freshly sliced into rings (about 1/4 inch thick – trust me, this thickness gives the perfect bite!)
- 2 cups white vinegar (5% acidity) – don’t grab that fancy aged stuff, plain distilled is perfect here
- 2 cups water – filtered if yours is super chlorinated
- 2 tbsp pickling salt – packed tight in your measuring spoon (I learned this lesson the hard way!)
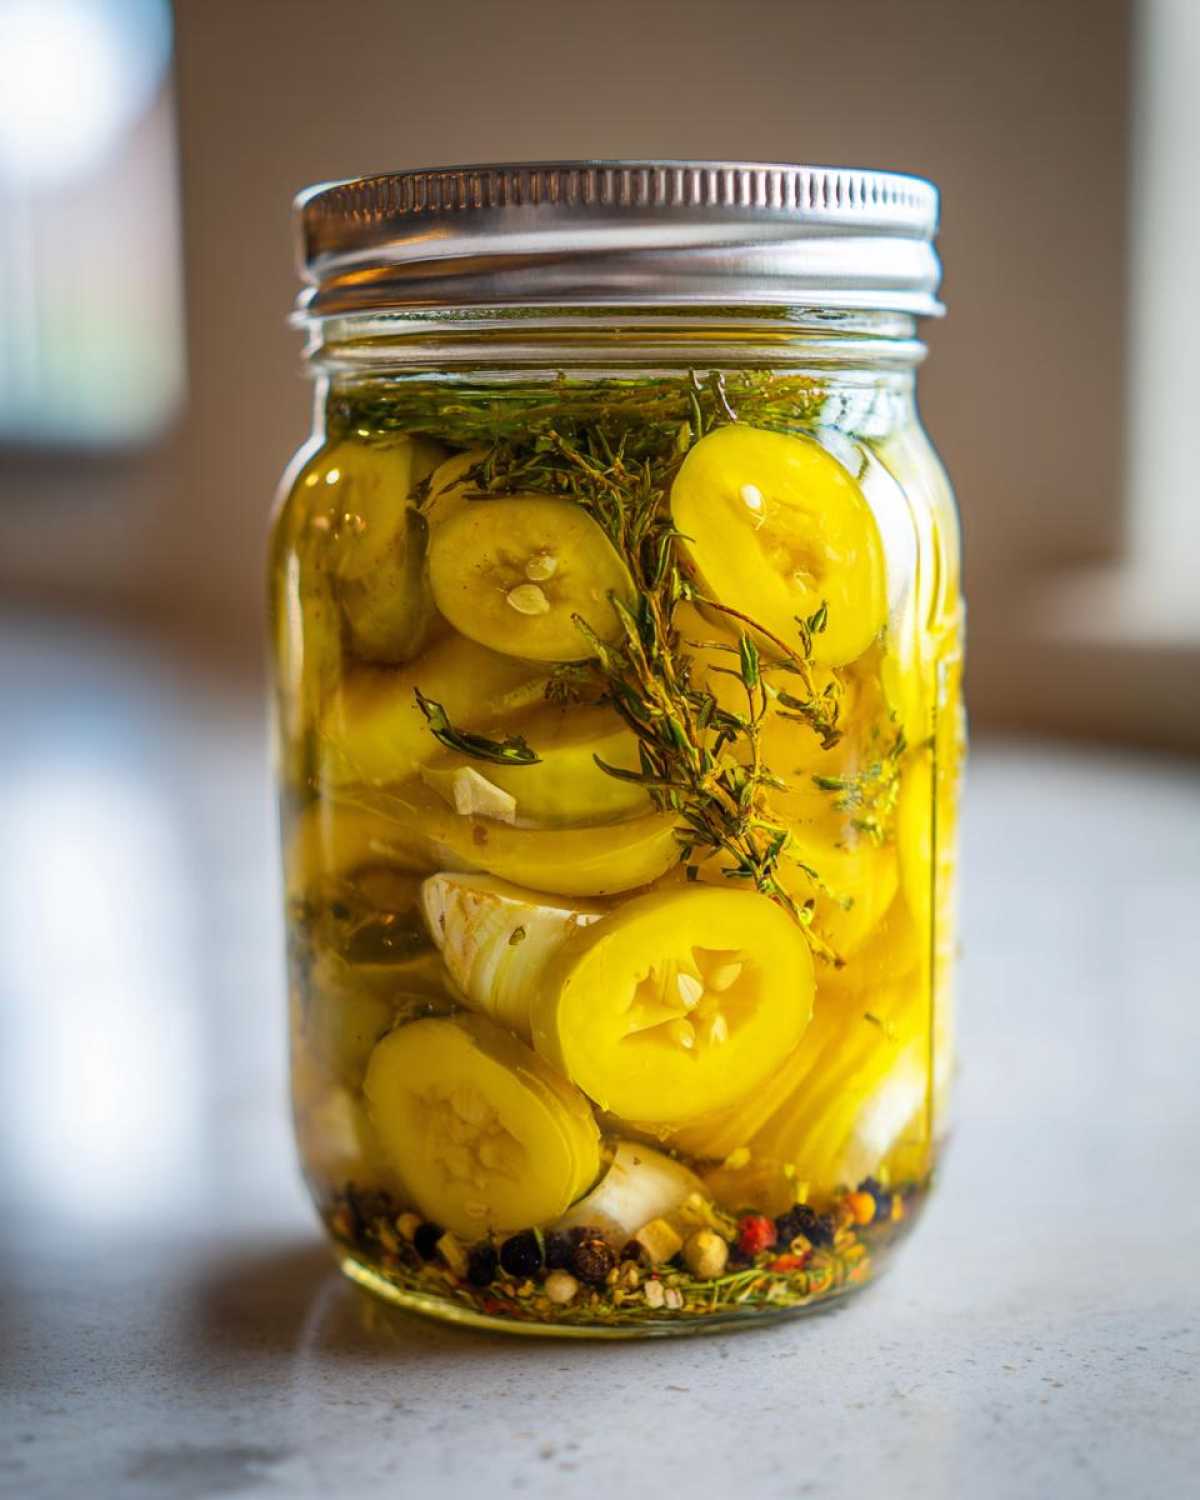
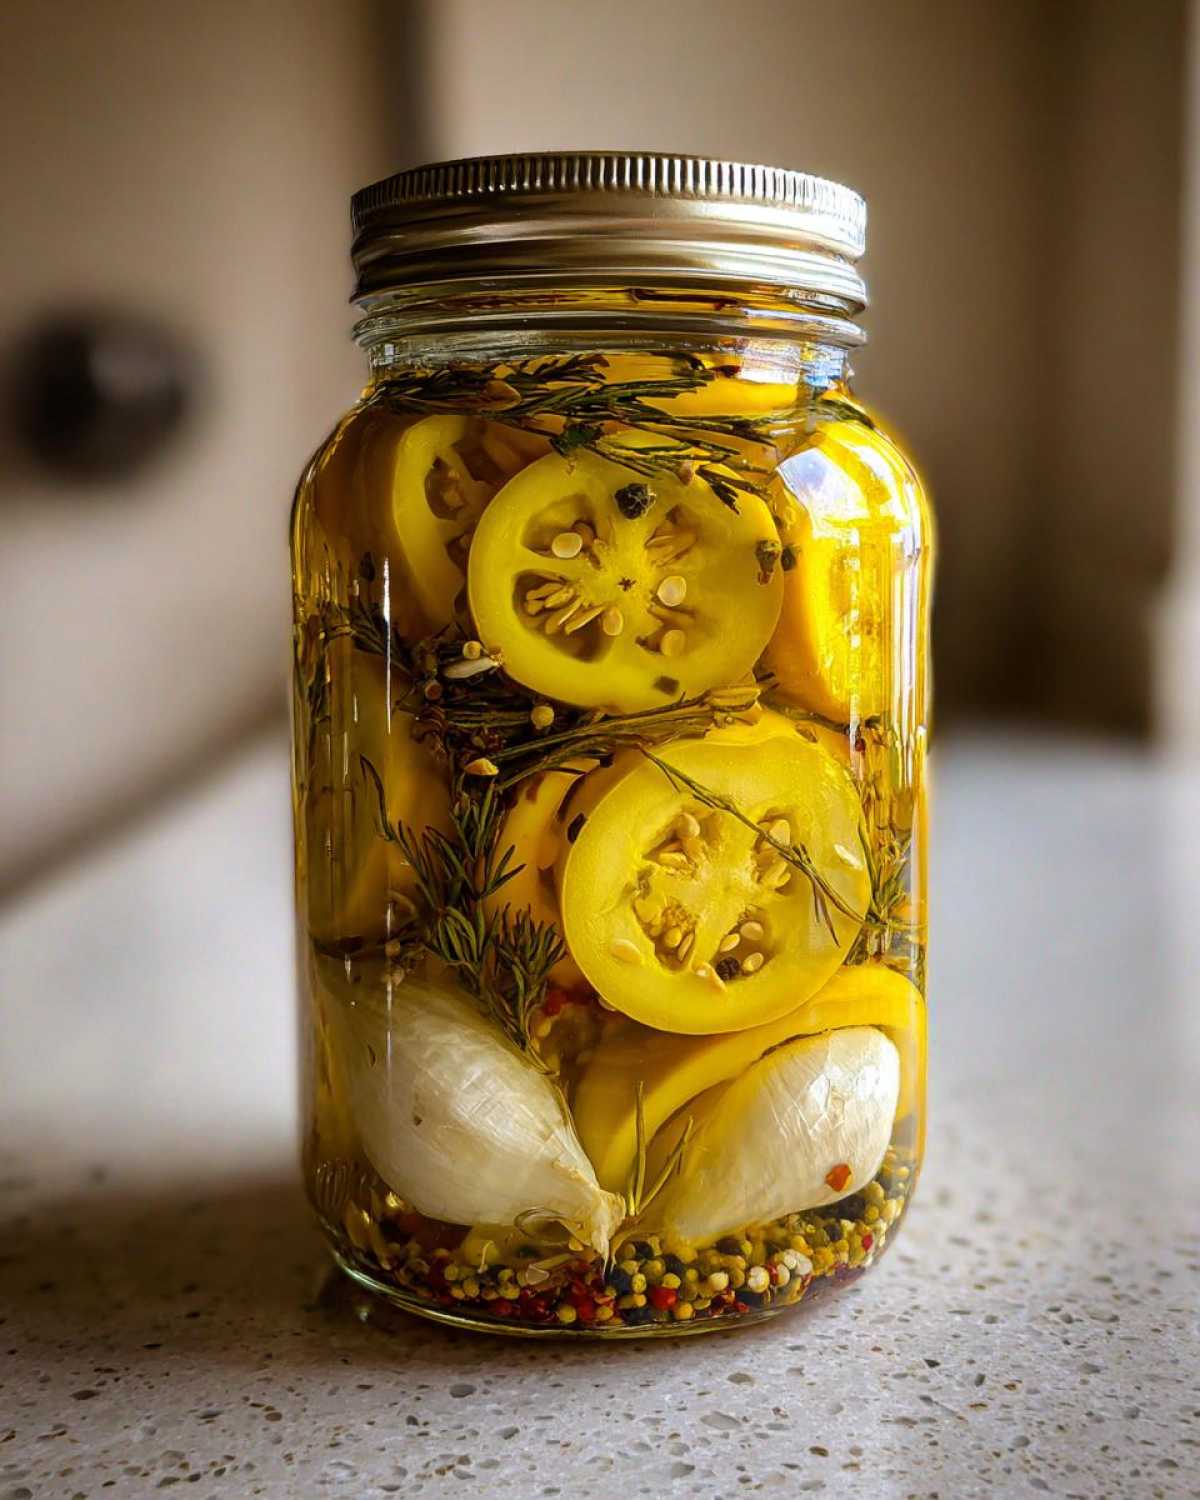
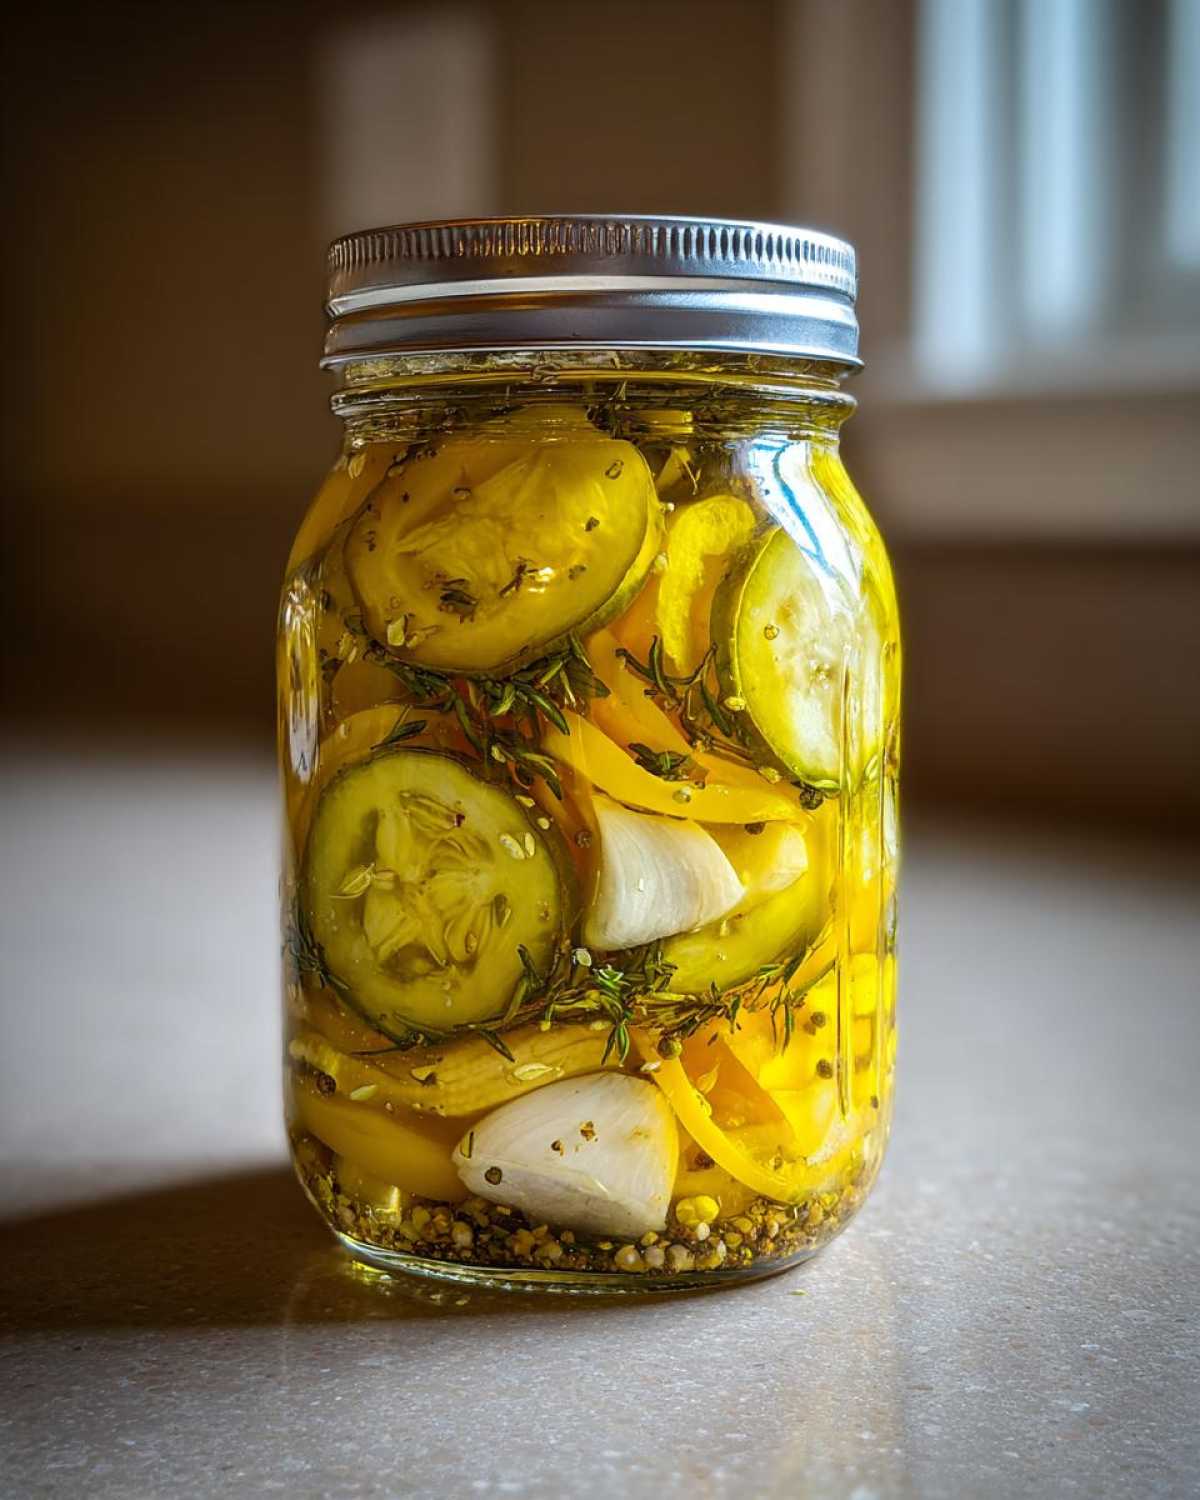
- 4 cloves garlic – peeled and gently smashed to release flavor (keep those paperskins outta my jars!)
- 1 tbsp dried oregano – crushed between your fingers as you add it for maximum flavor release
- 1 tsp black peppercorns – whole please, ground pepper turns murky in the jar
See? Nothing weird or fancy – just honest ingredients that work magic together. Pro tip from someone who’s burned many batches: measure that vinegar acidity like your pepper rings’ crunch depends on it (hint: it does). Now grab that apron and let’s get pickling!
Equipment You’ll Need
Alright, pickle pals! Before we dive into making these perfect pickled banana peppers, let’s gather our trusty tools:
- Glass canning jars & new lids – Wide-mouth pints are my go-to for packing those banana pepper rings neatly
- Boiling water bath canner – The backbone of safe pickled banana pepper preservation
- Medium saucepan – Where our tangy pickled banana pepper brine comes to life
- Jar lifter – No burnt fingers when transferring hot pickled banana pepper jars!
- Bubble remover tool – Keeps those banana pepper rings looking pristine
Optional but handy: A canning funnel for splatter-free pouring when filling pickled banana pepper jars, and clean kitchen towels for wiping rims. Trust me – with this simple setup, you’ll be making restaurant-worthy pickled banana peppers in no time!
How to Make Pickled Banana Peppers
Alright, let’s turn those fresh banana peppers into the crispy, tangy stars of your sandwich game! I promise it’s easier than you think—my first attempt ended with more brine on my counters than in the jars (oops!). Follow these steps and you’ll be swimming in perfect pickled banana peppers in no time.
Step 1: Prepare the Jars and Brine
First things first—sterilize those jars! I boil mine for a full 10 minutes (set a timer—distracted me almost ruined a batch once). While they bubble away, make the magic brine: combine vinegar and water 1:1 in your saucepan—no eyeballing!—with the salt. Bring it to a rolling boil that clears your sinuses beautifully. The vinegar smell fades, I promise! Skipping sterilization? Don’t. We want safe pickled banana peppers, not science experiments.
Step 2: Pack the Banana Pepper Rings
Here’s my secret crunch trick—soak those pepper rings in ice water for an hour first if you’ve got time. Pack your sterilized jars tight with peppers, but don’t squish them flat! Toss a garlic clove and sprinkle of oregano in each jar like you’re seasoning a masterpiece. Leave ½ inch headspace—that’s about the width of your thumb—for happy, sealed pickled banana peppers.
Step 3: Process in a Water Bath
Pour that hot brine over your peppers (careful—steam burns sting!), wipe the rims spotless with a clean cloth, and seal those jars tight. Process for 10 minutes—the bubbles should dance merrily. After cooling for 24 hours (patience, grasshopper!), test each lid by pressing the center. If it pops, refrigerate and eat those pickled banana peppers first. Store the properly sealed jars in your cool, dark pantry—they’ll keep their crunch for months!
Tips for Perfect Pickled Banana Peppers
Friends, here’s what I’ve learned about making these crunchy rings shine:
- Fresh is best – Look for firm, unwrinkled peppers without soft spots. They’ll hold their crisp texture much better after pickling.
- Tweak the heat – Add extra garlic for boldness or cut back if you prefer milder flavors. That’s the beauty of homemade!
- Cool storage – Keep sealed jars in a dark pantry corner, not near heat sources that could soften your peppers.
Quick safety note: Always use new lids for canning – reuse can lead to seal failures where bacteria grows.
Variations for Pickled Banana Peppers
Alright, spice adventurers! Here’s where we get creative with our pickled banana peppers. After making the basic version twelve times last summer (my family revolted!), I started playing with flavors. My favorites:
- Cowboy candy style – Toss in 1 tbsp red pepper flakes for that sweet-heat combo that’ll make your nose tingle!
- Italian twist – Swap oregano for fresh basil leaves (just 2 per jar) – perfect for antipasto platters.
- Tangy-sweet – Use apple cider vinegar instead of white vinegar and add 1 tbsp honey to the brine.
- Pickle party – Add a few carrot and cauliflower florets for garden-style mixed pickled veggies.
Last tip? Label your jars! Nothing worse than grabbing a “spicy” one when you wanted mild. Trust me, I’ve cried over sandwiches before…
Serving Suggestions
Oh, the places these pickled banana peppers will go! My personal favorite? Piled high on a juicy cheeseburger—the tangy crunch cuts right through all that melty cheddar. Here’s how we use them:
- Sandwich superstar – These are practically mandatory on my Italian subs or loaded turkey clubs
- Salad spark – Toss a handful into potato salad or a Greek salad for instant brightness
- Charcuterie charm – They’re the perfect pickle alongside cured meats and sharp cheeses
- Straight from the jar – My guilty pleasure is snacking on them while standing at the fridge!
Got creative serving ideas? I’d love to hear them—and see your creations over on my Pinterest board where I collect favorite serving inspiration!
Storage and Reheating
Oh, storing these pickled banana peppers is a breeze – if you can resist eating them all at once! Unopened jars stay crisp and flavorful in your pantry for up to a year (I promise they won’t last that long). Once opened, pop them in the fridge where they’ll keep their signature crunch for another 3-4 months.
Best part? No reheating necessary – these babies taste perfect cold straight from the jar! That vinegary tang mellows beautifully over time. Just be warned: opening a jar releases that irresistible garlicky aroma that’ll have everyone in your kitchen begging for “just one” pepper ring…then another…and another.
Nutritional Information
Just between us – these pickled banana peppers are pretty darn virtuous as far as snacks go! Keep in mind nutritional values are approximate (vinegar brands vary, pepper sizes differ slightly). But approximately: per yummy 1/4 cup serving, you’re looking at practically no fat, minimal calories, and just enough sodium to make your tastebuds dance. Mostly though? Pure crunchy, tangy deliciousness that makes everything taste better!
Frequently Asked Questions
After sharing this pickled banana peppers recipe at countless potlucks, here are the questions I get asked most – with all my hard-earned answers from years of pickling mishaps and triumphs!
Can I reuse jars for pickled banana peppers?
Absolutely! As long as they’re in perfect condition—no chips, cracks, or rust on those lids. I wash mine in hot soapy water after use and inspect them carefully. That said, always use brand new lids each time for a proper seal. My grandma’s vintage Ball jars are still going strong after decades!
How long until the pickled banana peppers are ready to eat?
The impatient cook in me says “immediately” (I’ve been known to sneak tastes straight from the jar!), but for best flavor, wait at least a week. That’s when the magic happens—the brine softens the peppers’ bite just enough while keeping them delightfully crunchy. After two weeks? Pure banana pepper ring perfection!
Can I skip the water bath processing?
Oh honey, don’t even think about it! The water bath is crucial for safe canning—it kills any bacteria and creates that satisfying *pop* of a proper seal. Unprocessed pickled banana peppers spoil quickly and risk making you sick. Take it from someone who learned this lesson the hard way—10 minutes in the water bath saves months of pantry-stable deliciousness!
Why do my banana pepper rings float after processing?
Don’t panic—this happened to my first batch too! It’s totally normal if some rings rise to the top. Just flip the sealed jar upside down every few days to redistribute the peppers. The brine will work its magic evenly. Pro tip: Packing the rings extra tight helps minimize floating.
Share Your Pickled Banana Peppers
Alright, pickle pals – I want to see your beautiful banana pepper creations! Did you go classic with oregano or get wild with extra garlic? Snap a pic of those golden jars or your sandwiches piled high with peppers. Leave a comment with your tweaks (I’m always stealing good ideas!) or star rating if this recipe hit the spot. And don’t forget – my Pinterest boards are packed with more pepper inspiration whenever you need it!
PrintCrunchy Pickled Banana Peppers
A tested recipe for mildly spicy, crunchy pickled banana peppers perfect for sandwiches and salads.
- Prep Time: 20 mins
- Cook Time: 10 mins
- Total Time: 30 mins
- Yield: 4 pints 1x
- Category: Canning
- Method: Water Bath Canning
- Cuisine: American
- Diet: Vegan
Ingredients
- 2 lbs banana peppers, sliced into rings
- 2 cups white vinegar (5% acidity)
- 2 cups water
- 2 tbsp pickling salt
- 4 cloves garlic, peeled
- 1 tbsp dried oregano
- 1 tsp black peppercorns
Instructions
- Sterilize jars and lids in boiling water for 10 minutes.
- Combine vinegar, water, and salt in a saucepan. Bring to a boil.
- Pack pepper rings into hot jars, leaving 1/2 inch headspace.
- Add garlic, oregano, and peppercorns to each jar.
- Pour hot brine over peppers, leaving 1/2 inch headspace.
- Remove air bubbles and wipe jar rims.
- Seal jars and process in a boiling water bath for 10 minutes.
- Let cool for 24 hours before storing.
Notes
- For extra crunch, soak peppers in ice water for 1 hour before packing.
- Adjust garlic or oregano to taste.
- Find more recipes on our Pinterest page.
Nutrition
- Serving Size: 1/4 cup
- Calories: 15
- Sugar: 1g
- Sodium: 290mg
- Fat: 0g
- Saturated Fat: 0g
- Unsaturated Fat: 0g
- Trans Fat: 0g
- Carbohydrates: 3g
- Fiber: 1g
- Protein: 0g
- Cholesterol: 0mg