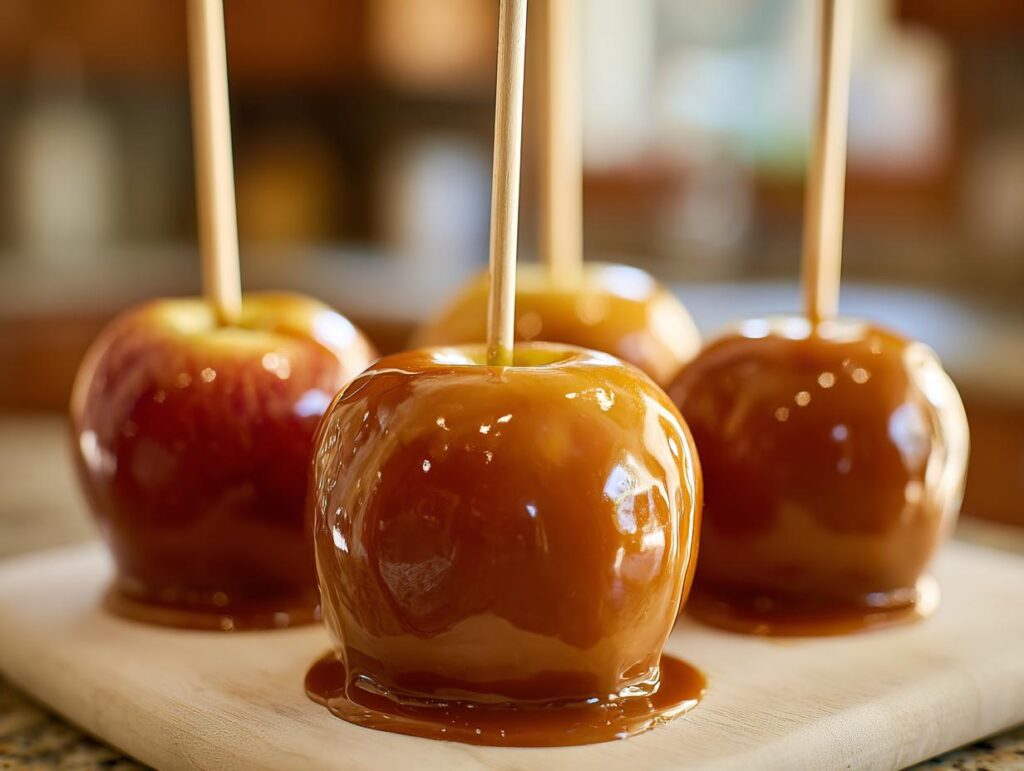
Remember those sticky-fingered, sweet-toothed days at the county fair? That’s the magic of caramel apples – the ultimate fall treat that turns crisp apples into edible works of art. I still grin thinking about the year Mom let me dip my first apple, standing on a kitchen stool, watching golden caramel swirl around a Granny Smith like liquid sunshine.
Halloween just isn’t complete without these glossy beauties, but too often store-bought versions leave caramel sliding right off. Not here – I’ll show you my family’s foolproof method for caramel apples that stay put, with that perfect “snap” when you bite through the shell. The secret? Patience, precise temperatures, and apples so dry they squeak. Trust me, once you master this, you’ll be the hit of every harvest party.
Why You’ll Love These Caramel Apples
Listen, these aren’t just any caramel apples – they’re the kind that make people do a little happy dance! Here’s why they’re special:
- Foolproof caramel that actually stays put (no more sliding disasters!) thanks to my grandma’s secret simmer time of exactly 245°F
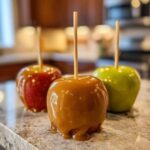
- That mirror-like gloss you only get from homemade – turns apples into edible stained glass windows
- Top it your way – from crushed pretzels to pumpkin spice sprinkles, make each apple your edible masterpiece
- Wrapped up cute, these become the sweetest little gifts – neighbor gifts, teacher presents… you’ll be everyone’s favorite
Once you taste that crisp apple under that perfect caramel shell, fair-bought versions just won’t compare. Don’t say I didn’t warn you!
Ingredients for Perfect Caramel Apples
Gathering the right ingredients is half the battle for caramel apples that’ll make you famous at every fall gathering. Here’s what you’ll need:
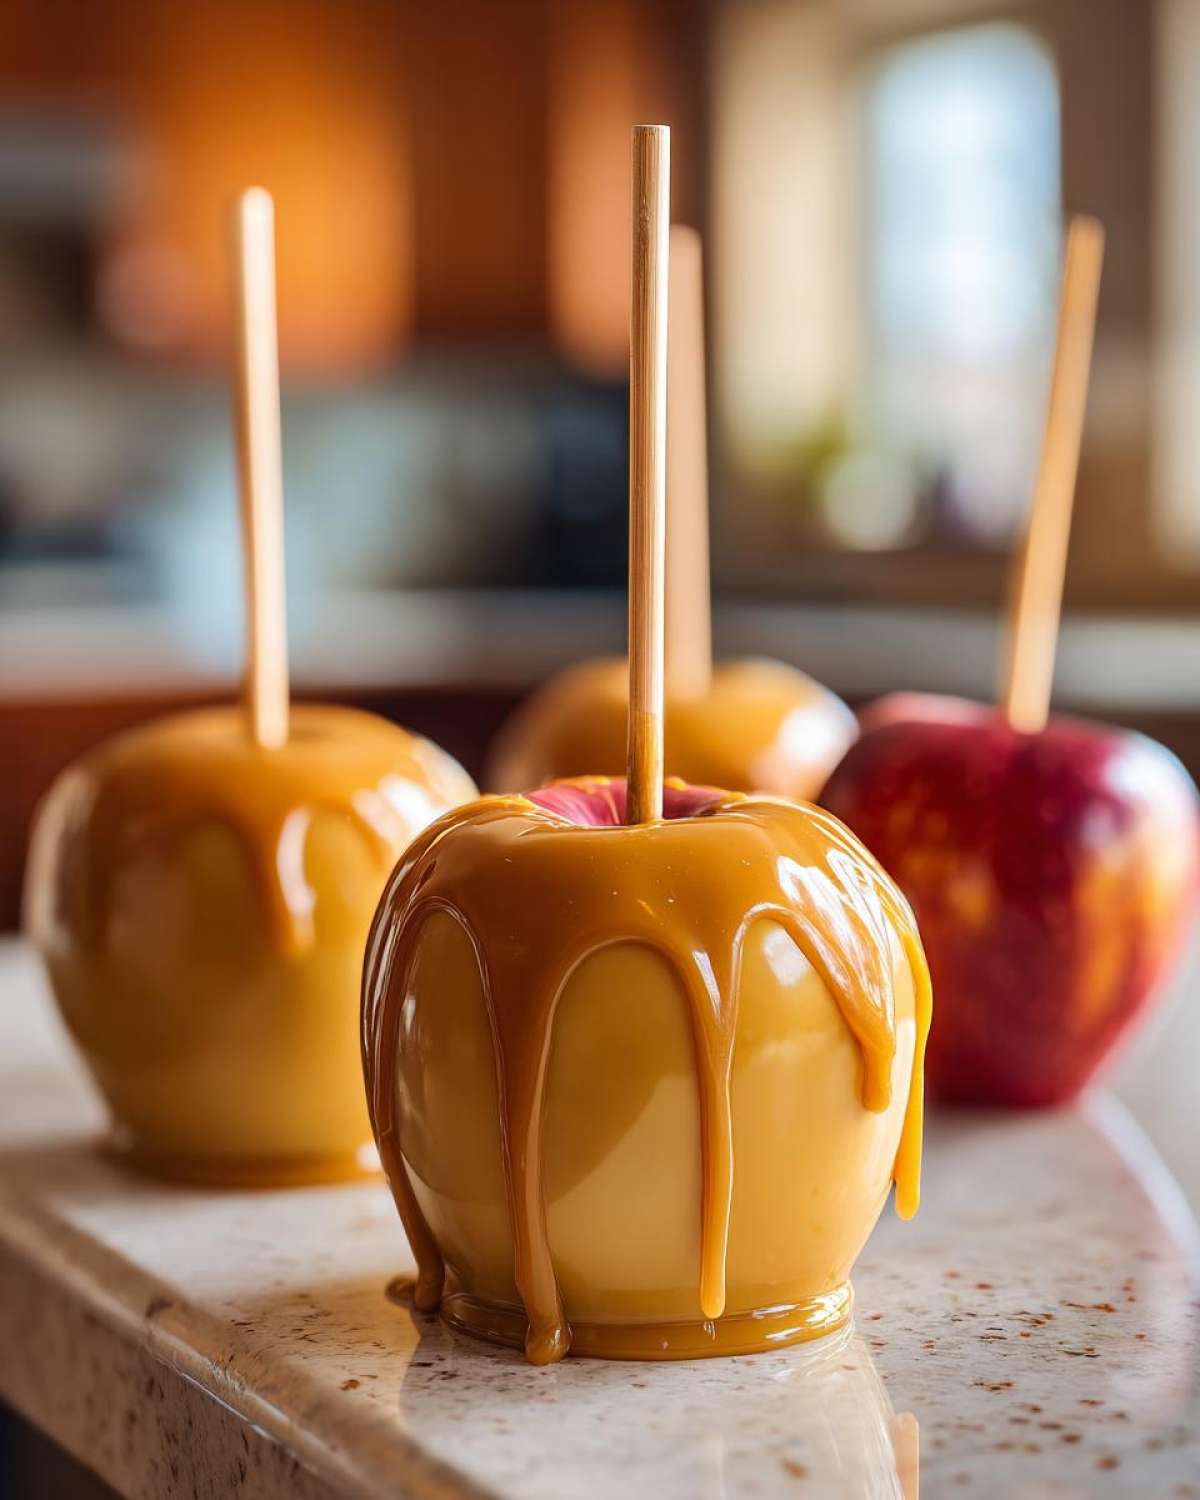
- 6 medium apples (Granny Smith’s tartness cuts the sweetness perfectly, but Honeycrisp works great too) – make sure they’re squeaky clean and bone dry!
- 1 cup granulated sugar – the foundation of our glossy caramel
- 1/2 cup light corn syrup – keeps the caramel smooth and prevents graining
- 1/4 cup unsalted butter, softened – gives that rich, buttery flavor
- 1/2 cup heavy cream – the real deal, none of that half-and-half business
- 1 tsp vanilla extract – a splash of warmth
- 6 wooden sticks (popsicle sticks work too) – the handle for your edible lollipop!
Optional toppings (because life’s more fun with sprinkles!):
- Chopped nuts – I’m partial to pecans
- Mini chocolate chips or melted chocolate for drizzling
- Crushed pretzels for that salty-sweet crunch
- Festive sprinkles – try crushed walnuts for an adult twist
See? Nothing too fancy – just quality ingredients that make magic together. Now let’s get dipping!
How to Make Caramel Apples
Okay friends, time to roll up your sleeves – we’re making caramel apples that’ll make the county fair jealous! I’ll walk you through each step like I’m right there in your kitchen (wearing my favorite frilly apron, of course). The secret is taking it one gorgeous, golden step at a time.
Step 1: Prep the Apples
Listen up – this step makes ALL the difference! Wash those apples like they’re going to meet the Queen (cool water, a good scrub), then dry them until they squeak when you rub them. I’m serious about the squeak test! Any moisture left = caramel disaster. Pop in your sticks now – I use popsicle sticks from the craft store, but clean twigs work for rustic charm.
Step 2: Cook the Caramel
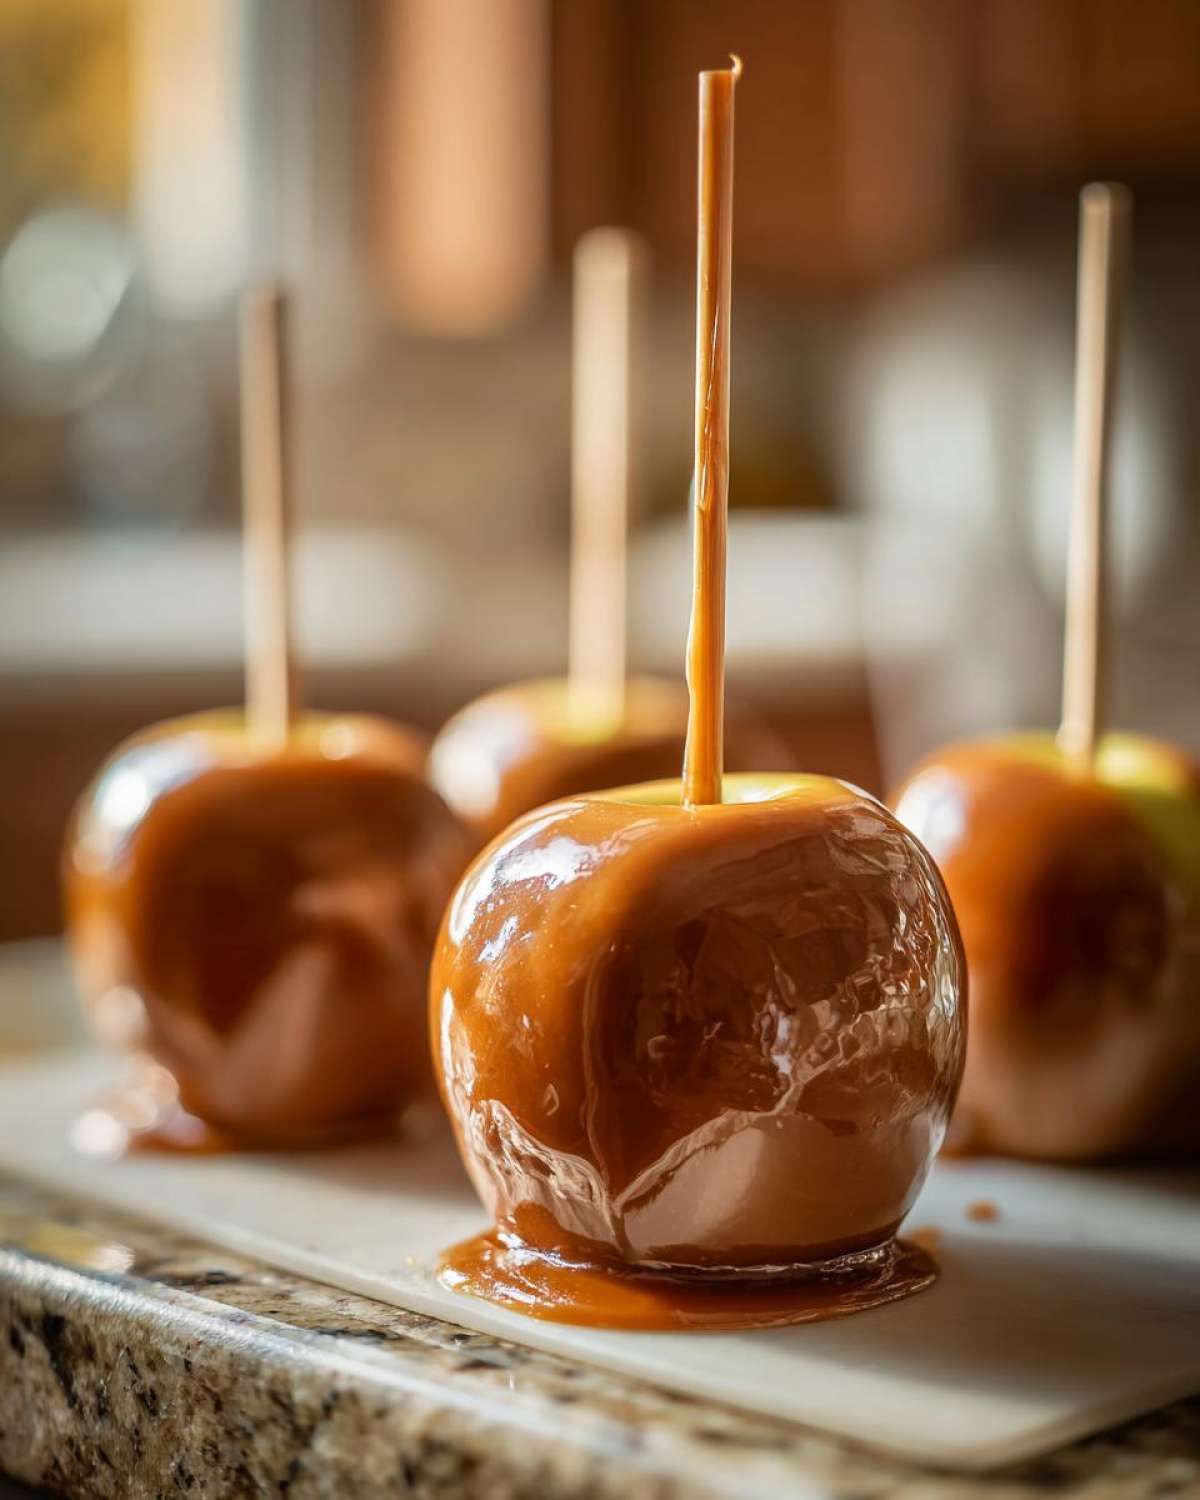
Now for the magic! Melt sugar, corn syrup and butter together over medium heat, stirring like you mean it. Once that’s smooth and bubbly, slowly stir in the heavy cream and vanilla. Here’s where you need your candy thermometer – we’re waiting for exactly 245°F (the firm ball stage). Not 240°. Not 250°. This precise temp gives that perfect “snap” without being tooth-breaking! And don’t wander off – this caramel needs constant love and stirring.

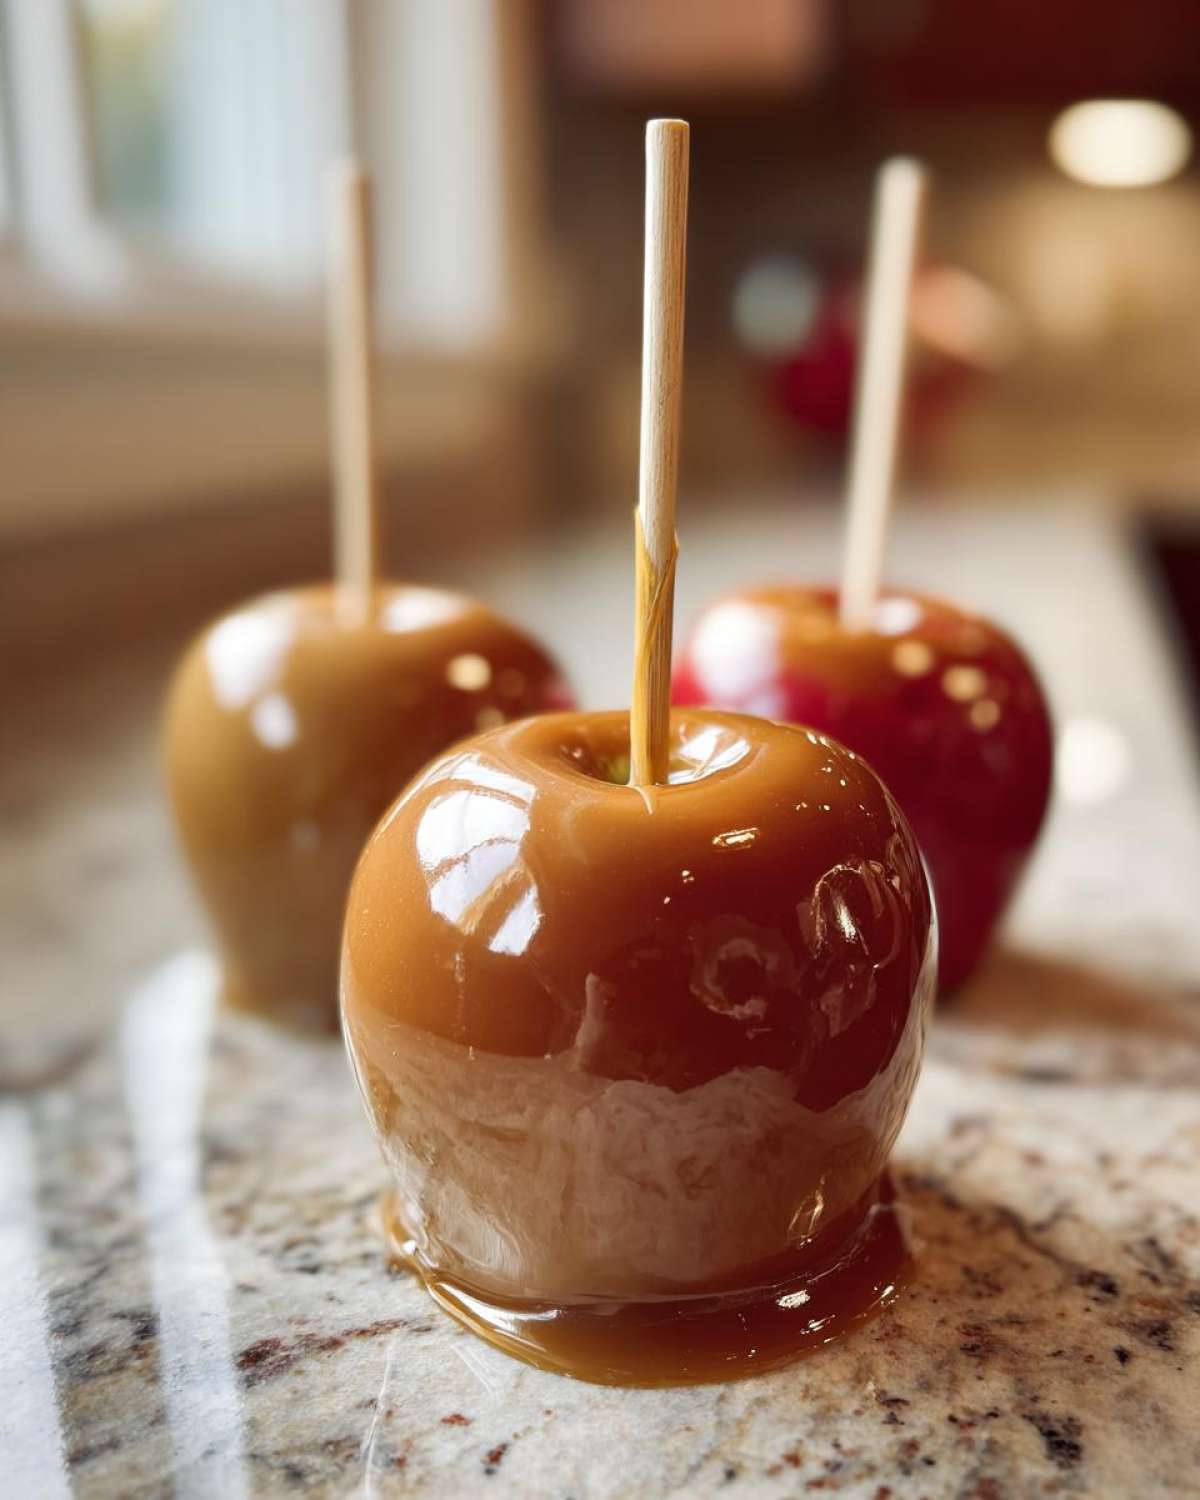
Once it hits that magic number, take it off the heat and let it stop bubbling (about 2 minutes) before the fun begins. Now tilt your saucepan and dip those apples – give each one a slow, graceful twirl like you’re dancing with a very delicious partner. Let the excess drip off (I count to 10 slowly) before putting them on parchment paper.
Here’s my favorite part – toppings! Work fast before the caramel sets. Roll them in nuts, drizzle with chocolate, or go wild with sprinkles. Pro tip: Hold the stick and rotate while sprinkling for even coverage!
Tips for the Best Caramel Apples
After years of caramel apple experiments (and yes, a few sticky disasters), I’ve gathered all my best tricks for picture-perfect results every time. First – don’t even think about skipping that candy thermometer! One degree makes all the difference between glossy perfection and a gooey mess. Here’s what else I’ve learned:
- Cold apples are happy apples – pop them in the fridge for an hour before dipping. That chill helps the caramel set faster so it won’t slide off.
- Toppings wait for no one – have all your sprinkles and nuts ready in shallow bowls before caramel’s done. You’ve got about 90 seconds to decorate before it sets!
- Twirl, don’t dunk – tilt the pan and slowly rotate the apple for even coverage. Plunging it in creates air pockets under the caramel.
- Gift them like a pro – my go-to is wax paper squares tied with baker’s twine. Add a cinnamon stick for extra flair! They make the sweetest Halloween gifts or party favors.
Follow these tips, and you’ll have caramel apples so beautiful, you’ll want to frame them! (But please don’t – eat them instead.)
Caramel Apple Toppings & Variations
Oh, the joy of decorating caramel apples is almost better than eating them! I always set up a “toppings bar” when making these – it’s like an edible art project. Here are my go-to favorites that never fail to impress:
- Crunchy classics: Chopped pecans or walnuts pressed into the warm caramel have that perfect salty-sweet balance. For a gluten-free option (great if you’re pairing with gluten-free meal delivery meals), try crushed pretzels!
- Chocolate dreams: Drizzle melted dark or milk chocolate in zigzags, then sprinkle with sea salt before it sets. My niece swears by white chocolate with crushed peppermint for Christmas versions.
- Festive sprinkles: Go seasonal with pumpkin spice sprinkles for fall or red and green for holiday parties. Pro tip: roll just the top half for a fun ombre effect!
- Tropical twist: Shredded coconut with mini chocolate chips makes me feel like I’m on vacation. Add a pinch of cinnamon for warmth.
Remember, the topping possibilities are endless – let your creativity run wild! For more fabulous fall inspiration, check out my Pinterest boards.
Storing & Gifting Caramel Apples
Okay, now that you’ve made these gorgeous caramel masterpieces, let’s make sure they stay perfect until gifting or eating! First rule: never refrigerate them (the caramel gets sticky). Instead, wrap each cooled apple in wax paper squares – I like the ones with cute fall prints – and store them in a single layer in a cool, dry place for up to 3 days.
For gifting, my failproof method is wrapping them in cellophane bags tied with rustic twine and a homemade tag. They make the sweetest Halloween treats for neighbors or party favors for fall gatherings. Pro tip: Pair them with some caramel apple cookies for a full autumn dessert spread! Just think – your friends will be biting into that glossy caramel and immediately asking for your “secret recipe.”
Caramel Apple FAQ
I know you’ve got questions – I had tons when I started making these beauties! Here are the caramel apple mysteries solved, based on years of sticky fingers and happy taste tests:
Can I use store-bought caramel?
Sure, but trust me – homemade is where the magic happens! Those little caramel cubes work in a pinch (melt them with a splash of cream), but they’ll never give you that glossy, perfect-snap texture we get from our stovetop method. If you must go store-bought, look for “caramel bits” meant for melting.
How long do caramel apples last?
In my house? About 20 minutes! Seriously though, these beauties keep 2-3 days at room temperature if wrapped properly in wax paper. The caramel gradually softens as the apple releases moisture – that’s nature’s way of saying “eat me now!” Never refrigerate them unless you want sticky caramel fingers (the cold makes them weep).
What are the best apples for caramel apples?
I swear by crisp, tart Granny Smiths – their high acidity cuts through the sweetness beautifully. Honeycrisp and Pink Lady work great too! Avoid soft apples like Red Delicious (they’ll squish when you insert sticks) and super juicy varieties (extra moisture = sliding caramel disaster). Pro tip: Whatever you choose, make sure they’re cold and completely dry before dipping!
Can I make these ahead for a party?
Absolutely! Prep them the night before – just store wrapped in wax paper at room temp. They make fantastic Halloween treats for the whole neighborhood. For best texture, add toppings like sprinkles right before serving so they stay crunchy. Pair them with other fall goodies for an effortless dessert spread.
Nutrition Information
Just a quick note – nutrition varies based on your specific ingredients and brands, but here’s the general idea per caramel apple: approximately 320 calories and 45g sugar. (Worth every single one if you ask me!) The apples add a nice 3g of fiber too – because balance, right? Now go enjoy that sweet, crunchy masterpiece guilt-free!
Share Your Caramel Apple Creations
I can’t wait to see your gorgeous caramel apples light up social media! Snap a photo of your sticky masterpieces and tag me – nothing makes me happier than seeing your creative spins on this fall classic. While you’ve got your phone out, pop over to Pinterest where I’ve got boards bursting with more autumn recipe inspiration. Let’s make this the yummiest season ever, one gooey, crunchy, sprinkle-covered apple at a time!
PrintPerfect Caramel Apples
A foolproof recipe for glossy, non-sliding caramel apples, ideal for Halloween or fall fairs.
- Prep Time: 15 min
- Cook Time: 20 min
- Total Time: 35 min
- Yield: 6 servings 1x
- Category: Dessert
- Method: Stovetop
- Cuisine: American
- Diet: Vegetarian
Ingredients
- 6 medium apples (Granny Smith or Honeycrisp)
- 1 cup granulated sugar
- 1/2 cup light corn syrup
- 1/4 cup unsalted butter
- 1/2 cup heavy cream
- 1 tsp vanilla extract
- 6 wooden sticks (or popsicle sticks)
- Optional toppings: chopped nuts, chocolate drizzle, sprinkles
Instructions
- Wash and dry apples thoroughly. Insert sticks into the tops.
- In a saucepan, combine sugar, corn syrup, and butter. Cook over medium heat until sugar dissolves.
- Stir in heavy cream and vanilla. Bring to a boil, then reduce heat and simmer until caramel reaches 245°F on a candy thermometer.
- Dip each apple into the caramel, swirling to coat evenly. Let excess drip off.
- Roll in toppings if desired. Place on parchment paper to cool and set.
Notes
- Use a candy thermometer for precise caramel consistency.
- Store wrapped in wax paper for gifting.
- For meal planning, pair with gluten-free meal delivery options.
Nutrition
- Serving Size: 1 apple
- Calories: 320
- Sugar: 45g
- Sodium: 30mg
- Fat: 12g
- Saturated Fat: 7g
- Unsaturated Fat: 4g
- Trans Fat: 0g
- Carbohydrates: 55g
- Fiber: 3g
- Protein: 1g
- Cholesterol: 30mg