Let me tell you about my love affair with homemade protein bars – it all started when I got tired of paying $3 per bar at the gym! I’ll never forget that Sunday afternoon when I dumped my last overpriced store-bought bar in the trash and thought “I can do better than this.” Fast forward to now, and my fridge is always stocked with these no-bake wonders that cost pennies to make. The best part? You control every single ingredient that goes in – no weird preservatives or mystery sweeteners. Whether you’re meal prepping for the week or need a quick post-workout pick-me-up, these protein bars homemade with love (and a generous splash of peanut butter) will become your new kitchen staple.
- Why You'll Love These Protein Bars Homemade
- Ingredients for Protein Bars Homemade
- How to Make Protein Bars Homemade
- Storage and Freezing Instructions for Protein Bars Homemade
- Nutritional Information for Protein Bars Homemade
- FAQs About Protein Bars Homemade
- Share Your Protein Bars Homemade Creation
Why You’ll Love These Protein Bars Homemade
Oh my goodness, where do I even start? These no bake protein bars are literally life-changing! Here’s why they’ll become your new obsession:
- Wallet-friendly – costs a fraction of store-bought bars (no more $5 protein bar shock at checkout!)
- Super customizable – swap peanut butter for almond, add coconut flakes, go crazy with mix-ins
- No oven needed – perfect for summer when you can’t bear to turn on the heat
- Packed with goodness – real ingredients you can actually pronounce
- Meal prep magic – make a batch Sunday and you’ve got grab-and-go snacks all week
Trust me, once you taste these peanut butter protein bars fresh from your own kitchen, you’ll never go back to the packaged stuff!
Ingredients for Protein Bars Homemade
Here’s exactly what you’ll need to whip up these irresistible protein bars – trust me, you probably have half these ingredients in your pantry already! I’ve tested this formula a dozen times, and these measurements give that perfect chewy-texture-meets-protein-punch combo we all crave:
- 1 cup rolled oats – old-fashioned kind, not instant (they hold their texture so much better)
- 1/2 cup creamy peanut butter – the natural kind that separates is my go-to, but any will work
- 1/2 cup whey protein powder – vanilla or chocolate both work wonders here
- 1/4 cup raw honey – local if you can get it, but any honey will do
- 1/4 cup dark chocolate chips – optional but oh-so-delicious (I use 70% cacao for a grown-up touch)
- 1 tsp pure vanilla extract – the real deal makes all the difference
- 1/4 tsp sea salt – just a pinch to balance all that sweetness
Quick swaps: If nut allergies are a concern, sunflower seed butter works great too! And for my vegan friends, you can use plant-based protein powder and maple syrup instead of honey. See? Everyone gets delicious bars!
How to Make Protein Bars Homemade
Okay, ready to make the easiest protein bars ever? Grab your mixing bowl and let’s get messy! First, dump all your ingredients except the chocolate chips (if using) into a big bowl. Now here’s my secret – use your hands to mix! The warmth from your fingers helps the peanut butter melt just enough to bind everything perfectly. You’ll know it’s ready when no dry spots remain and the mixture holds together when you squeeze it.
Line an 8×8 inch baking dish with parchment paper (life-changing for easy removal, trust me). Transfer your sticky mixture in and press it down HARD with your palms – I mean really pack it in there to prevent crumbly bars. Want that fancy bakery look? Smooth the top with a spatula dipped in warm water.
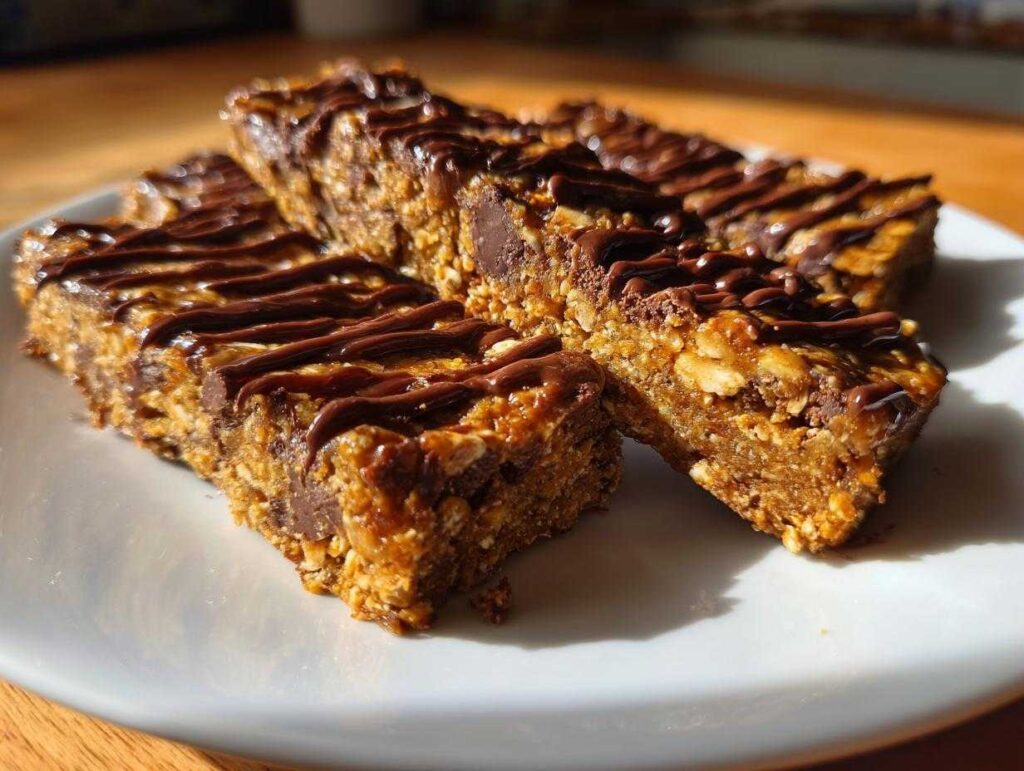
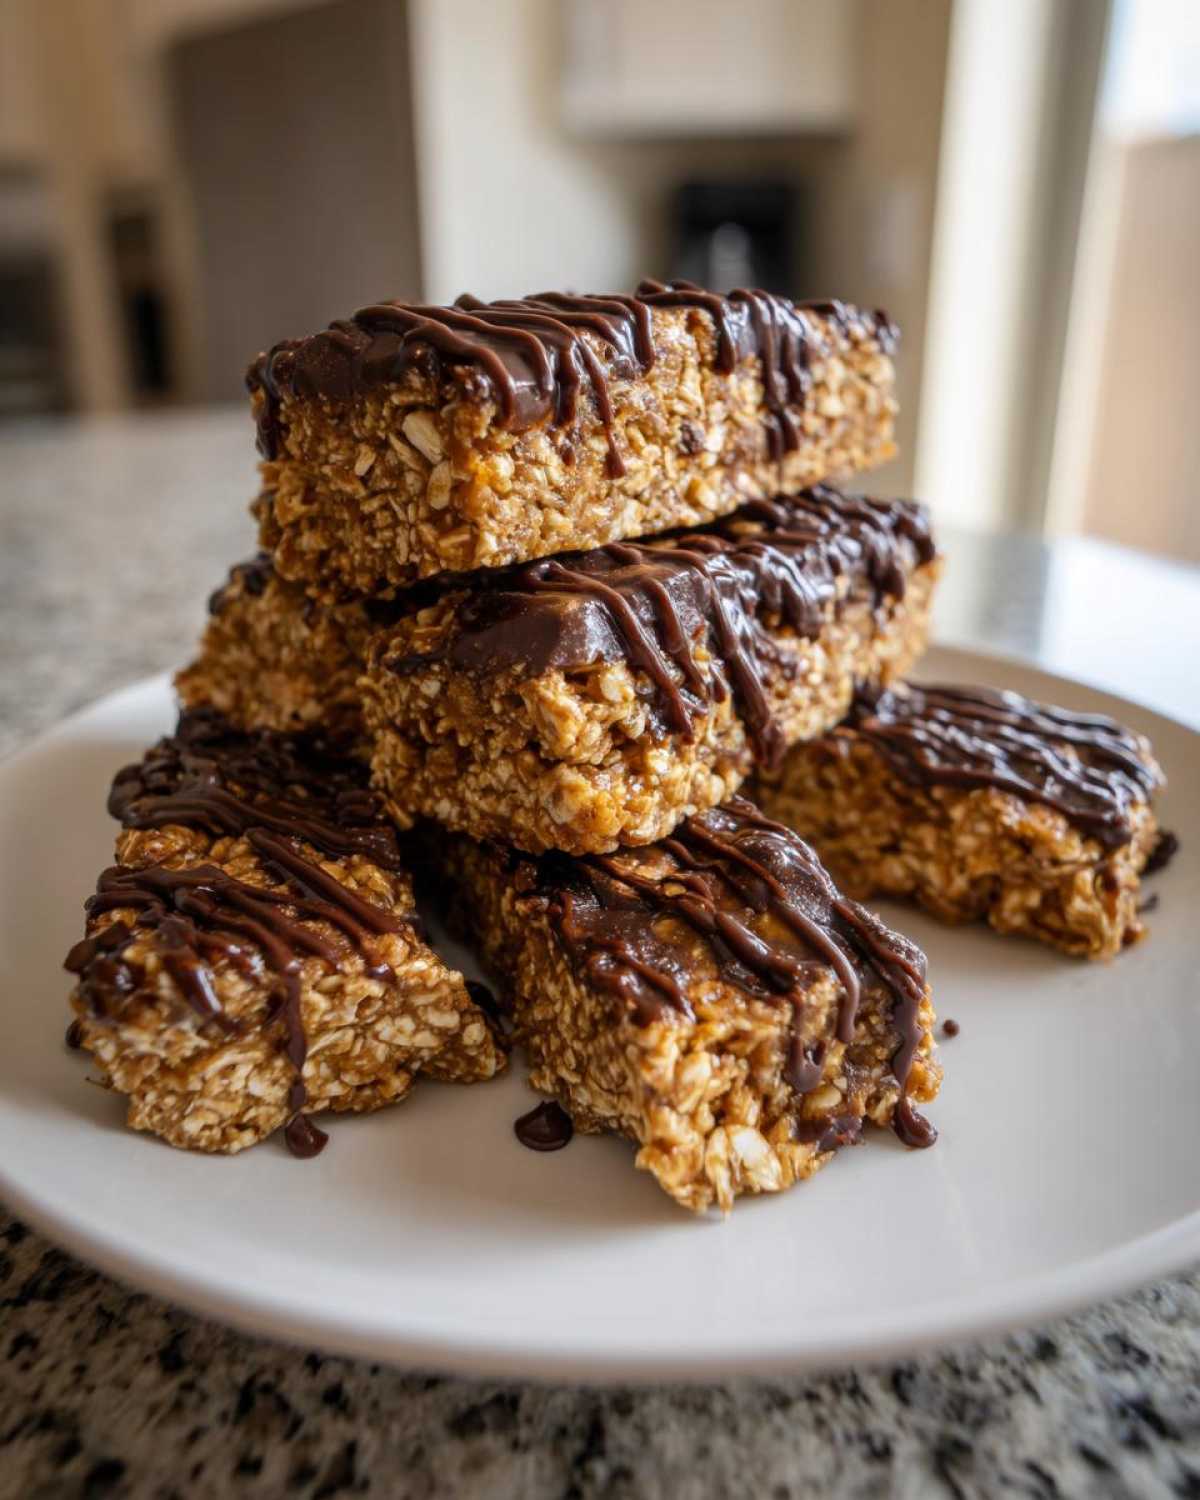
Now the fun part – melt those chocolate chips (if you’re indulging) with 1 tsp coconut oil for 30 seconds in the microwave. Drizzle artfully (or messily – no judgment!) over the top. Pop everything in the fridge for at least an hour – I know the wait is torture, but patience makes perfect bars that slice cleanly. When time’s up, lift the parchment paper out and cut into 8 beautiful rectangles.
Tips for Perfect Protein Bars Homemade
Here’s my hard-earned wisdom after many batches: Wax paper is NOT parchment paper – don’t make my mistake! Press the mixture until your arms ache – this prevents crumbling disasters. Always chill before slicing (I sometimes cheat with 15 minutes in the freezer if I’m desperate). Store extras in the fridge for up to a week or freeze for 3 months – they thaw perfectly by lunchtime! Pro tip: Layer between parchment in a container so they don’t stick together.
Storage and Freezing Instructions for Protein Bars Homemade
Here’s how I keep my homemade protein bars fresh for weeks – perfect for meal planning or those weeks when my workout schedule goes nuts! In the fridge, they’ll stay perfect for about a week in an airtight container. Just layer them with parchment paper so they don’t stick together (another one of my hard-learned tricks).
For freezer storage – my secret weapon – wrap each bar individually in plastic wrap, then toss them all in a freezer bag. They’ll keep their texture beautifully for up to 3 months! When you’re ready to enjoy, just grab one in the morning – it’ll be perfectly thawed by your afternoon snack time. No need to microwave (though 10 seconds does give that just-made texture if you’re impatient like me). These bars freeze so well, I always double the batch – future you will be SO grateful!
Nutritional Information for Protein Bars Homemade
Here’s the scoop on what’s in each delicious bar – and why I feel so good about eating them! Based on my recipe (with all ingredients measured perfectly), each protein bar homemade packs about:
- 180 calories – just right for a satisfying snack
- 8g fat – the good kind from peanut butter
- 10g protein – hello, post-workout recovery!
- 18g carbs – with 2g fiber to keep you full
- 8g sugar – natural sweetness from honey
Quick note – these numbers might dance around a bit if you use different nut butters or protein powders. My vegan version with almond butter and plant protein comes in at about 175 calories, while chocolate-coated ones (my favorite!) add about 15 extra calories. But honestly? They’re all delicious and fuel your body right!
FAQs About Protein Bars Homemade
Got questions about your protein bars homemade adventure? I’ve whipped up answers to all the common kitchen curiosities!
Can I use almond butter instead of peanut butter?
Absolutely! Any nut or seed butter works great here – almond butter gives a slightly sweeter touch, while sunflower seed butter makes them nut-free. Just keep the same measurements and you’re golden.
How do I make vegan protein bars?
Easy-peasy! Swap the whey protein for plant-based powder (vanilla pea protein is my fave) and use maple syrup instead of honey. The texture stays perfect, promise!
Can I add mix-ins like dried fruit?
Oh yes – my oat protein bars love company! Toss in chopped dates, cranberries, or even shredded coconut. Just don’t go over 1/4 cup extras or they might crumble.
Share Your Protein Bars Homemade Creation
I can’t wait to see your protein bars homemade with love! Snap a pic when you make them – that chocolate drizzle masterpiece or your creative mix-ins deserve to be shared. Pin your creation on Pinterest (I’m always looking for new ideas!) or tag my account to show off your snack skills. These bars aren’t just delicious; they’re the perfect partner for weight loss programs and meal planning. I get such a kick seeing how everyone puts their own spin on this recipe – the nut butter swaps, the fun toppings, the “oops I ate half the batch” stories. Let’s inspire each other to keep healthy eating fun and flavorful!
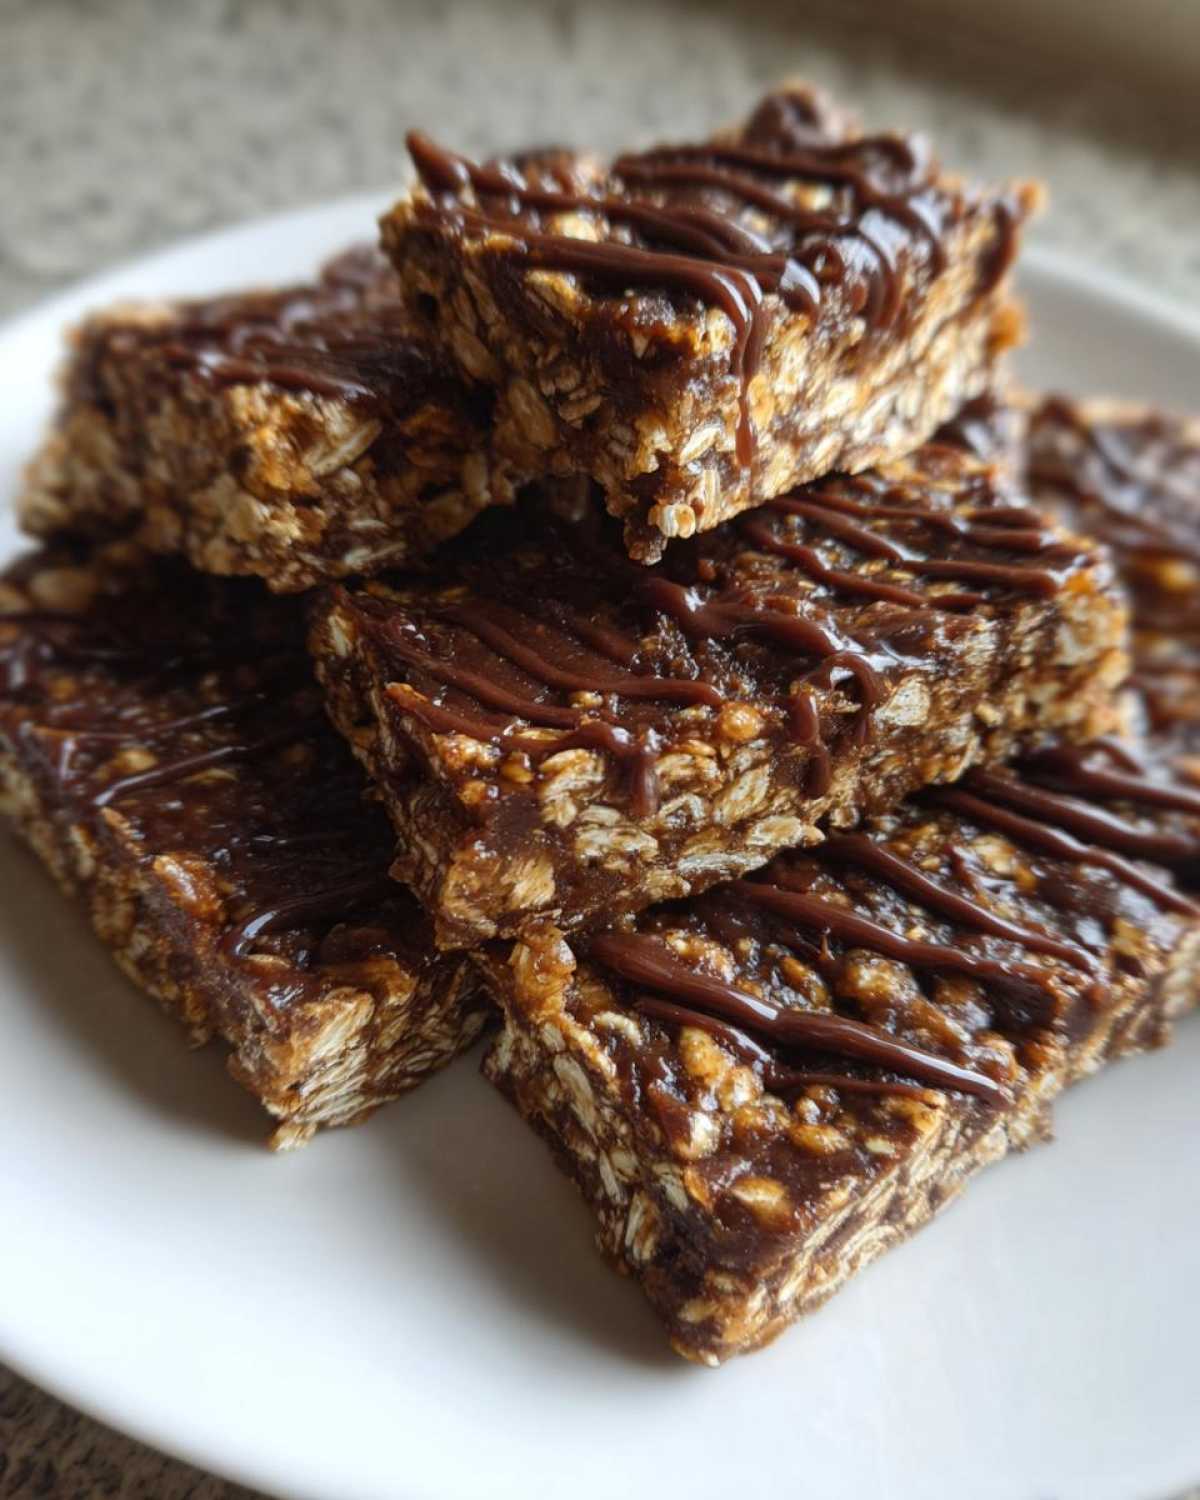
PrintHomemade Protein Bars
Easy no-bake protein bars with oats, nut butter, and protein powder. Perfect for meal prep and post-workout snacks.
- Prep Time: 10 min
- Cook Time: 0 min
- Total Time: 1 hour 10 min
- Yield: 8 bars 1x
- Category: Snacks
- Method: No-Bake
- Cuisine: American
- Diet: Vegetarian
Ingredients
- 1 cup rolled oats
- 1/2 cup peanut butter
- 1/2 cup whey protein powder
- 1/4 cup honey
- 1/4 cup dark chocolate chips (optional)
- 1 tsp vanilla extract
- 1/4 tsp salt
Instructions
- Mix oats, peanut butter, protein powder, honey, vanilla, and salt in a bowl.
- Press the mixture firmly into a lined baking dish.
- Melt chocolate chips and drizzle over the top (optional).
- Chill in the fridge for 1 hour, then slice into bars.
Notes
- Store in the fridge for up to a week or freeze for longer.
- Use almond butter for a nut-free option.
- Press tightly to prevent crumbling.
Nutrition
- Serving Size: 1 bar
- Calories: 180
- Sugar: 8g
- Sodium: 120mg
- Fat: 8g
- Saturated Fat: 2g
- Unsaturated Fat: 5g
- Trans Fat: 0g
- Carbohydrates: 18g
- Fiber: 2g
- Protein: 10g
- Cholesterol: 5mg