 Skip to content
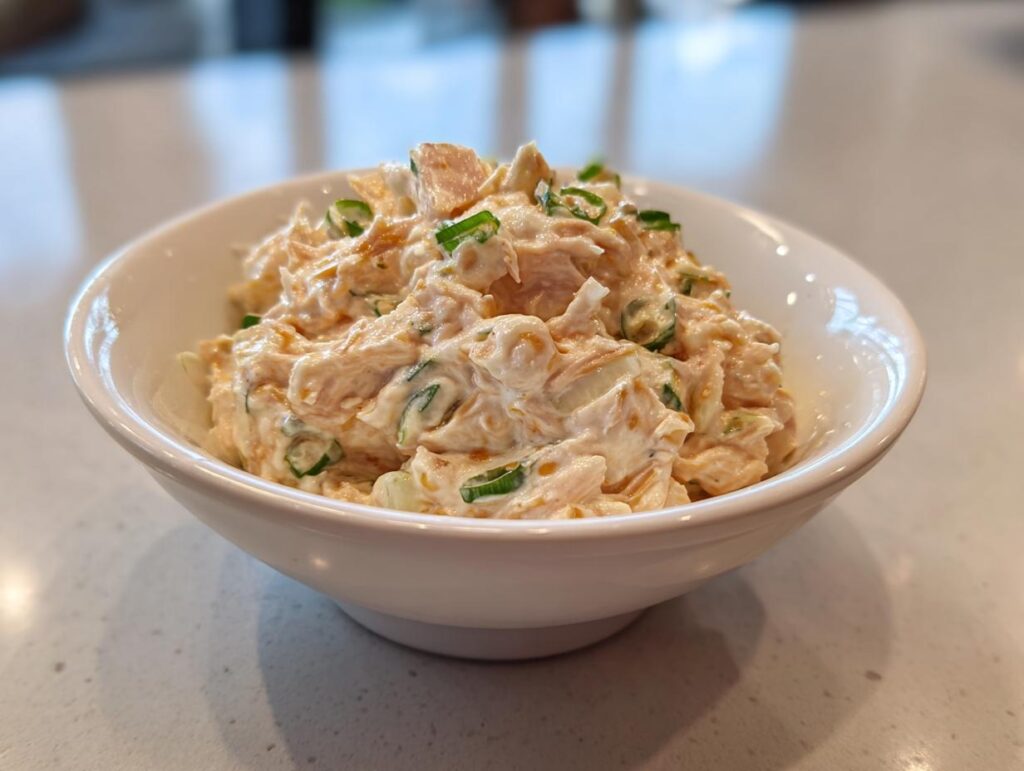
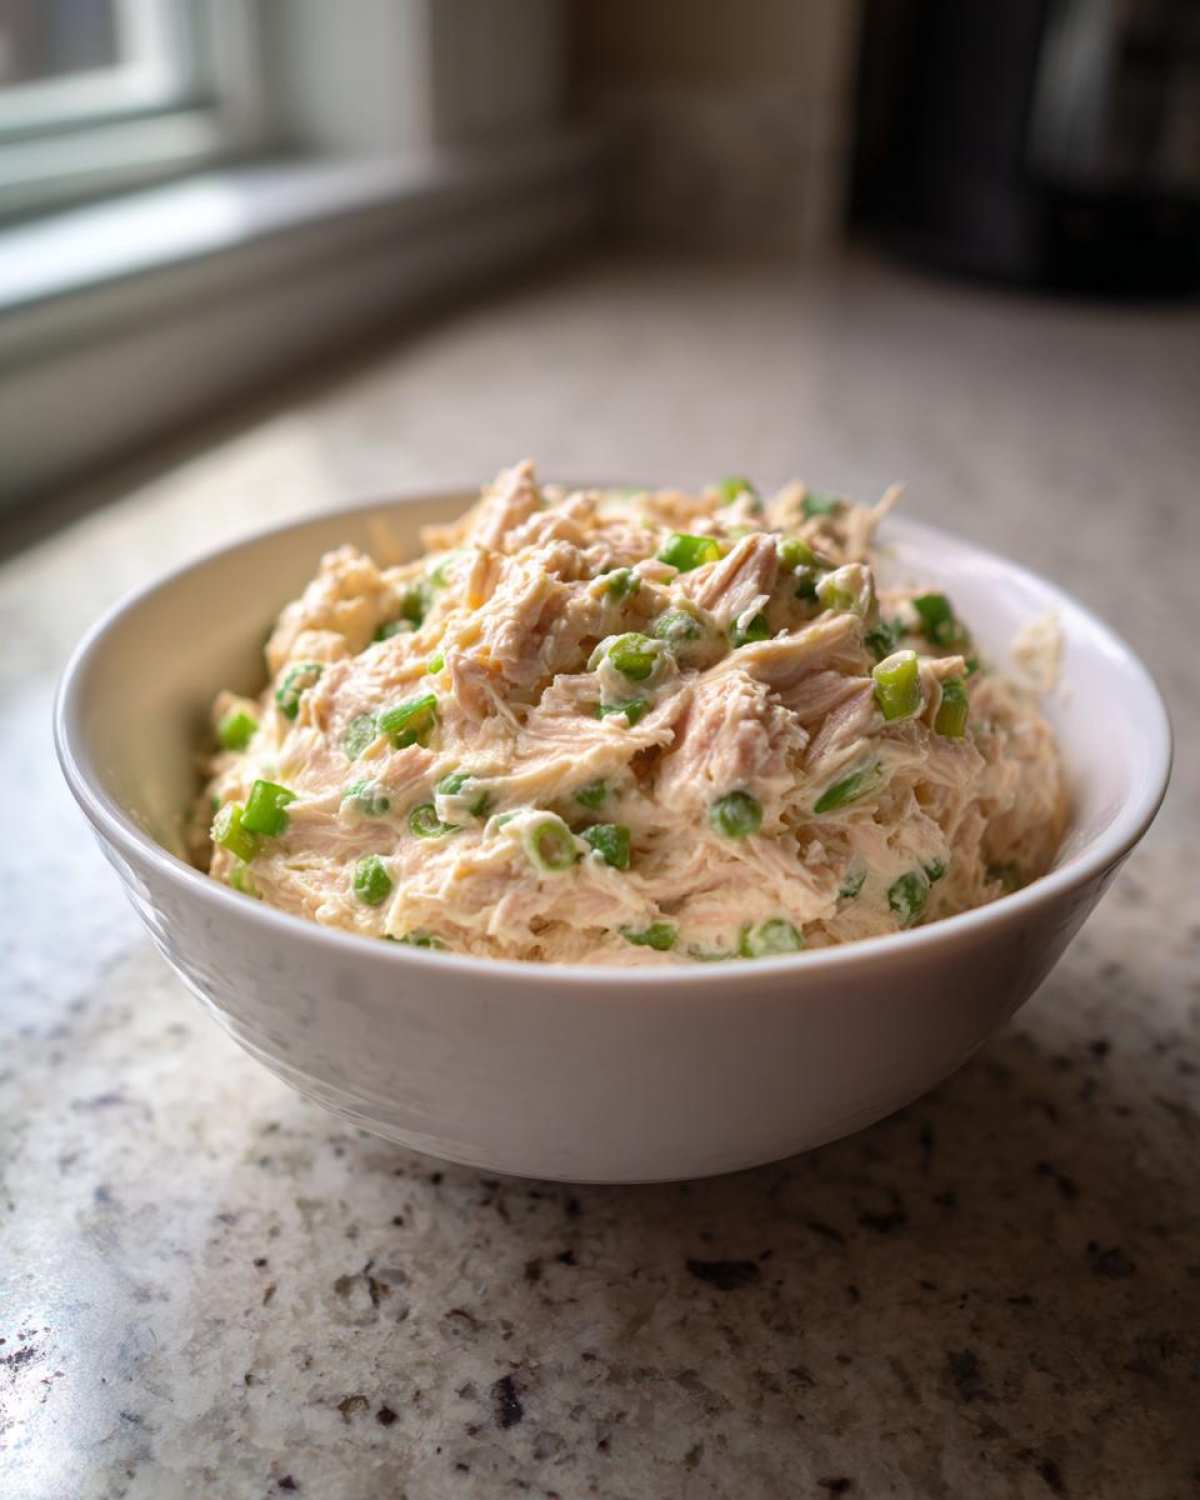
You haven’t truly experienced Japanese convenience food until you’ve tried their legendary tuna mayo. I still remember my first bite during a Tokyo trip — that creamy, umami-packed tuna mayo spilling out of a warm onigiri at a 7-Eleven counter. It was absolute magic! This simple filling turns basic ingredients into something extraordinary with its perfect balance of rich mayonnaise, savory tuna, and those sneaky umami boosters (soy sauce and dashi, my secret weapons). Now I make batches weekly — it’s faster than waiting in line at the combini! Whether stuffed in rice balls or slathered on sandwiches, this tuna mayo recipe brings that authentic konbini flavor right to your kitchen.
Why You’ll Love This Tuna Mayo Recipe
Trust me, once you try this tuna mayo, you’ll wonder how you ever lived without it! Here’s why it’s my go-to:
First off, it’s ridiculously easy. From can to bowl in 5 minutes flat—no cooking, no fuss. Just mix and go! That creamy texture? Absolute perfection. Japanese mayo (my beloved Kewpie!) makes all the difference with its luxurious richness and subtle tang.
The flavor balance is what really sings—savory tuna meets sweet mayo, with soy sauce and dashi powder adding that deep umami kick. My kids call it “sushi in a bowl”!
Best part? It’s crazy versatile. Stuff it in onigiri for an authentic konbini experience, slap it between bread for the ultimate tuna melt, or spoon it straight from the bowl (no judgement here). This recipe is my lunchbox MVP week after week!
Ingredients for Perfect Tuna Mayo
Here’s everything you’ll need to make magic happen – and I mean real 7-Eleven style magic! I’ve learned through way too many trials (and a few meh results) that these exact ingredients make all the difference:
- 1 can (5 oz) tuna in water – Drained until bone dry! Wet tuna = watery disaster. I press mine between paper towels like I’m ironing a fancy shirt.
- 3 tbsp Japanese mayonnaise – Kewpie is my ride-or-die here – that eggy richness and slight tang puts regular mayo to shame. (In a pinch? Use American mayo + 1/4 tsp rice vinegar)
- 1 tsp soy sauce – The umami bomb! I use reduced-sodium to control salt levels better.
- 1/2 tsp dashi powder – My Japanese grocery store secret weapon. No dashi? A tiny pinch of MSG works in emergencies.
- 1/2 tsp sugar – Just enough to round out the flavors without tasting sweet.
- 1/4 tsp black pepper – Freshly ground makes your taste buds do a happy dance.
- 1 tbsp finely chopped green onion (optional) – The green parts only! White bits get weirdly strong after sitting. Pro tip: Snip them with kitchen scissors straight into the bowl.
That’s it! Seven simple ingredients that somehow transform into pure umami joy. I always double the batch because trust me – you’ll want leftovers for tomorrow’s sandwiches.
Step-by-Step Tuna Mayo Instructions
Alright, let’s get mixing! I’ve made this tuna mayo more times than I can count – these steps will give you that perfect creamy consistency every single time. Just follow along and you’ll be stuffing rice balls like a Tokyo convenience store pro!
- Drain that tuna like it owes you money! This is the most crucial step – watery tuna means sad, drippy mayo. I empty the can into a fine mesh strainer and press with the back of a spoon until no more liquid comes out. Then comes my secret weapon: sandwich the tuna between two paper towels and gently squeeze. You want it Sahara-dry!
- Flake it with feeling! Dump your ultra-dry tuna into a mixing bowl and break it apart with a fork. I go for uneven shreds – some big, some small – for the most interesting texture.
- Create your umami bomb. Add the Kewpie mayo (ahhh, that signature Kewpie squeeze bottle sound!), soy sauce, dashi powder, sugar, and black pepper. I always mix the dry seasonings together with my fingers first to prevent clumps – learned that from a Okinawan obaachan!
- Fold, don’t assault. Use a rubber spatula to gently combine everything. Overmixing makes the tuna tough – you want it creamy, not paste-like. Stop when no dry mayo streaks remain.
- Taste and tweak. This is where I go rogue – dip a pinky in (!) to check the seasoning. More soy? Another pinch of sugar? Your taste buds, your rules. Then stir in those green onions if using – they add the prettiest flecks of color.
- Rest & rejoice. For maximum flavor infusion, I cover the bowl and let it chill for at least 15 minutes (if I can resist eating it straight away!). Stores beautifully for 2 days in the fridge, though it rarely lasts that long in my house!
Pro Tip for Extra Creaminess
Want that luscious, almost-spreadable diner-style tuna salad texture? After mixing, add 1/2 tsp more mayo at a time until it reaches your dream consistency. I call this the “Kewpie kicker” – it gives that luxurious mouthfeel without drowning out the tuna flavor. Just don’t go overboard or you’ll lose those beautiful tuna flakes!
Tuna Mayo Variations and Serving Ideas
Oh, the adventures you can have with this tuna mayo! Once you’ve mastered the basic recipe (which is perfect as-is, btw), it’s time to play. My fridge is basically a tuna-mayo science lab these days – here are my favorite ways to jazz it up and serve it:
First, the spicy lovers – add a drizzle of sriracha or a sprinkle of shichimi togarashi for that addictive heat. My nephew swears by mixing in wasabi paste (start with just 1/4 tsp unless you’re brave!). For crunch seekers, toss in diced cucumber or shredded cabbage – the texture contrast is everything. And on lazy nights? I stir in a handful of corn kernels straight from the can for instant sweetness and pops of yellow.
Now for serving – where do I even begin? Obviously, it’s onigiri royalty. Shape warm rice around a generous scoop, wrap with nori, and try not to eat three in one sitting (spoiler: impossible). For sandwiches, toast some shokupan milk bread, pile high with tuna mayo, and top with crisp lettuce – instant konbini vibes at home! My personal weird-but-wonderful discovery: use it as a baked potato topper instead of sour cream. Oh, and never underestimate its power as a dip – carrot sticks, crackers, you name it.
Want the full Japanese experience? Pair your tuna mayo creation with a steaming bowl of miso soup and some pickled veggies. It’s my go-to “I refuse to cook properly” dinner that somehow feels fancy. Check my Pinterest for more wild serving ideas – last week I stuffed it into crescent roll dough and baked mini tuna-mayo croissants that disappeared in 3.2 seconds flat!
Storing Your Tuna Mayo Safely
Listen—this tuna mayo is so good you’ll probably devour it immediately (I know I do!). But if by some miracle you have leftovers, here’s how to keep them happy. Pop it in an airtight container and refrigerate for up to 2 days max. After 24 hours, you’ll notice the flavors start to fade and the texture gets a bit dull—still safe, but not that magical konbini freshness.
Whatever you do, don’t freeze it! I learned this the hard way when I tried stocking my freezer with “convenient” portions. The mayo separates into this weird, grainy mess that no amount of stirring can fix. Trust me—it’s heartbreak in a Tupperware.
Quick safety rule: If it’s been sitting out more than 2 hours (or 1 hour on hot days), toss it. Raw onions (if you added them) make it extra perishable. My trick? I store mine in single-serve jars so I can grab-and-go without contaminating the whole batch. Find more brilliant storage hacks like this on my Pinterest—your future lunches will thank you!
Tuna Mayo FAQs
You guys ask the best questions about this tuna mayo—here are the answers straight from my sauce-splattered recipe notebook that I keep by the stove:
Can I use canned tuna in oil?
You totally can, but here’s the trick – drain AND blot it like you’re prepping it for a photo shoot! Oil-packed tuna gives richer flavor (hello, Italian grandmothers!), but leaves your mayo too greasy if not handled right. I pour it into a fine mesh strainer, let it drip for 5 minutes, then sandwich between paper towels with a textbook on top for weight. Pro tip: reduce the mayo by 1 tsp since oil tuna is already luscious.
What’s the best mayo brand for authentic Japanese flavor?
Kewpie mayo forever! That cute squidgy bottle with the red cap is my ride-or-die. The magic? It’s made with only egg yolks (not whole eggs) and has a whisper of rice vinegar and MSG that creates that iconic umami-rich creaminess. Find it in Asian grocery stores or online. In a pinch? Mix regular mayo with 1/4 tsp rice vinegar + 1/4 tsp sugar per tablespoon—it’s not perfect but saves tuna mayo emergencies!
Why did my tuna mayo turn out watery?
Oh honey, we’ve all been there! Watery tuna mayo usually means either: 1) Didn’t drain tuna enough (press it like you’re juicing lemons!), 2) Added veg too soon (onions/cucumbers weep liquid—mix them in right before serving), or 3) Got overzealous with soy sauce. Fix it by blotting the mix with paper towels or stirring in 1/2 tsp instant mashed potato flakes (my weird but genius trick!). Future tip: pat tuna dry with paper towels after draining—life changing!
How spicy can I make this while keeping it authentic?
Japanese convenience stores actually sell spicy tuna mayo versions! For authentic heat, stir in 1/2 tsp shichimi togarashi (that addictive 7-spice blend) or a few drops of rayu chili oil. My Tokyo friend taught me to mix in wasabi VERY gradually—start with 1/8 tsp unless you want nasal fireworks! For non-purists, sriracha works beautifully (1/2 tsp per batch). The key is balancing heat without overpowering that delicate umami sweetness.
Got more burning tuna mayo questions? Slide into my Pinterest DMs—I geek out over this stuff way too much! Whether it’s troubleshooting or wild new twists, I’ve probably tried it (remember my disastrous-but-hilarious mango tuna mayo phase?). Happy mixing!
Nutritional Information
Just a heads up—these numbers can wiggle a bit depending on your tuna brand or how generous you are with that Kewpie mayo! For a standard 2-tablespoon serving (about what fits nicely in an onigiri), you’re looking at roughly 90 calories, 6g of that glorious fat (mostly the good unsaturated kind from mayo), and 7g of protein to keep you full. Not bad for something that tastes like pure joy, right? Always check your specific ingredients if you’re tracking closely—my measurements come from the brands I personally obsess over. Now go enjoy that creamy goodness guilt-free!
Share Your Tuna Mayo Creations
I LIVE seeing what you whip up with this recipe! Tag me on Pinterest (just @SophiasKitchen – no fancy link needed) so I can ogle your tuna mayo masterpieces. Did you add kimchi? Throw in sesame seeds? Make an outrageous sushi-burger hybrid? I want to see all the delicious chaos! Drop your wildest twists in the comments too – your idea might just inspire my next kitchen experiment!
PrintJapanese Tuna Mayo Filling
A creamy and flavorful tuna-mayo filling perfect for rice balls, sandwiches, or wraps. This recipe balances the tuna-to-mayo ratio and adds umami boosters for extra depth.
- Prep Time: 5 mins
- Cook Time: 0 mins
- Total Time: 5 mins
- Yield: 1/2 cup 1x
- Category: Filling/Spread
- Method: No-Cook
- Cuisine: Japanese
- Diet: Low Calorie
Ingredients
- 1 can (5 oz) tuna in water, drained
- 3 tbsp Japanese mayonnaise
- 1 tsp soy sauce
- 1/2 tsp dashi powder
- 1/2 tsp sugar
- 1/4 tsp black pepper
- 1 tbsp finely chopped green onion (optional)
Instructions
- Drain the tuna well and flake it into a bowl.
- Add mayonnaise, soy sauce, dashi powder, sugar, and black pepper.
- Mix until smooth and creamy.
- Stir in green onions if using.
- Use immediately or refrigerate for up to 2 days.
Notes
- For extra creaminess, add 1/2 tsp more mayo.
- Adjust soy sauce for saltiness preference.
- Best used within 24 hours for freshness.
- Find more recipes on our Pinterest page.
Nutrition
- Serving Size: 2 tbsp
- Calories: 90
- Sugar: 1g
- Sodium: 180mg
- Fat: 6g
- Saturated Fat: 1g
- Unsaturated Fat: 4g
- Trans Fat: 0g
- Carbohydrates: 2g
- Fiber: 0g
- Protein: 7g
- Cholesterol: 15mg