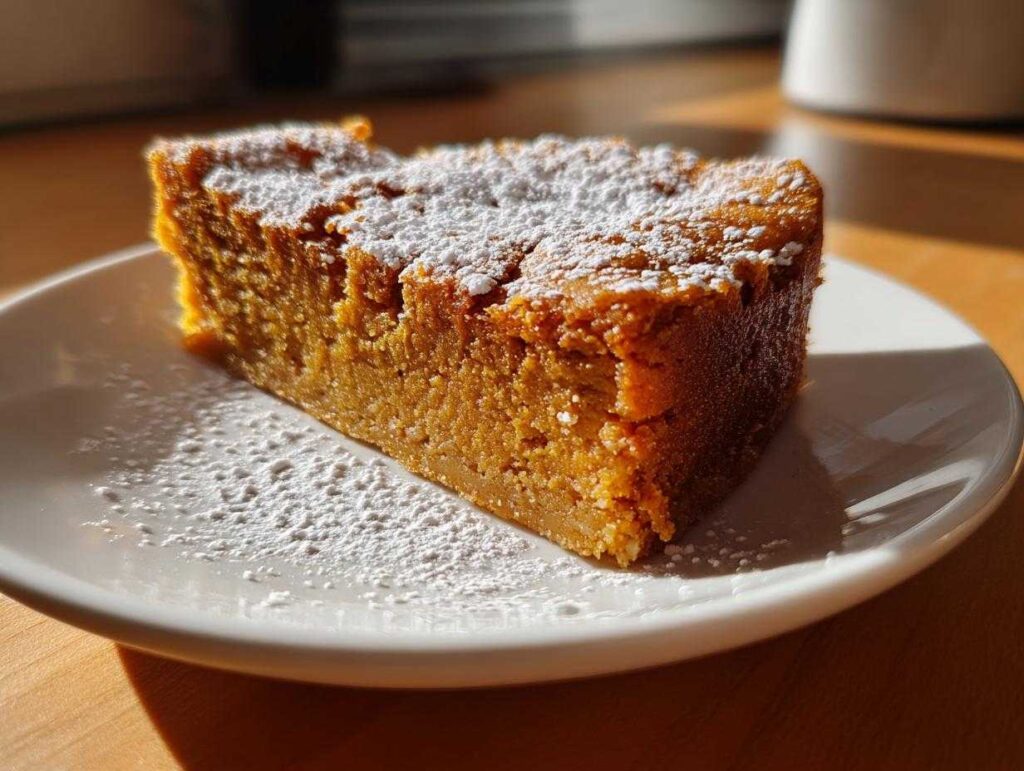
Oh, you’re going to love these pumpkin pie bars! Picture this: all the cozy, spiced flavor of your favorite pumpkin pie, but in a no-fuss, grab-and-go bar that’s perfect for hectic fall mornings or holiday potlucks. No rolling out crust or worrying about soggy bottoms—just pure pumpkin bliss in every bite. I first made these for a last-minute Thanksgiving gathering when I was short on time (and patience). Everyone raved about them, and now they’re my go-to when I need a dessert that tastes like I spent hours in the kitchen. Trust me, one bite and you’ll swear off slice-and-serve pumpkin pie forever!
Why You’ll Love These Pumpkin Pie Bars
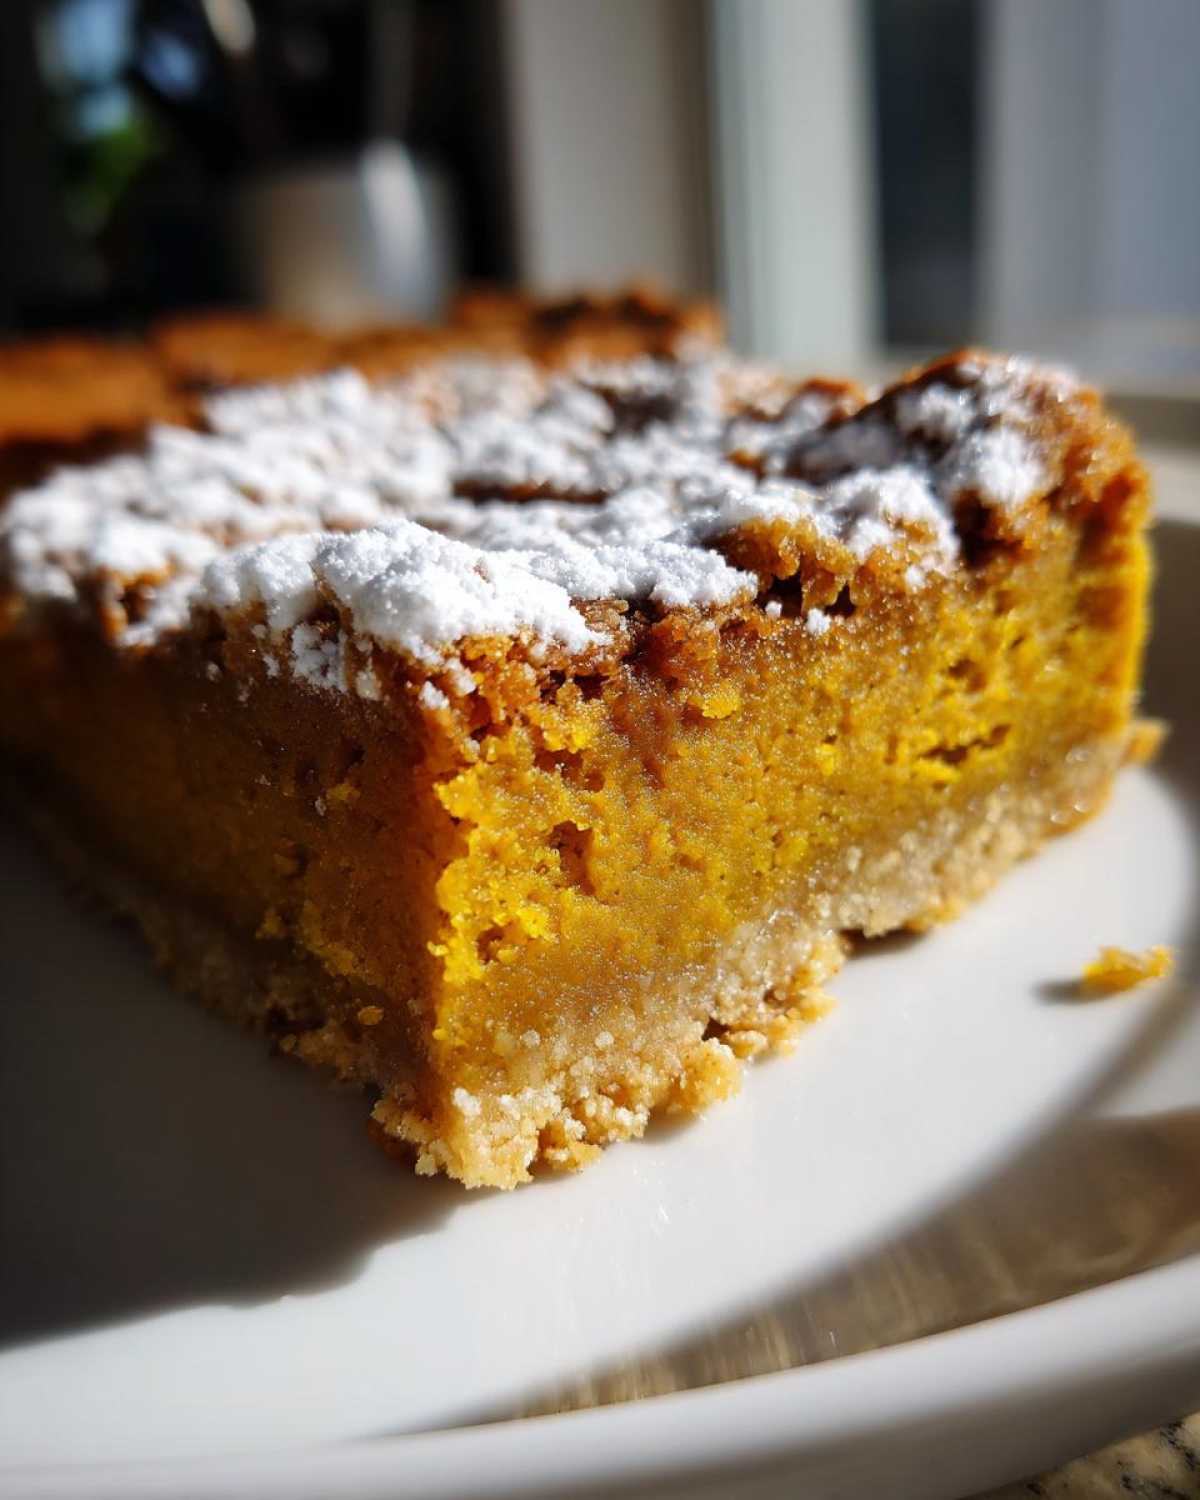
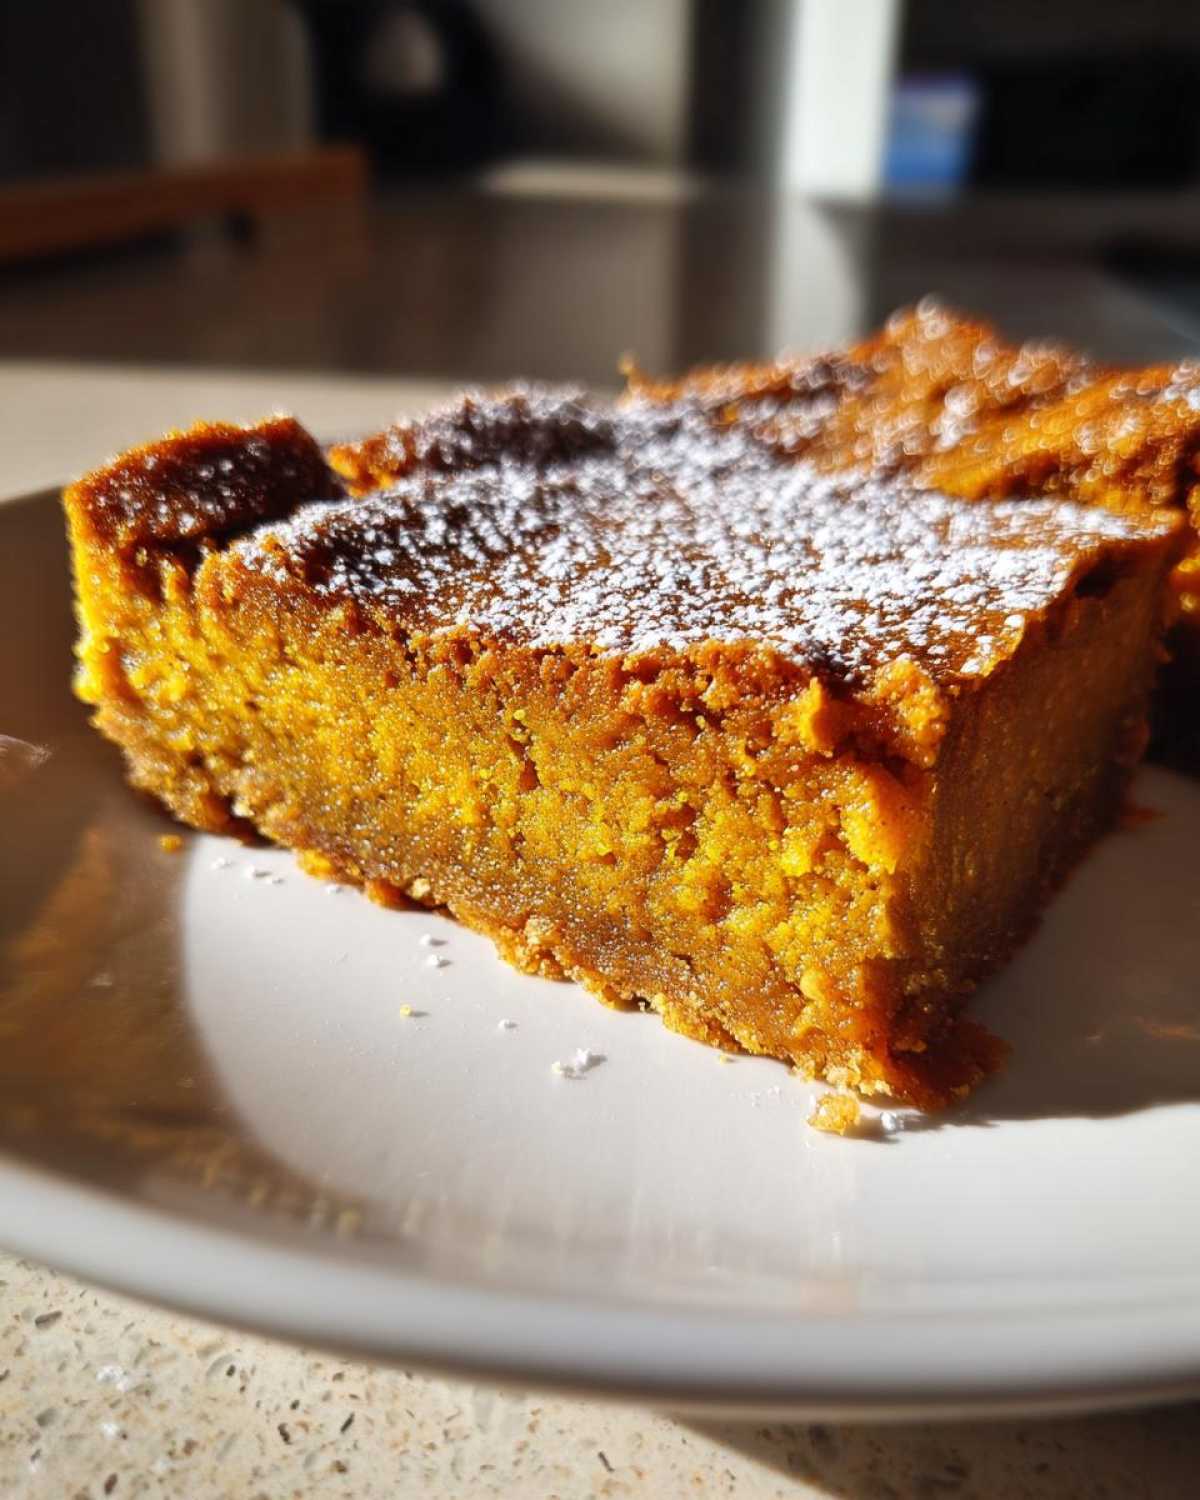
Let me tell you why these pumpkin pie bars have stolen my heart (and probably will steal yours too)! First off, they’re ridiculously easy to make—no pie crust drama, just dump-and-stir simplicity. The flavor? Imagine your favorite pumpkin pie hugged a shortbread cookie. That rich, spiced pumpkin filling sits atop a subtly sweet, oat-flecked base that gives just the right amount of crunch.
Here’s what makes them extra special:
- Perfect for meal planning – Bake a batch on Sunday and enjoy all week with your coffee
- Weight loss friendly (in moderation) – At just 150 calories per bar, they satisfy cravings without derailing your plans
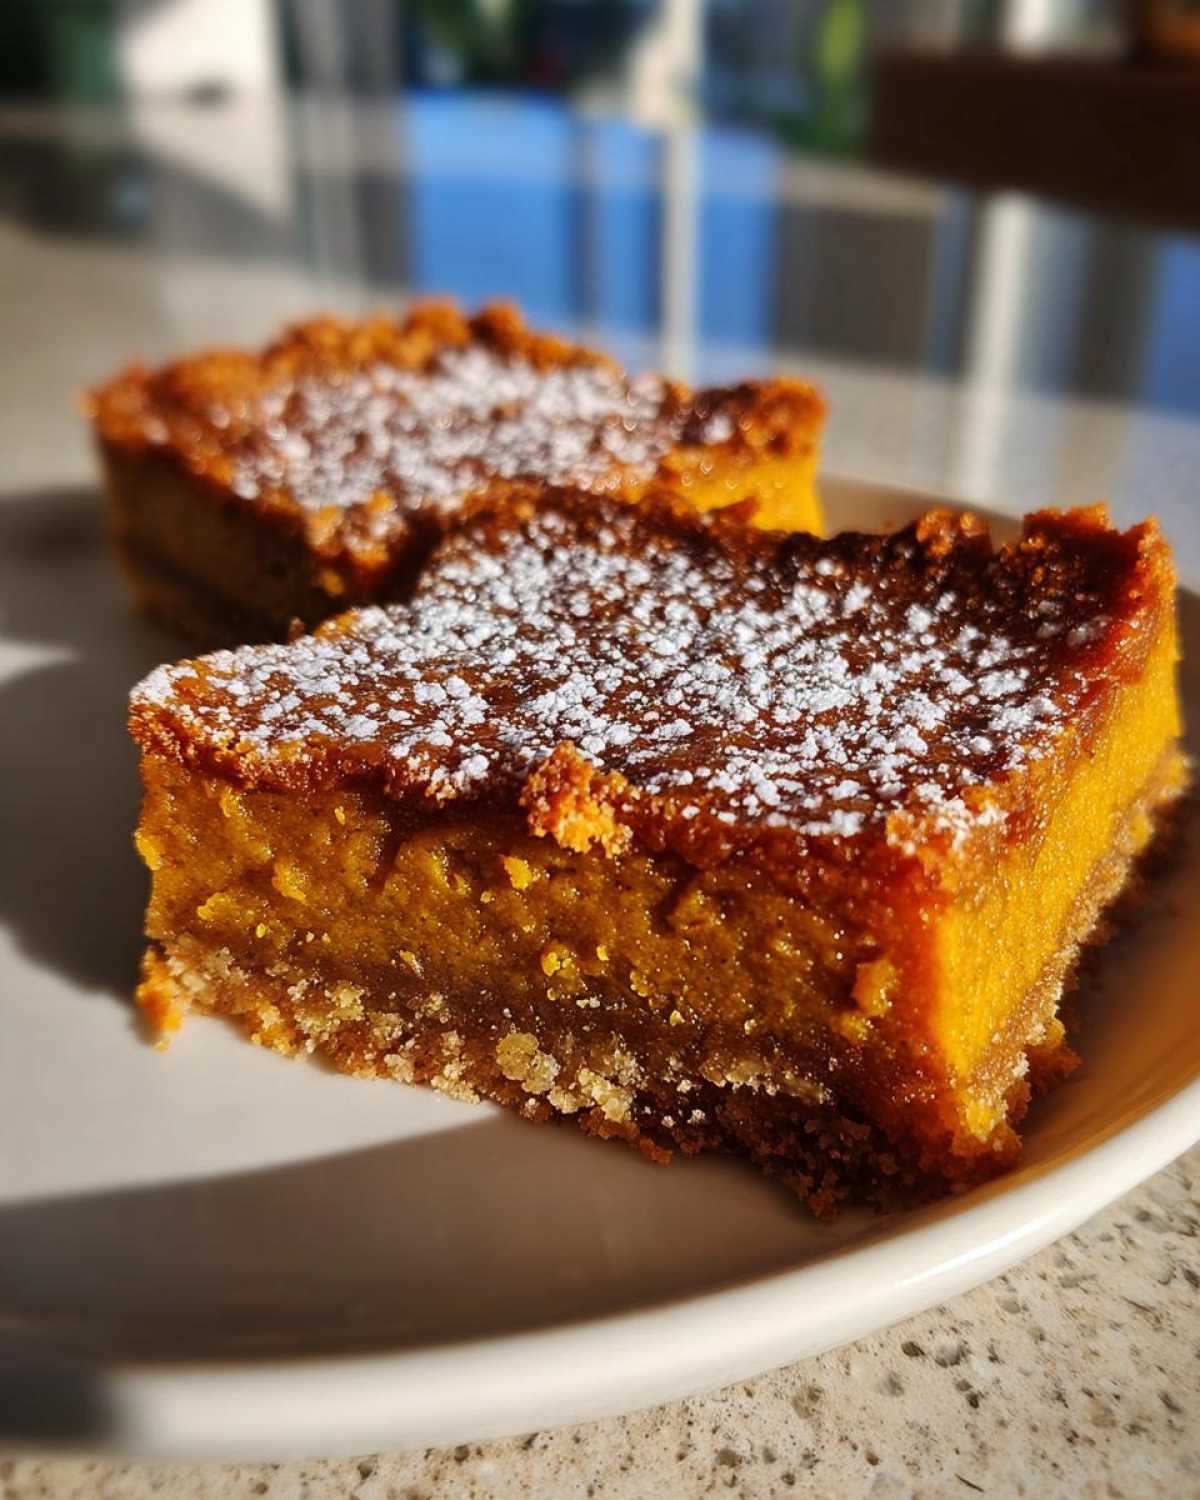
- Two ways to finish – Dust with powdered sugar for classic charm or drizzle with cream cheese glaze when you’re feeling fancy
- Crowd pleaser – Kids and adults alike go crazy for these at holiday gatherings
The best part? They make your whole house smell like autumn magic while they bake. Whether you’re packing lunchboxes or need a quick dessert for unexpected guests, these bars have you covered. They’ve become my secret weapon during busy weeks—sometimes I even eat one for breakfast (don’t tell anyone)!
Ingredients for Pumpkin Pie Bars
Gathering these simple ingredients is the first step to pumpkin perfection! I always use the best quality I can find – it really makes a difference in these bars. Here’s what you’ll need:
- 1 cup pumpkin puree – Not pie filling! Grab the plain canned stuff (or make your own if you’re feeling ambitious)
- 1/2 cup brown sugar – Dark brown gives the richest flavor, but light works too
- 1/4 cup pure maple syrup – The good stuff, not pancake syrup! This adds incredible depth
- 2 large eggs – Room temp helps them blend better
- 1 tsp vanilla extract – Real extract only, please!
- 1 tsp pumpkin pie spice – My homemade mix has extra cinnamon and a pinch of cardamom
- 1/2 tsp cinnamon – Because you can never have too much spice
- 1/4 tsp salt – Balances all that sweetness
- 1 cup all-purpose flour – For gluten-free bars, use your favorite 1:1 gluten-free blend
- 1/2 cup rolled oats – Quick oats work, but old-fashioned give better texture
- 1/4 cup melted butter – I use salted for that little extra something
Looking for meal delivery options? Several gluten-free meal delivery services offer pumpkin puree and pre-measured spices if you’re short on time. But honestly? This recipe comes together so fast, you’ll have bars before your delivery would even arrive!
How to Make Pumpkin Pie Bars
Ready to make the easiest pumpkin dessert ever? I promise this recipe is foolproof – I’ve made it when half-asleep on Thanksgiving morning and it still turned out perfect every time. First things first: preheat that oven to 350°F and line an 8×8 inch baking pan with parchment paper. Pro tip: leave some overhang on the sides so you can lift the whole slab out later for clean cuts. If you’re feeling extra fancy, a sous-vide precision cooker can help maintain perfect oven temperature (but honestly, my old oven does just fine).
Preparing the Batter
Let’s make that delicious batter! In my favorite big mixing bowl (the one with the blue stripes), whisk together the pumpkin puree, brown sugar, maple syrup, eggs, vanilla, and spices until smooth. Looks like liquid gold already, doesn’t it? In another bowl, gently stir the flour, oats, and salt – this keeps everything perfectly combined without overworking the gluten. Now the magic happens: slowly add the dry ingredients to the wet, stirring just until no flour streaks remain. See those lumps? Good! They’ll disappear while baking. Fold in the melted butter last – it creates little pockets of flavor throughout the bars.
Baking and Cooling
Pour your batter into the prepared pan and smooth the top with a spatula. Slide it into the oven and set your timer for 25 minutes. About halfway through, I like to rotate the pan for even browning. Here’s how you’ll know it’s done: the edges will pull away slightly and the center should spring back when gently pressed. Whatever you do, resist cutting into them right away! Let them cool completely in the pan (I know, torture). This waiting game helps the bars set properly so they won’t crumble when you slice them. Sometimes I pop the whole pan in the fridge to speed things up – cold pumpkin bars with my morning coffee? Yes please!
Tips for Perfect Pumpkin Pie Bars
After making countless batches of these pumpkin pie bars (some more successful than others!), I’ve learned all the tricks to guarantee perfect results every time. First, always use room temperature eggs – they blend into the batter more evenly, giving you that dreamy smooth texture. If you forgot to take them out, just pop them in warm water for 5 minutes while you gather your other ingredients.
The pan size matters more than you’d think! I swear by my trusty 8×8 inch metal baking pan – it gives the bars the ideal thickness. Glass pans? They bake differently, so add 5 extra minutes if that’s all you have. And here’s my favorite storage trick: layer the cooled bars between sheets of parchment in an airtight container. They’ll stay fresh for up to 5 days (though they never last that long in my house!)
Want to make these keto-friendly? Substitute the flour with almond flour, use a sugar-free maple syrup alternative, and swap the brown sugar for your preferred keto sweetener. They won’t be exactly the same, but still delicious! For portion control (because honestly, I’ll eat the whole pan if I don’t watch myself), I cut them into smaller squares before storing. Out of sight, out of mouth – sometimes it works!
Pumpkin Pie Bars Variations
Now for the fun part – let’s get creative with these pumpkin pie bars! The basic recipe is amazing as-is, but sometimes you want to mix things up. My neighbor Sarah insists on adding chopped pecans to hers – that extra crunch takes them to another level. Chocolate lovers? Try stirring in a handful of dark chocolate chips before baking. The bitterness plays beautifully with the sweet pumpkin spice.
For a crunchier base, mix melted butter with crushed graham crackers (about 1 cup) and press it into the pan first – hello, shortbread vibes! I actually prefer them crustless most days because they’re lighter, but the shortbread version is perfect for holiday bar desserts when you want something more indulgent.
Special occasions call for special touches: sprinkle pepitas on top before baking for a pretty finish, or whip up maple cream cheese frosting to spread over cooled bars. Last Christmas, I sandwiched two thin bars with vanilla buttercream – let’s just say Santa had seconds! The possibilities are endless, and that’s why this recipe has become my fall staple. What will your signature twist be?
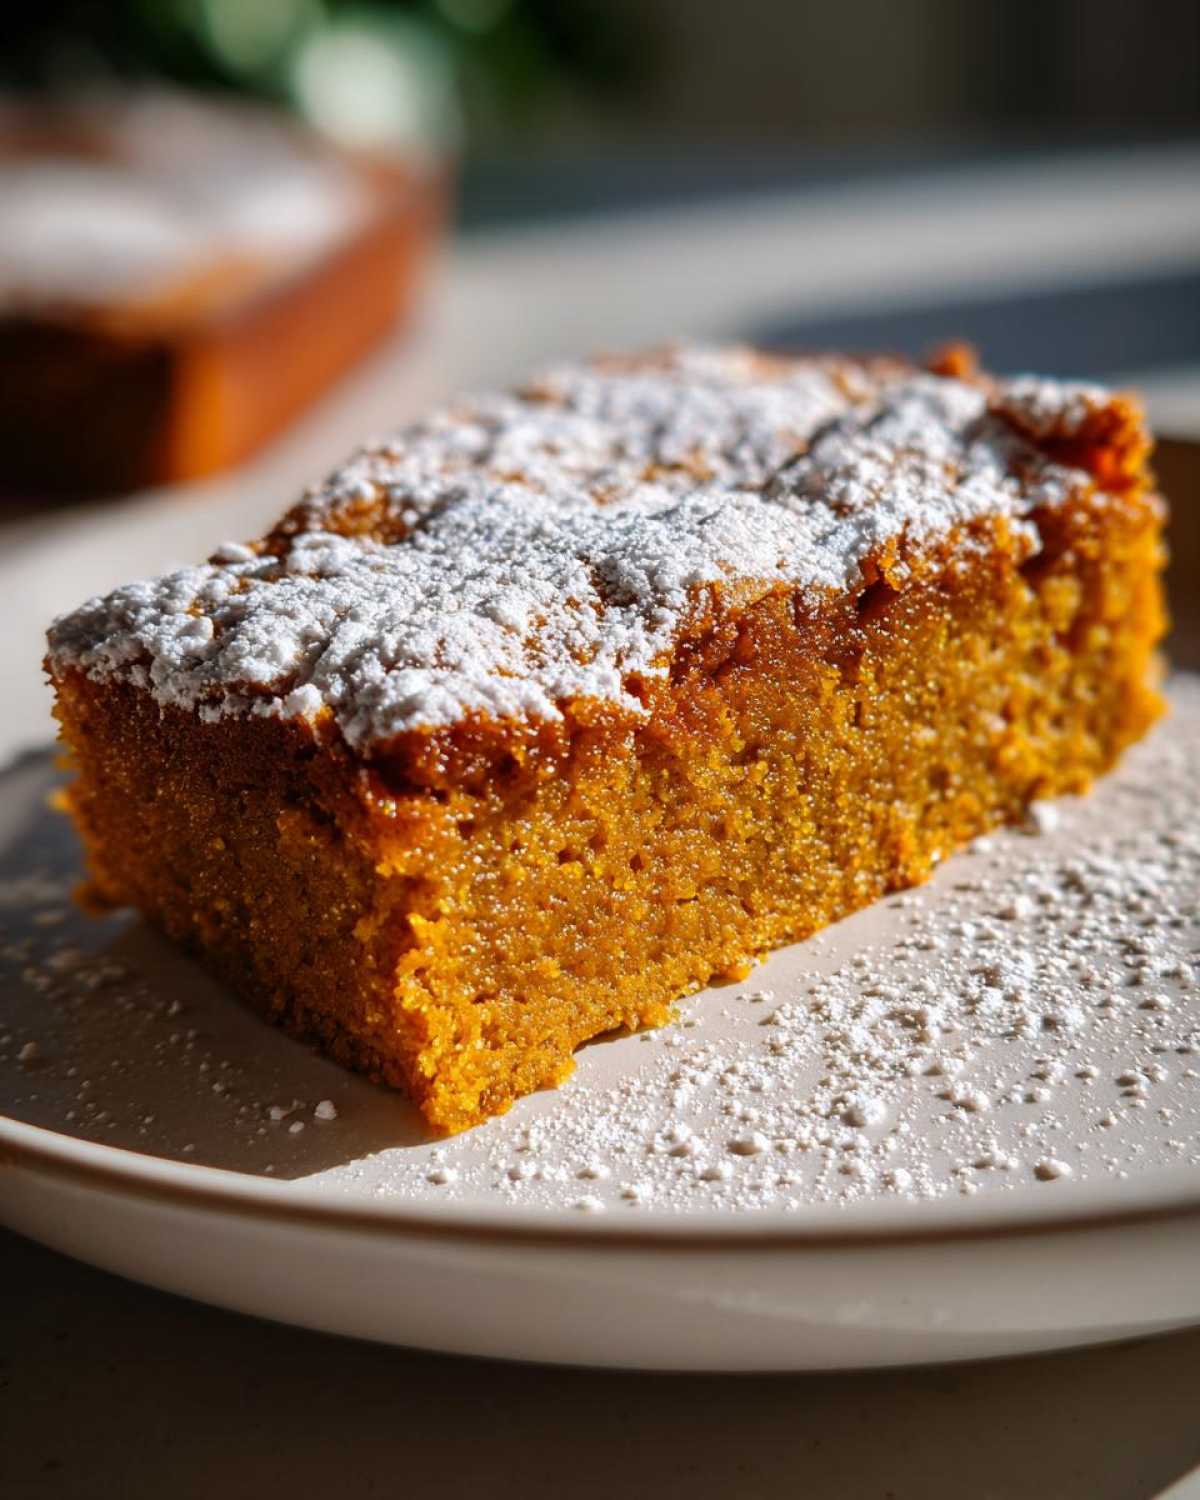
Serving and Storing Pumpkin Pie Bars
Okay, let’s talk about the best ways to enjoy—and keep enjoying—these pumpkin pie bars! First, serve them at room temperature for the perfect texture and full flavor. They’re fantastic on their own, but warmed slightly with a scoop of vanilla ice cream? Absolute heaven. For storage, tuck them into an airtight container—they’ll stay fresh for up to 5 days (if they last that long in your house!). If you want to freeze them, wrap individual bars tightly in plastic, then foil; they’ll keep for 3 months. Just thaw overnight in the fridge before serving.
Don’t feel like baking? No problem—meal delivery companies like Blue Apron and Sun Basket offer similar fall-inspired desserts in their seasonal menus. But honestly, nothing beats the amazing smells (and tastes!) of homemade pumpkin bars straight from your oven.
Pumpkin Pie Bars FAQs
I get so many questions about these pumpkin pie bars – here are answers to the ones that pop up most often! Trust me, I’ve made every mistake possible so you don’t have to.
Can I make these pumpkin pie bars without the oat base?
Absolutely! For crustless pumpkin bars, simply leave out the oats and reduce the flour to 3/4 cup. The texture will be softer, more like traditional pumpkin pie filling. Just grease your pan really well so they don’t stick. Some folks even add an extra egg to help them hold together better.
What’s the best way to get that pretty sugar-dust finish?
Oh, that snowy look is my favorite part! Here’s my trick: let the bars cool completely, then place powdered sugar in a fine-mesh sieve. Hold it about 6 inches above the bars and gently tap the side – this gives that professional-looking even dusting. Want it extra fancy? Use a stencil to make leaf or pumpkin shapes!
Can I make pumpkin pie bars ahead for holiday bar desserts?
Yes! These actually taste better the next day as the flavors meld. Bake them up to 3 days in advance and store covered at room temp. For longer storage, freeze them (frosting-free) for up to 3 months. They thaw perfectly in about an hour – just dust with sugar before serving.
What if I don’t have pumpkin pie spice?
No worries – improvise! My quick substitute is 1/2 tsp cinnamon, 1/4 tsp ginger, 1/4 tsp nutmeg, and a pinch of cloves. Taste the batter and adjust to your liking. The beauty of these easy pumpkin bars is how forgiving they are – I’ve even used chai spice mix in a pinch!
Nutritional Information
Let’s be real – we’re not eating pumpkin pie bars for their nutritional value, but it never hurts to know what you’re enjoying! Each bar comes in at about 150 calories, with 5g of fat (mostly from that delicious butter) and 2g of fiber to keep you satisfied. The maple syrup and brown sugar give that 12g of sugar per serving, but hey – it’s balanced with 3g of protein from the eggs and oats.
Here’s the scoop on nutrients per bar:
- Calories: 150
- Sugar: 12g
- Fat: 5g
- Protein: 3g
- Fiber: 2g
Disclaimer alert – these numbers can change based on your exact ingredients and brands (my local honey vs. your fancy maple syrup, etc.). Weight loss programs like Noom or Weight Watchers? These bars can totally fit in as an occasional treat when portioned right. I often cut them smaller for 100-calorie snack packs – portion control is key when something tastes this good!
Share Your Pumpkin Pie Bars
I’d love to see your pumpkin pie bar creations! Snap a photo of your masterpiece (the messier, the better – I love seeing real kitchen adventures) and share it with the world. You can find me on Pinterest where I’m always pinning new recipes and variations to try. Happy baking!
PrintPumpkin Pie Bars
Easy grab-and-go bars with the taste of pumpkin pie, perfect for fall and holiday desserts.
- Prep Time: 10 min
- Cook Time: 25 min
- Total Time: 35 min
- Yield: 12 bars 1x
- Category: Dessert
- Method: Baking
- Cuisine: American
- Diet: Vegetarian
Ingredients
- 1 cup pumpkin puree
- 1/2 cup brown sugar
- 1/4 cup maple syrup
- 2 eggs
- 1 tsp vanilla extract
- 1 tsp pumpkin pie spice
- 1/2 tsp cinnamon
- 1/4 tsp salt
- 1 cup all-purpose flour
- 1/2 cup rolled oats
- 1/4 cup melted butter
Instructions
- Preheat oven to 350°F and line a baking pan with parchment paper.
- Mix pumpkin puree, brown sugar, maple syrup, eggs, vanilla, pumpkin pie spice, cinnamon, and salt in a bowl.
- Stir in flour and oats until combined.
- Pour batter into the pan and spread evenly.
- Bake for 25-30 minutes until set.
- Let cool before cutting into bars.
Notes
- Dust with powdered sugar for a sweet finish.
- Store in an airtight container for up to 5 days.
- Try adding chopped nuts for extra crunch.
Nutrition
- Serving Size: 1 bar
- Calories: 150
- Sugar: 12g
- Sodium: 80mg
- Fat: 5g
- Saturated Fat: 3g
- Unsaturated Fat: 2g
- Trans Fat: 0g
- Carbohydrates: 24g
- Fiber: 2g
- Protein: 3g
- Cholesterol: 35mg