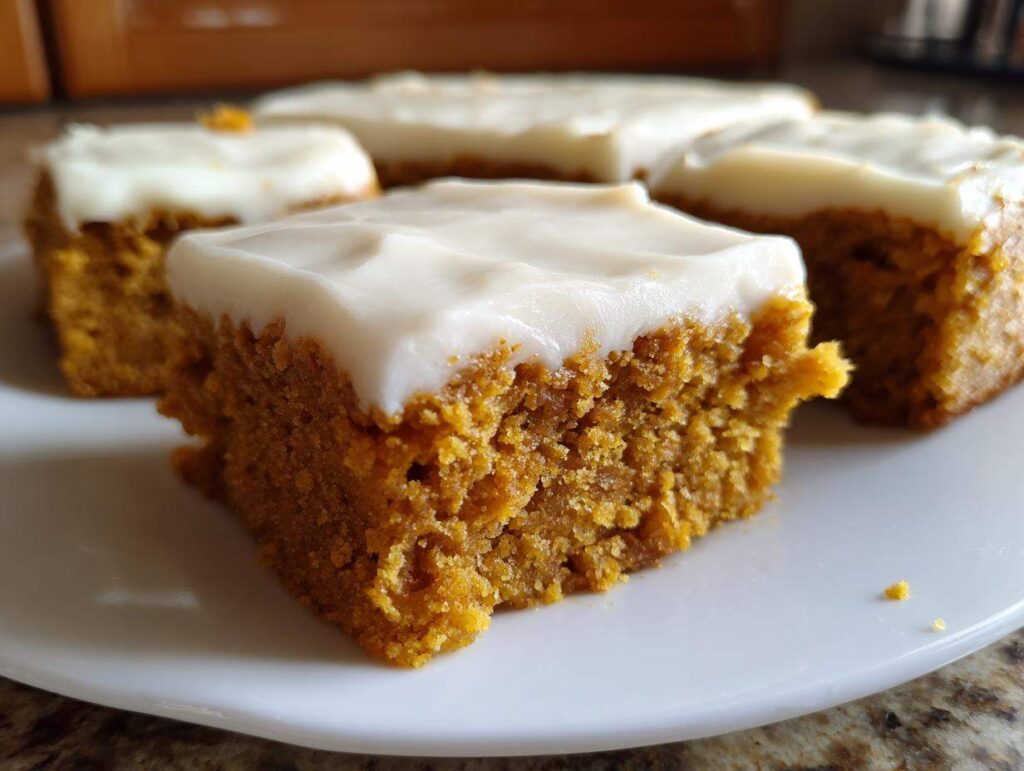
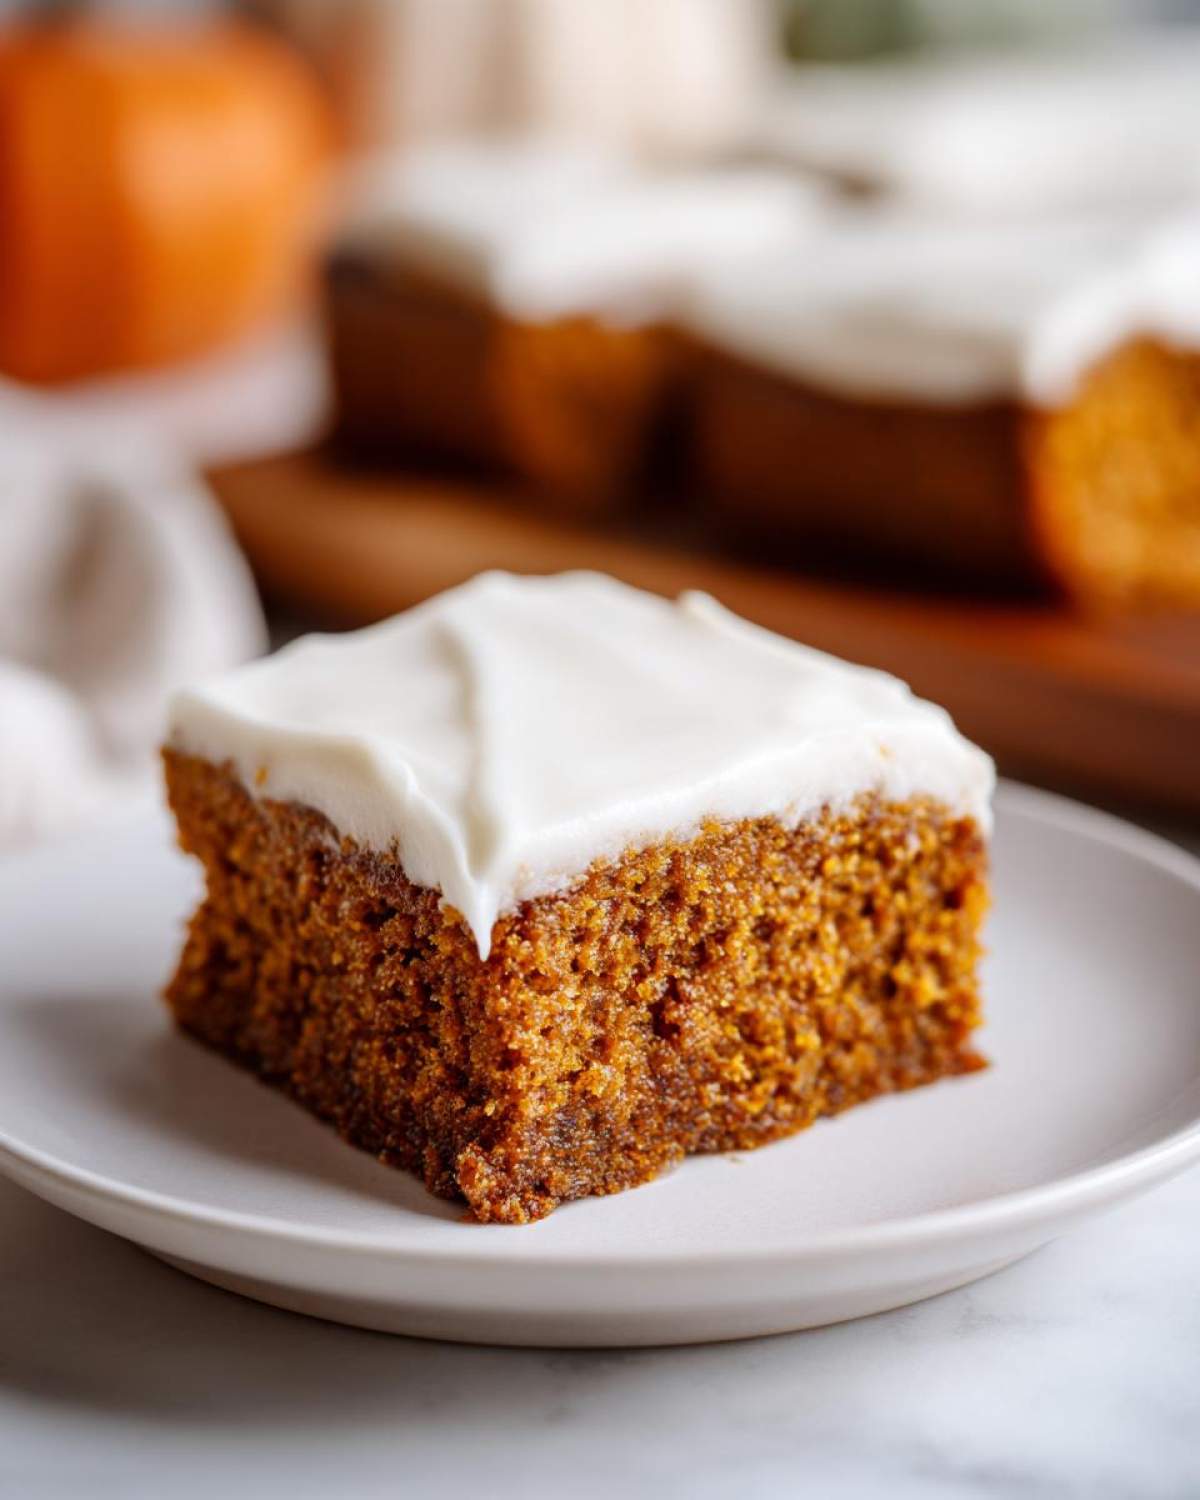
Oh, the smell of cinnamon and pumpkin in the fall – it just makes my kitchen feel like home. I remember my grandma pulling trays of pumpkin bars from the oven, their edges perfectly golden and that sweet spice smell filling her farmhouse kitchen. I’d sneak little tastes of the cream cheese frosting when she wasn’t looking. Now, every October, I make big batches of these easy pumpkin bars for bake sales and football tailgates – they disappear faster than I can set them down! The best part? One bowl, minimal fuss, and you’ve got a tray full of moist, spiced pumpkin goodness with that dreamy cream cheese swirl on top. Trust me, once you try this recipe, you’ll be making these pumpkin bars every year. They’re my go-to when I need something quick, sweet, and full of cozy fall flavor.
Why You’ll Love These Pumpkin Bars
Honestly, what’s not to love? These pumpkin bars have been my fall baking secret weapon for years, and here’s why they’ll become yours too:
- That perfect moist texture – The blend of pumpkin puree and just the right amount of oil makes every bite tender without being soggy (you know how some pumpkin desserts can get that weird gummy texture? Not these!)
- One bowl wonder – I’m all about minimal cleanup, and this recipe lets you whisk everything in a single bowl. No fancy equipment needed – just a spoon and some elbow grease!
- Bake sale superstar – These pumpkin bars travel like a dream and always disappear first at potlucks. I’ve had people beg me for the recipe more times than I can count.
- Cream cheese frosting that dreams are made of – That tangy-sweet swirl on top isn’t just decoration – it’s the crowning glory that takes these from good to “oh wow”
- Instant fall vibes – The cinnamon, nutmeg, and cloves create that cozy aroma that makes your whole house smell like autumn happiness
Seriously, whether you’re hosting Friendsgiving or just need a sweet pick-me-up with your afternoon coffee, these pumpkin bars check all the boxes. And did I mention they’re almost impossible to mess up? Even my most baking-challenged friends nail this recipe!
Ingredients for Pumpkin Bars
Let’s talk ingredients – because what goes into these pumpkin bars makes all the difference! I’ll never forget the first time I tried to make them with cold butter straight from the fridge – let’s just say Grandma would’ve shaken her head at me. Now I’ve got the ingredient prep down to a science, and I’m sharing all my little secrets with you.
For the Pumpkin Bars
Grab these pantry staples – you probably have most of them already!
- 1 cup pure pumpkin puree (not pumpkin pie filling – that’ll make them too sweet!)
- 1 cup granulated sugar (trust me, this is the perfect amount – they’re sweet but not cloying)
- 1/2 cup vegetable oil (this gives them that unbeatable moist texture)
- 2 large eggs (room temperature blends better)
- 1 tsp vanilla extract (the good stuff – it makes a difference)
Now for the dry team:
- 1 1/2 cups all-purpose flour (spoon and level it – no packing!)
- 1 tsp baking powder (fresh is best)
- 1/2 tsp baking soda
- 1 tsp cinnamon (I sometimes do 1 1/4 tsp because I’m extra)
- 1/2 tsp nutmeg (freshly grated if you’ve got it)
- 1/4 tsp cloves (the secret weapon – don’t skip!)
- 1/4 tsp salt (balances all those sweet flavors)
For the Cream Cheese Frosting
Warning: You’ll want to eat this by the spoonful. Resist!
- 8 oz cream cheese (full fat, softened – microwave for 10 seconds if you forgot to take it out)
- 1/4 cup unsalted butter (also softened – cold butter makes lumpy frosting, learn from my mistakes!)
- 2 cups powdered sugar (sifted if you’re fancy)
- 1 tsp vanilla extract (yes, more vanilla – it’s worth it)
Pro tip from my baking disasters: All your dairy ingredients should be at cool room temp – not melted but not fridge-cold. I usually set them out when I preheat the oven. Makes for the smoothest batter and creamiest frosting!
How to Make Pumpkin Bars
Alright, let’s get baking! I’ve made these pumpkin bars more times than I can count, so trust me when I say – this method works like a charm every time. Just follow these simple steps and you’ll have a tray full of autumn magic in no time. And the best part? You can mix everything in one bowl – because who has time for extra dishes?
First things first – preheat that oven to 350°F. I can’t tell you how many times I’ve gotten halfway through mixing only to realize I forgot this step! While the oven heats up, grab your 9×13-inch baking pan and give it a good greasing. I use butter because, well, everything’s better with butter. You could use cooking spray too, but don’t skimp – these pumpkin bars are moist and might try to stick if you’re not generous.
Now for the fun part – the batter! In one big bowl (I use my favorite mixing bowl, the one with little pumpkins painted on it), whisk together the pumpkin puree, sugar, oil, eggs and vanilla. Get it nice and smooth – it’ll look kind of like orange pancake batter at this point.
Next, sprinkle all your dry ingredients right on top – flour, baking powder, baking soda, and all those cozy spices. This is when my kitchen starts smelling like heaven, by the way. Gently mix everything together until just combined. Don’t overdo it! A few little flour specks are okay – they’ll disappear while baking. If you go crazy with the mixing, you’ll end up with tough pumpkin bars, and nobody wants that.
Pour that gorgeous orange batter into your prepared pan. I like to use a rubber spatula to scrape every last bit out – no batter left behind! Smooth it gently across the pan so it’s nice and even. Now pop it in the oven and set your timer for 25 minutes.
Here’s my little baking secret – at the 25 minute mark, give your pumpkin bars the toothpick test. Stick one in the center – if it comes out with moist crumbs (not wet batter), they’re done! If not, give them another 5 minutes. They should be pulling away slightly from the edges and spring back when you gently press the top. Overbaking is the one way to ruin these, so keep an eye on them!
Once they’re perfect, take them out and – here’s the hard part – walk away. Let them cool completely in the pan. I know, I know, the temptation to frost them warm is strong. But if you want that frosting to stay creamy and not melt into a gloppy mess, patience is key.
While they’re cooling, make your frosting. Beat the softened cream cheese and butter together until smooth – I use my hand mixer because my arm gets tired (no shame!). Gradually add the powdered sugar and vanilla, mixing until it’s light and fluffy. Taste test required, obviously – quality control is important!
When your pumpkin bars are completely cool, spread that dreamy frosting over the top. I like to do swoopy swirls with my spatula because it looks pretty, but you do you. For super clean cuts, pop the frosted bars in the fridge for about 30 minutes before slicing.
And voilà! You’ve just made the easiest, most delicious pumpkin bars that would make my grandma proud. Pro tip: if you love pumpkin desserts as much as I do, check out my pumpkin fluff dip recipe for another easy fall treat.
Tips for Perfect Pumpkin Bars
After making approximately a million batches of these pumpkin bars (okay, maybe a few dozen), I’ve learned all the tricks for bakery-worthy results every time. Here are my can’t-live-without tips:
- Chill before cutting for those clean edges – I know it’s tempting to dive right in, but letting the frosted bars hang out in the fridge for at least 30 minutes makes all the difference. You’ll get those perfect straight cuts instead of squished corners. Patience, grasshopper!
- Room temp ingredients aren’t optional – That cream cheese frosting will be lumpy if your dairy’s cold, and your batter won’t come together right either. I set everything out when I preheat the oven – about 30 minutes does the trick. If you’re in a rush, microwave the cream cheese for 10 seconds (butter too, if needed).
- The carrot test works for pumpkin too! My grandma taught me to check spice cakes by pressing lightly – if the center springs back, it’s done. With pumpkin bars, pull them out when a toothpick comes out with just a few moist crumbs. Overbaked pumpkin bars lose that magical moist texture.
- Try homemade pumpkin puree if you’re feeling fancy – I’ll confess, I usually use canned (no shame!), but when I’ve got time, roasting a sugar pumpkin makes these next-level good. Just roast halved pumpkin at 375°F until fork-tender, scoop out the flesh, and blend until smooth. The flavor is incredible!
- Clean your knife between cuts – For those picture-perfect bake sale bars, wipe your knife with a warm, damp cloth after each slice. It keeps that cream cheese frosting looking pristine instead of smeared.
Remember what I learned the hard way – pumpkin bars are very forgiving! Don’t stress about small imperfections. Even my “ugly” batches disappear just as fast. Happy baking!
Storage and Serving Suggestions
Now let’s talk about keeping these pumpkin bars fresh and fabulous – because if your house is like mine, they might not last long enough to need storing! But just in case, here’s everything you need to know to keep them tasting their best.
Fridge storage is your friend: Once frosted, these pumpkin bars are happiest in the fridge. Just cover the pan tightly with plastic wrap or transfer the bars to an airtight container. They’ll stay moist and delicious for up to 5 days this way. Honestly, they rarely last that long in my house – my kids tend to “forage” every time they pass by the fridge!
Freezing like a pro: Want to make these ahead for the holidays or a bake sale? You can absolutely freeze them! Here’s my foolproof method:
- First, bake and cool the bars but don’t frost them
- Wrap the whole pan tightly in plastic wrap, then aluminum foil
- Label with the date (they’ll keep for about 3 months like this)
- When ready to serve, thaw overnight in the fridge
- Make fresh cream cheese frosting when you’re ready to enjoy
Pro tip: You can also freeze individual slices if you’ve already cut them – perfect for portion control (not that I ever practice that with pumpkin bars…).
Serving suggestions to impress: These pumpkin bars are delicious straight from the pan (no judgement!), but here are some fun ways to dress them up:
- Pair with coffee or hot cider for the ultimate fall breakfast (dessert for breakfast? Yes, please!)
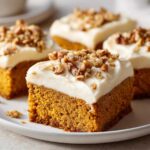
- Top with extra sprinkles or chopped pecans for a party-worthy presentation
- Cut into smaller pieces for bite-sized treats at holiday gatherings
- Drizzle with caramel sauce if you’re feeling extra indulgent
Remember, pumpkin bars just get better after a day or two as the flavors meld together. I often make them the night before an event – the spices really develop that deep, cozy flavor. Just be sure to add the frosting right before serving for that perfect texture.
Pumpkin Bars Variations
Once you’ve mastered these pumpkin bars (which won’t take long, they’re so easy!), it’s time to get creative! Here are some of my favorite ways to mix things up when I’m feeling adventurous in the kitchen:
- Chocolate chip happy accident: I once dumped in half a bag of chocolate chips by mistake – best mistake ever! Fold 1 cup of mini chocolate chips into the batter before baking. The melty chocolate with the spiced pumpkin is pure magic. White chocolate chips work great too for a sweeter twist.
- Glaze instead of frosting: When I’m short on time or want something lighter, I skip the cream cheese frosting and make a simple glaze instead. Just whisk together 1 cup powdered sugar with 2 tablespoons milk and a splash of vanilla. Drizzle it over the cooled bars for a pretty finish – bonus points if you add a pinch of cinnamon to the glaze!
- Mini bar madness: For parties or bake sales, I bake the batter in a 15×10-inch jelly roll pan for 18-20 minutes. You get twice as many petite pumpkin bars that are perfect for sampling. Kids love these mini versions, and they’re great for portion control (though who are we kidding, everyone takes two!).
The beauty of this recipe is how adaptable it is! Feel free to experiment with your own additions – chopped nuts, a swirl of caramel, or even a sprinkle of sea salt on top of the frosting can take these pumpkin bars in exciting new directions. Just don’t mess with those key spices – that cinnamon-nutmeg-clove combo is pure fall perfection!
Nutritional Information
Okay, let’s talk numbers – but remember, I’m a home cook, not a dietitian, so these nutritional values are estimates. I’ve run this recipe through my favorite calculator a few times, and here’s the scoop per bar (because who stops at just one?):
- Calories: 180 (totally worth it)
- Fat: 8g (that cream cheese frosting makes it creamy, not guilty!)
- Carbohydrates: 25g (mostly from that pumpkin goodness)
- Protein: 2g (hey, there’s eggs in there!)
- Sugar: 15g (because happiness is sweet)
These numbers can vary depending on exact measurements and ingredient brands. I like to think of these pumpkin bars as a balanced indulgence – you’re getting real pumpkin (that’s a vegetable, right?), eggs, and wholesome ingredients. Everything in moderation, including moderation – sometimes you just need that warm spiced bite of fall!
Frequently Asked Questions
Over the years, I’ve gotten so many questions about these pumpkin bars – and honestly, most of them came from my own kitchen experiments gone wrong! Here are the answers to all the things you might be wondering about this easy fall dessert:
Can I use canned pumpkin for these bars?
Absolutely! In fact, that’s what I use 90% of the time. Just make sure you’re grabbing 100% pure pumpkin puree, not pumpkin pie filling (which has added sugar and spices). The canned stuff works beautifully and is way more convenient than roasting your own. Just give it a quick stir before measuring – sometimes it separates a bit in the can.
How do I prevent soggy pumpkin bars?
Oh boy, learned this one the hard way! The keys to perfect texture are:
Don’t overmix the batter – Stir just until combined or you’ll develop too much gluten
Use the right amount of pumpkin – Measure carefully (I like to pack the cup lightly)
Let them cool completely before frosting – Trapped steam makes them mushy
And if you’re adding mix-ins like chocolate chips, toss them in flour first to prevent sinking!
Can you freeze pumpkin bars with cream cheese frosting?
Here’s my freezer strategy – the bars themselves freeze beautifully, but the frosting can get a weird texture. I recommend freezing unfrosted bars wrapped tightly, then making fresh cream cheese frosting when you’re ready to serve. They’ll keep for about 3 months frozen. Thaw overnight in the fridge, frost, and voila – tastes just-baked!
What’s the best way to get clean cuts on pumpkin bars?
After years of jagged edges and smeared frosting, I finally cracked the code:
Chill the frosted bars for 30 minutes first
Use a sharp knife dipped in hot water (wipe between cuts)
Cut straight down – no sawing!
Bonus tip: For parties, I cut off the edges first (chef’s privilege – those are my snack pieces!).
Share Your Pumpkin Bars Experience
I live for those moments when someone tries one of my recipes and gets that “oh wow” look on their face – and I bet you’re about to have that moment with these pumpkin bars! There’s nothing more fun for me than hearing about your baking adventures. Did you add chocolate chips? Maybe a sprinkle of sea salt on top? Take a pic of your pumpkin bar masterpiece and tag me – I’d love to see your creations!
Leave a comment below to tell me how your bars turned out, what variations you tried, or even your funny kitchen mishaps (we’ve all been there!). Did your family go crazy for them like mine does? Give the recipe a star rating too – it helps other bakers know this one’s a keeper. And if you’re like me and constantly craving more fall baking inspiration, follow my Pinterest account for a never-ending supply of cozy recipes to try next.
Most importantly – enjoy every delicious bite of these pumpkin bars! They’re meant to be shared, so pass the plate (if you can bear to part with any). Happy baking, friends!
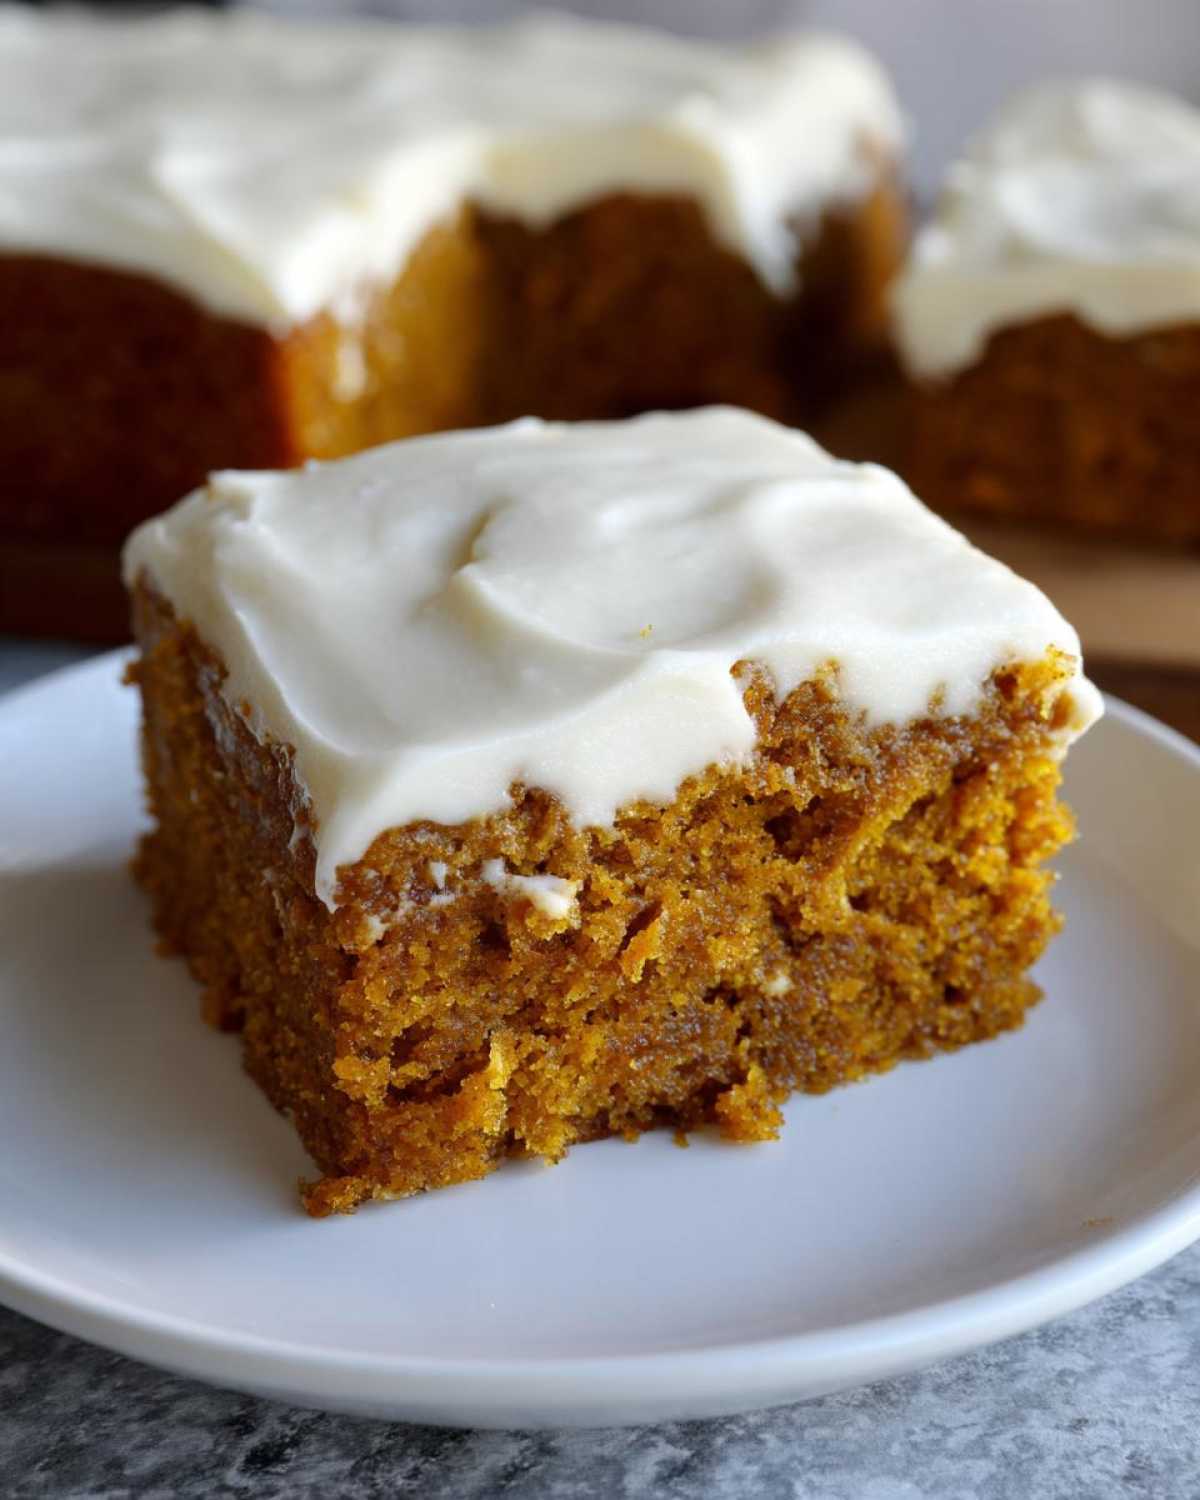
PrintEasy Pumpkin Bars with Cream Cheese Frosting
Moist pumpkin spice bars topped with creamy frosting, perfect for bake sales and fall parties.
- Prep Time: 15 min
- Cook Time: 30 min
- Total Time: 45 min
- Yield: 24 bars 1x
- Category: Dessert
- Method: Baking
- Cuisine: American
- Diet: Vegetarian
Ingredients
- 1 cup pumpkin puree
- 1 cup granulated sugar
- 1/2 cup vegetable oil
- 2 eggs
- 1 tsp vanilla extract
- 1 1/2 cups all-purpose flour
- 1 tsp baking powder
- 1/2 tsp baking soda
- 1 tsp cinnamon
- 1/2 tsp nutmeg
- 1/4 tsp cloves
- 1/4 tsp salt
- 8 oz cream cheese, softened
- 1/4 cup butter, softened
- 2 cups powdered sugar
- 1 tsp vanilla extract
Instructions
- Preheat oven to 350°F. Grease a 9×13-inch baking pan.
- In a bowl, mix pumpkin puree, sugar, oil, eggs, and vanilla.
- Add flour, baking powder, baking soda, cinnamon, nutmeg, cloves, and salt. Stir until combined.
- Pour batter into the pan and bake for 25-30 minutes. Let cool.
- Beat cream cheese, butter, powdered sugar, and vanilla until smooth. Spread over cooled bars.
- Cut into squares and serve.
Notes
- Store bars in the fridge for up to 5 days.
- For clean cuts, chill the bars before slicing.
- Find more fall baking ideas on Pinterest.
Nutrition
- Serving Size: 1 bar
- Calories: 180
- Sugar: 15g
- Sodium: 120mg
- Fat: 8g
- Saturated Fat: 3g
- Unsaturated Fat: 4g
- Trans Fat: 0g
- Carbohydrates: 25g
- Fiber: 1g
- Protein: 2g
- Cholesterol: 25mg