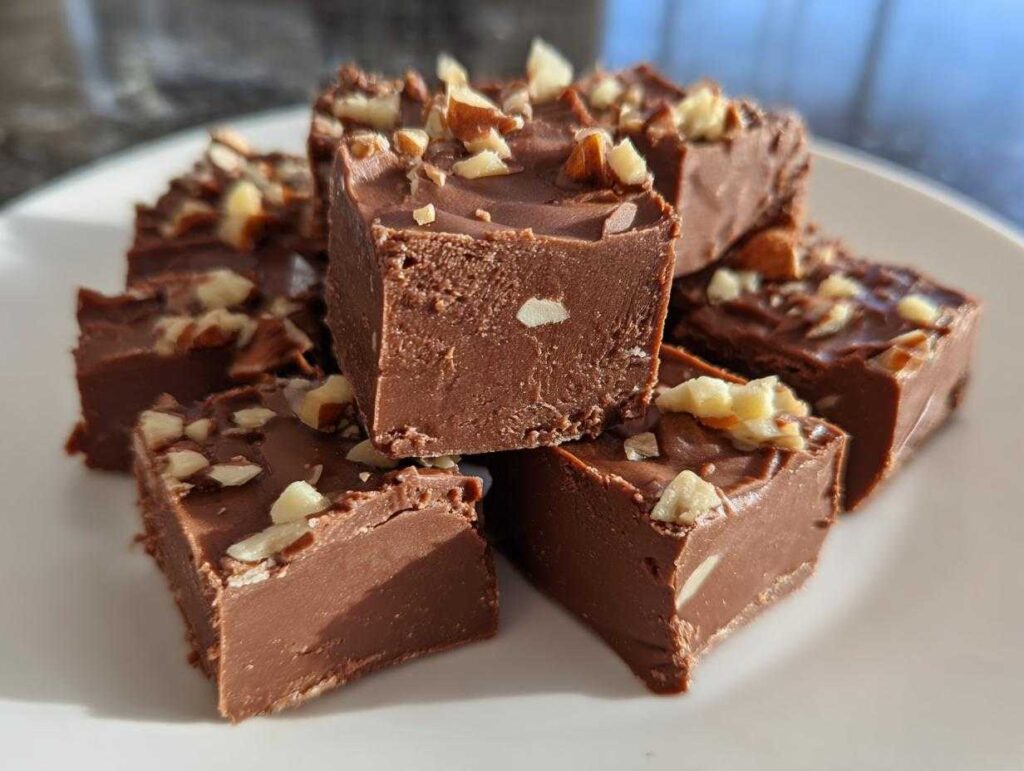
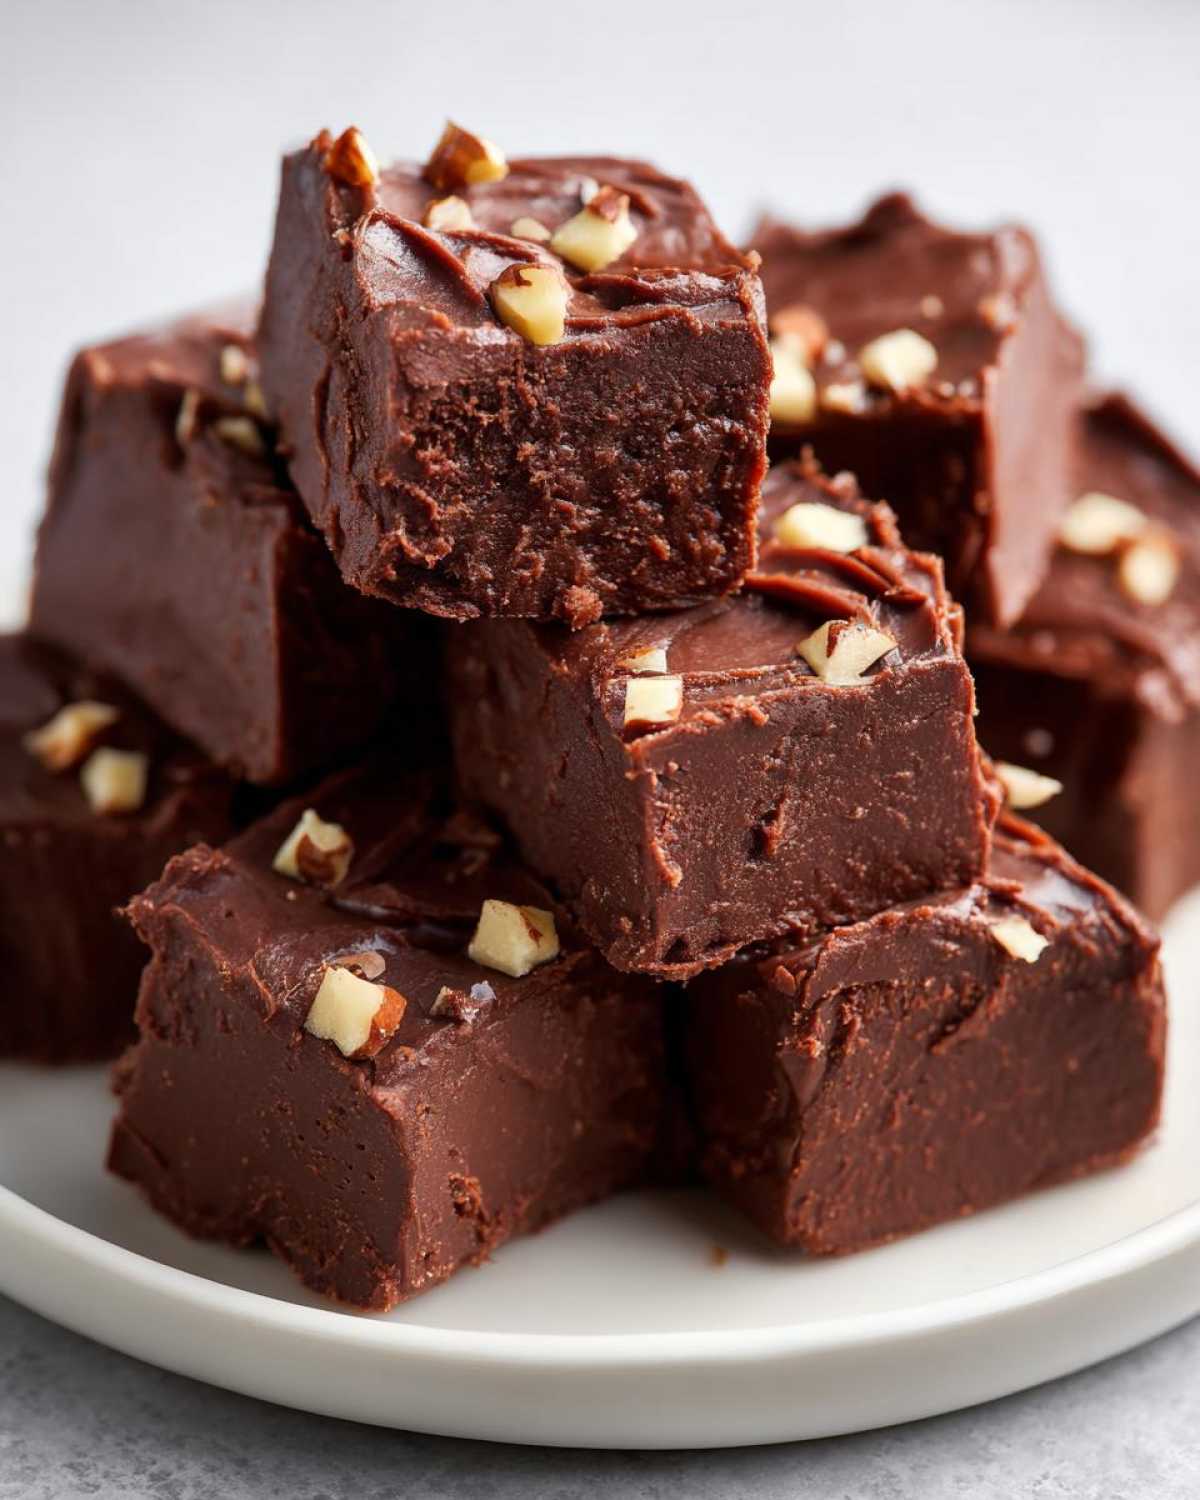
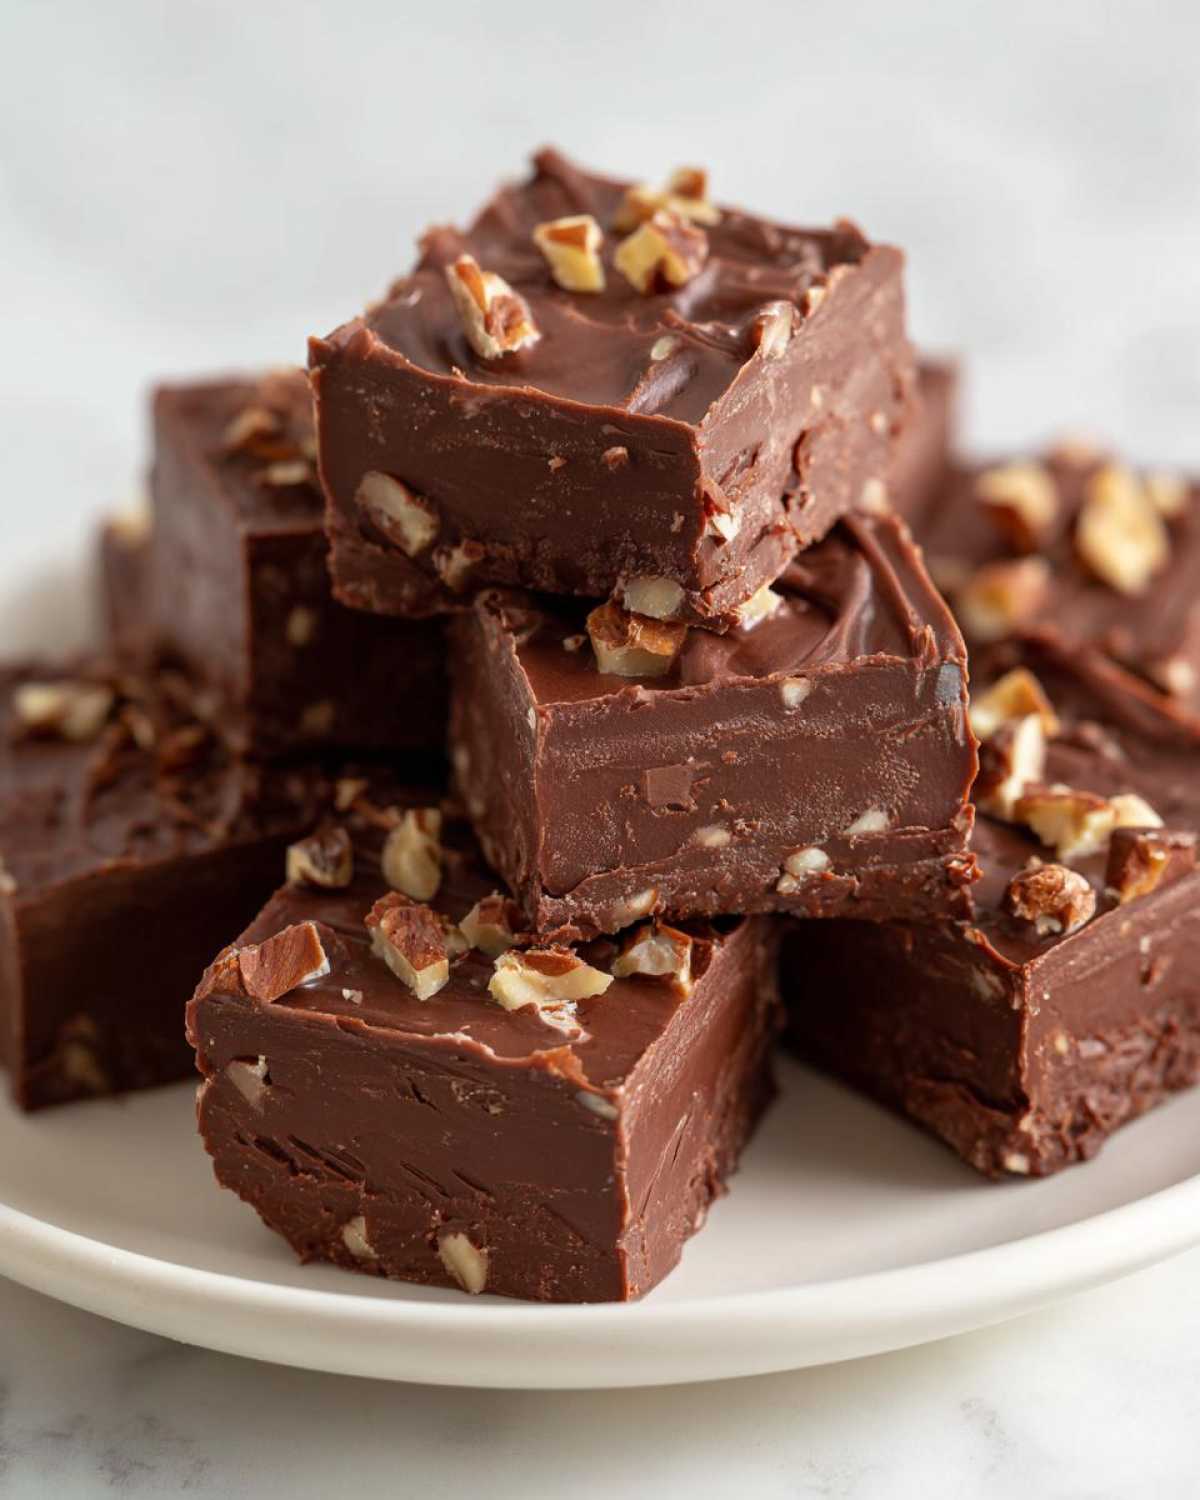
There’s something magical about homemade fudge that takes me straight back to my grandmother’s kitchen every time I make it. I remember standing on a step stool next to her, stirring that glossy chocolate mixture with a wooden spoon almost as big as I was. This classic chocolate fudge recipe I’m sharing is the same one she taught me – the perfect combination of rich chocolatey goodness and nostalgic comfort. After years of testing (and eating way too much fudge), I’ve perfected this foolproof version that works every single time, whether you’re making it for holiday gifts or just craving something sweet. The secret? Butter, patience, and a whole lot of love mixed into every batch.
Why You’ll Love This Fudge Recipe
This isn’t just any fudge recipe – it’s the kind that makes people beg you for the secret. Here’s why it’s my go-to:
- Creamy dreamy texture: The marshmallow creme gives it that melt-in-your-mouth smoothness you can’t get from store-bought fudge, even from those fancy meal delivery companies.
- Pantry-friendly ingredients: No weird extracts or special equipment – just simple stuff you probably already have (I bet you’ve got chocolate chips right now!).
- Endlessly customizable: Toss in walnuts for crunch, go vegan with coconut oil, or keep it classic. My cousin swears by adding a pinch of sea salt on top.
- Life-saver during holidays: Whip up a batch when you’re meal planning for busy weeks – it keeps beautifully and makes the best last-minute gift (trust me, I’ve bribed many teachers with this).
Seriously, once you try homemade, you’ll never go back to that waxy store stuff again.
Ingredients for Classic Chocolate Fudge
Gathering your ingredients is the first step to fudge heaven – and believe me, quality matters here! You’ll need:
- 3 cups granulated sugar (no packing – just scoop and level that cup!)
- 3/4 cup unsalted butter, softened but not melted (trust me, temperature matters)
- 2/3 cup evaporated milk – this is non-negotiable (regular milk just won’t give you that creamy magic)
- 12 oz semisweet chocolate chips (I like Ghirardelli, but use what makes you happy)
- 7 oz marshmallow creme – the secret weapon for that perfect texture
- 1 tsp vanilla extract (the real stuff, please!)
Now for the fun extras:
- 1 cup chopped nuts (optional – walnuts or pecans are my grandma’s favorites, but leave ’em out if you’re not a fan)
See how simple that is? Just seven ingredients standing between you and the best fudge of your life. Well… eight if you count the willpower you’ll need to not eat it all in one sitting!

How to Make Fudge: Step-by-Step
Making perfect fudge is all about patience and paying attention to those little details my grandma always nagged me about. Here’s exactly how we do it in my kitchen – follow these steps and you’ll have silky smooth fudge that’ll make your friends think you’re a professional chocolatier!
Preparing the Pan
First things first – line that 8-inch pan with parchment paper, leaving about 2 inches hanging over the edges on two sides (this creates handy “handles” to lift your fudge out later). If you’re out of parchment, a light buttering will do in a pinch, but trust me, parchment is the way to go for picture-perfect squares.
Cooking the Fudge Base
Now the real fun begins! Grab your favorite heavy-bottomed saucepan (like the kind you’d use for sous-vide precision cooking) and combine the sugar, butter, and evaporated milk. Here’s the trick – stir constantly over medium heat until the sugar fully dissolves (no gritty bits left!) before you even think about boiling. Once it hits that rolling boil, set a timer for exactly 5 minutes – not a second less! Keep stirring the entire time; this isn’t a walk-away-and-check-your-phone situation.
- Combine and melt: Stir together sugar, butter, and evaporated milk in saucepan over medium heat until sugar is fully dissolved and mixture is smooth.
- Boil with purpose: Bring to a full rolling boil, then cook for exactly 5 minutes while stirring constantly. The mixture will thicken slightly and turn a beautiful golden brown – use a candy thermometer if you’re nervous (it should reach 110°F).
- Chocolate time: Remove from heat and immediately stir in chocolate chips until they’re completely melted and glossy. This is when your kitchen will smell like heaven!
- The secret weapon: Add marshmallow creme and vanilla extract, mixing vigorously until everything is perfectly smooth and combined. If you’re adding nuts, now’s the time to fold them in gently.
- Set it and forget it: Pour your velvety mixture into the prepared pan, smooth the top, and let cool at room temperature until completely set (about 4 hours – yes, the waiting is the hardest part!).
Pro tip from grandma: If you see tiny sugar crystals forming on the sides of your pan while boiling, grab a pastry brush dipped in water to wash them down. Those little guys can make your fudge grainy, and we want SMOOTH!
Fudge Recipe Variations
Once you’ve mastered this classic fudge recipe, the fun really begins! Here are my three favorite ways to mix it up when I’m feeling adventurous (or when my friends with dietary restrictions are coming over):
- Rocky road madness: Fold in a cup of mini marshmallows and 1/2 cup crushed graham crackers along with the nuts for that campfire treat flavor. My kids go wild when I add a handful of rainbow sprinkles too – perfect for birthday parties!
- Vegan dream: Swap the butter for coconut oil and use dairy-free chocolate chips. I like adding a tablespoon of almond butter for extra richness. Seriously, even my dairy-loving husband can’t tell this version apart from the original.
- Keto-friendly twist: Replace the sugar with your favorite sugar substitute (I’ve had good results with erythritol) and use sugar-free chocolate chips. It’s not quite grandma’s recipe, but when you’re watching carbs – or ordering from keto meal plan delivery services – this version satisfies that chocolate craving without the guilt.
The best part? These variations all use the same basic method, so you can get creative without risking a fudge fail. Just remember – no matter what you add, that marshmallow creme stays non-negotiable for perfect texture!
Tips for Perfect Fudge Every Time
After burning more batches than I’d like to admit (and crying over grainy fudge more than once), I’ve learned these foolproof tricks that’ll make your fudge turn out perfect every single time:
- Fresh marshmallow creme is key: That dusty jar in your pantry from last Christmas? Toss it. Fresh marshmallow creme blends smoother and gives that dreamy texture we all crave. I learned this the hard way when my “just expired” batch turned into sticky cement.
- Patience, grasshopper: I know it’s tempting, but don’t touch that fudge until it’s completely cool! Cutting too soon makes messy, crumbly squares – wait at least 4 hours. I set a timer now because my willpower fails me every single time.
- Storage smarts: Layer wax paper between pieces when storing. My grandma’s trick? Alternate fudge with wax paper in an airtight tin – it keeps for weeks (if you can resist eating it all first).
- Leftover magic: Hardened fudge? Don’t panic! Microwave a piece for 5-10 seconds to restore that melt-in-your-mouth texture. Though honestly, if you’re following weight loss programs, maybe don’t keep leftovers – this stuff is irresistible!
Fudge Recipe FAQs
Over the years, I’ve gotten every fudge question imaginable – including some real head-scratchers! Here are the answers to the ones I get asked most often (plus a few tricks I’ve learned the hard way):
Can I freeze fudge?
Absolutely! Freezing is my secret weapon for holiday meal planning. Just wrap individual pieces tightly in plastic wrap, then pop them in an airtight container. They’ll keep beautifully for up to 3 months. Thaw in the fridge overnight when those sweet cravings hit – it tastes just like fresh!
Why is my fudge grainy?
Ah, the dreaded sugar crystals! This usually happens when sugar doesn’t fully dissolve before boiling or if crystals form on the pan sides. My grandma’s trick? Stir constantly while the sugar dissolves, and use a wet pastry brush to wash down any crystals. Also – no peeking during that crucial 5-minute boil!
What are the best nuts for fudge?
Walnuts and pecans are my go-tos – they add that perfect crunch without overpowering the chocolate. But if you’re ordering from gluten-free meal delivery services or have allergies, toasted pumpkin seeds make a killer nut-free crunch alternative. Just chop them roughly so they distribute evenly!
Can I make fudge in the microwave?
You bet – when I’m in a pinch (or just feeling lazy), I melt chocolate chips with sweetened condensed milk in 30-second bursts, stirring between each. It’s not quite as smooth as the stovetop method, but it’ll satisfy that chocolate emergency in under 10 minutes. Just don’t tell my grandma I shared this shortcut!

Nutrition Information
Let’s be real – we’re not eating fudge for its health benefits! But since you asked, here’s the scoop: a typical piece has about 220 calories and 12g fat. These are estimates though – your exact nutrition will vary based on ingredients and brands (especially if you go wild with extra nuts!). While this fudge is vegetarian-friendly, it’s definitely not suitable for Ozempic weight loss programs or strict diets. My advice? Enjoy every indulgent bite guilt-free – life’s too short to skip homemade fudge!
More Dessert Inspiration on Pinterest
Need more sweet ideas? I’m constantly pinning new dessert recipes that make my followers drool! Right now, my holiday fudge board is blowing up with a gorgeous peppermint swirl fudge and a crazy-easy Nutella version that takes just 3 ingredients. I’ve also got boards comparing the best meal delivery services for desserts – perfect when you want gourmet treats without the fuss. Come join the fun and get inspired for your next baking adventure!
PrintClassic Chocolate Fudge
A simple and delicious chocolate fudge recipe that’s perfect for holidays or any occasion.
- Prep Time: 10 min
- Cook Time: 15 min
- Total Time: 25 min
- Yield: 16 servings 1x
- Category: Dessert
- Method: Stovetop
- Cuisine: American
- Diet: Vegetarian
Ingredients
- 3 cups granulated sugar
- 3/4 cup unsalted butter
- 2/3 cup evaporated milk
- 12 oz semisweet chocolate chips
- 7 oz marshmallow creme
- 1 tsp vanilla extract
- 1 cup chopped nuts (optional)
Instructions
- Line an 8-inch square pan with parchment paper.
- Combine sugar, butter, and evaporated milk in a saucepan over medium heat. Stir until sugar dissolves.
- Bring to a boil and cook for 5 minutes, stirring constantly.
- Remove from heat and stir in chocolate chips until melted.
- Add marshmallow creme and vanilla extract, mixing until smooth.
- Fold in nuts if using.
- Pour into prepared pan and let cool before cutting.
Notes
- For vegan fudge, use dairy-free chocolate and butter substitutes.
- Store in an airtight container for up to two weeks.
- Check out our Pinterest for more dessert ideas.
Nutrition
- Serving Size: 1 piece
- Calories: 220
- Sugar: 30
- Sodium: 25
- Fat: 12
- Saturated Fat: 7
- Unsaturated Fat: 4
- Trans Fat: 0
- Carbohydrates: 35
- Fiber: 1
- Protein: 2
- Cholesterol: 15