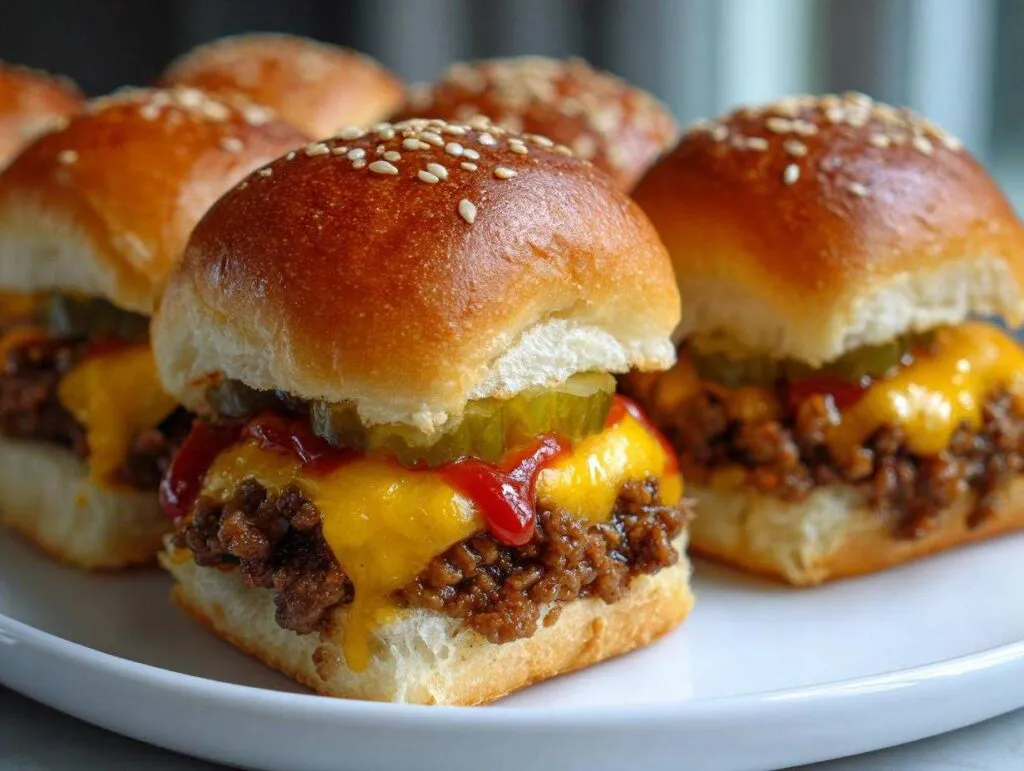
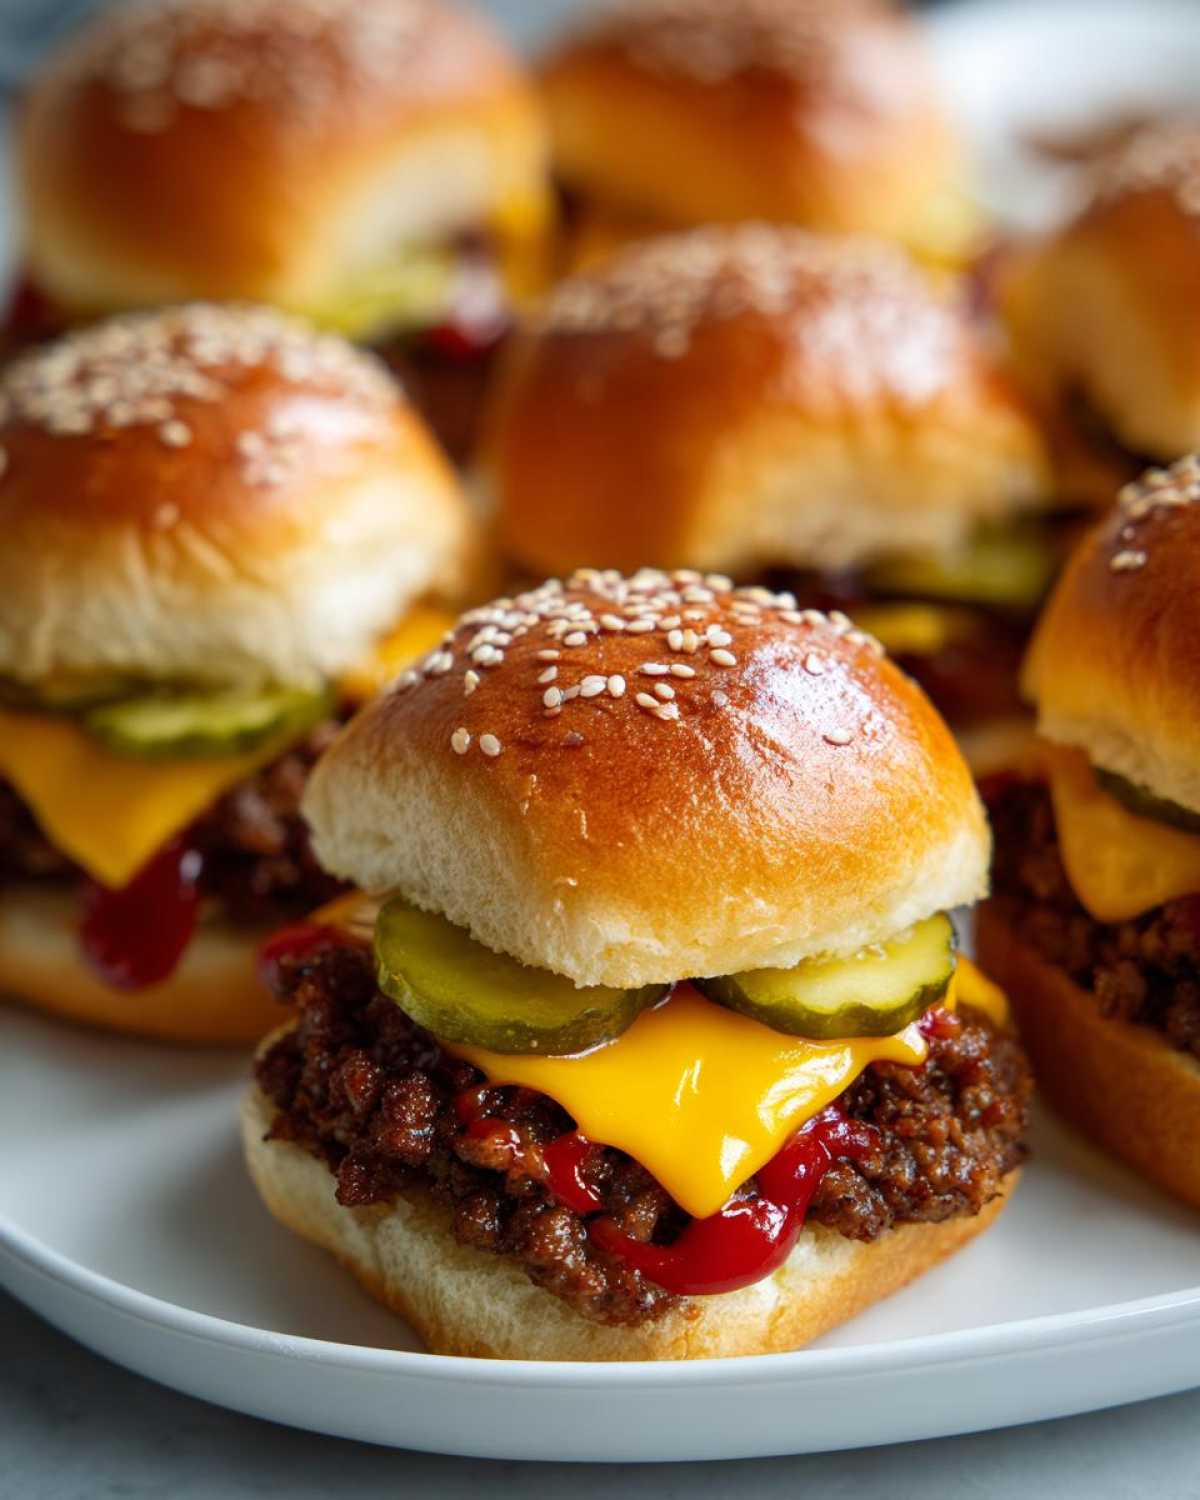
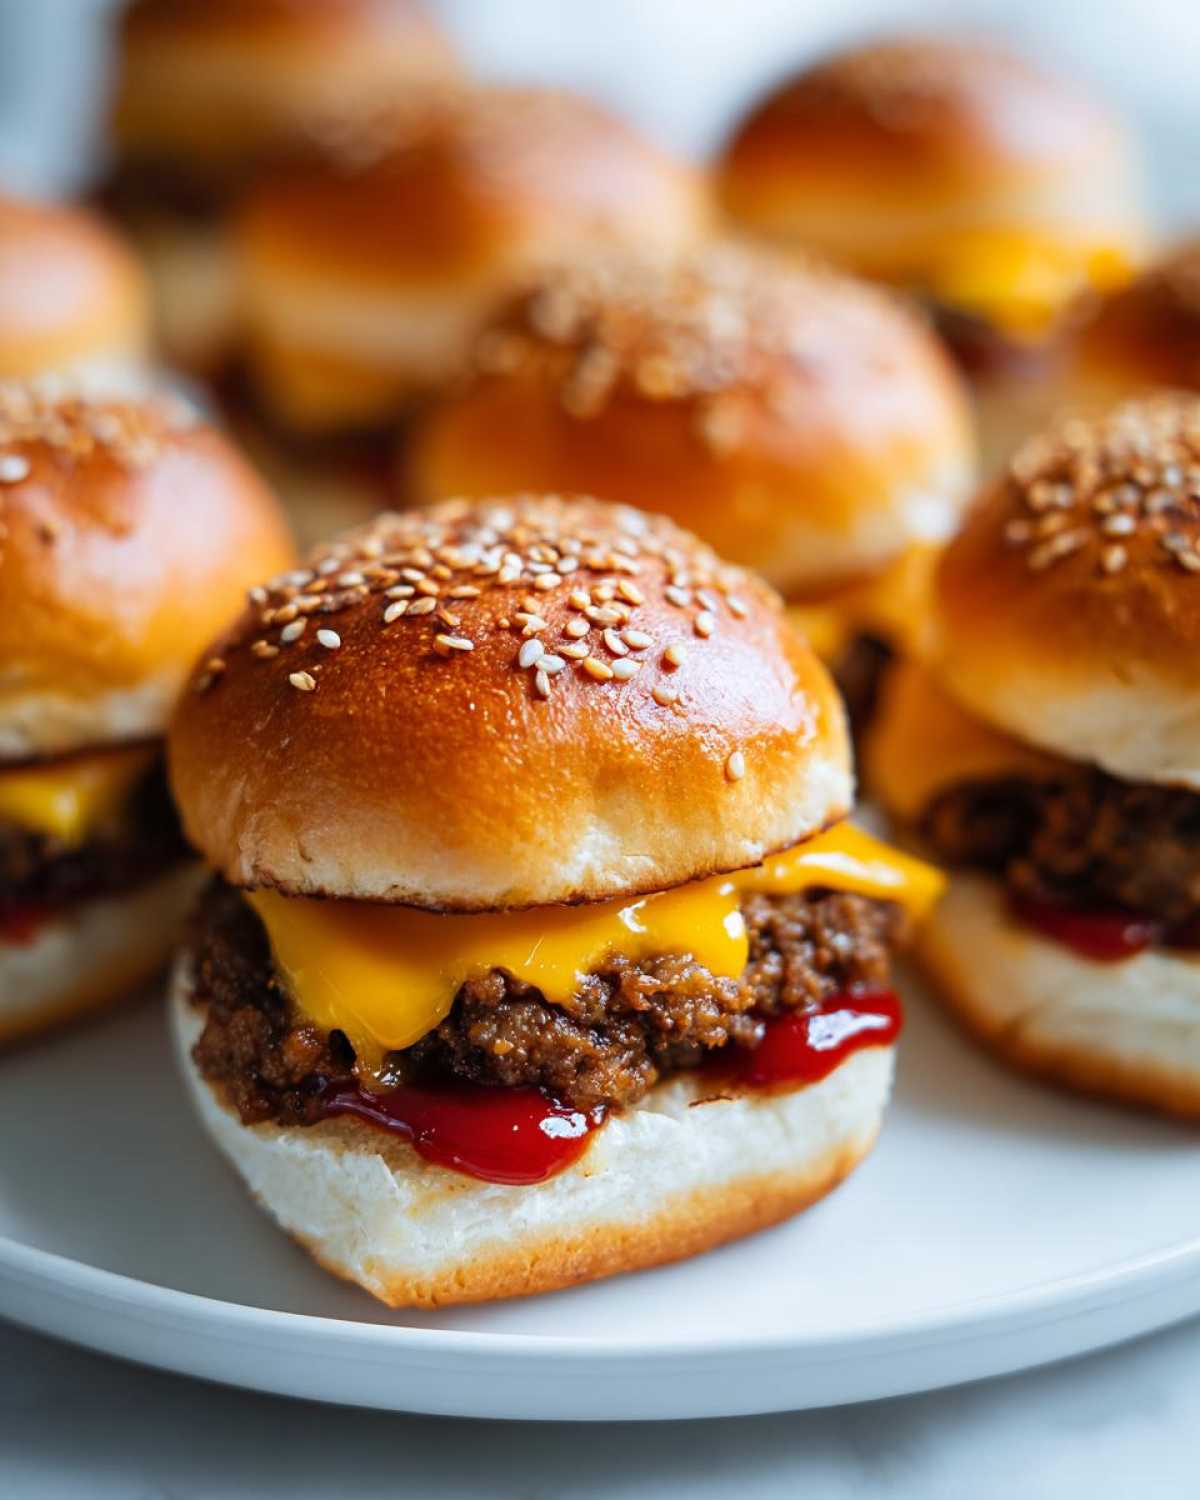
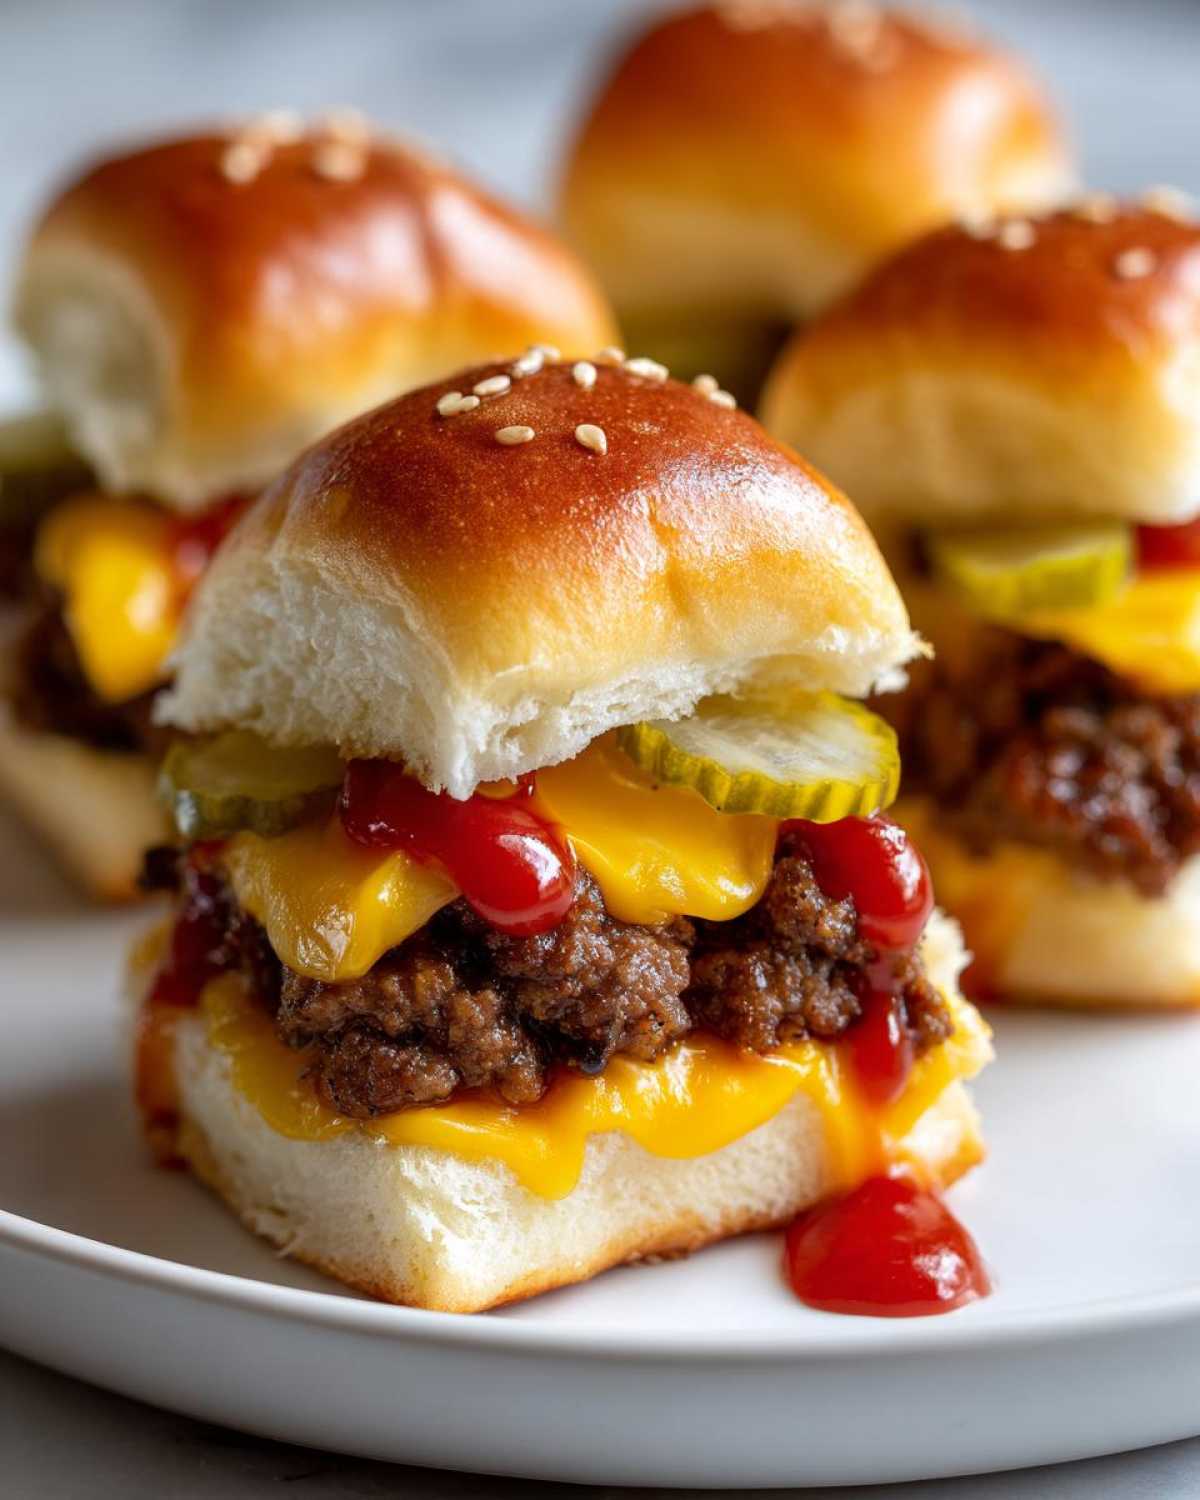
Oh my gosh, you guys – cheeseburger sliders are my absolute go-to when I need to feed a hungry crowd fast! I still remember the first time I made these for my husband’s football watch party – they disappeared before halftime! There’s something magical about those sweet Hawaiian rolls hugging juicy beef, melty cheese, and tangy pickles. And the best part? You can whip up a whole sheet pan of these bad boys in about 30 minutes flat.
These aren’t just any sliders – they’re the ultimate party food that makes you look like a rockstar host with minimal effort. Whether it’s game day, a birthday bash, or just a casual family dinner, these cheeseburger sliders always get rave reviews. Trust me, once you try this recipe, you’ll be making them on repeat!

- Why You'll Love These Cheeseburger Sliders
- Ingredients for Cheeseburger Sliders
- How to Make Cheeseburger Sliders
- Tips for Perfect Cheeseburger Sliders
- Variations for Cheeseburger Sliders
- Serving Suggestions
- Storage and Reheating
- Nutritional Information
- Frequently Asked Questions
- Share Your Cheeseburger Sliders
Why You’ll Love These Cheeseburger Sliders
Let me tell you why these little guys will become your new party staple:
- Super fast – Ready in half an hour when hunger strikes
- No-fuss prep – Just layer ingredients and pop in the oven
- Big flavor – Sweet rolls balance the savory beef perfectly
- Feeds a crowd – One pan makes 12 perfect bite-sized burgers
- Freezer magic – Assemble ahead and bake when needed
- Endless options – Customize with your favorite toppings
They’re the ultimate easy appetizer that always disappears first!
Ingredients for Cheeseburger Sliders
Okay, let’s gather our goodies! Here’s everything you’ll need to make these irresistible cheeseburger sliders – I promise it’s all simple stuff you probably already have:
- 12 Hawaiian rolls – That sweet, pillowy goodness is key!
- 1 lb ground beef – I like 80/20 for the juiciest sliders
- 1 tsp salt – Just the right amount to make flavors pop
- 1 tsp black pepper – Freshly ground if you’ve got it
- 1 tsp garlic powder – My secret flavor booster
- 1 tsp onion powder – Adds that classic burger taste
- 6 slices cheddar cheese – Sharp cheddar melts like a dream
- 1/4 cup pickles, sliced – Dill chips add the perfect crunch
- 1/4 cup ketchup – The classic burger condiment
- 1/4 cup mustard – Yellow or Dijon both work great
- 2 tbsp butter, melted – For that golden, buttery top
- 1 tbsp sesame seeds (optional) – Pretty little garnish
See? Nothing fancy – just good, simple ingredients that come together to make magic. Now let’s get cooking!
How to Make Cheeseburger Sliders
Alright, let’s get these cheeseburger sliders going! I promise it’s easier than you think – just follow these simple steps and you’ll have a crowd-pleasing appetizer ready in no time. The best part? Everything bakes together in one pan, so cleanup is a breeze!
Preparing the Beef Filling
First things first – let’s cook that beef! Grab your favorite skillet and brown the ground beef over medium heat, breaking it up as it cooks. You’ll know it’s ready when there’s no pink left – about 5-7 minutes. Drain any excess grease (trust me, your sliders will thank you), then sprinkle in all those yummy seasonings – salt, pepper, garlic powder, and onion powder. Give it a good stir and take a quick sniff – oh yeah, that’s the good stuff!
Assembling the Cheeseburger Sliders
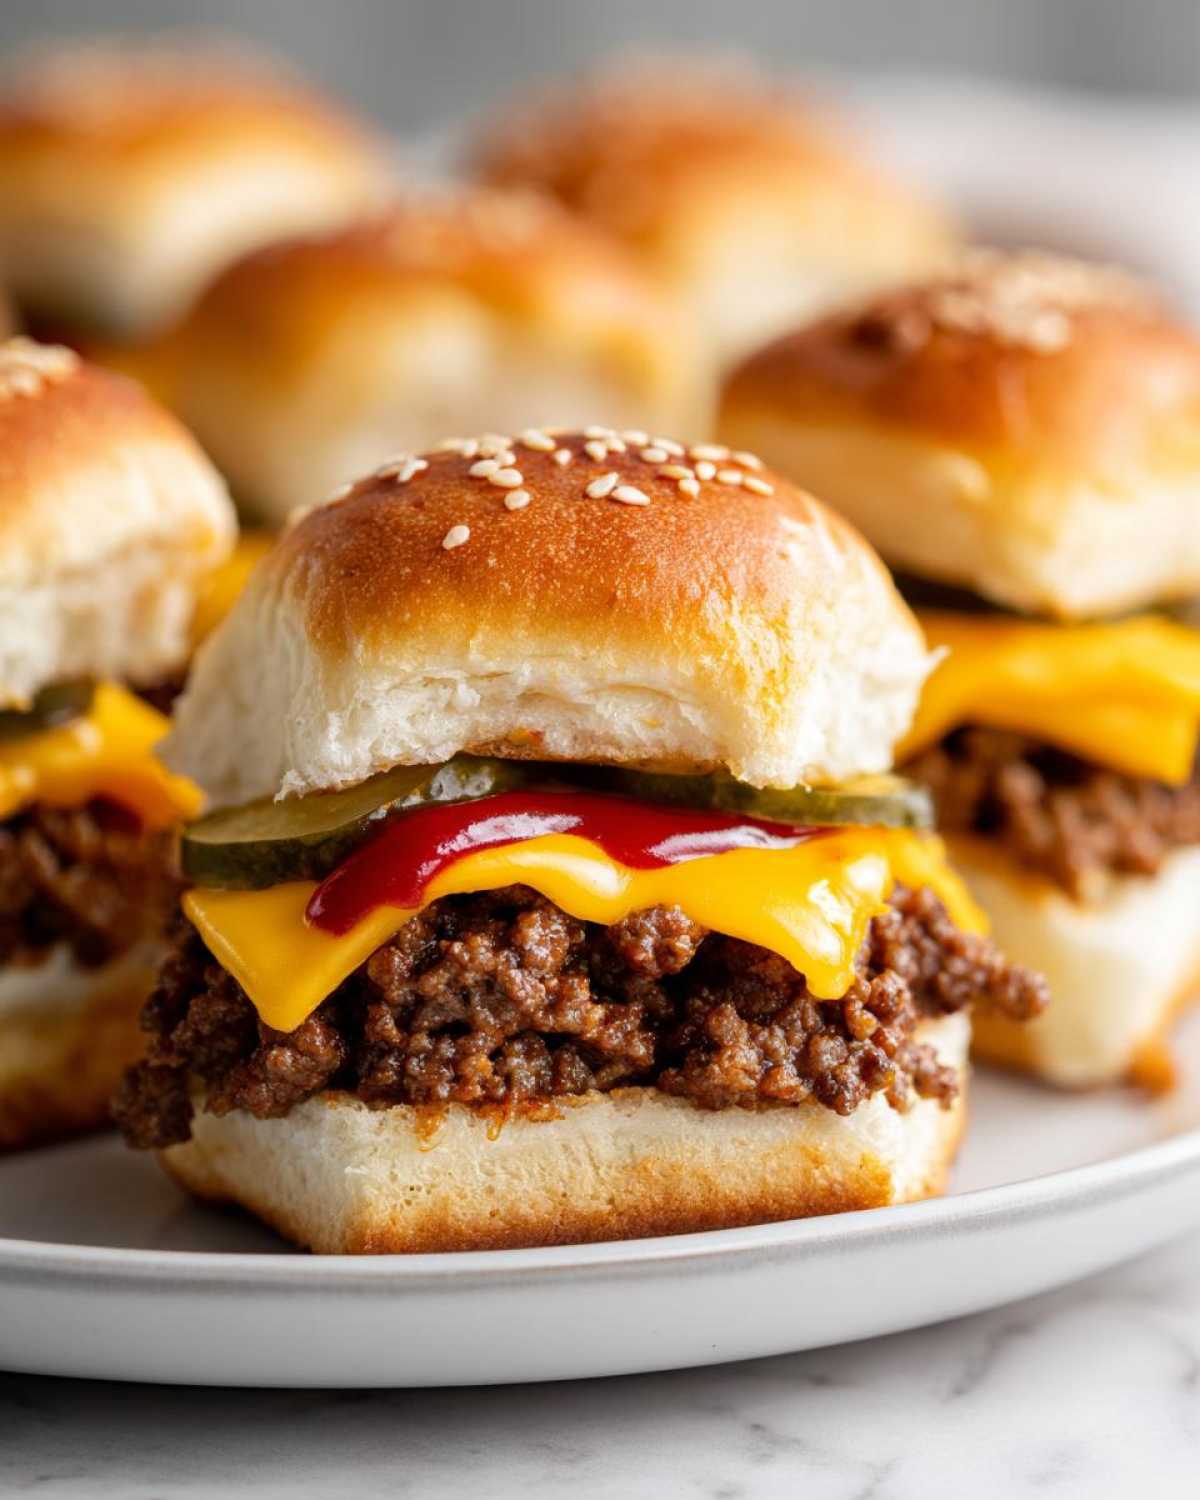
Now for the fun part! Take your Hawaiian rolls and slice the whole pack in half horizontally – keep them connected if you can. Place the bottom halves in your baking dish. Spread that seasoned beef evenly across all the rolls – I like to use a spatula to press it gently into place. Layer on the cheese slices (don’t be shy!), then scatter those pickle chips over the top. Finish with zigzags of ketchup and mustard – just like you’re decorating a burger!
Baking and Serving
Pop the top halves of the rolls back on, then brush that melted butter all over the tops. Sprinkle with sesame seeds if you’re feeling fancy – they add such a nice crunch! Slide your masterpiece into a 350°F oven for about 15 minutes, until the cheese is melty and the rolls turn golden brown. Let them cool for just a minute before slicing into individual sliders – watch how everyone’s eyes light up when you bring these to the table!
Tips for Perfect Cheeseburger Sliders
Okay, let me share my hard-earned secrets for making these cheeseburger sliders absolutely foolproof every single time:
- Make-ahead magic: Assemble the whole pan the night before, cover tightly with foil, and refrigerate. Just add 5 extra minutes to the bake time!
- Freezer friendly: Wrap unbaked sliders in plastic wrap, then foil, and freeze for up to a month. Thaw overnight before baking.
- Bacon boost: Add crispy bacon pieces between the beef and cheese layers – game changer!
- Sauce it up: Mix equal parts mayo and ketchup with a dash of pickle juice for a special burger sauce.
- Golden trick: Brush rolls with garlic butter instead of plain butter for extra flavor.
These little tweaks take your sliders from good to “can I have the recipe?” amazing!
Variations for Cheeseburger Sliders
Oh, the possibilities! Once you’ve mastered the basic cheeseburger sliders, it’s time to get creative. My favorite part is playing with different flavors – here are some of my go-to twists:
- Spicy kick: Add sliced jalapeños or a drizzle of sriracha mayo
- Cheese swap: Try pepper jack for heat or Swiss for something milder
- Breakfast style: Top with a fried egg and crispy hash browns
- BBQ lover: Swap ketchup for barbecue sauce and add caramelized onions
- Hawaiian twist: Add pineapple rings and teriyaki glaze
Don’t be afraid to mix and match – that’s half the fun!
Serving Suggestions
Oh, you’re gonna love how these cheeseburger sliders pair with all your favorite game day treats! I always serve mine with crispy french fries – the perfect salty crunch next to those sweet rolls. For something lighter, a tangy coleslaw or fresh garden salad balances things out beautifully. And don’t forget the drinks! Ice-cold beer or homemade lemonade makes these sliders sing. Trust me, this combo will have your guests coming back for seconds (and thirds)!
Storage and Reheating
Okay, let’s talk leftovers – because let’s be real, these cheeseburger sliders rarely last long in my house! If you somehow have extras, wrap them tightly in foil and refrigerate for up to 3 days. To reheat, pop them in a 300°F oven for about 10 minutes – they’ll taste almost fresh-baked! My freezer hack? Assemble the whole pan but don’t bake it – wrap it tightly in plastic wrap, then foil, and freeze for up to a month. Just thaw overnight in the fridge and bake as usual when you’re ready. Easy peasy!
Nutritional Information
Just a quick heads up – these numbers are estimates since ingredients vary by brand. One slider has about 250 calories, but who stops at just one? Find more tasty ideas on our Pinterest!
Frequently Asked Questions
I get asked about these cheeseburger sliders all the time – here are the answers to the questions that pop up most often at my parties:
I get asked these questions all the time at backyard BBQs – here are the answers straight from my marinade-stained recipe notebook:
Can I use different rolls instead of Hawaiian?
You sure can! While Hawaiian rolls give that signature sweetness, regular slider buns or even mini ciabatta rolls work great. Just watch the baking time – denser rolls might need an extra minute or two. My second favorite? Brioche rolls for that rich, buttery flavor!
How far ahead can I assemble these baked cheeseburger sliders?
They’re perfect for prepping! Assemble the whole pan, cover tightly with plastic wrap, and refrigerate for up to 24 hours before baking. Just add 5 extra minutes to the oven time since everything will be cold. Game day hosting just got way easier!
What’s the best way to freeze oven cheeseburger sliders?
Freeze them unbaked! Wrap the assembled (but not baked) sliders tightly in plastic wrap, then foil. They’ll keep for a month. When ready, thaw overnight in the fridge and bake as usual. The rolls might get slightly softer, but the flavor stays amazing.
Can I use turkey or chicken instead of beef?
Absolutely! Ground turkey or chicken work beautifully – just add an extra teaspoon of seasoning since they’re milder. For vegetarian friends, seasoned crumbled tofu or meatless crumbles are fantastic alternatives too.
Share Your Cheeseburger Sliders
Did you make these? I’d love to see your version! Snap a pic and tag me – your creations make my day. Find more easy crowd-pleasers on our Pinterest boards too!
PrintCheeseburger Sliders

Easy-to-make cheeseburger sliders perfect for parties and game days. These mini burgers are baked on Hawaiian rolls for a crowd-pleasing appetizer.
- Prep Time: 15 minutes
- Cook Time: 15 minutes
- Total Time: 30 minutes
- Yield: 12 sliders 1x
- Category: Appetizer
- Method: Baking
- Cuisine: American
- Diet: Low Lactose
Ingredients
- 12 Hawaiian rolls
- 1 lb ground beef
- 1 tsp salt
- 1 tsp black pepper
- 1 tsp garlic powder
- 1 tsp onion powder
- 6 slices cheddar cheese
- 1/4 cup pickles, sliced
- 1/4 cup ketchup
- 1/4 cup mustard
- 2 tbsp butter, melted
- 1 tbsp sesame seeds (optional)
Instructions
- Preheat oven to 350°F (175°C).
- Cook ground beef in a skillet over medium heat until browned. Season with salt, pepper, garlic powder, and onion powder.
- Slice Hawaiian rolls in half horizontally and place the bottom half in a baking dish.
- Spread cooked beef evenly over the rolls.
- Layer cheese slices on top of the beef.
- Add pickles and drizzle with ketchup and mustard.
- Place the top half of the rolls over the filling.
- Brush melted butter over the tops and sprinkle with sesame seeds if desired.
- Bake for 15 minutes or until cheese is melted and rolls are golden.
- Slice into individual sliders and serve warm.
Notes
- Make ahead: Assemble sliders and refrigerate for up to 24 hours before baking.
- Freezer-friendly: Wrap unbaked sliders tightly and freeze for up to 1 month.
- Flavor boost: Add crispy bacon or a special sauce for extra taste.
- Find more recipes on our Pinterest account.
Nutrition
- Serving Size: 1 slider
- Calories: 250
- Sugar: 5g
- Sodium: 450mg
- Fat: 12g
- Saturated Fat: 6g
- Unsaturated Fat: 4g
- Trans Fat: 0g
- Carbohydrates: 20g
- Fiber: 1g
- Protein: 14g
- Cholesterol: 45mg