
I’ll never forget the first time I tried caramel apple dip at my friend’s Halloween party. It was love at first bite—creamy, sweet, and just a little crunchy from the toffee bits! The best part? It took barely five minutes to make, and everyone couldn’t stop raving about it. That’s why I love this easy caramel apple dip—three simple ingredients (cream cheese, caramel, and toffee) transform into the ultimate crowd-pleaser. Whether you’re hosting a fall gathering, packing lunchbox treats, or need a last-minute gift, this dip checks all the boxes. Trust me, it’ll disappear faster than a ghost at midnight!
Why You’ll Love This Caramel Apple Dip
This little bowl of magic checks all the boxes for the perfect fall snack. Here’s why it’s become my go-to recipe:
- Takes 5 minutes – No baking, no fancy techniques. Just mix, layer, and watch it disappear at parties!
- Always a crowd favorite – Kids go wild for the sweet caramel and toffee combo, while adults love the nostalgic flavors. I’ve never seen a plate of this left unfinished.
- Perfect for meal planning – Make it ahead (it keeps beautifully for days) and portion into small jars for quick snacks.
- Endlessly adaptable – Use Greek yogurt for a lighter version or swap in homemade caramel for extra wow factor.
- Works for any occasion – From Halloween parties to cozy nights in, this dip always feels special but requires zero stress.
Ingredients for Caramel Apple Dip
You only need three simple ingredients to make this addictive dip—but small details make all the difference in flavor and texture. Here’s what I always use:
- 8 oz cream cheese – Softened to room temperature (this makes it easier to mix to that perfect smooth consistency)
- 1 cup caramel sauce – Store-bought works great, but if you’re feeling fancy, try my homemade caramel for next-level flavor
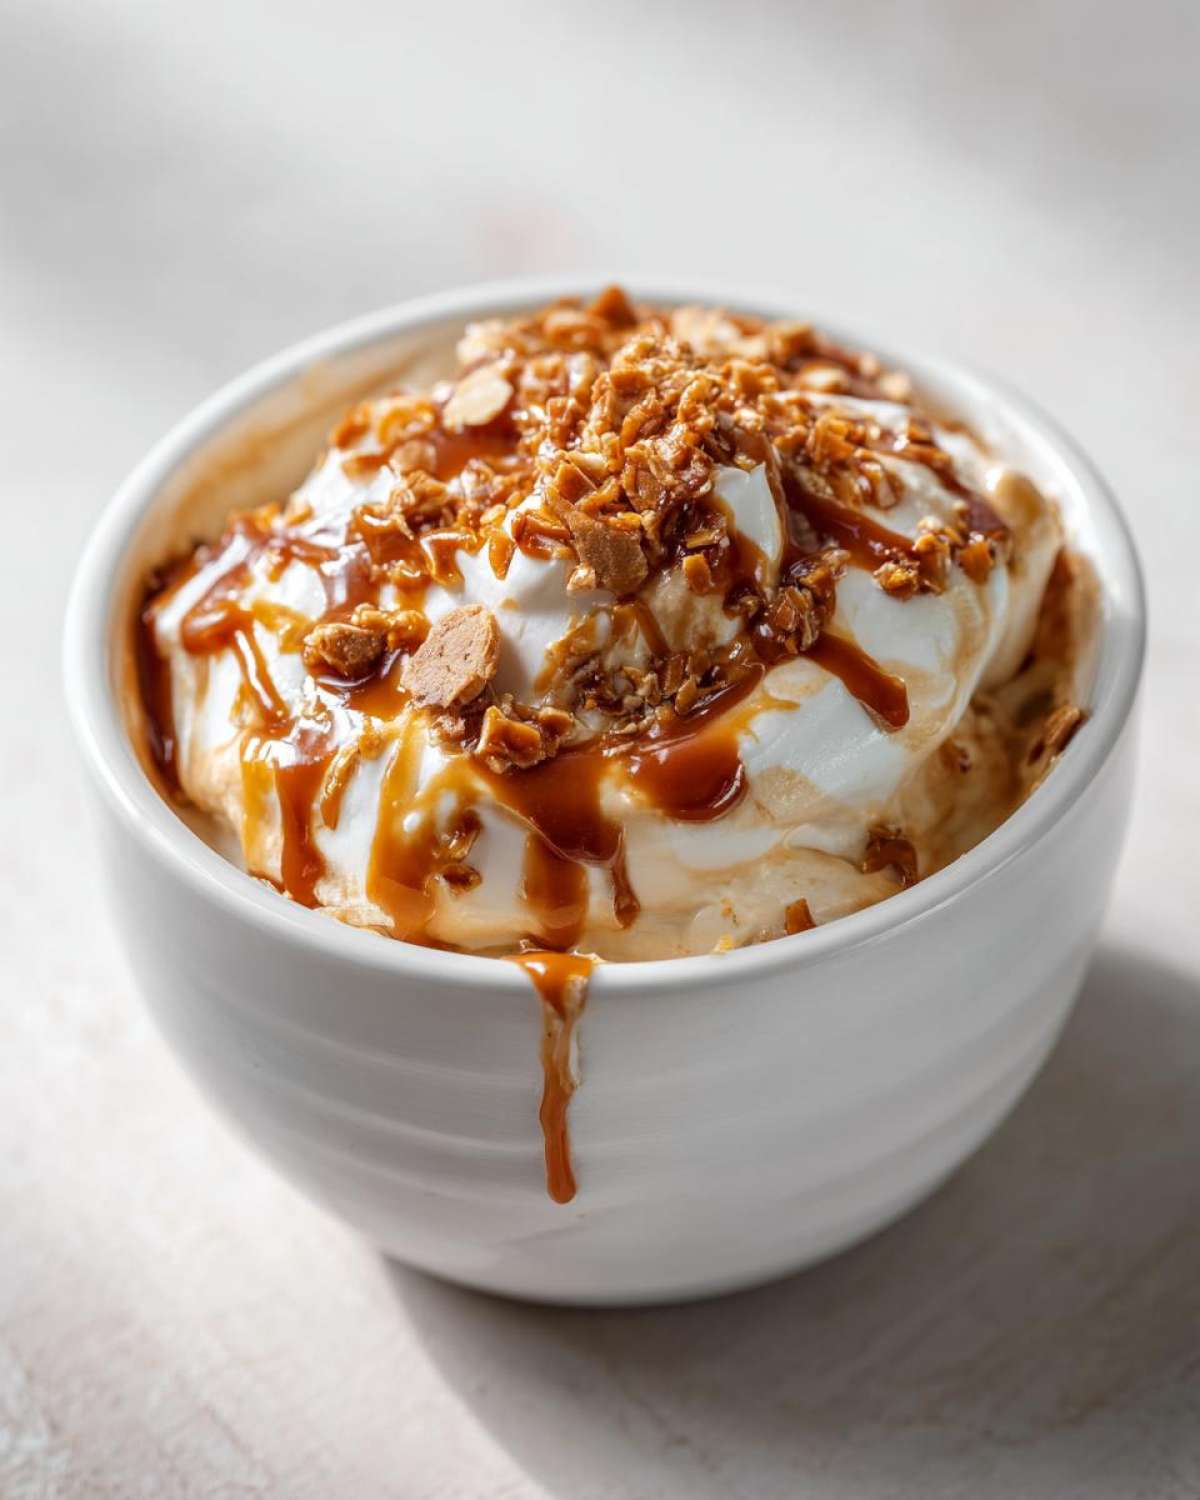
- 1/2 cup toffee bits – Pack them lightly when measuring for that signature crunch in every bite
Pro tip: Keep an extra handful of toffee bits for sprinkling on top right before serving—it makes the dip look irresistible!
How to Make Caramel Apple Dip
I still remember the first time I made this caramel apple dip – I was shocked at how something so delicious could be so simple! Here’s exactly how I do it for foolproof results every time:
Step 1: Grab your softened cream cheese (I leave mine out about 30 minutes first – trust me, it makes all the difference!) and beat it in a bowl until it’s completely smooth. I like using a hand mixer, but a sturdy spoon works too if you don’t mind a little arm workout. No lumps allowed!
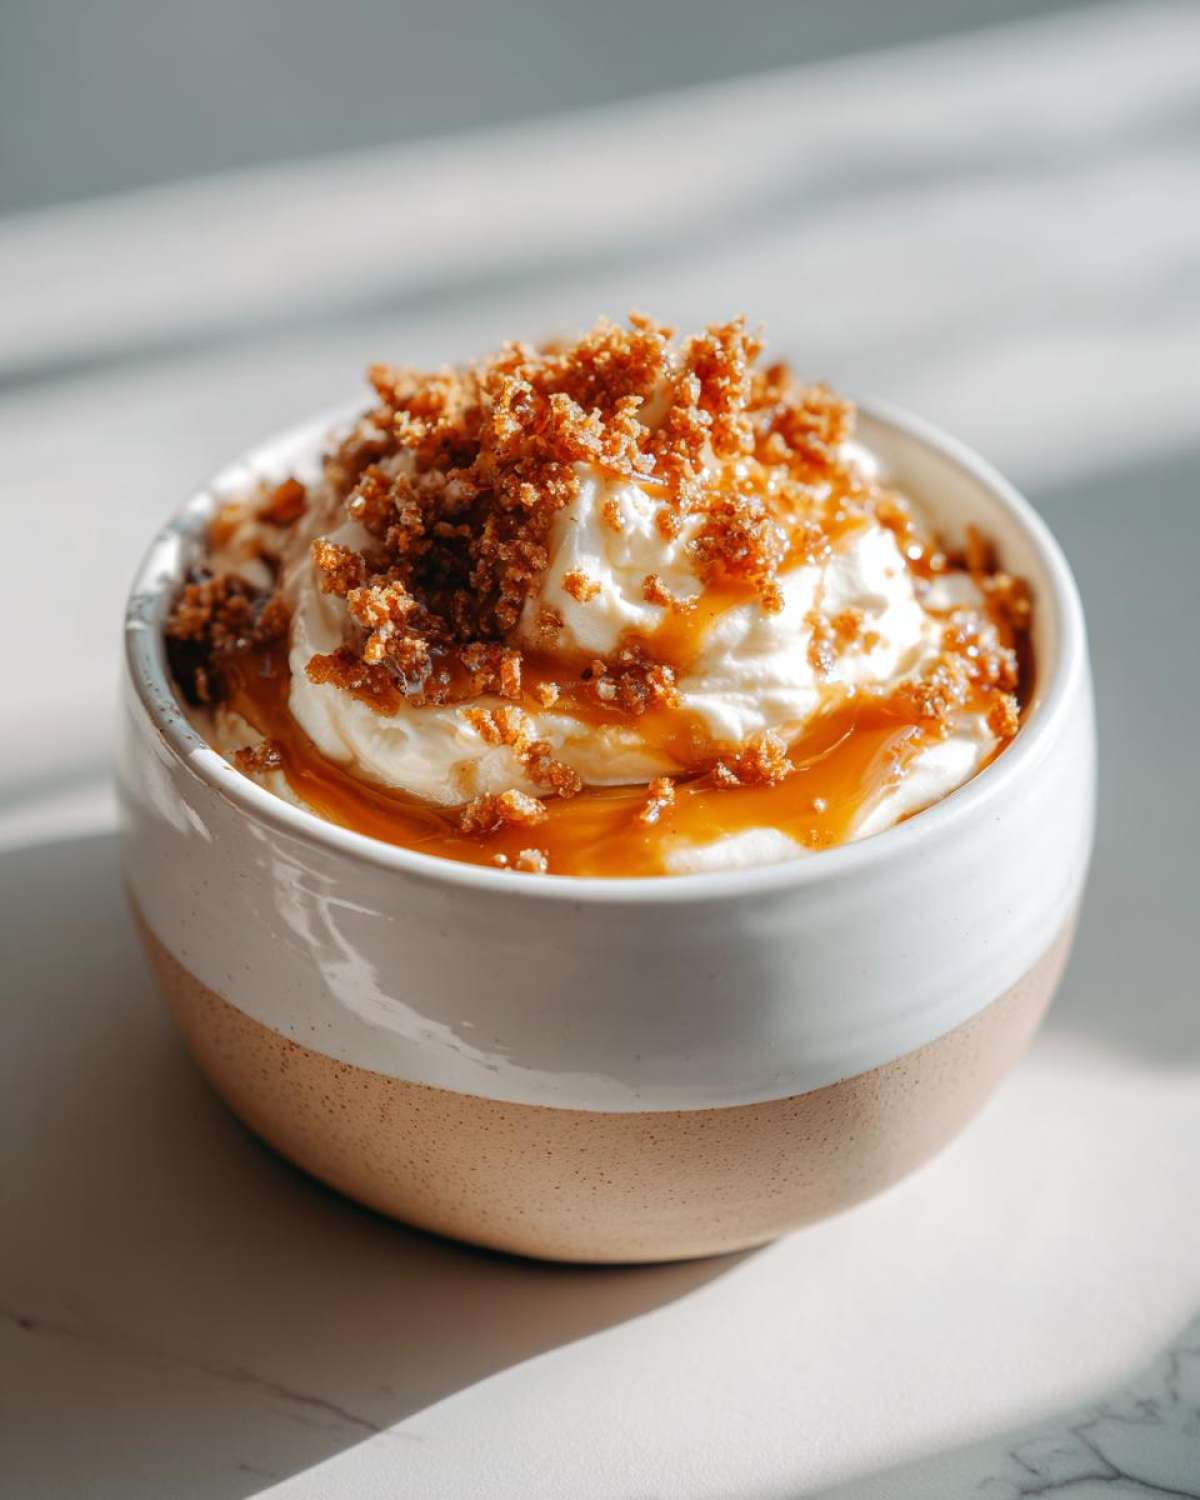
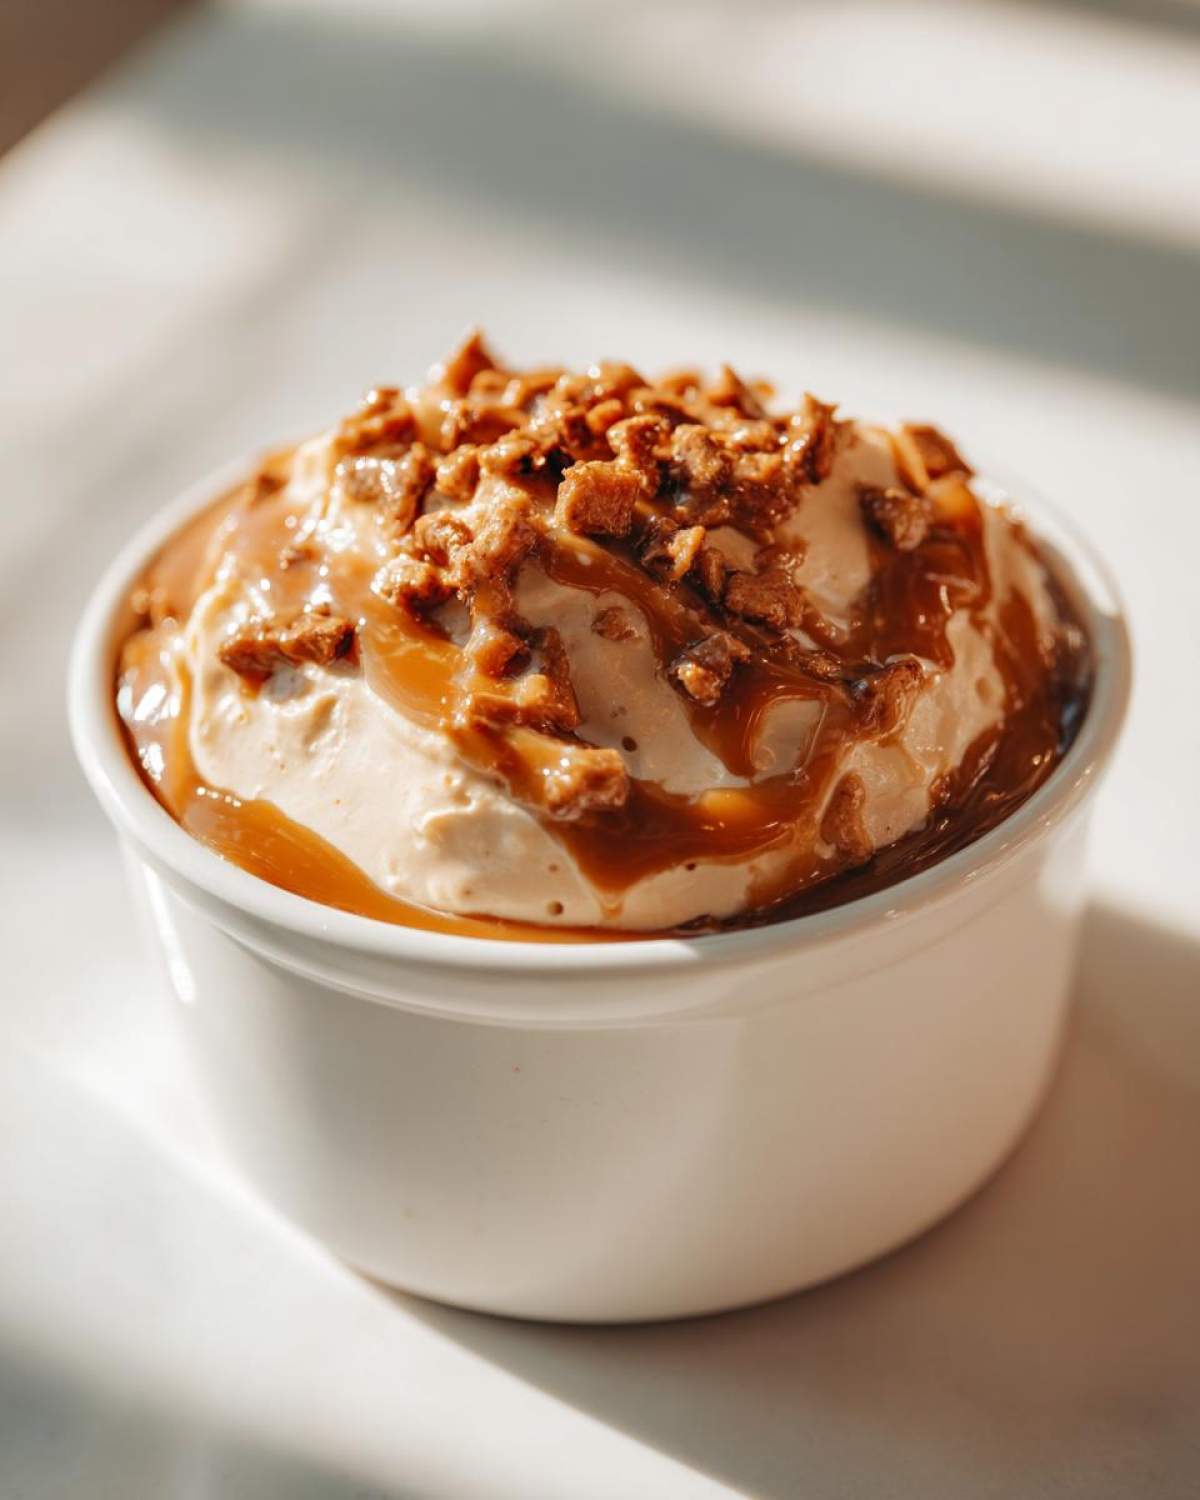
Step 2: Spread the cream cheese in your serving dish or individual jars if you’re feeling fancy. Use the back of a spoon to make little swoops – these nooks will catch extra caramel sauce, and who doesn’t want that?
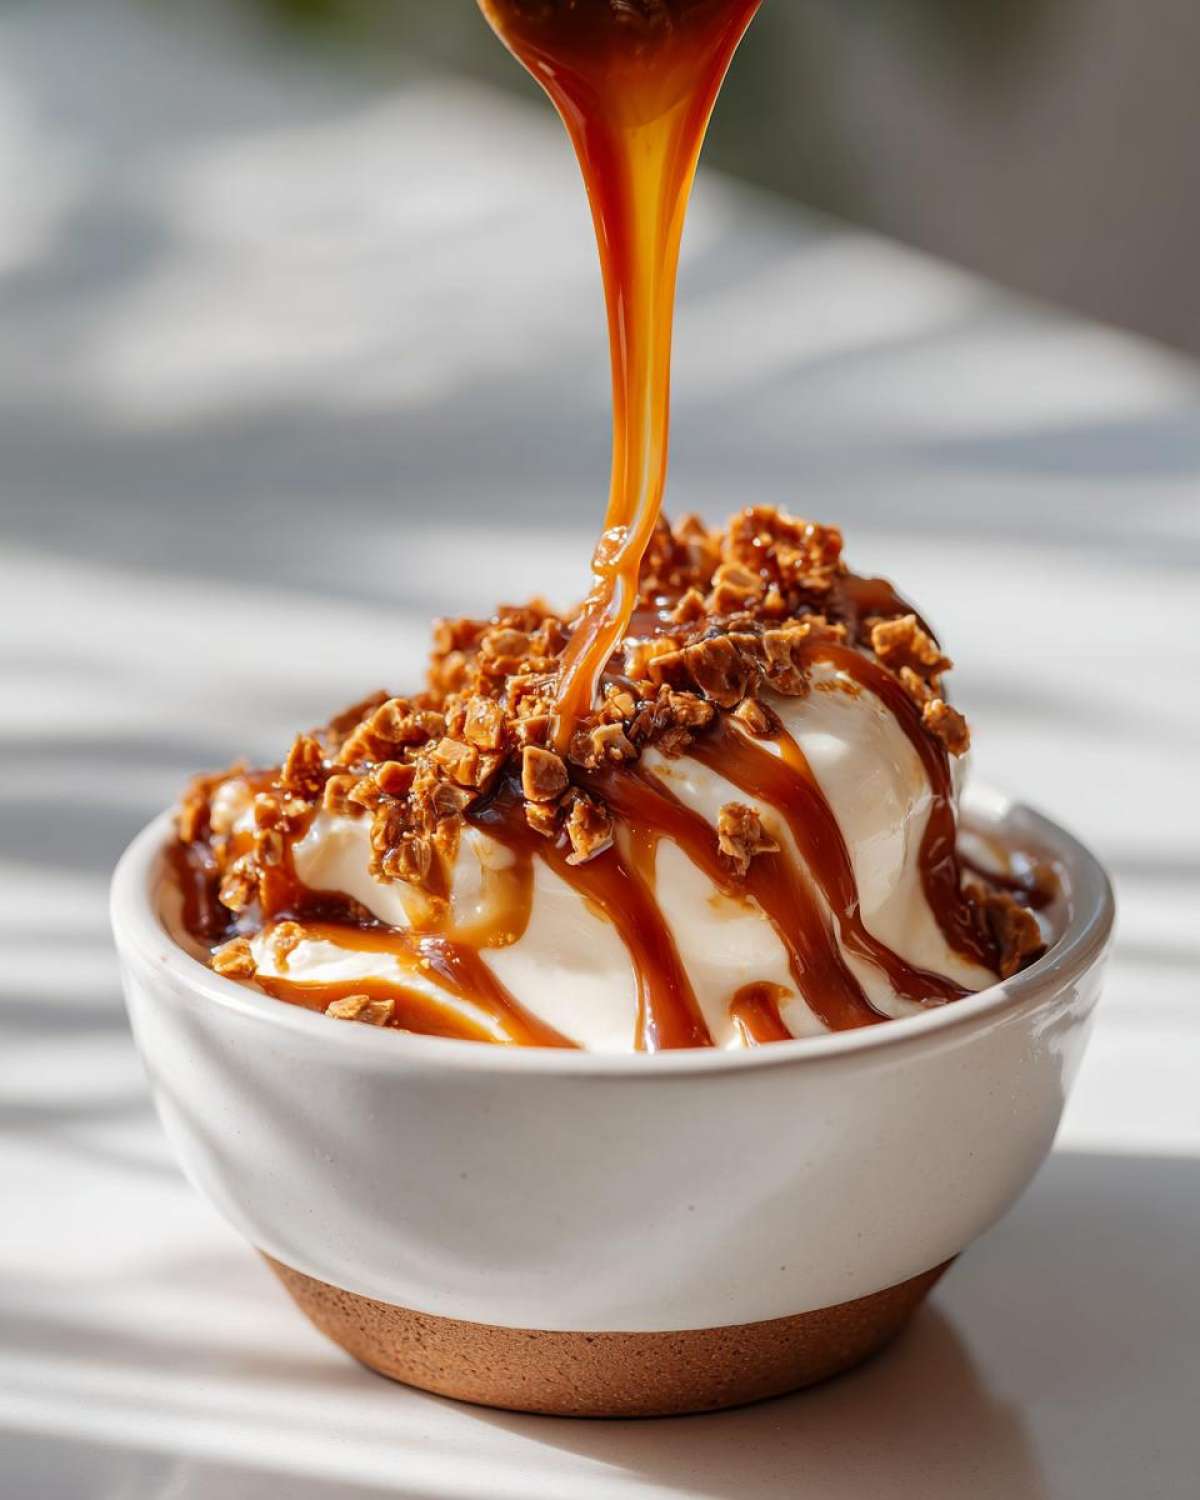
Step 3: Now for the magic! Pour that glorious caramel sauce over the top. My secret? Warm it slightly first (10 seconds in the microwave) so it drapes beautifully over the cream cheese layer. If you want that restaurant-style drizzle look, check out my perfect caramel technique.
Step 4: Sprinkle those toffee bits like confetti! I usually save a little extra to sprinkle on right before serving too – it keeps that satisfying crunch intact.
Serve immediately with crisp apple slices (my favorite are honeycrisp for that perfect sweet-tart balance), or refrigerate until the party starts. Either way, be prepared for recipe requests – this dip disappears faster than you can say “autumn bliss!”
Tips for the Best Caramel Apple Dip
After making this dip more times than I can count (seriously, my friends now expect it at every gathering!), I’ve picked up some tricks that take it from good to “can I have the recipe?” amazing. Here are my must-know tips:
- Room temp is key – Take that cream cheese out at least 30 minutes before mixing. Trying to blend cold cream cheese is like stirring cement – you’ll end up with lumpy sadness instead of that dreamy smooth texture.
- Go Greek for lightness – Swap in Greek yogurt when you want to lighten things up (great for meal planning with kids’ lunches). Just know it’ll be slightly tangier – which I actually love with the sweet caramel!
- Warm your caramel – 10 seconds in the microwave makes it pourable and helps create those gorgeous ribbons when layering. Cold caramel just plops unceremoniously on top.
- Store like a pro – It keeps beautifully for 3 days in the fridge, but always add the final sprinkle of toffee bits right before serving so they stay satisfyingly crunchy.
- Prevent apple browning – If packing this for lunches, toss apple slices with a little lemon juice. The slight tang actually complements the sweet dip perfectly.
Serving Suggestions for Caramel Apple Dip
The beauty of this caramel apple dip? It goes with just about everything! Here are my favorite ways to serve it:
- Classic apple slices – Tart Granny Smiths are perfect for cutting through the sweetness, while honeycrisp apples mimic the caramel’s buttery notes. For a real showstopper, arrange them in a sunburst pattern around the dip bowl.
- Graham crackers or pretzels – The salty crunch makes the most addictive sweet-and-salty combo. I love using those tiny pretzel rods for easy dunking – they’re especially fun at Halloween parties!
- Jar gifts – Layer the dip in cute mason jars (cream cheese first, then caramel, with toffee bits in a separate baggie on top). Tie with twine and include wooden dippers – instant edible presents everyone adores!
This dip absolutely shines at fall gatherings. I always bring it to tailgates and Halloween parties – just watch it vanish from the snack table! For kids’ lunches, I pack small containers with apple slices (tossed in lemon juice to prevent browning) and a handful of graham bear crackers. Whether you’re hosting a crowd or just craving a sweet snack, this versatile dip never disappoints.
Storage and Make-Ahead Tips
Here’s the good news—this dip actually gets better after a few hours in the fridge! The flavors meld together beautifully. Just cover it tightly (I press plastic wrap directly on the surface to prevent drying) and store it for up to 3 days. Need to prep ahead? Assemble everything except the toffee bits—add those right before serving so they stay crunchy. And for apple slices, a quick toss with lemon juice keeps them fresh-looking for hours. Pro tip: If packing lunchboxes, layer the dip under apple slices—the caramel acts like a barrier against sogginess!
Nutritional Information
Here’s the quick nutritional breakdown for this caramel apple dip (per 2 tbsp serving):
- 150 calories – Perfect for a sweet treat that won’t derail your meal plan
- 8g fat (5g saturated) – Cream cheese gives it that luxurious richness
- 18g carbs – Mostly from that heavenly caramel and toffee
- 2g protein – A little something to balance out the sweetness
Remember, these numbers can vary slightly depending on your specific ingredients – like using Greek yogurt instead of cream cheese or sugar-free caramel. But hey, life’s too short not to enjoy those toffee bits!
Frequently Asked Questions
Over the years, I’ve gotten all sorts of questions about this caramel apple dip (and trust me, once you make it once, your friends will start asking too!). Here are the ones that pop up most often with my tried-and-true answers:
Can I use homemade caramel sauce instead of store-bought?
Absolutely! I love using my homemade caramel when I have extra time—it adds incredible depth of flavor. Just be sure it’s cooled slightly before layering so it doesn’t melt the cream cheese. Store-bought works wonderfully too—I always keep a jar in my pantry for last-minute cravings.
How long does the dip last in the fridge?
It keeps beautifully for 3 days when stored properly. Press plastic wrap directly on the surface to prevent drying out. Pro tip: Wait to add the final sprinkle of toffee bits until just before serving—they’ll stay satisfyingly crisp that way!
What’s the best way to prevent apple slices from browning?
Toss them in a little lemon juice (about 1 tablespoon per apple) right after slicing. The slight tang actually complements the sweet dip nicely. For lunchboxes, I pack the dip separately or layer it underneath the apples—the caramel creates a protective barrier!
Can I make this dairy-free or lower calorie?
For a dairy-free version, try vegan cream cheese and coconut-based caramel. To lighten it up, Greek yogurt works great (though the texture will be slightly thinner). You can find more creative swaps like these on my Pinterest where I share all my favorite kitchen hacks!
What else can I serve with this besides apple slices?
Oh, so many options! Graham crackers, pretzel rods, vanilla wafers, or even banana slices are all delicious. For parties, I sometimes set out a “dipper bar” with all the options—it’s always a hit. Just avoid anything too delicate (like soft berries) that might break in the thick caramel.
Share Your Caramel Apple Dip Experience
I’d love to hear how your caramel apple dip turns out—did you stick with the classic version or try any fun twists? Snap a photo of your creation and tag me on social media, or leave a comment below sharing your experience! And if you’re hungry for more easy fall snack ideas (trust me, I’ve got plenty!), check out my Pinterest for endless inspiration. Happy dipping, friends—I can’t wait to see your sweet masterpieces!
PrintCaramel Apple Dip

A quick, crowd-pleasing dip with a cream cheese or Greek yogurt base, caramel, and toffee bits. Perfect for fall parties, make-ahead jar gifts, and lunchbox snacks.
- Prep Time: 5 min
- Cook Time: 0 min
- Total Time: 5 min
- Yield: 8 servings 1x
- Category: Dessert
- Method: No Bake
- Cuisine: American
- Diet: Vegetarian
Ingredients
- 8 oz cream cheese or Greek yogurt
- 1 cup caramel sauce
- 1/2 cup toffee bits
Instructions
- In a bowl, mix cream cheese or Greek yogurt until smooth.
- Spread caramel sauce evenly over the top.
- Sprinkle toffee bits over the caramel layer.
- Serve with apple slices or graham crackers.
Notes
- For a lighter version, use Greek yogurt instead of cream cheese.
- Make ahead and store in the fridge for up to 3 days.
Nutrition
- Serving Size: 2 tbsp
- Calories: 150
- Sugar: 12g
- Sodium: 120mg
- Fat: 8g
- Saturated Fat: 5g
- Unsaturated Fat: 2g
- Trans Fat: 0g
- Carbohydrates: 18g
- Fiber: 0g
- Protein: 2g
- Cholesterol: 25mg