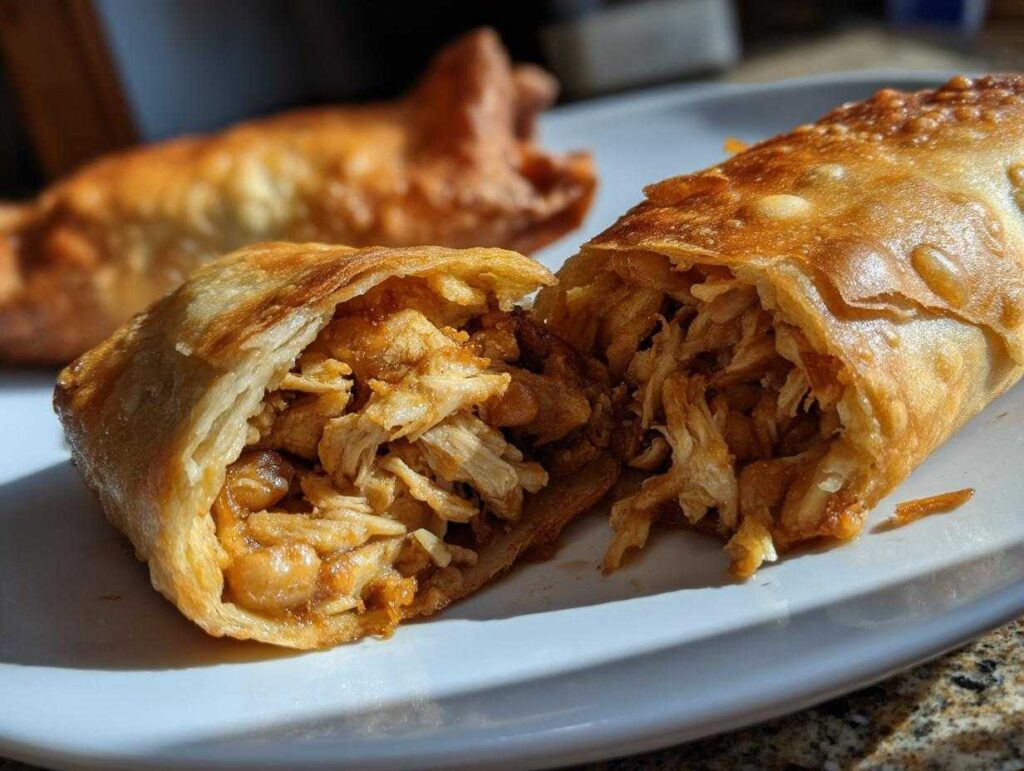
Oh, chimichangas! Just saying the word makes me smile. I still remember the first time I bit into one at this tiny roadside taqueria in Arizona—that perfect crunch giving way to steaming, flavorful filling was pure magic. Now, I make them at home whenever we need a fun, satisfying meal that feels like a fiesta. My version keeps things simple but packs all that crispy, golden goodness I fell in love with. After years of testing (and a few messy kitchen experiments), I’ve nailed down the secrets to getting that restaurant-quality crunch without deep-fryer drama. Trust me, once you try homemade chimichangas, you’ll never look at burritos the same way again!
Why You’ll Love These Chimichangas
Let me tell you why these chimichangas are about to become your new weeknight hero:
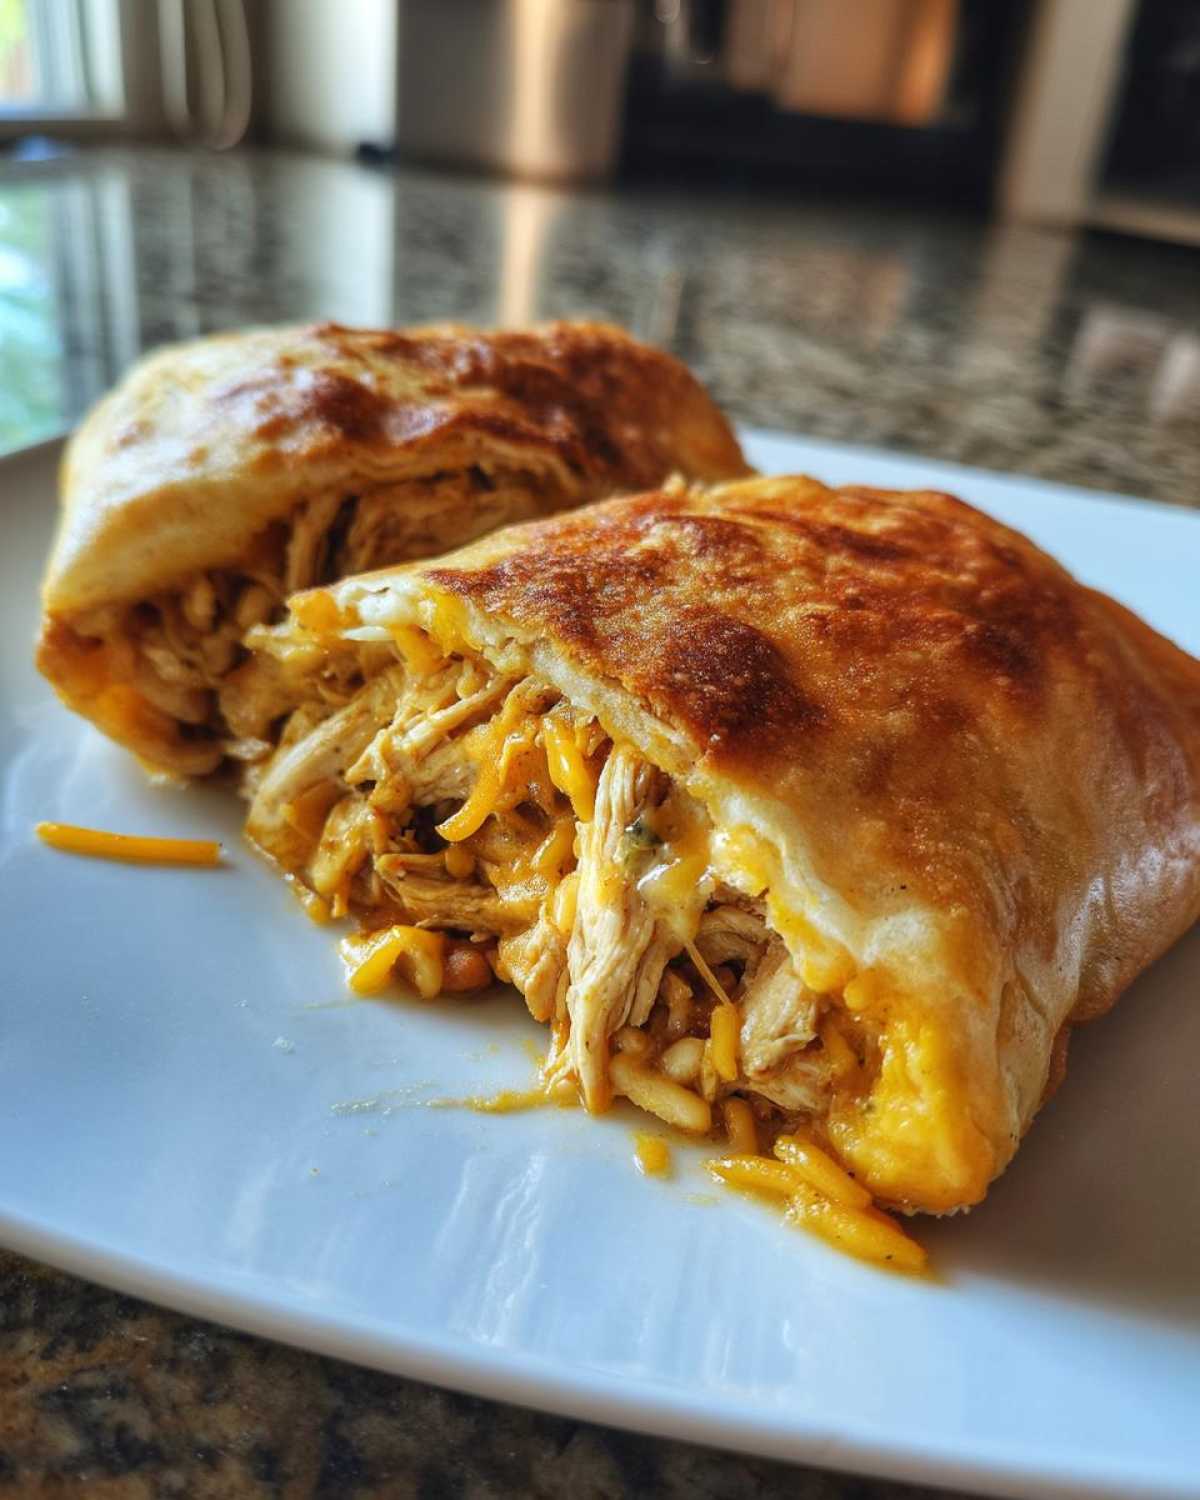
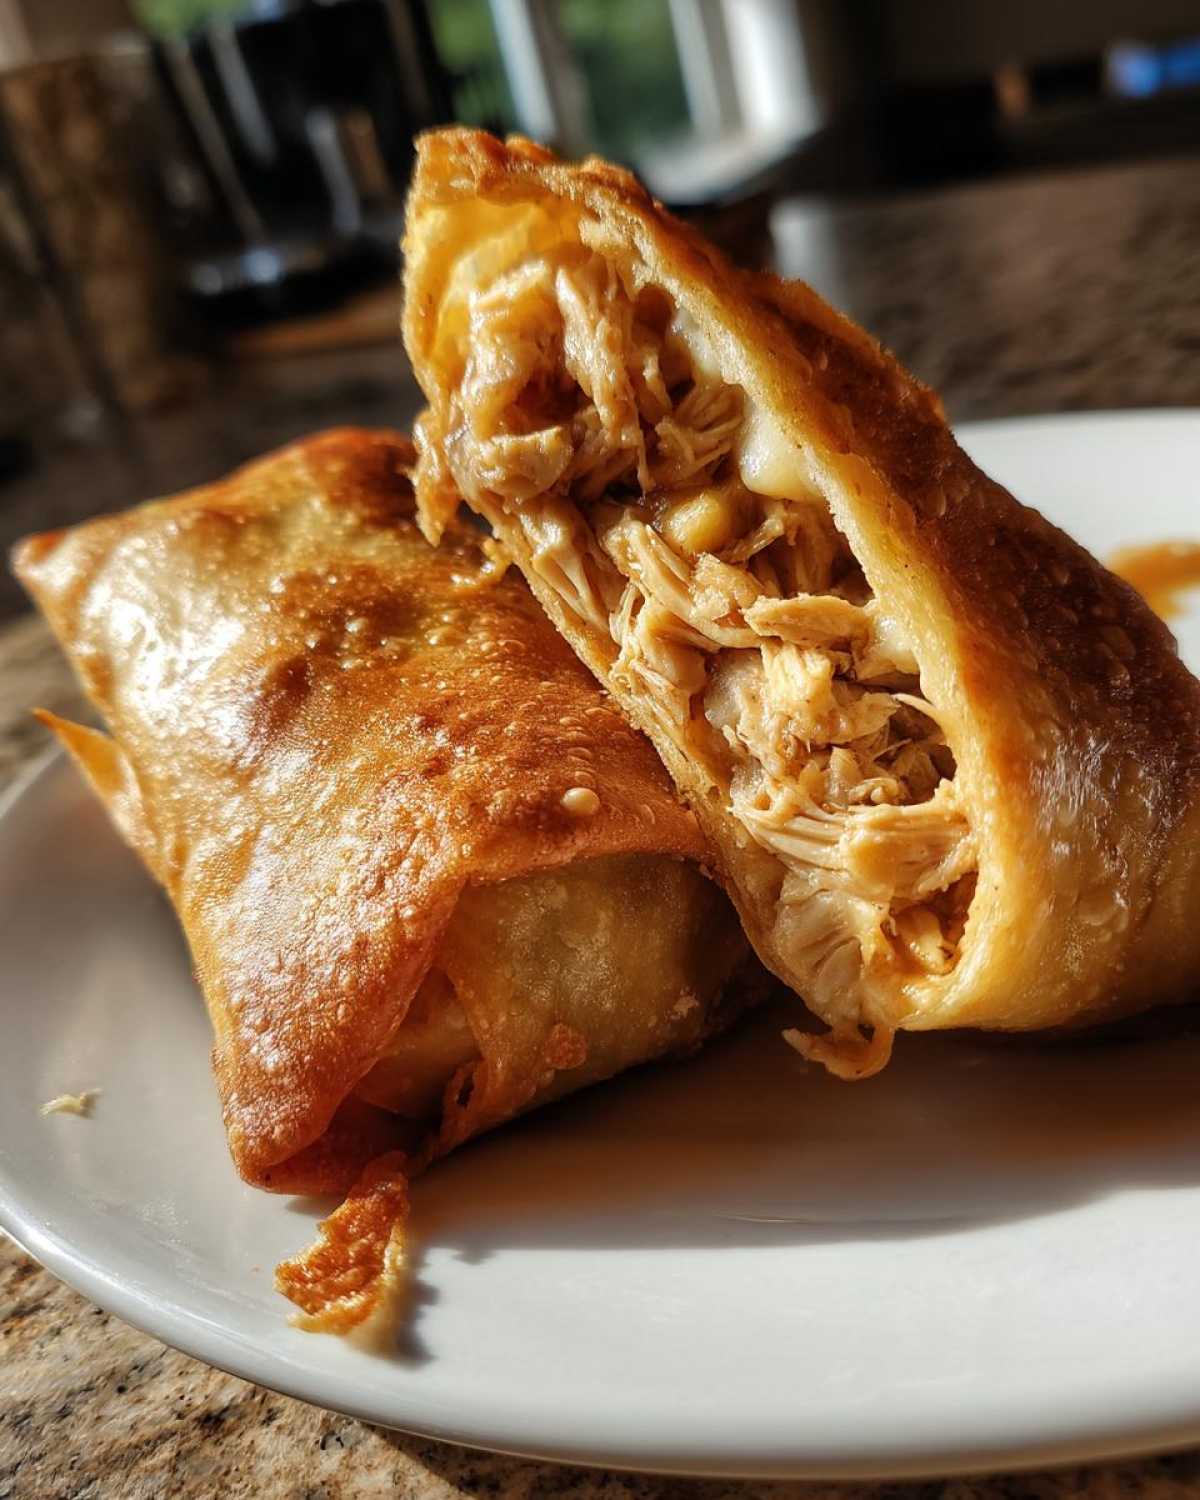
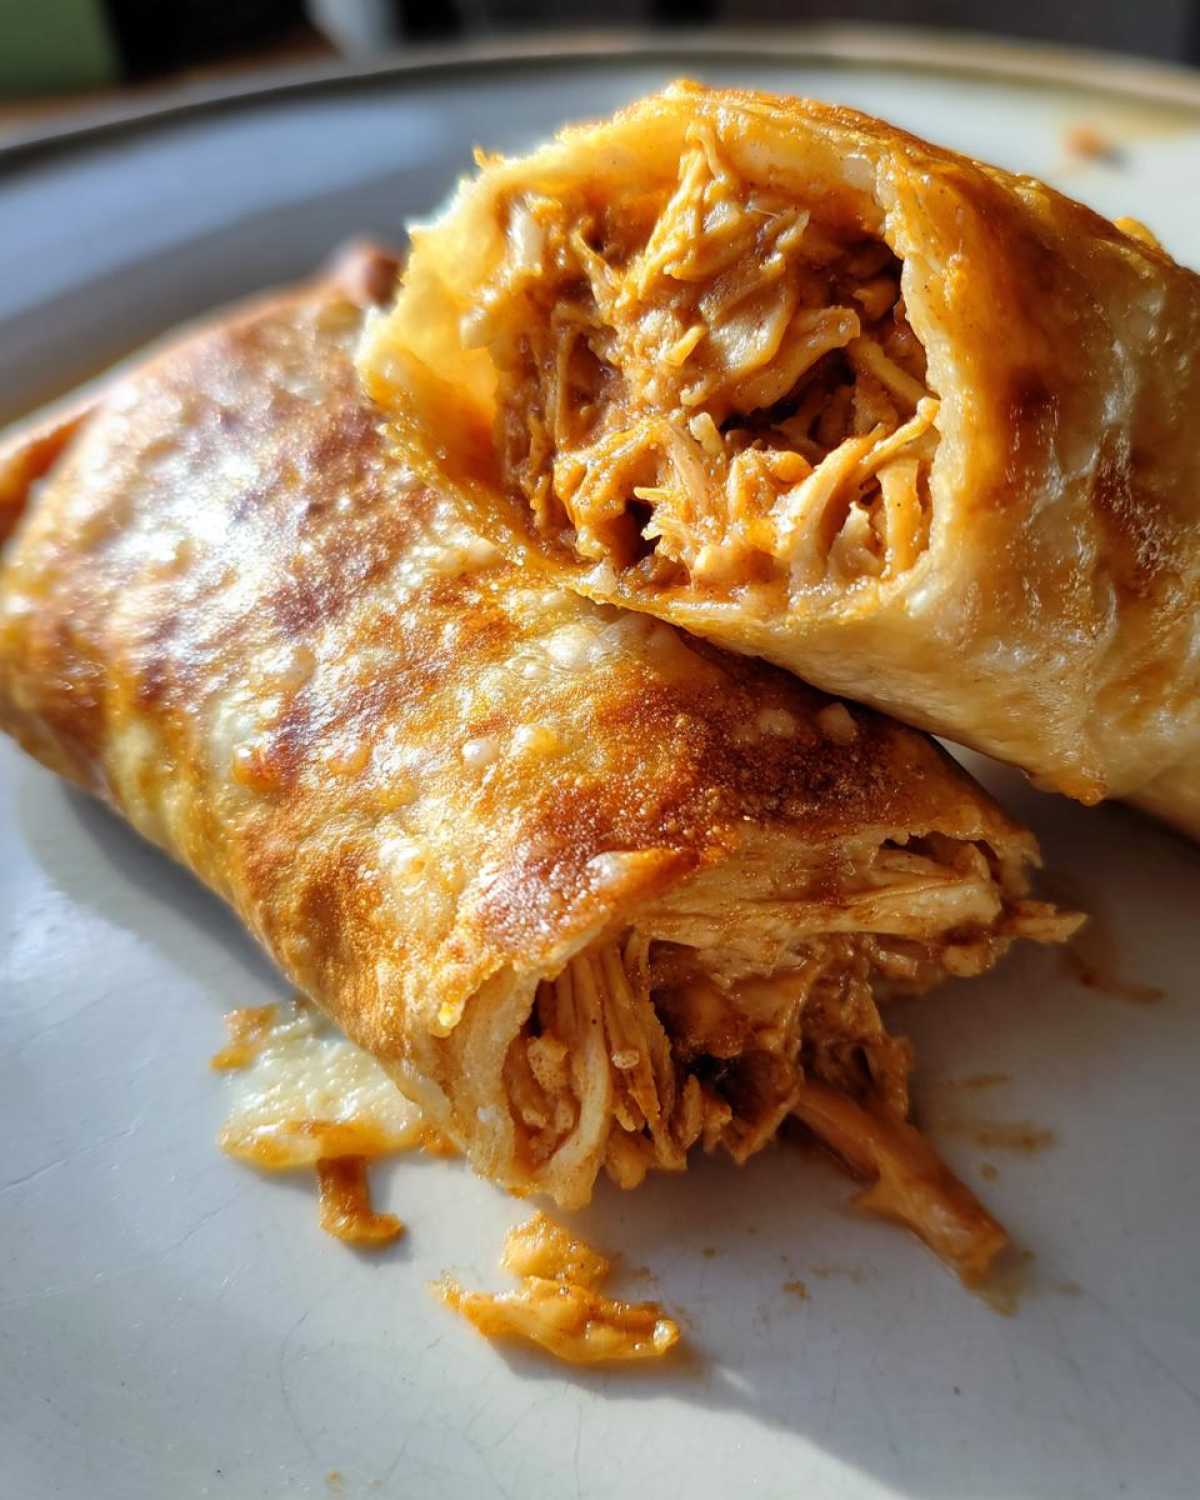
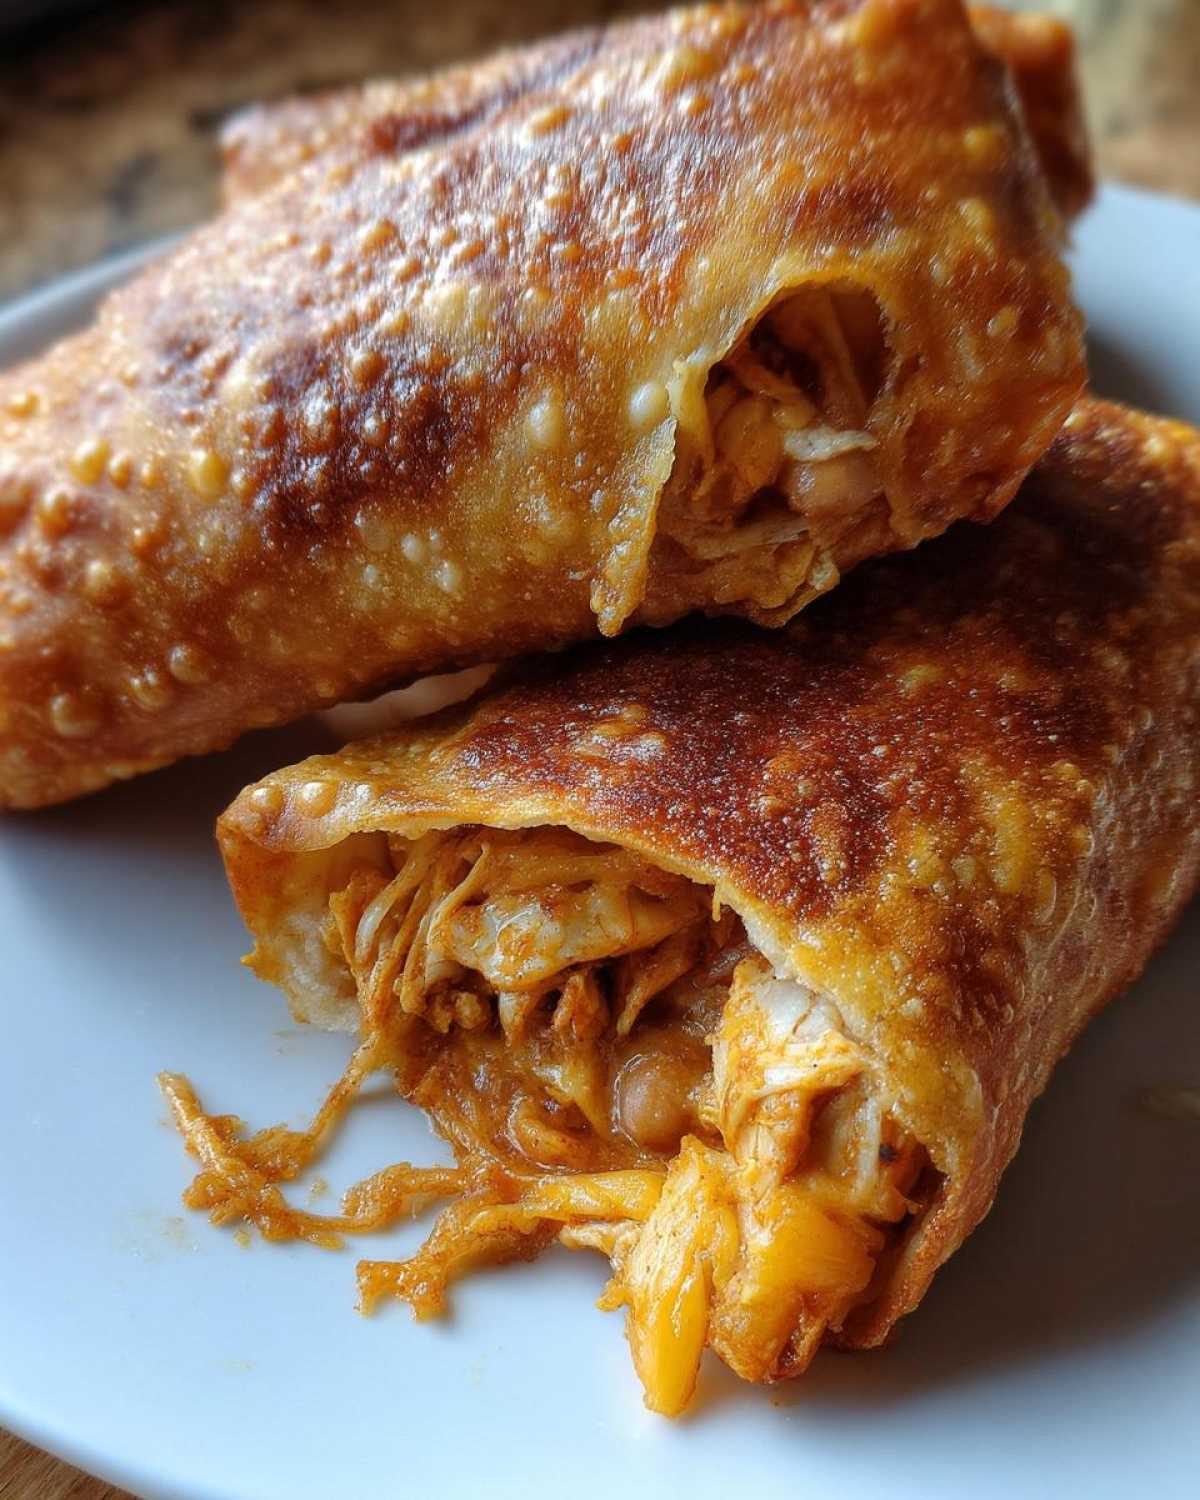
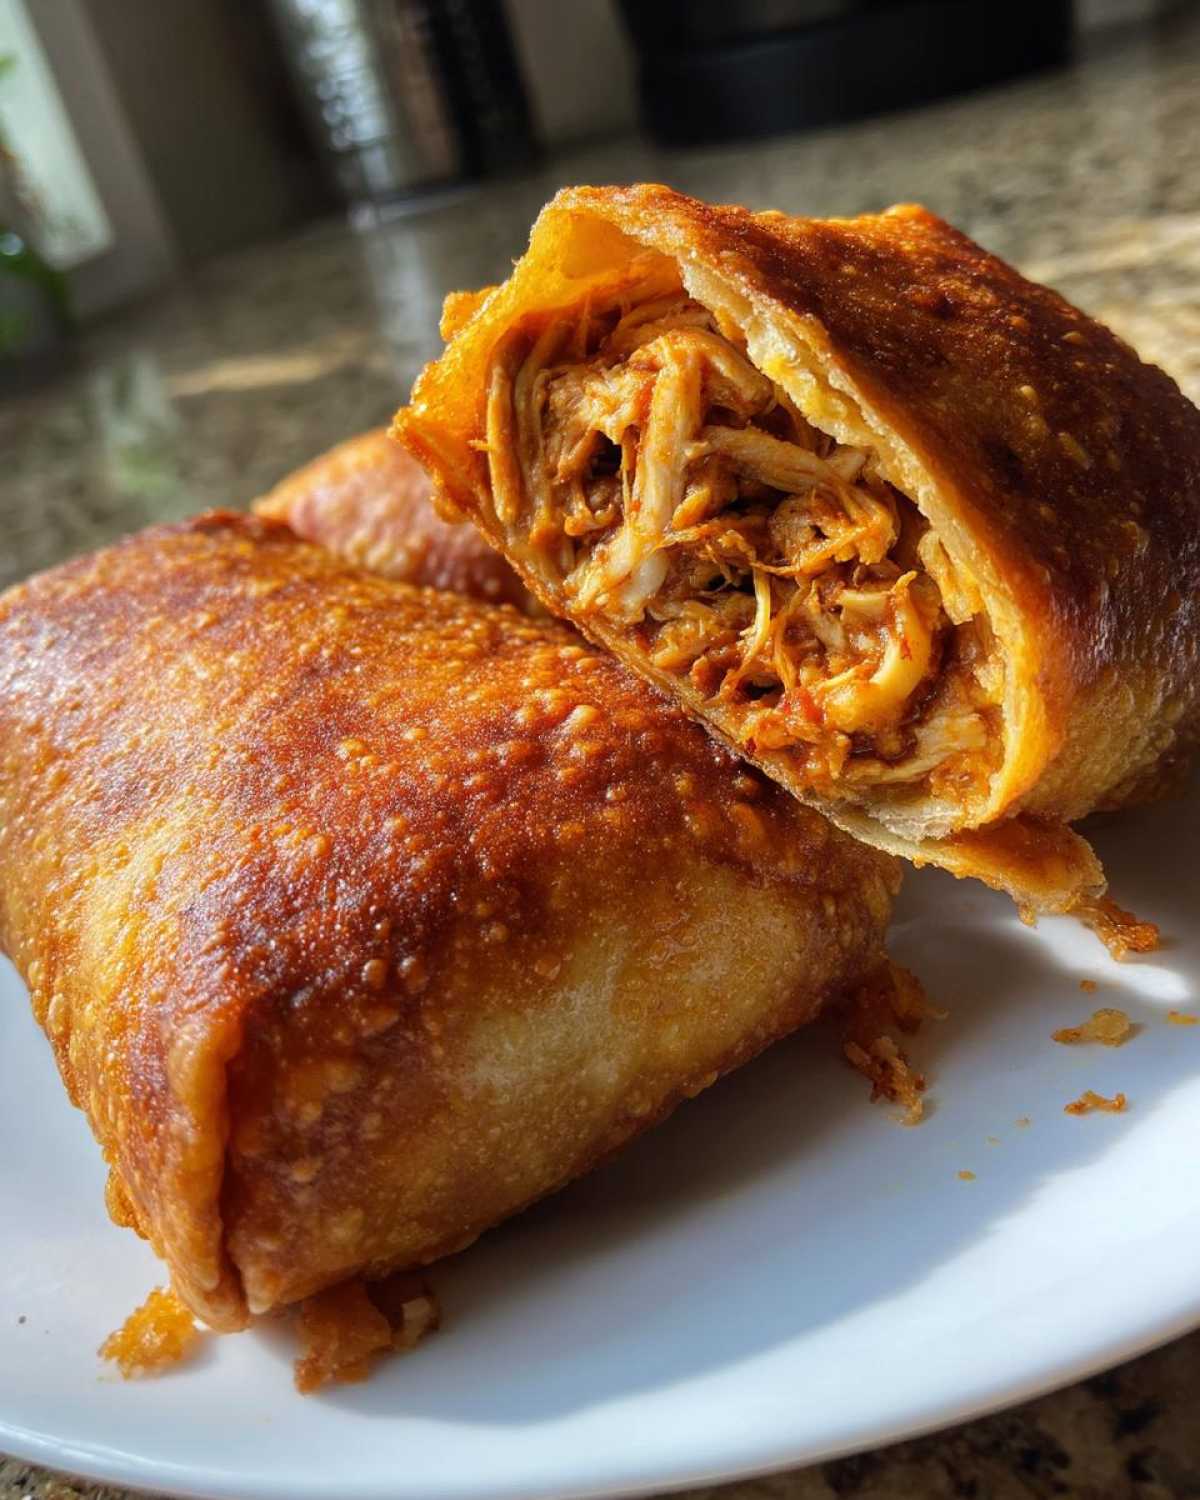
- That irresistible crunch – Golden, crispy tortillas give way to melty, flavorful fillings in every bite
- Quick prep magic – Uses simple ingredients you probably have already (leftover chicken? Perfect!)
- Endless customization – Swap fillings based on what’s in your fridge (I’ve got variation ideas coming up!)
- Fun to make – Folding these little flavor packages feels like edible origami
- Crowd-pleaser – Kids and adults go crazy for them (my picky nephew asks for seconds!)
Seriously, what’s not to love? They’re the perfect mix of easy, delicious, and just plain fun to eat.
Ingredients for Perfect Chimichangas
Here’s what you’ll need to make chimichangas that’ll have everyone begging for the recipe:
- 2 cups cooked chicken – Shred it while warm (rotisserie chicken works wonders here)
- 1 cup refried beans – The glue that holds everything together
- 1 cup shredded cheese – I use a Mexican blend, but cheddar works too
- 1/2 cup diced onions – Yellow or white, sauté them first if you prefer
- 1/2 cup diced bell peppers – Any color you like (I love the pop of red)
- 1 tsp cumin + 1 tsp chili powder – Our flavor power duo
- 1/2 tsp garlic powder – Because everything’s better with garlic
- 6 large flour tortillas – Burrito-size, warmed slightly so they don’t crack
- Oil for frying – Vegetable or canola oil works best
See? Nothing fancy – just good, honest ingredients that create magic together!
How to Make Chimichangas
Okay, let’s get to the fun part! Making chimichangas is easier than you think, but I’ve got some tricks to make sure yours turn out perfect every time. Follow these steps, and you’ll be biting into crispy, golden deliciousness before you know it!
Step 1: Prepare the Filling
First, grab a big bowl – we’re going to mix everything together until it’s perfectly combined. Dump in your shredded chicken, refried beans, cheese, onions, and bell peppers. Now here’s my secret: use your hands to mix! It might feel messy, but this helps distribute all those flavors evenly. Sprinkle in the cumin, chili powder, and garlic powder, then mix again. Taste a tiny bit (careful, it’s raw onion!) and adjust the spices if needed. I sometimes add an extra pinch of cumin if I’m feeling adventurous.
Step 2: Assemble and Fold
Now for the chimichanga origami! Lay a tortilla flat and spoon about 1/2 cup of filling slightly below the center. Fold the bottom edge up over the filling, then fold in the sides tightly – this is crucial to prevent leaks. Roll it up away from you, keeping it snug. If your tortilla won’t stay closed, dab a tiny bit of water on the edge to seal it. Repeat with all tortillas. Pro tip: Don’t overstuff! Too much filling and they’ll burst open in the oil.
Step 3: Fry to Crispy Perfection
Heat about 1/2 inch of oil in a heavy skillet over medium heat (about 350°F if you’re using a thermometer). Carefully place 2-3 chimichangas seam-side down in the oil – don’t crowd the pan! Fry for 3-4 minutes until golden brown, then flip with tongs. When both sides are that perfect golden color and crispy, transfer them to a paper towel-lined plate to drain. Listen for that satisfying sizzle to know they’re done right! Let them rest for a minute before serving – the filling stays molten hot!
Tips for the Best Chimichangas
After making hundreds of chimichangas (yes, I might have a slight obsession), I’ve picked up some game-changing tricks:
- Leftover magic: Day-old rotisserie chicken works even better than freshly cooked – the flavors have time to mingle
- Oil temperature matters: If the oil isn’t hot enough, your chimichangas will soak it up like a sponge. Test with a tortilla scrap – it should sizzle immediately
- Baking option: For a lighter version, brush with oil and bake at 400°F for 20 minutes, flipping halfway. They won’t be quite as crispy, but still delicious!
- Seal the deal: If you’re worried about leaks, double-wrap with a second tortilla – my “chimichanga armor” trick!
Remember, practice makes perfect – my first few attempts were… let’s just say “rustic looking”!
Serving Suggestions
Oh, the fun part – dressing up your golden beauties! I always serve my chimichangas with a big dollop of cool sour cream and chunky salsa – the contrast of hot and cold is heavenly. For a full fiesta, add some guacamole (my weakness!) and a crisp green salad. My husband swears by drizzling them with queso, because why not? And don’t forget the lime wedges – that bright squeeze at the end makes all the flavors pop!
Chimichangas Variations
One of my favorite things about chimichangas? They’re like edible blank canvases! Here are some delicious twists I’ve fallen in love with:
- Beef lovers: Swap chicken for seasoned ground beef or shredded barbacoa – add a spoonful of chipotle peppers for smoky heat
- Vegetarian delight: Black beans, roasted sweet potatoes, and sautéed mushrooms make an incredible meat-free version (my sister’s favorite!)
- Spicy kick: Mix in diced jalapeños or a tablespoon of adobo sauce – just warn your guests first!
- Breakfast special: Scrambled eggs, crispy bacon, and cheese – perfect for lazy weekend brunches
The possibilities are endless – that’s the beauty of these crispy flavor pockets!
Storage and Reheating
Here’s the good news – chimichangas reheat beautifully! Let any leftovers cool completely, then wrap them tightly in foil or store in an airtight container. They’ll keep in the fridge for 3 days or freezer for 2 months. To reheat, pop them in a 375°F oven for 10-15 minutes until crispy again – the air fryer works wonders too! Just avoid the microwave unless you like soggy tortillas (trust me, you don’t).
Chimichangas FAQs
Can I air-fry chimichangas?
Absolutely! My air fryer has become my chimichanga best friend. Just brush them lightly with oil and cook at 375°F for 8-10 minutes, flipping halfway. They won’t get quite as golden as deep-fried, but still deliciously crispy. Pro tip: Don’t overcrowd the basket – they need space for that hot air to circulate!
What’s the best way to prevent leaks while frying?
Two secrets: First, make sure your filling isn’t too wet (drain any excess liquid from the chicken or veggies). Second, roll them tight and seal the edges well – I sometimes use a flour-water paste if my tortillas are being stubborn. And always fry seam-side down first!
Can I make these ahead of time?
You bet! Assemble them up to a day in advance and keep covered in the fridge. Just add an extra minute or two to the frying time since they’ll be cold. For longer storage, freeze them unbaked – they go straight from freezer to fryer (no thawing needed).
What’s the difference between a chimichanga and a burrito?
It’s all about that crispy factor! While burritos stay soft, chimichangas get their magic from being fried (or baked) until golden. Think of them as burritos’ more exciting, crunchy cousin. The fillings can be similar, but that texture transformation makes chimichangas special.
Nutritional Information
Now, I’m no nutritionist, but here’s the scoop on what’s in these crispy bundles of joy! Keep in mind these are estimates – your exact numbers will vary based on ingredients and brands. Each chimichanga clocks in at about 350 calories with 20g of protein to keep you satisfied. They’ve got 35g carbs (thanks to those delicious tortillas), 15g fat (the good kind from all that melty cheese), and 4g fiber from the beans and veggies. Not too shabby for something that tastes this indulgent! Remember, portion size matters – but who can stop at just one?
Try this recipe and share your results in the comments! I’d love to hear about your chimichanga adventures and any creative twists you came up with.
PrintCrispy Chimichangas Recipe: 3 Secrets to Golden Perfection

Crispy, golden chimichangas filled with flavorful ingredients, perfect for a fun and satisfying meal.
- Prep Time: 15 minutes
- Cook Time: 10 minutes
- Total Time: 25 minutes
- Yield: 6 chimichangas 1x
- Category: Main Course
- Method: Frying
- Cuisine: Mexican
- Diet: Low Lactose
Ingredients
- 2 cups cooked chicken, shredded
- 1 cup refried beans
- 1 cup shredded cheese
- 1/2 cup diced onions
- 1/2 cup diced bell peppers
- 1 tsp cumin
- 1 tsp chili powder
- 1/2 tsp garlic powder
- 6 large flour tortillas
- Oil for frying
Instructions
- Mix chicken, beans, cheese, onions, bell peppers, and spices in a bowl.
- Spoon the mixture onto each tortilla and fold tightly.
- Heat oil in a pan over medium heat.
- Fry each chimichanga until golden brown, about 3-4 minutes per side.
- Drain on paper towels and serve hot.
Notes
- Use leftover rotisserie chicken for quick prep.
- Bake at 400°F for 20 minutes for a lighter version.
- Serve with salsa, sour cream, or guacamole.
Nutrition
- Serving Size: 1 chimichanga
- Calories: 350
- Sugar: 2g
- Sodium: 500mg
- Fat: 15g
- Saturated Fat: 5g
- Unsaturated Fat: 8g
- Trans Fat: 0g
- Carbohydrates: 35g
- Fiber: 4g
- Protein: 20g
- Cholesterol: 45mg