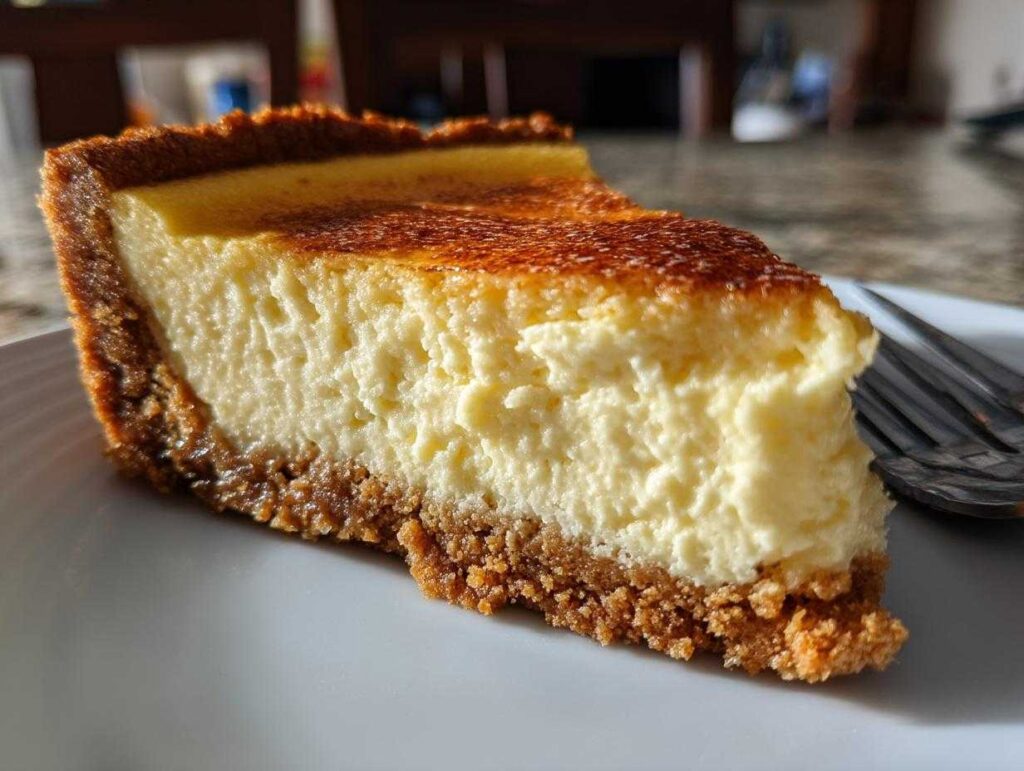
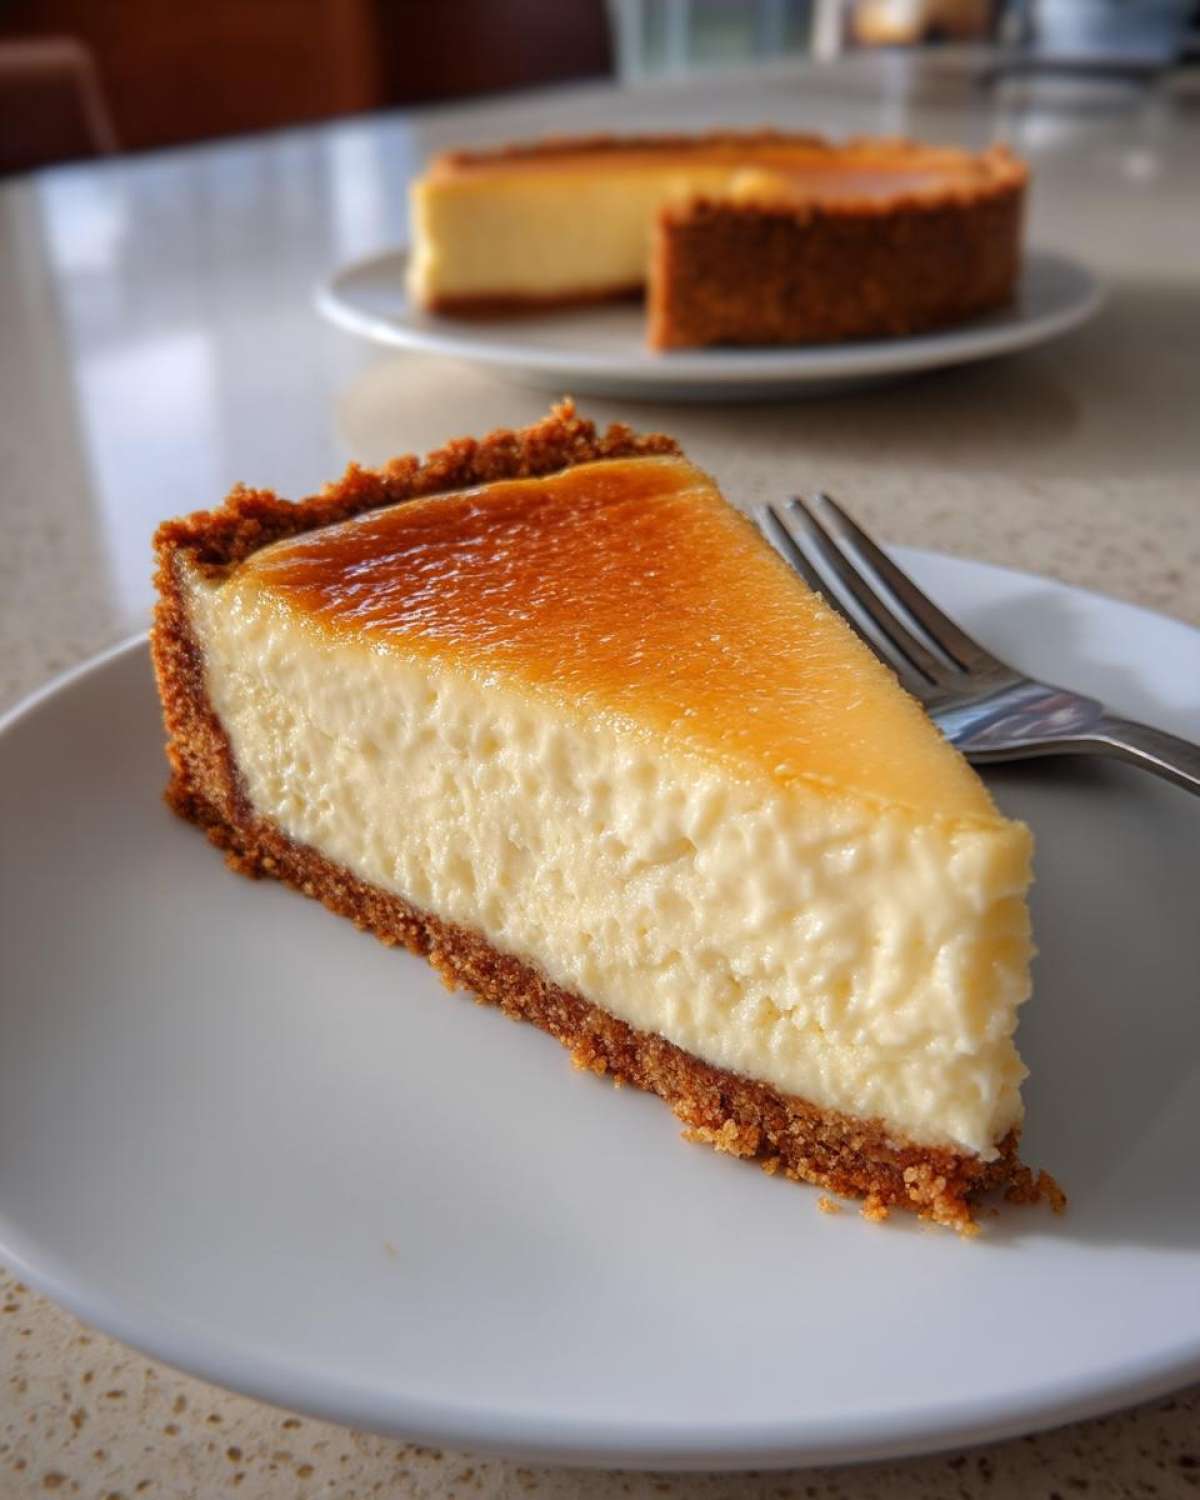
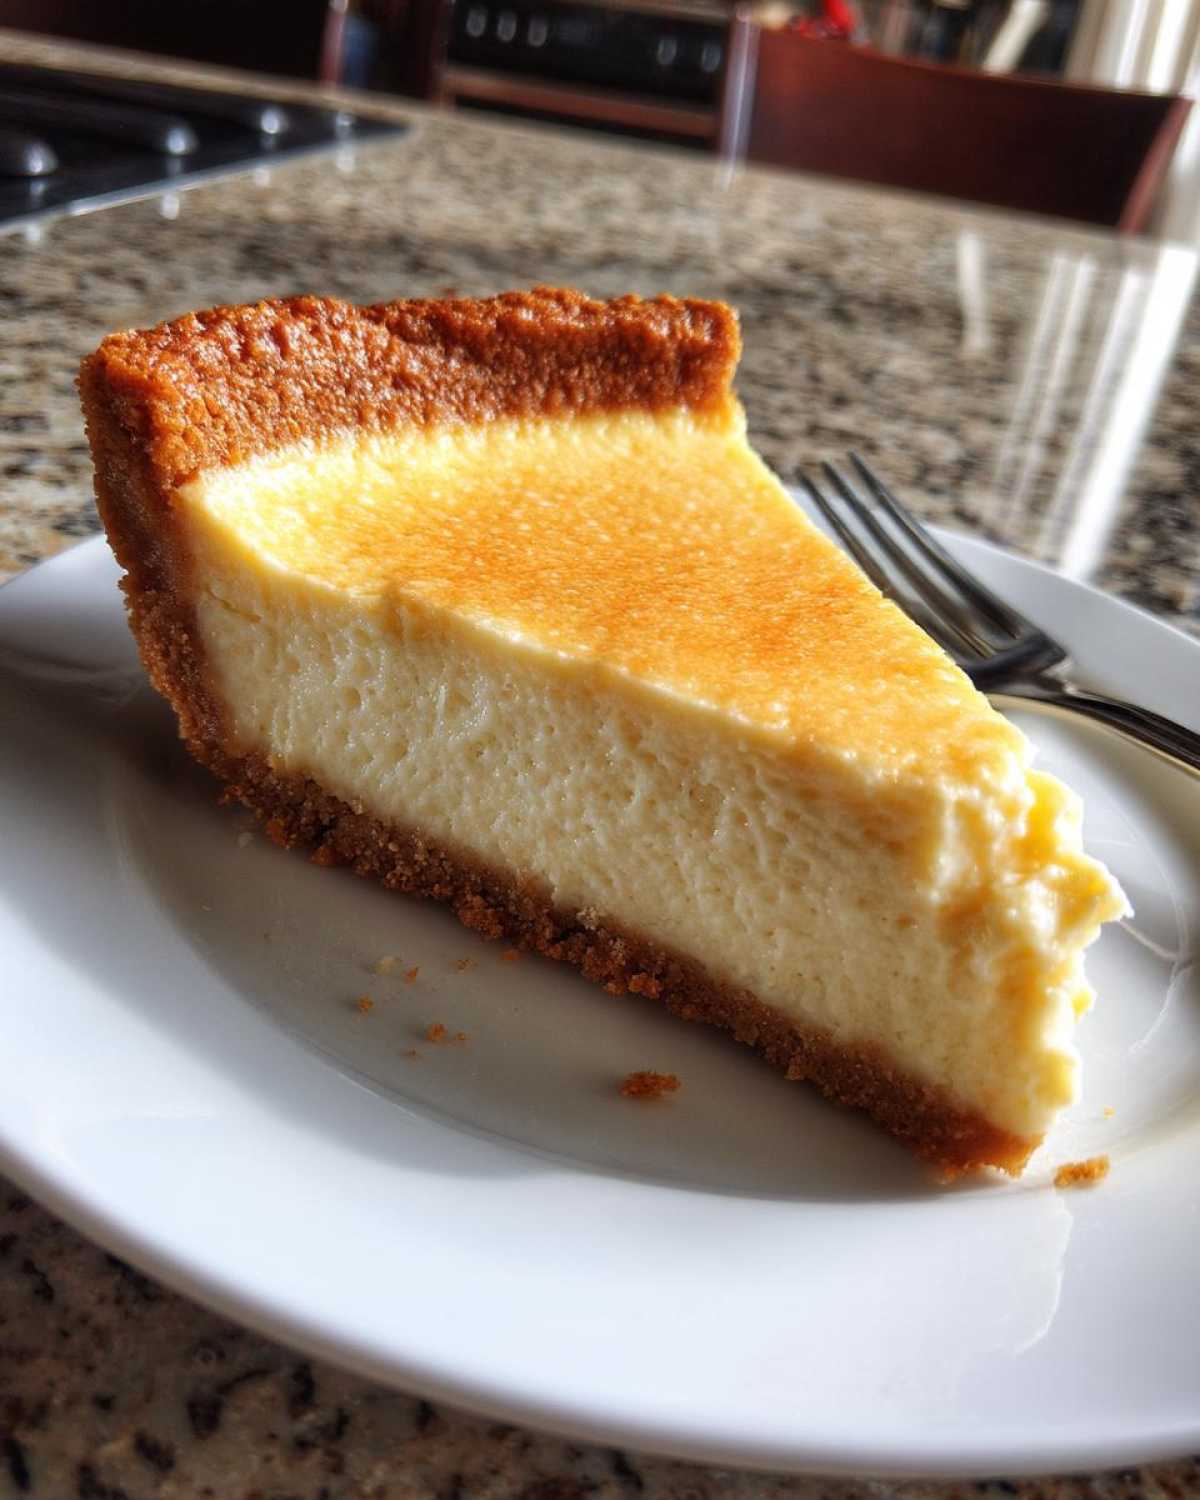
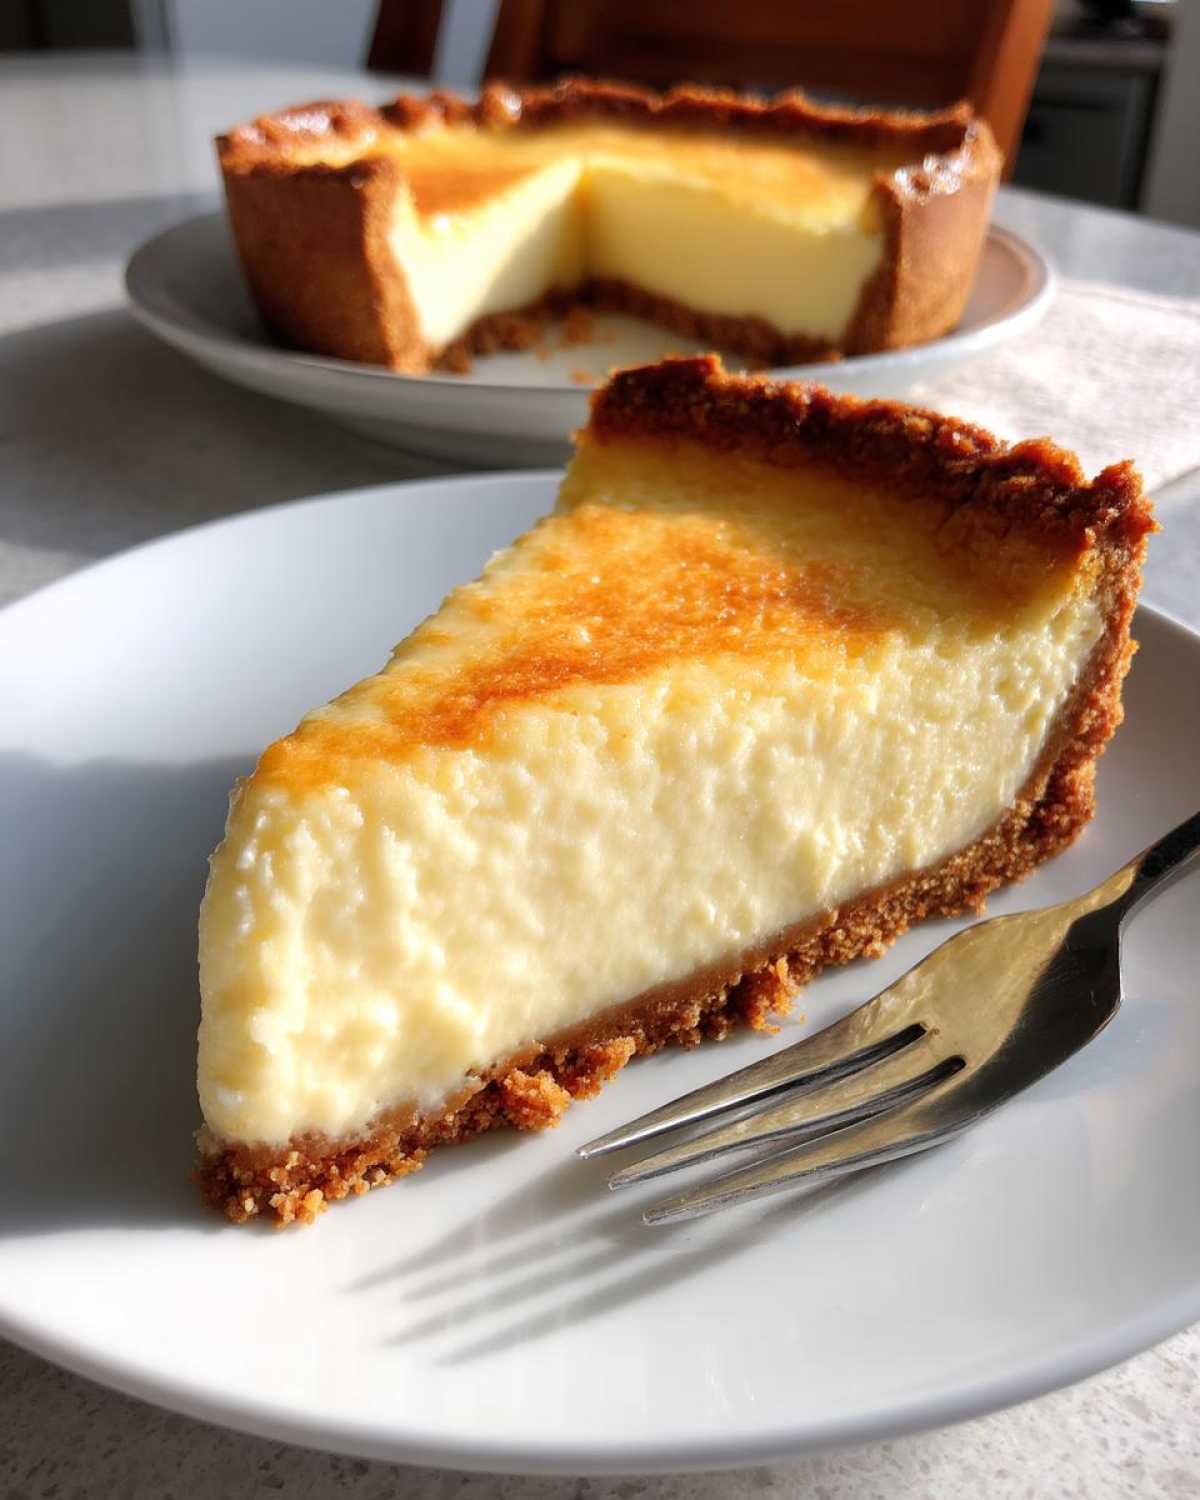
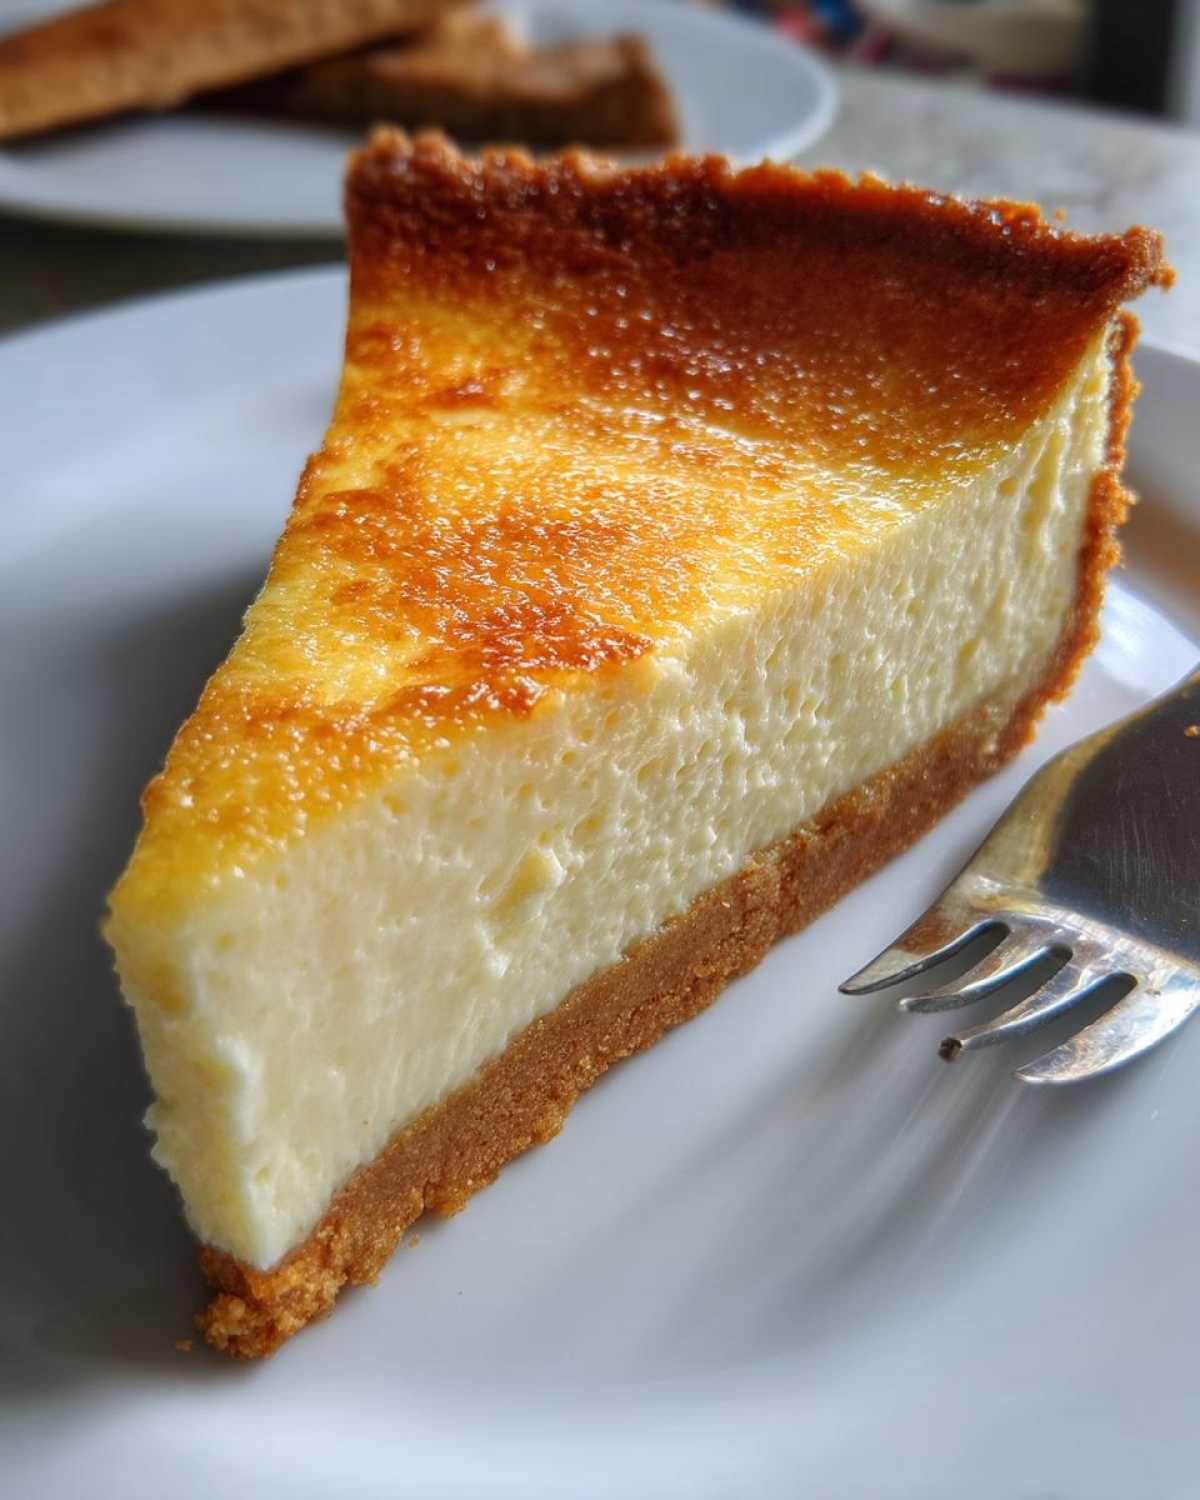
There’s something magical about a cheesecake tart—creamy, dreamy filling nestled in a buttery, crumbly crust. It’s the kind of dessert that makes any occasion feel special, whether it’s a lazy Sunday brunch or a fancy dinner party. I fell in love with baking these tarts in my grandmother’s kitchen, where the scent of vanilla and toasted graham crackers was practically a family tradition. Now, I’m sharing my foolproof recipe, packed with all the tips I’ve learned over the years. Trust me, once you taste this cheesecake tart, you’ll understand why it’s my go-to crowd-pleaser.
Why You’ll Love This Cheesecake Tart
Oh, where do I even start? This cheesecake tart is the kind of dessert that makes people ask for seconds (and thirds!). Here’s why it’s a winner every time:
- Creamy dreaminess: The filling is so velvety, it practically melts in your mouth—thanks to that perfect blend of cream cheese and sour cream.
- Easy-peasy: No water bath, no fuss. Just mix, bake, and chill. Even if you’re a baking newbie, you’ll nail this.
- Versatile superstar: Dress it up with berries for a fancy dinner or keep it simple for a weeknight treat. It’s always a hit.
Seriously, one bite and you’ll be hooked. My friends still beg me to bring it to every gathering!
Cheesecake Tart Ingredients
Alright, let’s gather our goodies! The magic of this cheesecake tart starts with simple, quality ingredients. Here’s what you’ll need:
- 1 1/2 cups graham cracker crumbs – I always crush mine fresh for maximum flavor (no pre-crumbled stuff!)
- 1/4 cup granulated sugar – just enough sweetness to balance the crust
- 6 tbsp melted butter – use the real deal, not margarine, for that rich flavor
- 16 oz cream cheese – softened to room temperature (this is crucial for smooth filling!)
- 1/2 cup sour cream – the secret to that perfect tangy creaminess
- 2/3 cup granulated sugar – for just the right amount of sweetness
- 2 large eggs – at room temperature, please! Cold eggs can make the filling lumpy
- 1 tsp vanilla extract – pure vanilla makes all the difference
- 1 tbsp lemon juice – a bright little zing that cuts through the richness
See? Nothing fancy – just good, honest ingredients that come together to make something extraordinary. Now let’s get mixing!
How to Make a Cheesecake Tart
Okay, let’s dive into the fun part! Making this cheesecake tart is easier than you think, but there are a few key steps to get that perfect creamy texture. Follow along – I’ll walk you through each stage like we’re baking together in my kitchen!
Preparing the Crust
First things first – that buttery, crumbly base! In a medium bowl, mix your graham cracker crumbs with the sugar. Then drizzle in that melted butter while stirring – you’ll know it’s perfect when the mixture holds together when squeezed. Now, press it firmly into your tart pan (I use the bottom of a measuring cup to get it nice and even). Pop it in the oven at 325°F for 10 minutes – just until it’s lightly golden and smells like heaven. Let it cool while you make the filling – this helps prevent a soggy bottom!
Making the Filling
Here’s where the magic happens! Beat the cream cheese until it’s completely smooth – no lumps allowed! Add the sour cream and sugar, mixing until it’s silky. Now, add eggs one at a time, mixing just until combined after each (overmixing = cracks, and we don’t want that!). Finally, stir in the vanilla and lemon juice – that little zing makes all the difference. The filling should be smooth as satin and just pourable.
Baking and Cooling
Pour your gorgeous filling into the cooled crust and smooth the top. Bake for 30-35 minutes – the edges should be set but the center will still have a slight jiggle (like Jell-O!). Turn off the oven and crack the door open for about an hour – this gradual cooling prevents cracks. Then transfer to a wire rack to cool completely before refrigerating for at least 2 hours (I know, the wait is torture!). The chilling time is non-negotiable – it lets the flavors develop and gives you that perfect sliceable texture.
Tips for the Perfect Cheesecake Tart
Want bakery-quality results every time? Here are my hard-earned secrets: First, room-temperature ingredients are non-negotiable – cold cream cheese equals lumpy filling. Second, don’t overmix after adding eggs (that’s the #1 cause of cracks!). And please, please let it chill – that 2-hour wait transforms good into glorious. Oh, and if you see tiny bubbles on top after baking? Just run a knife around the edge – it’ll settle perfectly as it cools. Trust me, these little things make all the difference!
Cheesecake Tart Variations
Oh, the fun part – making it your own! Swap the graham crust for crushed Oreos or gingersnaps for a flavor twist. Top with fresh berries, a drizzle of salted caramel, or even chocolate ganache. Feeling fancy? Add a teaspoon of orange zest to the filling – it’s divine with the lemon! The possibilities are endless, so play around and find your perfect combo.
Serving and Storing Your Cheesecake Tart
Now for the best part – eating it! I love serving this tart chilled, maybe with a dollop of whipped cream and fresh berries for a pop of color. Leftovers? (As if!) They keep beautifully in the fridge for up to 5 days – just cover tightly with plastic wrap. For longer storage, you can freeze slices wrapped in parchment and foil for about a month. Thaw overnight in the fridge, and it’ll taste just as dreamy as day one. Pro tip: Let it sit at room temperature for 10 minutes before serving – that creaminess becomes absolutely irresistible!
Cheesecake Tart Nutrition Information
Now, I’m no nutritionist, but I do believe in enjoying desserts mindfully! This cheesecake tart is definitely an indulgence – rich, creamy, and oh-so-satisfying. The nutritional values will vary depending on the specific ingredients and brands you use (that full-fat cream cheese makes all the difference in taste, if you ask me!).
While I don’t count every calorie when it comes to special treats, I can tell you this tart packs protein from the cream cheese and eggs, and that graham cracker crust adds a bit of fiber. The lemon juice gives you a tiny vitamin C boost too! But let’s be real – we’re here for the pure joy of that velvety texture and buttery crust. Everything in moderation, right?
Remember, these numbers are just estimates – your exact nutrition will depend on your ingredients and how big you slice it (no judgment if you go for an extra-large piece… I’ve been there!).
Cheesecake Tart FAQs
Can I use a different crust for my cheesecake tart?
Absolutely! While I love the classic graham cracker crust, you can get creative. Try crushed Oreos for a chocolatey twist or gingersnaps for a spicy kick. Just keep the same butter-to-crumb ratio (about 1 1/2 cups crumbs to 6 tbsp butter) for perfect texture.
How long does cheesecake tart keep in the fridge?
This beauty stays fresh for up to 5 days when properly stored. Just cover it tightly with plastic wrap – I press it directly against the surface to prevent drying. The flavor actually improves after a day or two!
Why did my filling crack?
Don’t panic – it still tastes amazing! Cracks usually happen from overmixing or sudden temperature changes. Next time, avoid overbeating after adding eggs, and let it cool gradually in the turned-off oven. But hey, that’s what whipped cream toppings are for!
Can I freeze cheesecake tart?
You bet! Wrap individual slices in parchment paper, then foil, and freeze for up to a month. Thaw overnight in the fridge – it’ll be almost as good as fresh. Perfect for when you need a quick dessert emergency fix!
Share Your Cheesecake Tart Experience
I’d love to hear how your cheesecake tart turns out! Did you add any fun toppings? Any kitchen triumphs or disasters? Drop a comment below or tag me on social media – let’s swap baking stories and tips!
PrintCreamy Cheesecake Tart Recipe That Steals Every Heart in 1 Bite

A delightful cheesecake tart with a creamy filling and buttery crust, perfect for any occasion.
- Prep Time: 15 minutes
- Cook Time: 35 minutes
- Total Time: 50 minutes
- Yield: 8 servings 1x
- Category: Dessert
- Method: Baking
- Cuisine: American
- Diet: Vegetarian
Ingredients
- 1 1/2 cups graham cracker crumbs
- 1/4 cup granulated sugar
- 6 tbsp melted butter
- 16 oz cream cheese, softened
- 1/2 cup sour cream
- 2/3 cup granulated sugar
- 2 large eggs
- 1 tsp vanilla extract
- 1 tbsp lemon juice
Instructions
- Preheat oven to 325°F.
- Mix graham cracker crumbs, sugar, and melted butter. Press into a tart pan.
- Bake crust for 10 minutes, then cool.
- Beat cream cheese, sour cream, and sugar until smooth.
- Add eggs one at a time, then mix in vanilla and lemon juice.
- Pour filling into crust and bake for 30-35 minutes.
- Cool completely before serving.
Notes
- Chill for at least 2 hours for best texture.
- Top with fresh berries or whipped cream if desired.
Nutrition
- Serving Size: 1 slice
- Calories: 320
- Sugar: 22g
- Sodium: 280mg
- Fat: 22g
- Saturated Fat: 12g
- Unsaturated Fat: 8g
- Trans Fat: 0g
- Carbohydrates: 28g
- Fiber: 0.5g
- Protein: 5g
- Cholesterol: 95mg