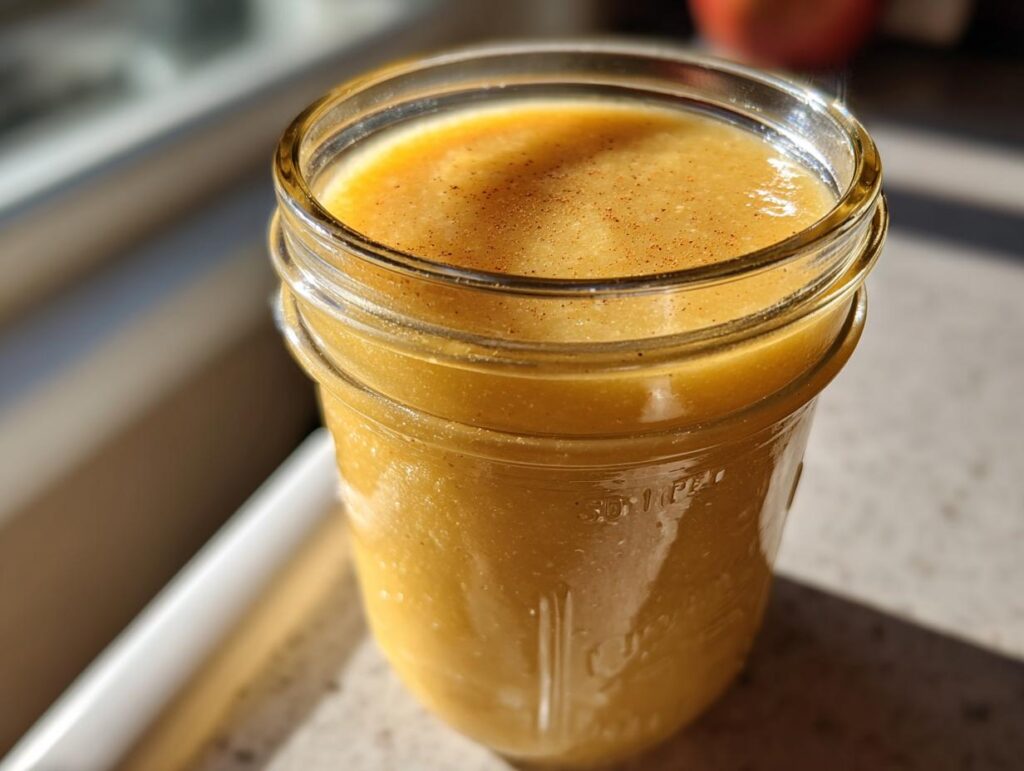
Nothing says “fall” like the sweet scent of apples bubbling on the stove! My first time making homemade applesauce was pure chaos – I borrowed my neighbor’s ancient water bath canner, used way too many apples, and ended up with enough jars to feed the whole block. But when I popped open that first jar of cinnamon-spiced goodness in January? Pure magic. That’s the joy of canning applesauce – those golden jars of fall flavors waiting for you all year long.
What I love most about this recipe? You can make it perfectly YOU. Use tart Granny Smiths or sweet Honeycrisps depending on your mood. Keep it chunky like my grandma preferred or blend it smooth for little ones. Skip the sugar entirely (the apples are plenty sweet!) or add a dash of cinnamon if you’re feeling fancy. It’s the ultimate meal planning staple – just grab a jar when you need a quick snack, oatmeal topper, or secret ingredient for baking. And unlike those store-bought versions? You control exactly what goes in it.
Every time I hear that *ping* of a sealing jar lid, I think of my neighbor Pat showing me how to check the headspace – and how far I’ve come from that first messy kitchen adventure!
- Why You'll Love This Canning Applesauce Recipe
- Ingredients for Canning Applesauce
- Equipment Needed for Canning Applesauce
- Step-by-Step Guide to Canning Applesauce
- Tips for Perfect Canning Applesauce
- Frequently Asked Questions About Canning Applesauce
- Nutritional Information for Canned Applesauce
- Share Your Canning Applesauce Experience
Why You’ll Love This Canning Applesauce Recipe
This applesauce recipe will become your new fall obsession, and here’s why:
- No sugar needed: The natural sweetness of ripe apples means you can skip the added sugars – perfect for those watching their sugar intake or following weight loss programs.
- Customize your texture: Want rustic chunks like grandma used to make? Or silky smooth for the kids? You decide with just a quick mash or blend.
- Year-round convenience: Those pretty jars become instant meal planning helpers – breakfast toppings, baking substitutes, or a quick snack with zero prep time.
- Gluten-free friendly: Unlike store-bought versions with questionable additives, you know exactly what’s in each jar.
- Cost effective: When apples are in season (or on sale!), you’re basically printing money in delicious form.
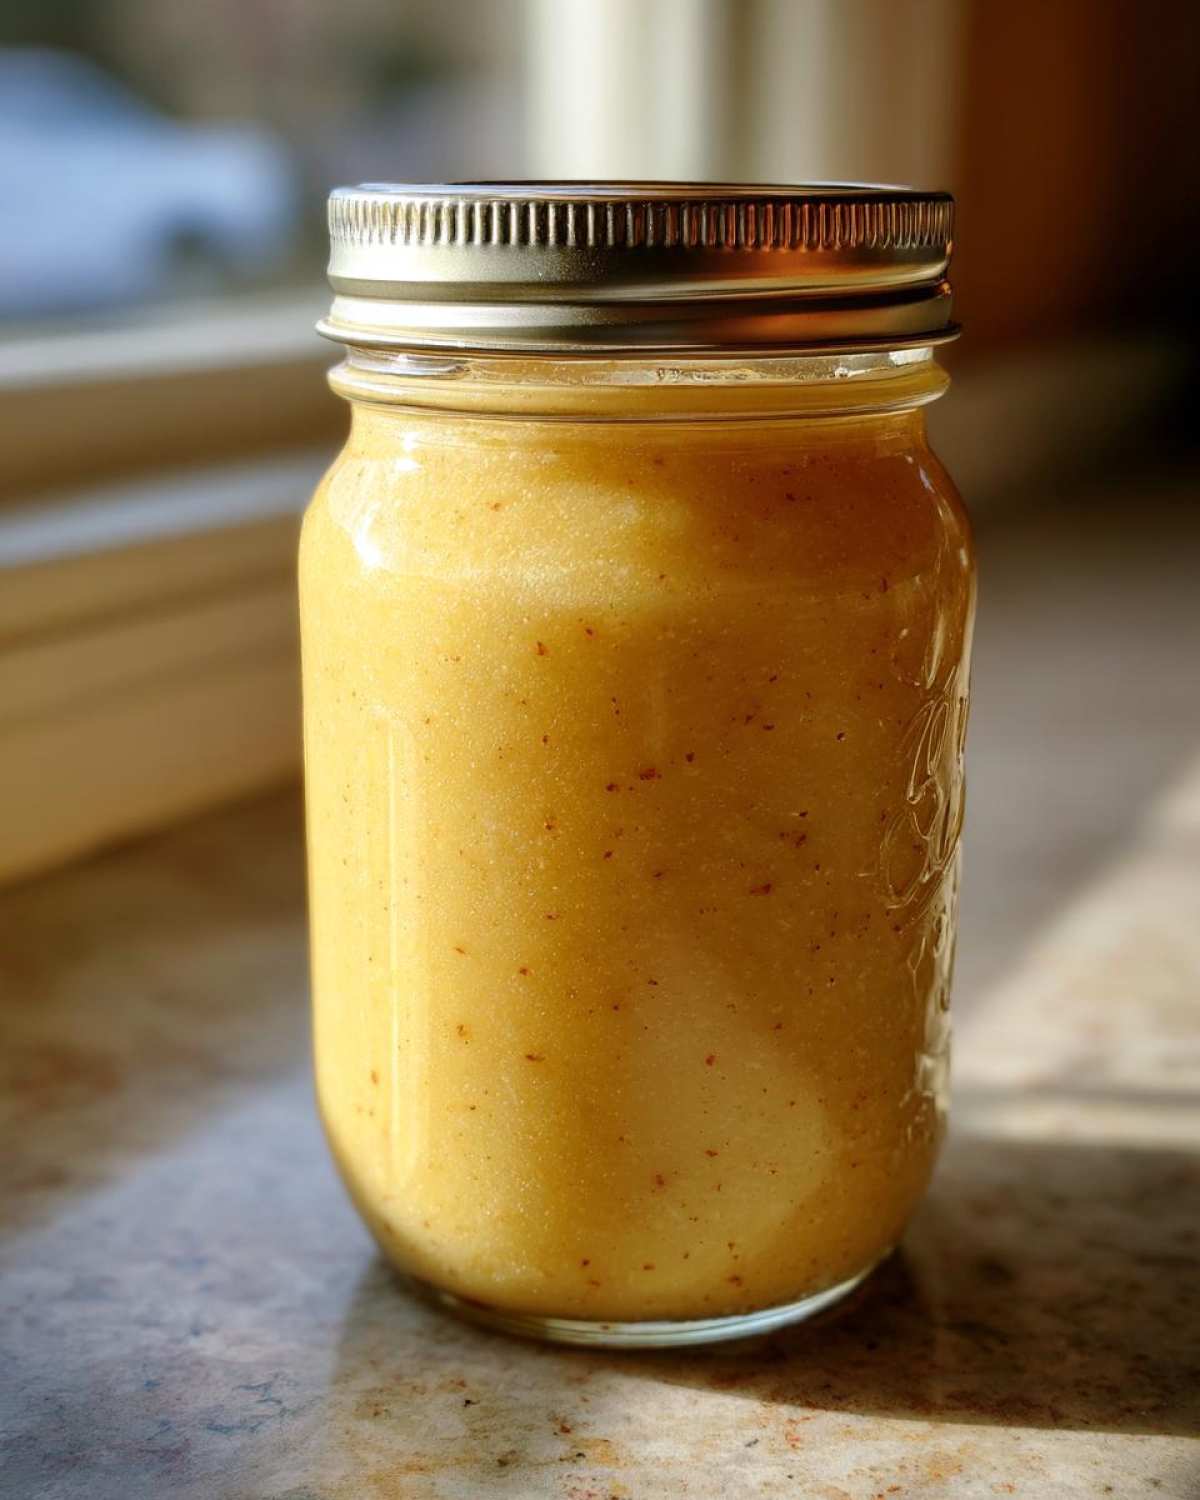
The best part? Seeing those colorful jars lined up in your pantry like a row of autumn trophies. Wait until you taste January applesauce that still smells like October sunshine!
Ingredients for Canning Applesauce
Gathering ingredients for homemade applesauce feels like a fall treasure hunt! Here’s what you’ll need for canning magic:
- 10 lbs apples – peeled, cored, and chopped (I love mixing tart Granny Smith with sweet Fuji for perfect balance)
- 1 cup water – just enough to prevent sticking in the pot (trust me, the apples release plenty of their own juice!)
- 1 tsp cinnamon – Optional, but gives that classic “grandma’s kitchen” aroma we all love
- 1 tbsp lemon juice – Optional boost of acidity that helps with preservation (also brightens the flavor beautifully)
See? Just four simple ingredients – all naturally gluten-free and perfect if you’re watching sugar intake. The apples do all the sweet work here! For my keto friends, this fits beautifully into low-carb meal plans when portioned right.
Pro tip: Buy extra apples – I always underestimate how much they cook down! Those 10 lbs will give you about 6 pints of golden goodness.
Equipment Needed for Canning Applesauce
Okay, let’s talk tools! You don’t need anything fancy to make amazing canned applesauce, but these essentials will make your life so much easier:
- Large pot (I use my trusty 8-quart enameled Dutch oven – perfect for mountains of apple chunks)
- Canning jars with lids and bands (pints are my go-to, but quarts work great for big families)
- Water bath canner (that giant pot with the rack? Worth every penny)
- Wide-mouth funnel (unless you enjoy wiping applesauce off every jar rim like I did the first time…)
- Jar lifter (your fingers will thank you when removing those hot jars)
- Bubble remover/lid wand (that little plastic stick is a game-changer)
Bonus points if you have an immersion blender for smooth applesauce, but a potato masher works perfectly too. And for my gadget lovers? A sous-vide precision cooker can actually help keep your water bath at the perfect temperature when you’re processing multiple batches. So gather your gear – we’re about to make some pantry magic!
Step-by-Step Guide to Canning Applesauce
Alright, let’s get to the fun part – turning those crisp apples into golden jars of deliciousness! I’ll walk you through each step like I’m right there in your kitchen (maybe sipping cider while we work). Follow along for foolproof results every time.
Preparing the Apples
First things first – prep those apples! I give mine a good scrub under cool water to remove any wax or dirt. Peeling is traditional (a sturdy vegetable peeler works great), but here’s a secret: leaving some skins on adds beautiful pink tones and extra fiber. Core them with an apple corer or just slice around the core – whatever’s easiest for you. Chop into roughly 1-inch chunks. They’ll look like a mountain in your pot but shrink down dramatically as they cook. Pro tip: toss them with a little lemon juice as you go to prevent browning!
Cooking and Blending the Applesauce
Now, the transformation begins! Add your apple chunks to a large pot with about an inch of water at the bottom – just enough to prevent scorching. Cover and cook over medium heat for 15-20 minutes, stirring occasionally. You’ll know they’re ready when a fork slides through easily like butter. This is where the magic happens – for chunky sauce, use a potato masher right in the pot. Want it silky smooth? Carefully blend with an immersion blender (let it cool slightly first!) or transfer to a traditional blender in batches. The cinnamon goes in now if you’re using it – start with a teaspoon and add more to taste. The aroma will have your whole house smelling like fall!
Canning the Applesauce Safely
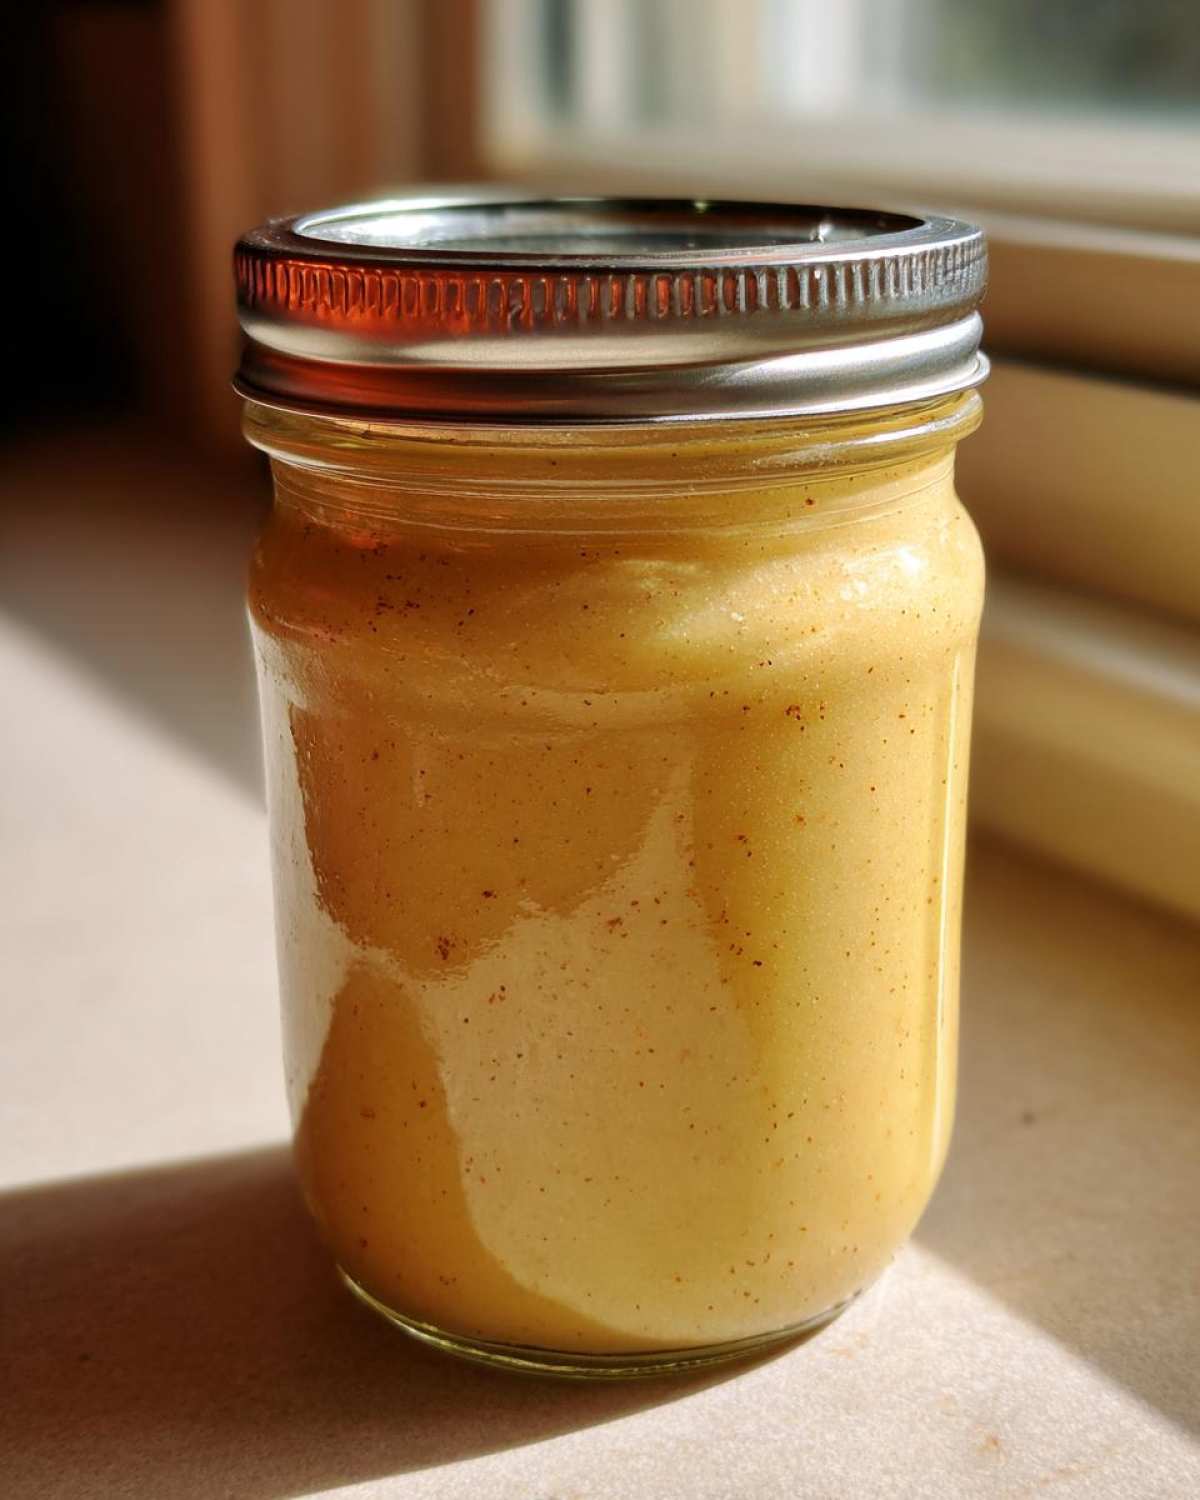
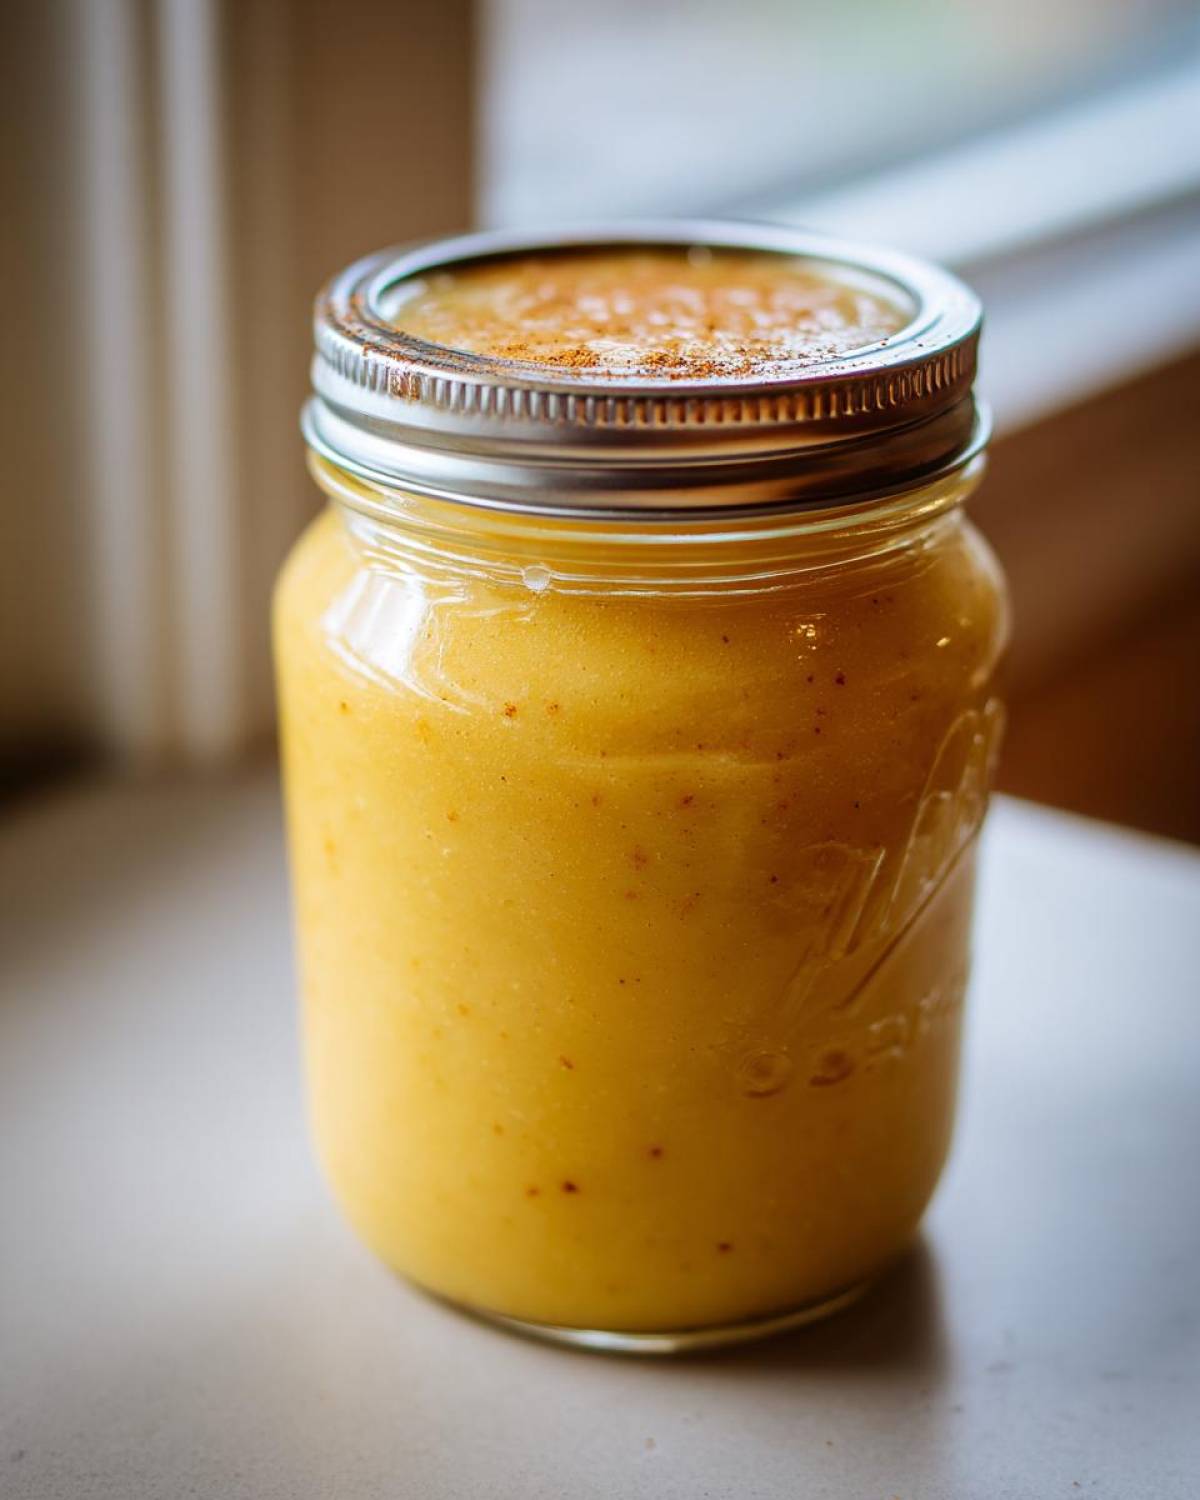
Safety first! While your sauce simmers, sterilize jars in boiling water or your dishwasher’s sanitize cycle. Keep jars hot until filling – cold jars can crack. Ladle hot applesauce into jars, leaving a generous ½-inch headspace (that air gap is crucial for proper sealing). Wipe rims with a clean damp cloth to remove any stickiness – one speck of applesauce can ruin your seal. Quickly place lids and screw bands on “finger-tight” – don’t overtighten! Process pints for 20 minutes and quarts for 25 minutes in your water bath canner, completely submerged with 1-2 inches of water covering the jars. That magical “ping” sound as they cool means you’ve succeeded! Wait 24 hours before checking seals, then store in a cool, dark place. Those beauties will last at least a year – if you can resist eating them all sooner!
Tips for Perfect Canning Applesauce
After years of trial and error (and a few sticky kitchen disasters), I’ve gathered my best secrets for foolproof applesauce every time:
First, mix your apple varieties – I love pairing tart Haralsons with sweet Honeycrisps for balanced flavor. Too tart? Add an extra sweet apple next batch. Want to test acidity? Dip a spoon in the cooked sauce – if it clings thickly, you’re golden. That natural pectin means no extra thickeners needed!
For meal planning pros: portion applesauce into half-pints for perfect lunchbox additions. I date each lid with a grease pencil – first in, first out! And those satisfying *pings* of sealing jars? Music to any home cook’s ears. But still check each seal after 24 hours by pressing the lid center – no movement means success!
Last tip: Set aside one jar in the fridge to enjoy immediately. You’ve earned that taste of fall! The rest will keep beautifully for meal prep or thoughtful homemade gifts.
Frequently Asked Questions About Canning Applesauce
Let’s tackle those burning questions I always get about homemade applesauce! Trust me – I’ve made every mistake so you don’t have to.
Can I use unpeeled apples?
You bet! Leaving skins on adds beautiful color and extra fiber. Just know the texture will be slightly more rustic. For smooth sauce, strain after cooking. My neighbor Pat swears by leaving skins on – says they have the most nutrients right under that peel.
How long does canned applesauce last?
Properly processed jars stay shelf-stable for 12-18 months (if hidden in the back of the pantry where kids can’t find them!). Once opened, refrigerate and use within 2 weeks. Look for any mold, off-smells, or bubbles before eating – though chances are it’ll disappear long before going bad!
Can I add sugar or other sweeteners?
Absolutely – but taste first! Ripe apples are surprisingly sweet on their own. If you do add sugar, mix it in during cooking so it dissolves completely. Honey, maple syrup, or alternative sweeteners work too – just follow safe canning guidelines since sugar affects acidity.
Remember friends – canning is part science, part love. When in doubt, ping me on Pinterest where I share extra tips! Happy jarring!
Nutritional Information for Canned Applesauce
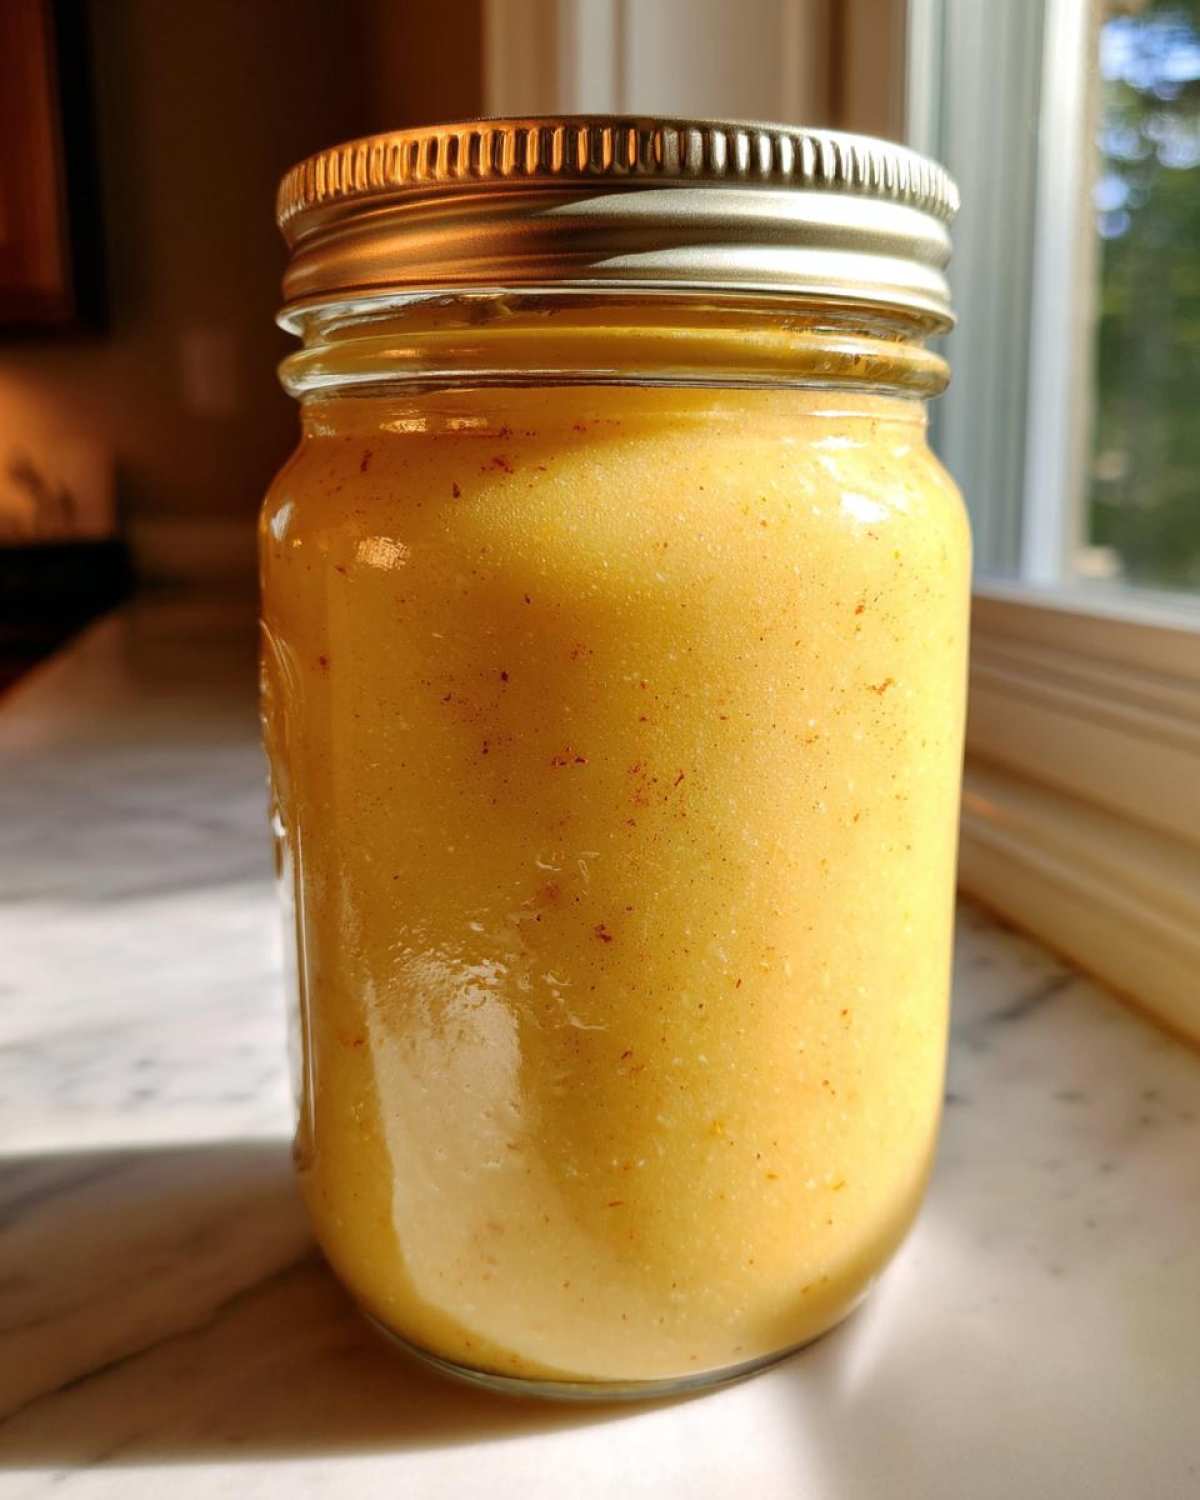
Here’s the scoop on what’s inside those homemade jars of gold! A ½-cup serving of this no-sugar-added applesauce packs just about 50 calories, 10g of natural sugars from the apples themselves, and a nice 2g fiber boost to keep you satisfied. The best part? Zero fat, sodium, or cholesterol – just pure apple goodness. Of course, exact amounts vary slightly depending on your apple varieties and any cinnamon you add.
This makes applesauce a dream for low-calorie meal planning or weight loss programs – it’s my secret weapon when craving something sweet without derailing healthy eating goals. Pro tip: Mix it into oatmeal or yogurt to naturally sweeten breakfasts. Just remember – while my nutrition estimates are based on average apples, your homemade batch might differ slightly (especially if you use extra tart or super sweet varieties). That’s the beauty of DIY!
Share Your Canning Applesauce Experience
I’d love to hear about your applesauce adventures! Did you go chunky or smooth? Discover a killer apple combo? Drop a comment below and let me know how it turned out – your tips might help other home canners. Don’t forget to rate the recipe if you loved it! Find me on Pinterest where I’m always sharing more preserving ideas and kitchen hacks (look for Sophia’s Preserving Passion). Now go admire those beautiful jars – you’ve just captured autumn in a bottle!
PrintHomemade Canned Applesauce
A simple guide to making and canning applesauce with options for sweet or tart apples, chunky or smooth texture, and no-sugar alternatives.
- Prep Time: 30 min
- Cook Time: 25 min
- Total Time: 55 min
- Yield: 6 pints or 3 quarts 1x
- Category: Preserving
- Method: Boiling-Water Bath
- Cuisine: American
- Diet: Low Calorie
Ingredients
- 10 lbs apples (sweet or tart varieties)
- 1 cup water (optional for cooking)
- 1 tsp cinnamon (optional)
- 1 tbsp lemon juice (optional for acidity)
Instructions
- Wash, peel, and core the apples.
- Cut apples into chunks and place in a large pot.
- Add water if needed and cook over medium heat until soft (15-20 minutes).
- Mash or blend for desired texture (chunky or smooth).
- Stir in cinnamon or lemon juice if using.
- Sterilize jars and fill with hot applesauce, leaving ½-inch headspace.
- Process in a boiling-water bath for 20 minutes (pints) or 25 minutes (quarts).
- Cool and store in a dark place.
Notes
- Use a mix of apple varieties for balanced flavor.
- No sugar is needed, but you can add sweetener if preferred.
- Check jar seals before storing.
Nutrition
- Serving Size: ½ cup
- Calories: 50
- Sugar: 10
- Sodium: 0
- Fat: 0
- Saturated Fat: 0
- Unsaturated Fat: 0
- Trans Fat: 0
- Carbohydrates: 13
- Fiber: 2
- Protein: 0
- Cholesterol: 0