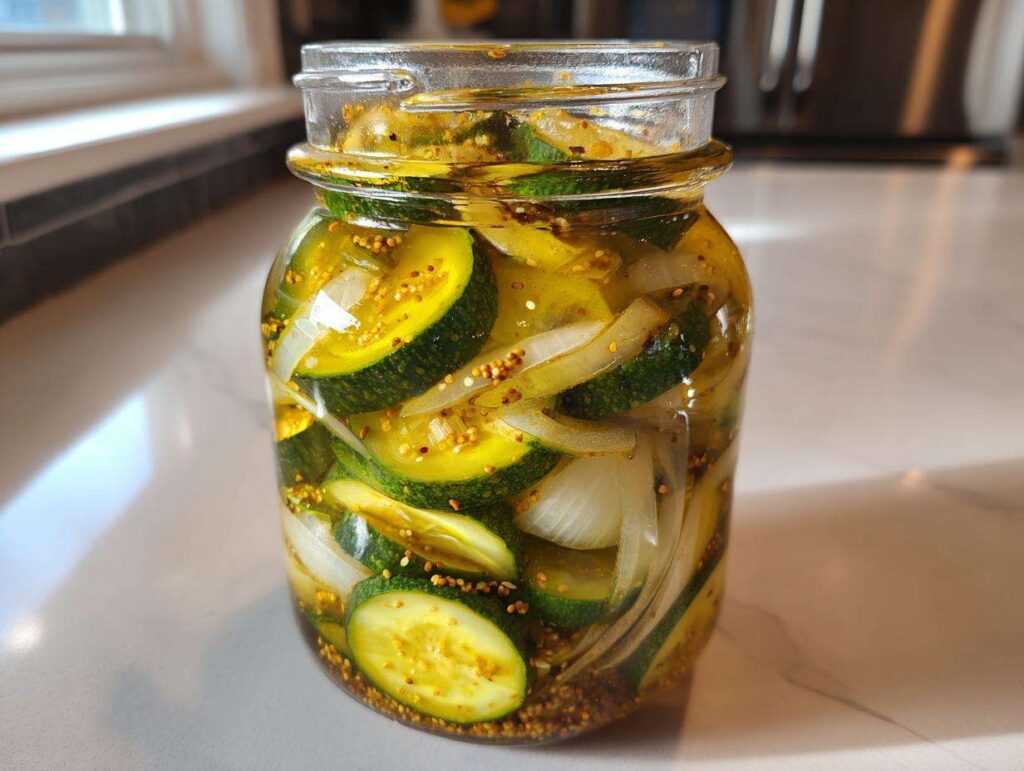
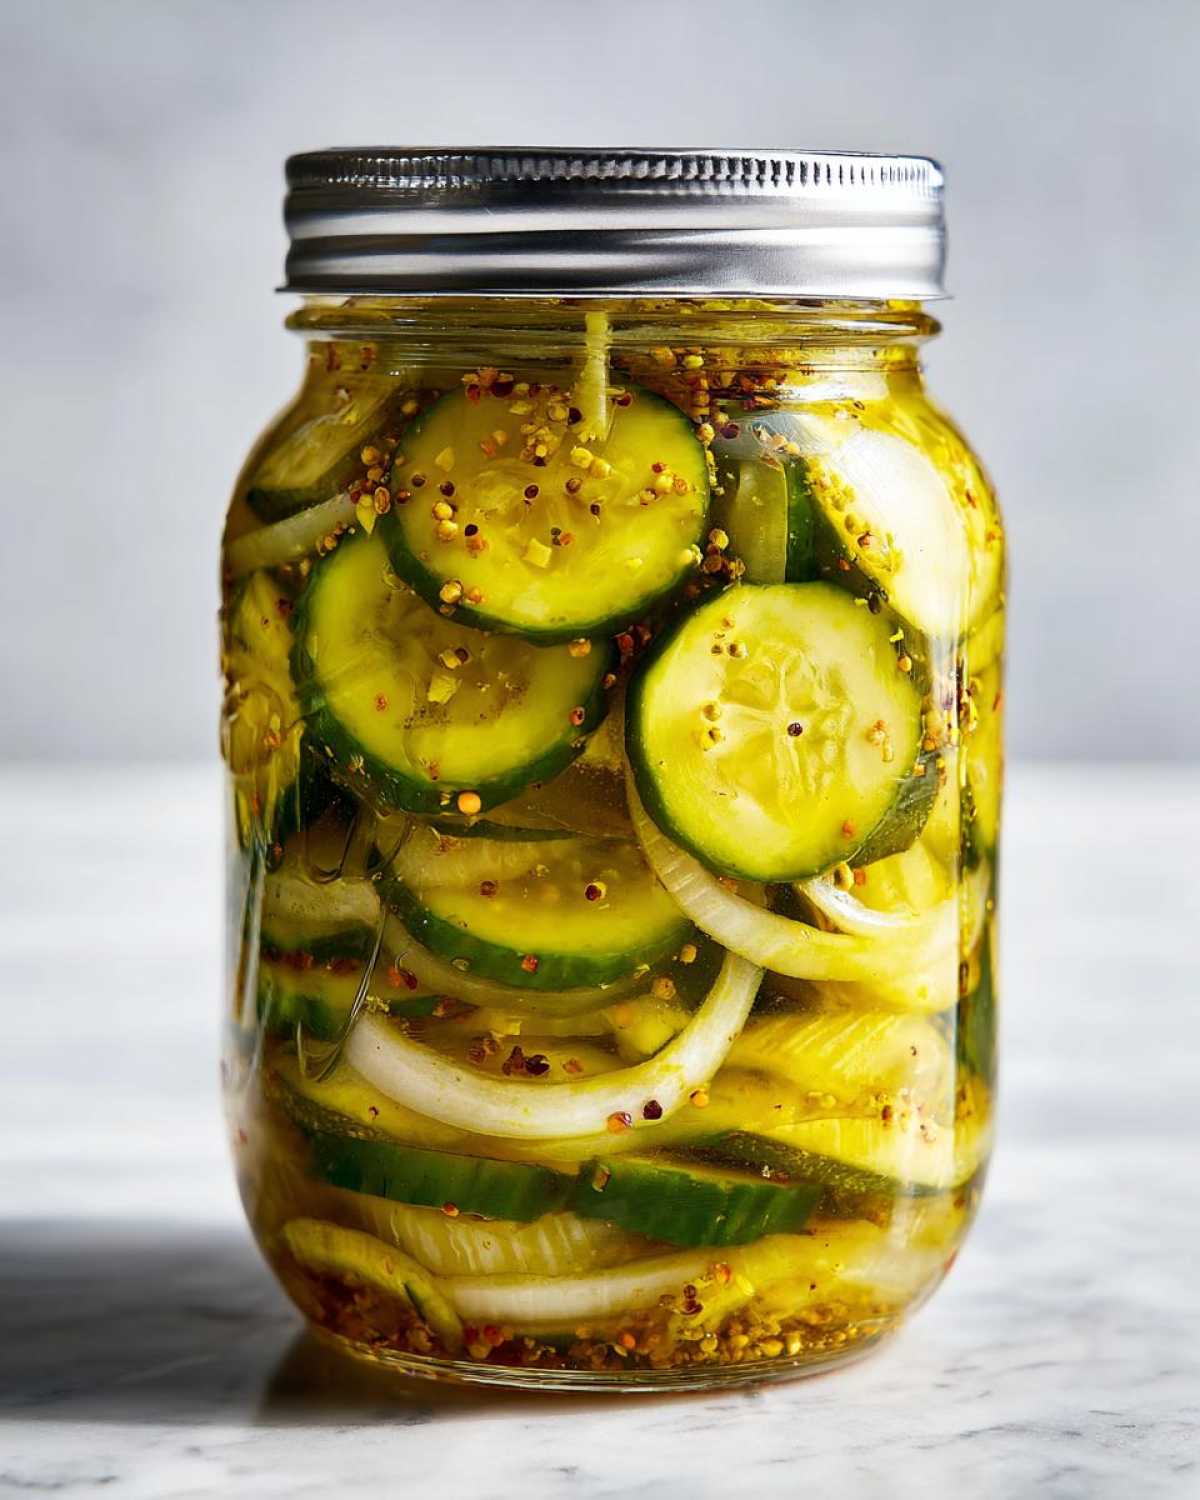
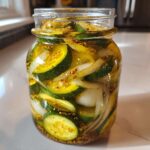
There’s something magical about opening a jar of homemade bread and butter pickles that instantly transports me back to my grandma’s kitchen. The sweet-tangy aroma hits you first, then that satisfying crunch when you bite into a crisp slice – pure nostalgia in every bite! These pickles were my childhood sandwich staple, piled high on peanut butter sandwiches (don’t knock it till you try it!) or served alongside Sunday pot roast.
What I love most about this bread and butter pickles recipe is how forgiving it is. Whether you’re an experienced canner or just want quick refrigerator pickles, this method works beautifully. My grandma always canned hers in big batches, but I often make small jars to keep in the fridge when cucumber season hits. The vinegar-sugar brine creates that perfect balance of sweet and tangy that makes these pickles so addictive.
Some of my favorite kitchen memories involve standing at the counter with my sisters, slicing cucumbers paper-thin while grandma stirred the bubbling brine pot. Now when I make these pickles, that same comforting scent fills my kitchen, and I swear I can hear her saying “Don’t skimp on the turmeric, it gives them that golden color!”
- Why You'll Love This Bread and Butter Pickles Recipe
- Ingredients for Bread and Butter Pickles
- Equipment Needed for Making Bread and Butter Pickles
- Step-by-Step Instructions for Bread and Butter Pickles
- Tips for Perfect Bread and Butter Pickles
- Variations for Bread and Butter Pickles
- Serving Suggestions for Bread and Butter Pickles
- Storing and Reheating Bread and Butter Pickles
- Nutritional Information for Bread and Butter Pickles
- Frequently Asked Questions About Bread and Butter Pickles
- Share Your Bread and Butter Pickles Experience
Why You’ll Love This Bread and Butter Pickles Recipe
Oh my stars, where do I even begin? These bread and butter pickles are my absolute favorite thing to make when cucumbers start piling up in the garden. Here’s why you’ll fall head over heels for this recipe too:
- That perfect CRUNCH – Using fresh, firm cucumbers means every bite has that satisfying snap that store-bought versions just can’t match
- Sweet meets tangy – The vinegar-sugar brine creates this magical balance that makes you keep reaching for “just one more” pickle slice
- Foolproof flexibility – Whether you’re a canning pro or just want quick fridge pickles, this recipe works beautifully both ways
- Make it your own – Love them sweeter? Add more sugar. Prefer extra tang? Boost the vinegar. It’s your pickle party!
- Nostalgia in a jar – That golden turmeric color and familiar spice blend will transport you right back to grandma’s kitchen
Trust me, once you taste homemade bread and butter pickles, you’ll never go back to the store-bought stuff. They’re that good!
Ingredients for Bread and Butter Pickles
Gathering the right ingredients is half the battle when making perfect bread and butter pickles – and trust me, I’ve learned this the hard way after a few mushy pickle disasters! Here’s exactly what you’ll need:
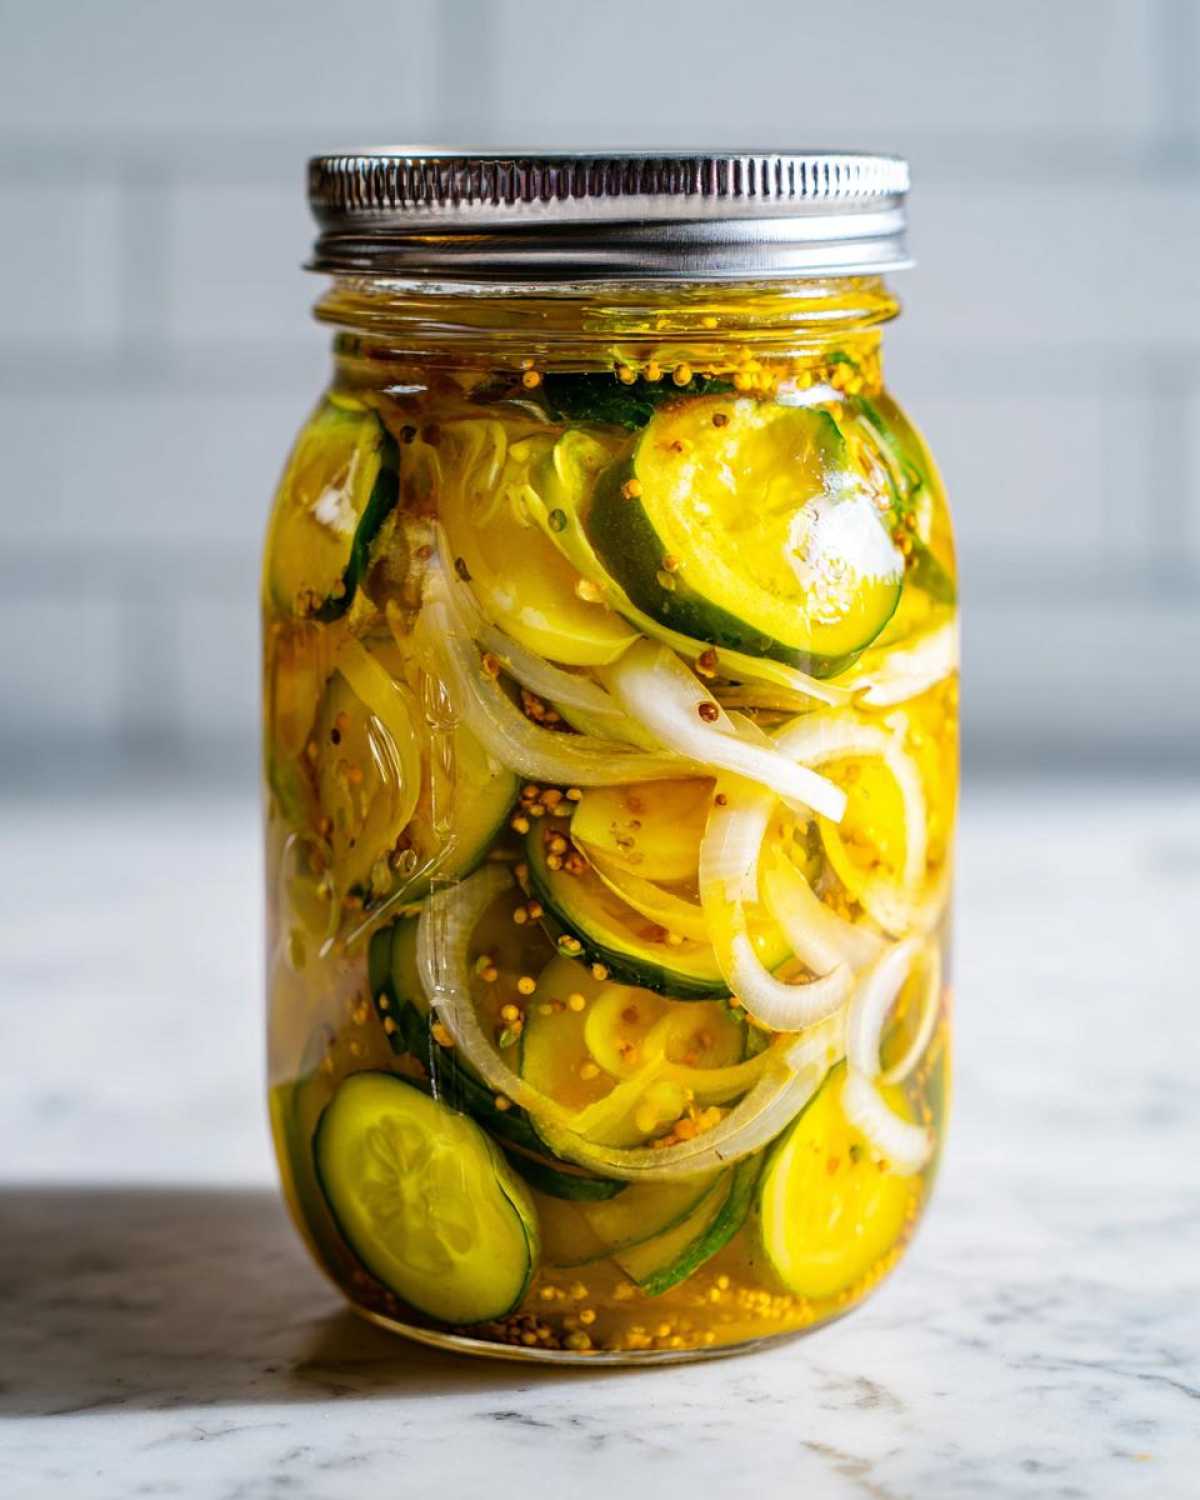
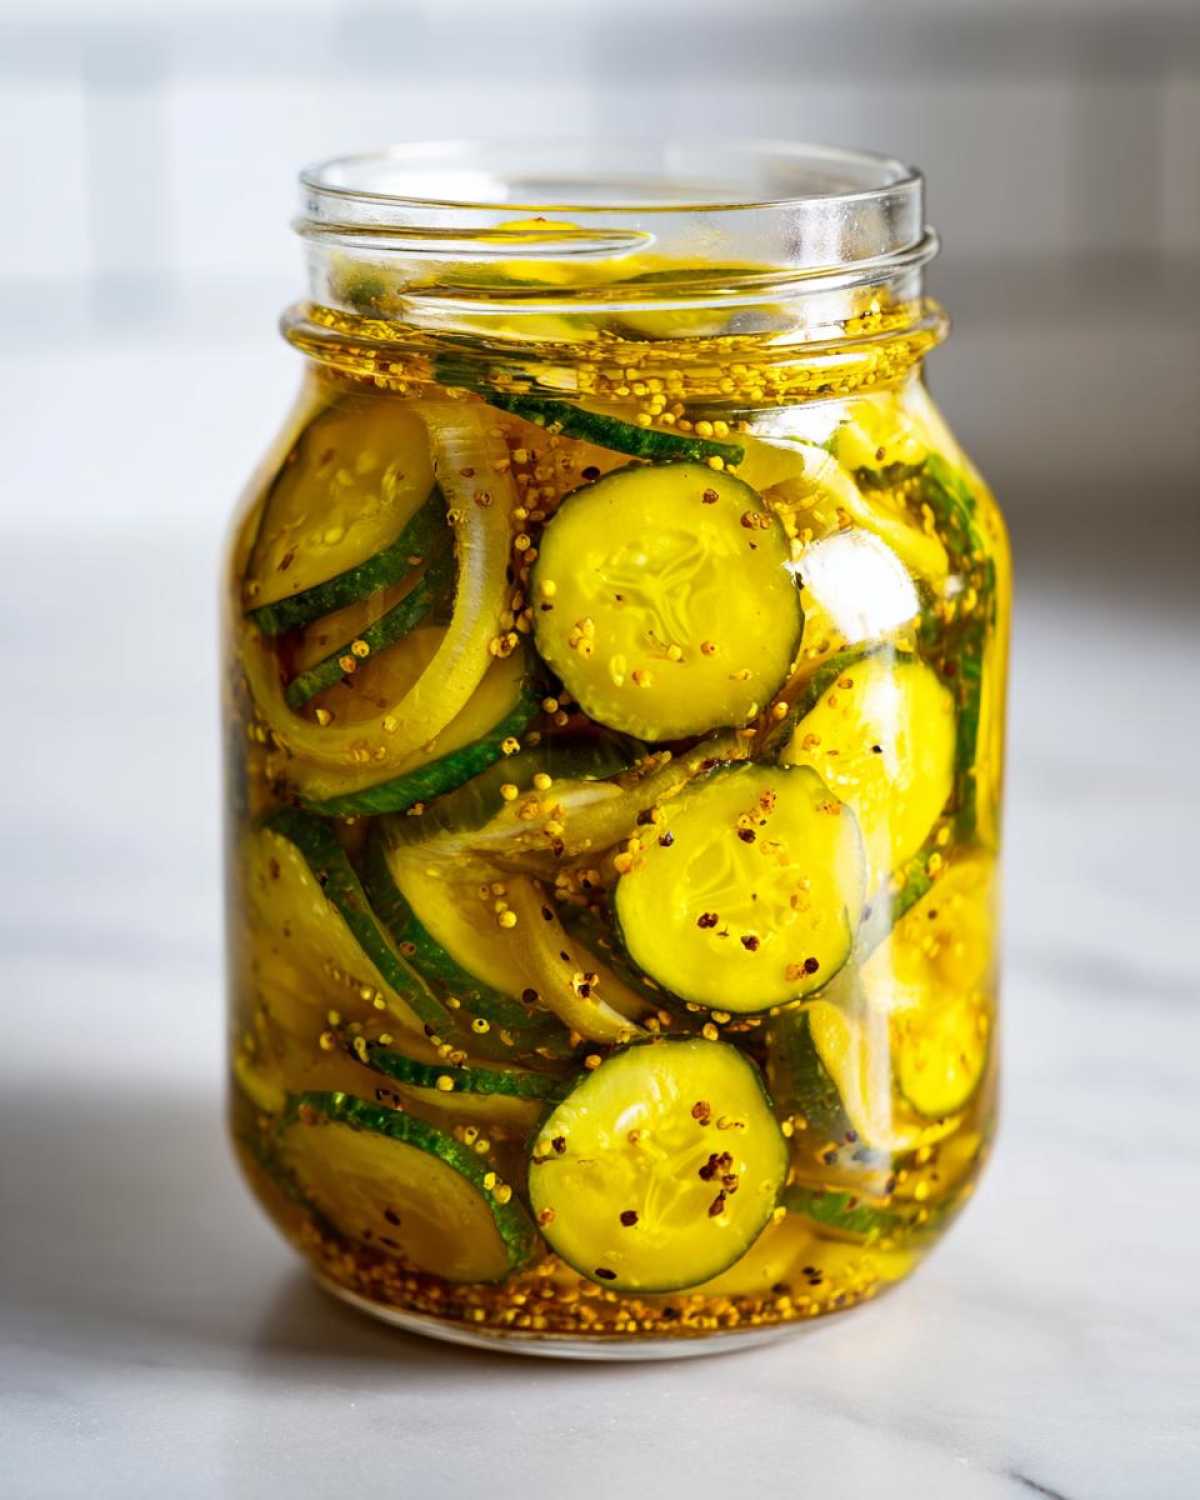
- 4 lbs fresh cucumbers – Look for firm, unwaxed pickling cucumbers (I like Kirby or Persian). Slice them about 1/4-inch thick – too thin and they’ll turn to mush!
- 2 large yellow onions – Thinly sliced (my grandma would roll in her grave if I suggested using pre-sliced!)
- 1/4 cup pickling salt – Not table salt! The anti-caking agents in regular salt can make your brine cloudy
- 2 cups white vinegar – At least 5% acidity for proper preservation
- 2 cups granulated sugar – Yes, it’s a lot, but that’s what makes them “bread and butter” sweet!
- 1 tbsp mustard seeds – These little guys add the most wonderful pop of flavor
- 1 tsp celery seeds – The secret ingredient that makes people say “What IS that delicious flavor?”
- 1 tsp turmeric – For that gorgeous golden color grandma always insisted on
A quick tip from my pickle-making mishaps: always use the freshest cucumbers you can find. Those sad, limp ones at the bottom of your fridge? They’ll make sad, limp pickles. Been there, done that!
Equipment Needed for Making Bread and Butter Pickles
Listen, I’ve made bread and butter pickles with just about every kitchen gadget imaginable (and some pretty questionable improvisations when I was first starting out!). Here’s what you really need to make perfect pickles every time:
- A big ol’ pot – At least 6 quarts for simmering that glorious brine without boil-overs
- Sterilized jars – Pint or quart mason jars work great (I save pickle jars too – shhh don’t tell the canning police!)
- Measuring cups – Because eyeballing vinegar is a dangerous game, my friend
- Water bath canner – Only if you’re canning; otherwise just use clean containers for fridge pickles
That’s it! No fancy gadgets needed. Though I will say – a mandoline slicer makes quick work of those cucumbers if you’re making big batches. Just watch your fingers!
Step-by-Step Instructions for Bread and Butter Pickles
Alright, let’s get down to the fun part – turning those crisp cucumbers into irresistible bread and butter pickles! I’ve made this recipe more times than I can count, and I’ll walk you through each step so yours turn out perfect. Just follow along and soon you’ll be hearing that satisfying “pop” of sealing jars!
Preparing the Cucumbers and Onions
First things first – grab your biggest mixing bowl (I’ve learned the hard way that small bowls mean cucumber overflow disasters!). Toss in your sliced cucumbers and onions, then sprinkle that pickling salt all over them. Now here’s the important part – let them sit for a full 2 hours. I know, I know, waiting is hard! But this step pulls out excess water so your bread and butter pickles stay crisp. After the time’s up, rinse them REALLY well under cold water – leftover salt makes for some seriously puckery pickles!
Making the Bread and Butter Pickles Brine
While your cukes are doing their thing, let’s make that magical sweet-tangy brine. Combine vinegar, sugar, and all those wonderful spices in your big pot. The turmeric will turn everything a gorgeous golden color – just wait till you see it! Bring this to a rolling boil, stirring until the sugar completely dissolves. Pro tip: don’t walk away at this stage – sugar burns fast and smells terrible. Ask me how I know!
Canning or Refrigerating Your Bread and Butter Pickles
Now for the grand finale! Add your drained cucumbers and onions to the boiling brine and simmer for exactly 5 minutes – any longer and they’ll get mushy. For canning: pack the hot pickles into sterilized jars, leaving 1/2-inch headspace, then process in a water bath for 10 minutes. That satisfying “ping” means success! For fridge pickles: just let the jars cool completely before refrigerating. They’ll keep for 3 months if they last that long – mine never do!
Tips for Perfect Bread and Butter Pickles
After years of trial and (mostly delicious) error, I’ve picked up some tricks for making the absolute best bread and butter pickles. First rule – cucumbers must be FIRM. I learned this the hard way when I used some sad, bendy ones from the back of my fridge – let’s just say they turned into pickle mush! Second, don’t be afraid to tweak the sugar. My sister likes hers extra sweet, so she adds an extra 1/4 cup, while I sometimes cut back for more tang.
Sterilizing jars properly is non-negotiable – I run mine through the dishwasher’s sanitize cycle or boil them for 10 minutes. And if you’re canning, always check those seals after processing! The lids should be concave and make that satisfying “ping” sound as they cool. No ping? No problem – just pop those jars in the fridge and enjoy them first.
One last tip from grandma: let your bread and butter pickles sit for at least a week before eating. The flavors get better as they mingle in that golden brine. Though I won’t judge if you sneak a taste right away – I always do!
Variations for Bread and Butter Pickles
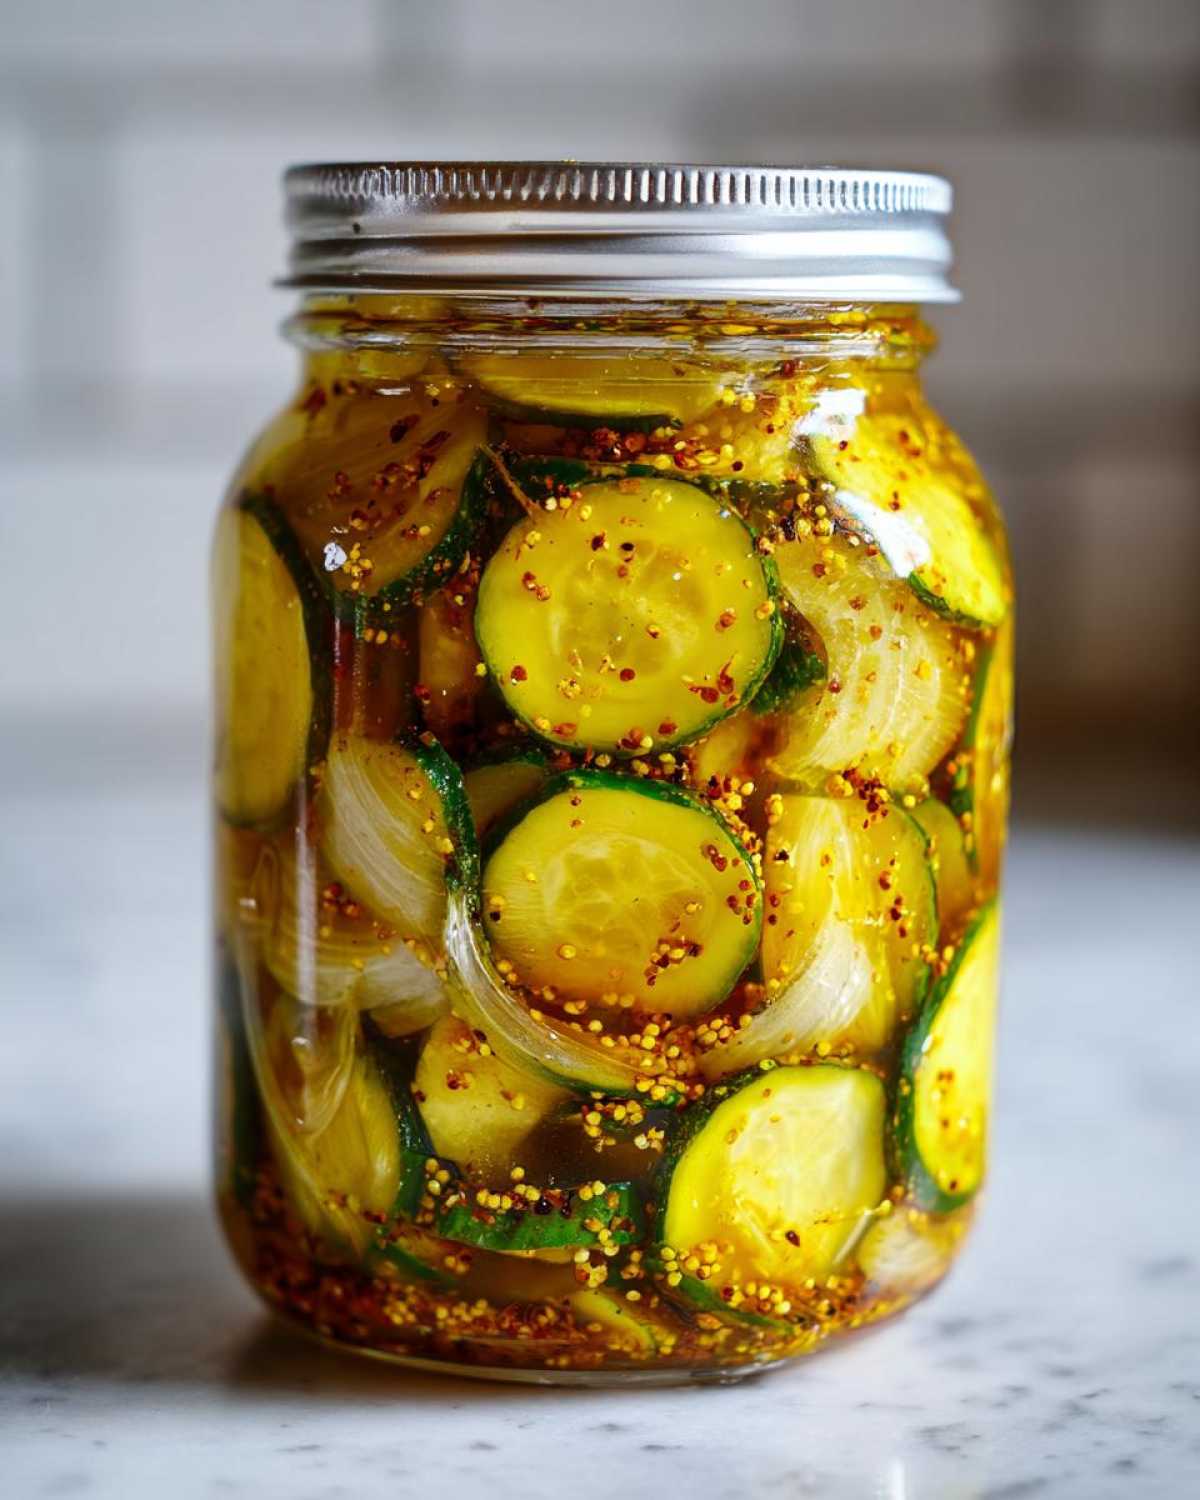
Oh, the fun you can have with bread and butter pickles! Once you’ve mastered the basic recipe, try these tasty twists that’ll make your pickle jars the talk of the town. For a spicy kick, toss in a teaspoon of red pepper flakes – my husband calls these his “firecracker pickles.” If you’re feeling fancy, swap the onions for thinly sliced shallots (so fancy, right?). And here’s my secret: sometimes I use apple cider vinegar instead of white for extra depth – it gives these sweet pickles an almost caramel-like richness.
The best part? You can mix and match these ideas to create your perfect pickle. Just promise me one thing – save a jar for me!
Serving Suggestions for Bread and Butter Pickles
Oh honey, these golden beauties aren’t just for sandwiches (though they’re heavenly piled on a BLT!). I love tossing them on juicy burgers for that sweet crunch, or arranging them on charcuterie boards next to sharp cheeses. They’re the star of my summer picnics – just watch how fast the jar empties when I bring them to potlucks! My personal favorite? Chopped up in potato salad for an unexpected tangy twist.
Storing and Reheating Bread and Butter Pickles
Here’s the beautiful thing about bread and butter pickles – they practically store themselves! If you went the canning route (listen for those magical “pings” as they seal!), your jars will keep beautifully for up to a year in a cool, dark place. My pantry shelves look like a pickle rainbow come fall! For refrigerator pickles, they’ll stay crisp and delicious for about 3 months – if you can resist eating them all sooner. Now, reheating? Honey, these are meant to be enjoyed cold and crisp straight from the jar – no warming needed!
Nutritional Information for Bread and Butter Pickles
Let’s talk nutrition – but remember, these values are estimates! The exact numbers change based on your cucumber size and how much brine they soak up. These sweet slices are naturally fat-free but do contain sugar from the brine. The vinegar adds tang without calories, while turmeric gives that golden color. Always check your specific ingredients for the most accurate info!
Frequently Asked Questions About Bread and Butter Pickles
Over the years, I’ve gotten so many great questions about my bread and butter pickles recipe – here are the answers straight from my pickle-stained recipe notebook:
Can I reduce the sugar in bread and butter pickles?
You can, but be careful! The sugar helps balance the vinegar’s acidity for safe preservation. If reducing sugar, don’t go below 1 1/2 cups per 2 cups vinegar, and always process in a water bath if canning. For refrigerator pickles, you’ve got more flexibility – I sometimes use 1 3/4 cups sugar when making small batches for immediate eating.
Why did my bread and butter pickles turn out soft?
Oh honey, I feel your pain! Soft pickles usually mean either overcooked cucumbers (that 5-minute simmer is crucial!) or using cucumbers that weren’t fresh to begin with. Always pick firm, unwaxed cukes, and don’t skip the salting step – it draws out excess water that can make them mushy.
Can I make refrigerator bread and butter pickles instead of canning?
Absolutely! This is actually how I make most of my sweet pickle chips these days. Just skip the water bath and store your jars in the fridge. They’ll keep for about 3 months (if they last that long!). The flavor develops beautifully after about a week.
What’s the best way to slice cucumbers for vintage sweet pickles?
I aim for about 1/4-inch thick slices – any thinner and they lose their satisfying crunch. A mandoline slicer makes quick work of this, but watch those fingers! My grandma always did hers by hand with her trusty paring knife, and I swear she could slice them paper-thin without looking.
How long should homestead pickles process in a water bath?
For this bread and butter pickle recipe, process pint jars for 10 minutes in a boiling water bath. Start timing when the water returns to a full boil after adding jars. Any longer and you risk overcooking those precious cukes!
Share Your Bread and Butter Pickles Experience
I’d love to hear how your pickling adventure turned out! Did you try any fun variations? Snap a photo of your jars and share them – I’m always looking for new inspiration. Leave a comment below with your tips or questions. Happy canning!
PrintBread and Butter Pickles
A sweet and tangy pickle recipe perfect for sandwiches and snacking. These crisp slices are made with a vinegar-sugar brine and can be canned or stored in the refrigerator.
- Prep Time: 2 hours 15 mins
- Cook Time: 15 mins
- Total Time: 2 hours 30 mins
- Yield: 4 pints 1x
- Category: Pickles
- Method: Canning or Refrigerator
- Cuisine: American
- Diet: Vegetarian
Ingredients
- 4 lbs cucumbers, sliced
- 2 large onions, thinly sliced
- 1/4 cup pickling salt
- 2 cups white vinegar
- 2 cups granulated sugar
- 1 tbsp mustard seeds
- 1 tsp celery seeds
- 1 tsp turmeric
Instructions
- Combine cucumbers, onions, and pickling salt in a large bowl. Let sit for 2 hours, then drain and rinse.
- In a large pot, mix vinegar, sugar, mustard seeds, celery seeds, and turmeric. Bring to a boil.
- Add the drained cucumbers and onions to the pot. Simmer for 5 minutes.
- Pack the pickles into sterilized jars, leaving 1/2-inch headspace. Seal with lids.
- Process in a water bath for 10 minutes or store in the refrigerator for up to 3 months.
Notes
- For a quicker version, skip the water bath and store in the refrigerator.
- Adjust sugar to taste for a sweeter or tangier pickle.
- Use fresh, firm cucumbers for the best texture.
Nutrition
- Serving Size: 1/4 cup
- Calories: 50
- Sugar: 12g
- Sodium: 200mg
- Fat: 0g
- Saturated Fat: 0g
- Unsaturated Fat: 0g
- Trans Fat: 0g
- Carbohydrates: 13g
- Fiber: 1g
- Protein: 0g
- Cholesterol: 0mg