 Skip to content
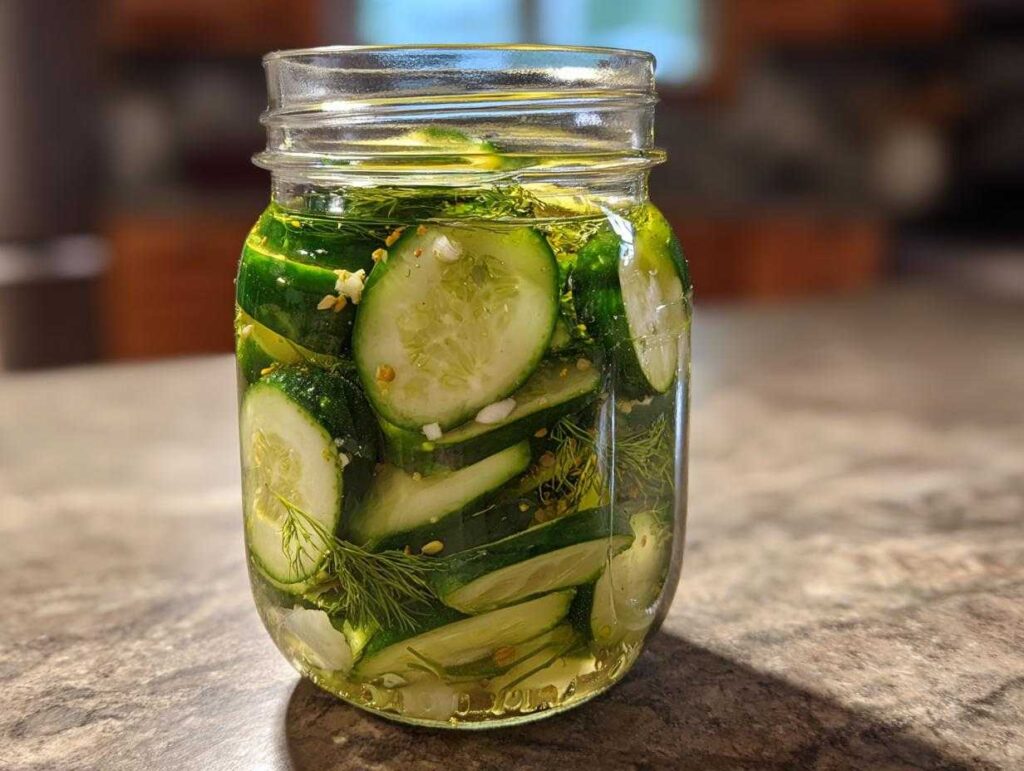
There’s nothing quite like the satisfying crunch of homemade pickles – but who has time for all that canning equipment? That’s exactly what I said when my garden exploded with cucumbers last summer, and I discovered the magic of refrigerator pickles. No sterilizing jars, no boiling water baths, just crisp, tangy results in under an hour (plus some patience while they pickle in the fridge).
I still remember that first bite – the garlicky brine clinging to each cucumber slice, the dill seeds popping with flavor. My kids devoured them straight from the jar! These refrigerator pickles became my summer staple: quick to make, endlessly customizable, and perfect for when you want that homemade taste without the fuss. The best part? That satisfying crunch stays crisp for weeks in your fridge.
Follow me on Pinterest for more quick pickling ideas!
- Why You'll Love These Refrigerator Pickles
- Ingredients for Refrigerator Pickles
- Equipment You'll Need
- How to Make Refrigerator Pickles
- Tips for Perfect Refrigerator Pickles
- Variations for Refrigerator Pickles
- Serving and Storing Refrigerator Pickles
- Nutritional Information
- Frequently Asked Questions
Why You’ll Love These Refrigerator Pickles
Oh my gosh – let me tell you why these refrigerator pickles have become my summer obsession! Once you try this method, you’ll never go back to complicated canning. Here’s what makes them so magical:
- No canning drama – Forget sterilizing jars and boiling water baths! Just mix, pour, and pop in the fridge. Easy peasy.
- Ready in a flash – Prep takes under 15 minutes (seriously!) then let the fridge do the rest of the work overnight.
- Crispier than store-bought – Unlike soggy supermarket pickles, these stay beautifully crunchy thanks to the cold brine method.
- Play with flavors – Swirl in extra garlic one week, add spicy peppers the next – it’s your personal pickle playground!
The first time I made refrigerator pickles, I couldn’t believe something so simple could taste this good. Now I always keep a jar in my fridge – ready to jazz up sandwiches, burgers, or just for midnight snacking!
Ingredients for Refrigerator Pickles
Here’s the beautiful thing about refrigerator pickles – you probably have most of this stuff in your kitchen already! These simple ingredients transform ordinary cucumbers into tangy, crisp magic. Let’s talk specifics:
- 2 cups water – Just plain ol’ tap water works fine here
- 1 cup white vinegar – This is my go-to, but apple cider vinegar adds a nice fruity twist if you want to switch it up
- 1 tbsp salt – Regular table salt does the trick, but kosher salt works too (just no iodized salt – it can make things taste funny)
- 1 tbsp sugar – I use white sugar, but honey gives a lovely floral note if you prefer
- 2 cloves garlic, sliced thin – Thin slices mean more garlicky goodness in every bite!
- 1 tsp dill seeds – Packed measure, not heaped (these little guys pack serious flavor punch)
- 4 cups sliced cucumbers – About 2 medium cucumbers sliced ¼-inch thick
See? Nothing fancy – just straightforward ingredients that do magical things together in your fridge overnight. The best kitchen alchemy!
Equipment You’ll Need
Gather these simple tools before you start – I promise you’ve got most of them already cluttering your kitchen drawers! Here’s what makes refrigerator pickles a breeze:
- Saucepan – Any small pot will do for boiling that magical brine
- Clean jars – I save pickle jars throughout the year exactly for this purpose!
- Sharp knife – For perfect cucumber slices (dull knives crush instead of cut)
- Cutting board – My trusty wooden one gets the job done every time
Bonus items if you’re feeling fancy: a funnel makes pouring neat (though I often just free-pour like a rebel), and a wooden chopstick helps poke down any stubborn floating cukes. That’s it – no fancy gadgets required!
How to Make Refrigerator Pickles
Alright, let’s get pickling! Making refrigerator pickles is simpler than you think – just three easy steps between you and crunchy, tangy perfection. I’ve made this countless times (my fridge currently has three different flavor batches!), and trust me, once you get the hang of it, you’ll be experimenting with variations faster than you can say “pass the pickles!”
Step 1: Prepare the Brine
First things first – the magical brine! Grab your saucepan and combine the water, vinegar, salt, and sugar over medium heat. Stir constantly until those sugar and salt crystals disappear completely – this takes about 2 minutes (don’t rush it!). You’ll know it’s ready when the liquid looks perfectly clear. Pro tip: If you’ve got stubborn sugar grains stuck to the bottom, just tilt your pan slightly to swirl them into the hot liquid.
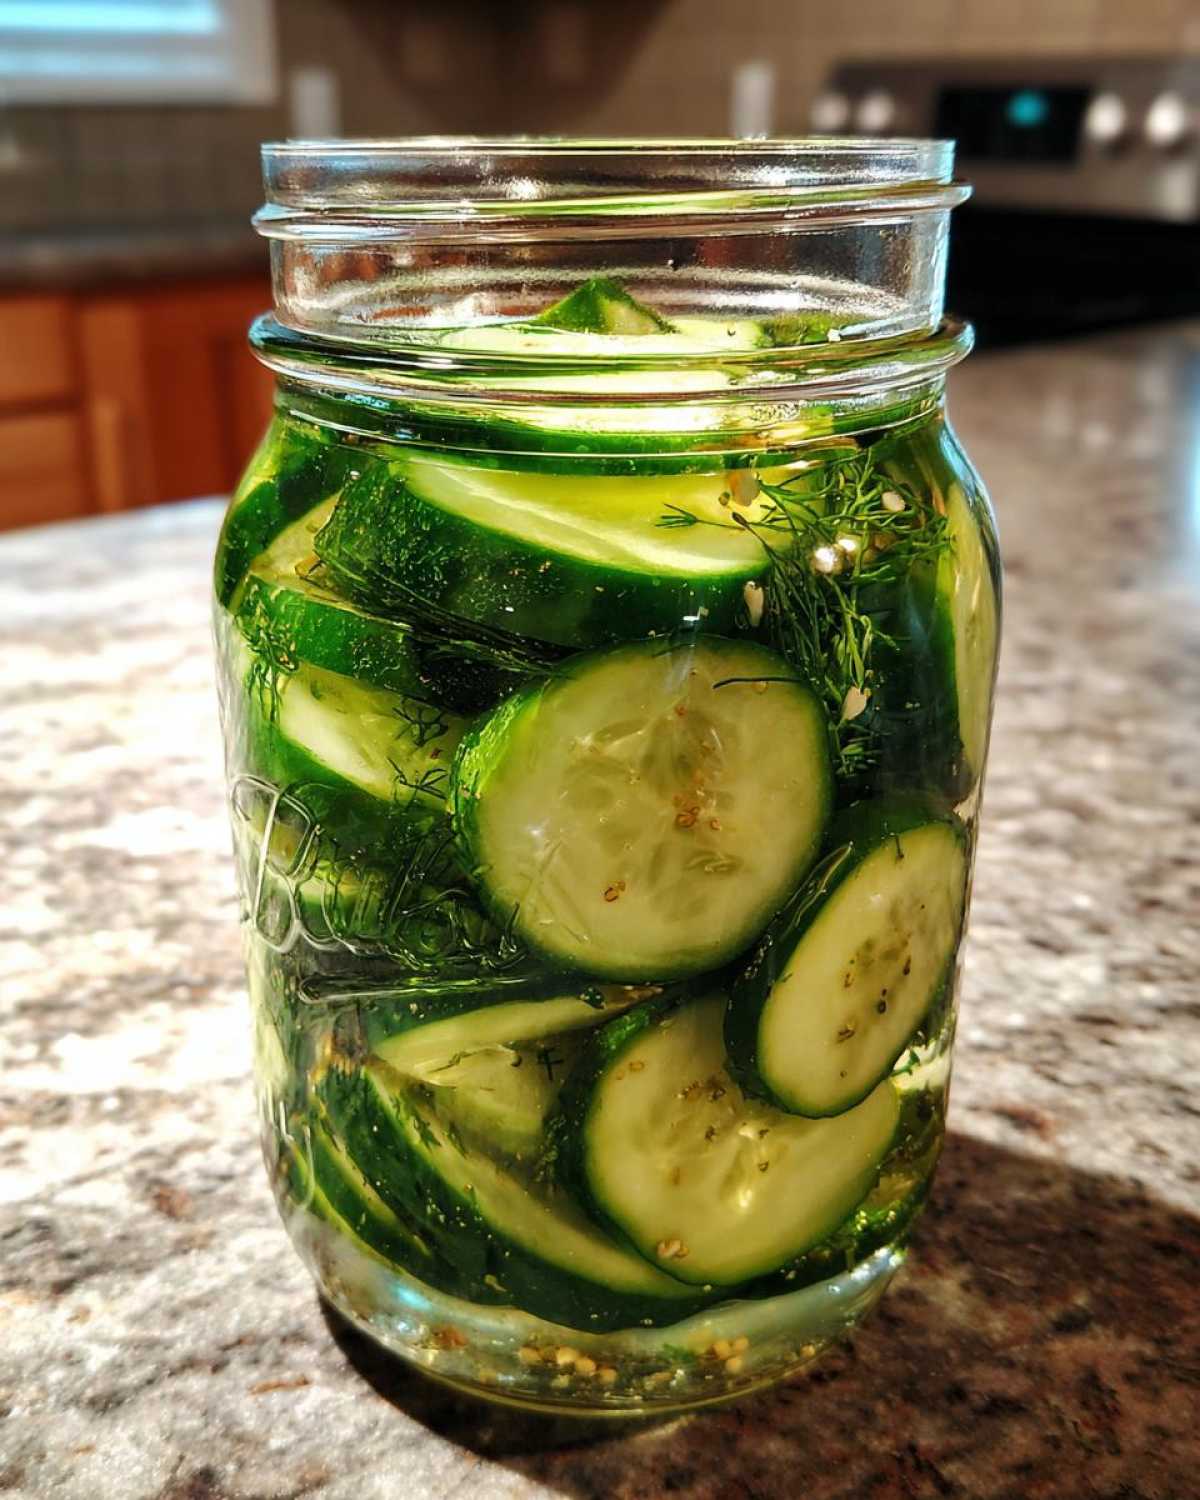
Step 2: Pack the Jar with Refrigerator Pickles
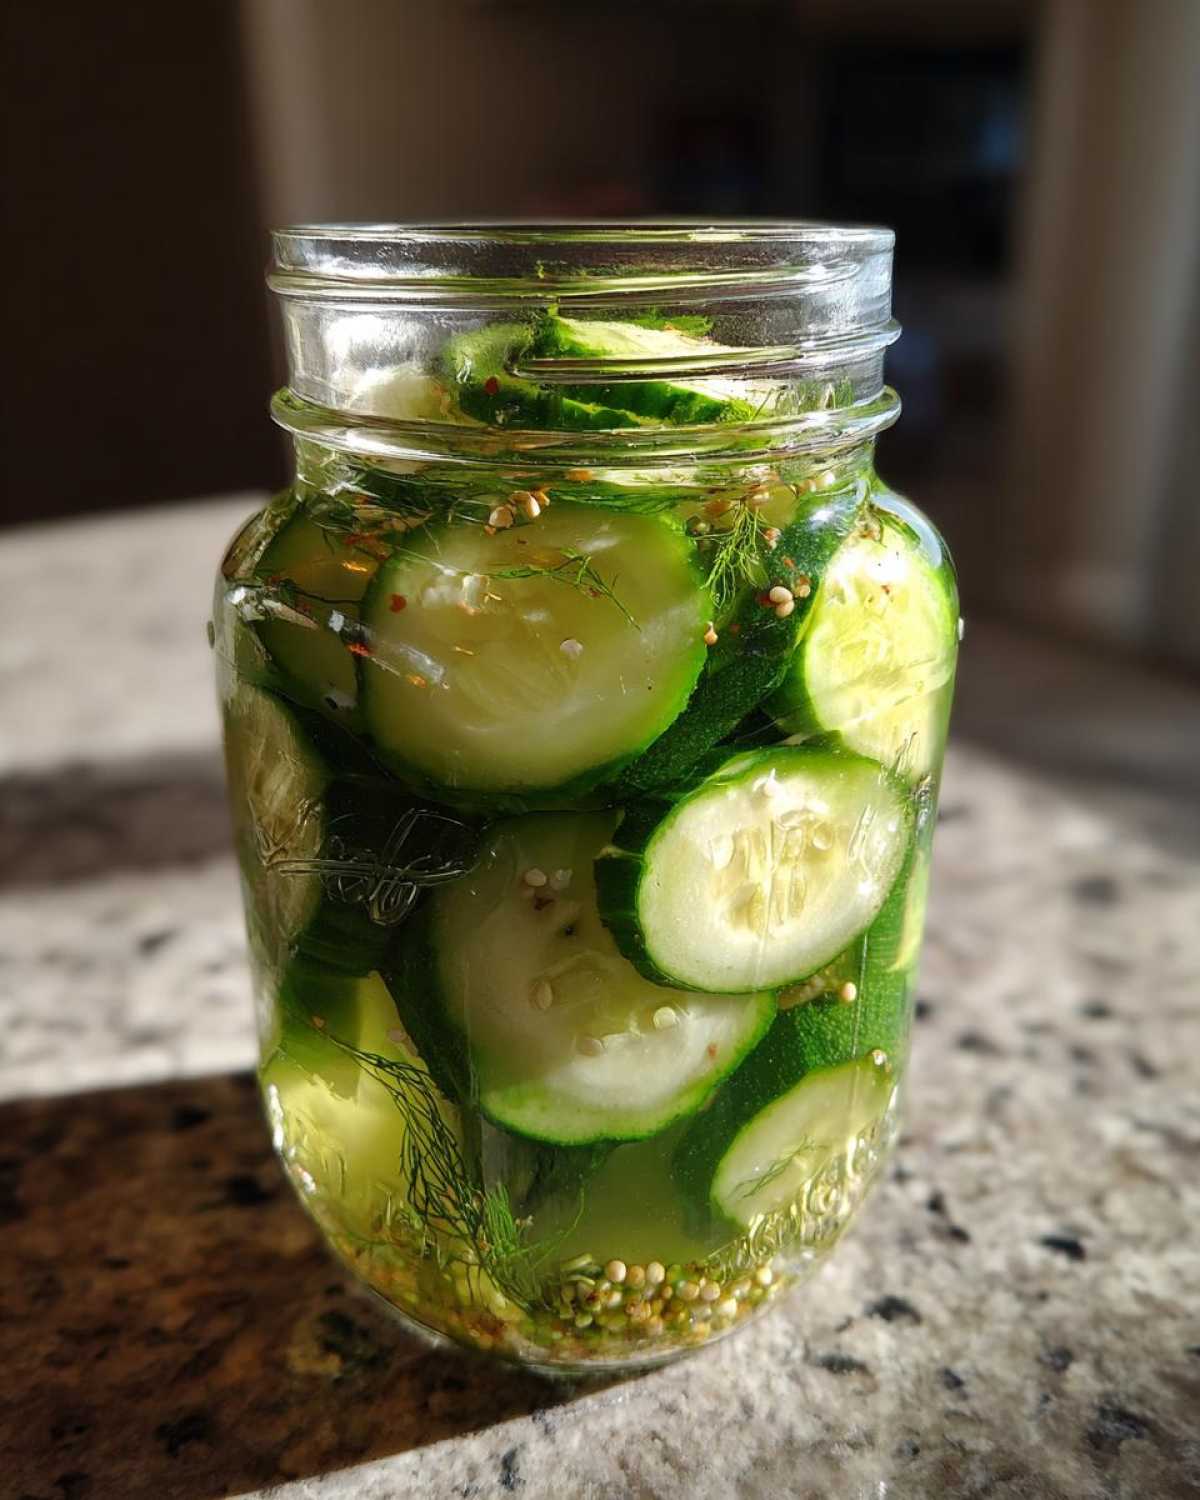
Now for the fun part – assembling your refrigerator pickles! Take your clean jar and start layering: a handful of cucumbers, a few garlic slices, sprinkle some dill seeds, repeat! Pack them in snug (mine look like little cucumber puzzles when I’m done), but don’t squish them – you want those pretty slices to stay intact. The garlic and dill will mingle beautifully as they pickle.
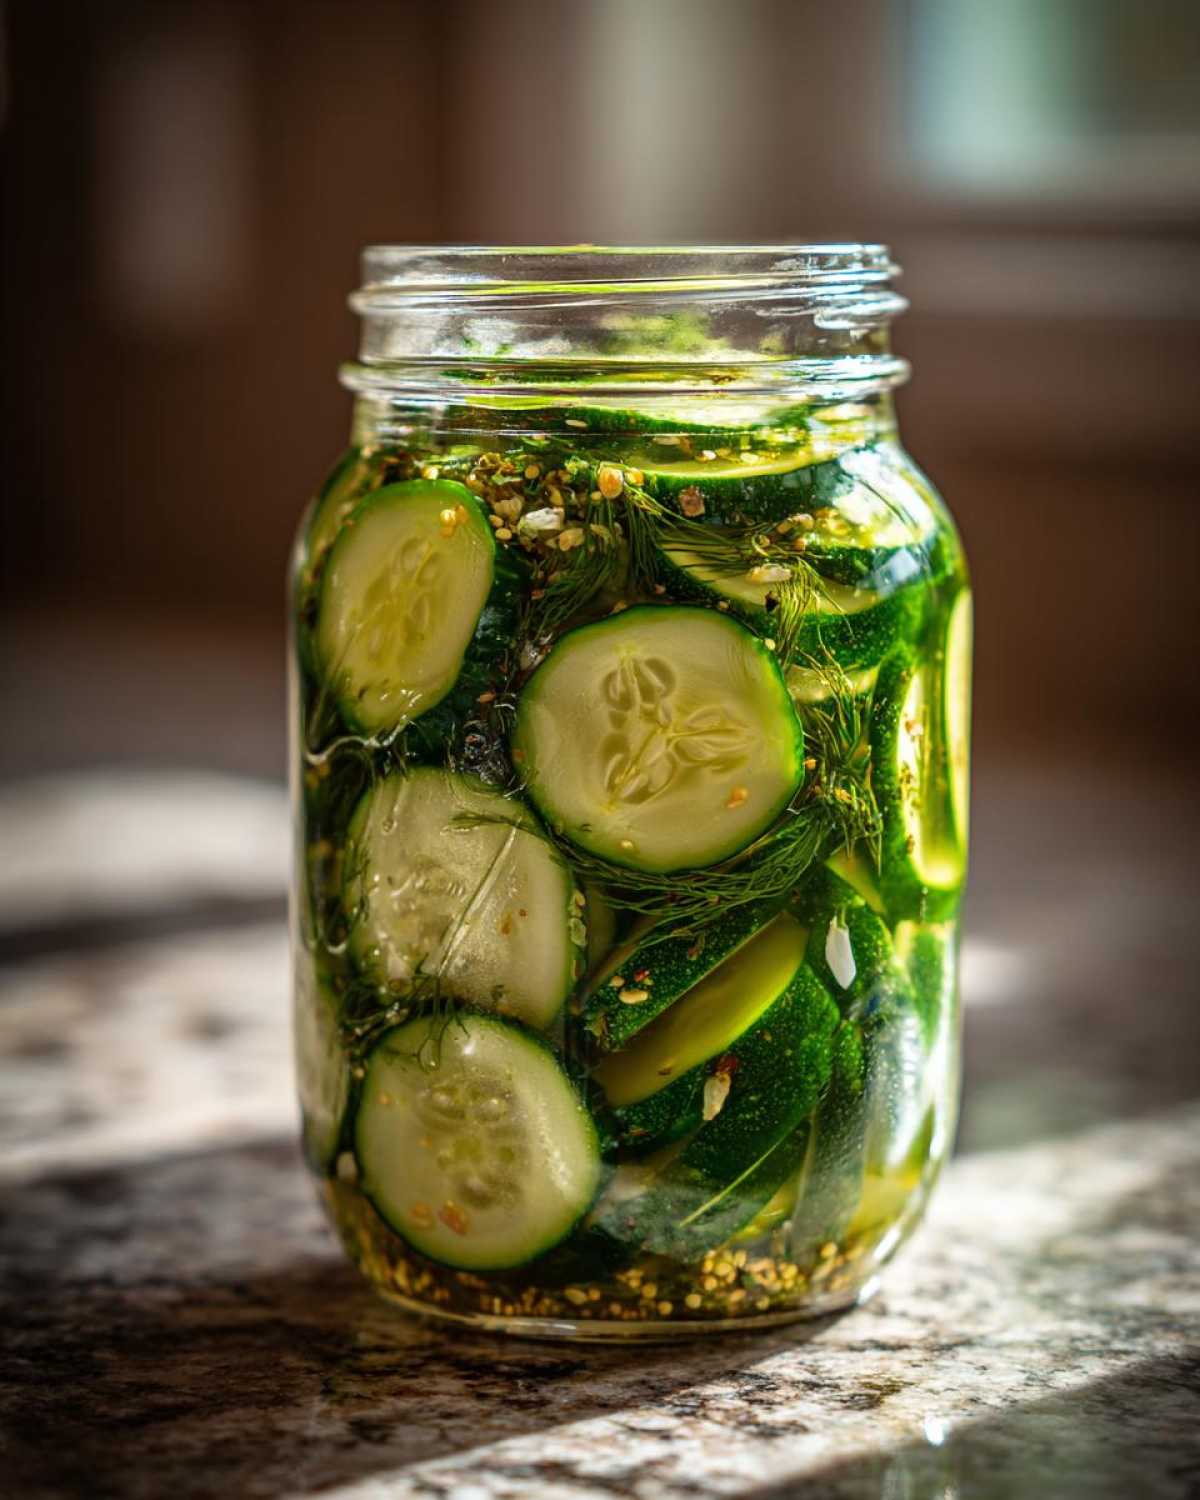
Step 3: Pour and Cool
Carefully pour your hot brine over the packed cucumbers until they’re completely submerged (I leave about 1/2-inch headspace). Don’t worry if things shift around – just poke any floaters down with a clean spoon. Let the jar sit on your counter until cooled to room temperature – about an hour – before popping on the lid and refrigerating. And yes, you absolutely must wait the full 24 hours before tasting – the anticipation makes that first crisp bite taste even better!
Tips for Perfect Refrigerator Pickles
After making approximately a gazillion batches of refrigerator pickles (okay, maybe just dozens), I’ve learned all the tricks for pickle perfection. First – grab the freshest cucumbers you can find! Those grocery store cukes that have been hanging around for days? They’ll give you soggy pickles every time. Farmers’ market or garden-fresh is definitely the way to go here.
Want that signature crunch? Toss a fresh grape leaf or bay leaf in your jar – the tannins work magic keeping the pickles crisp. And don’t be afraid to play with spices! I always keep extra jars nearby for experimenting – swapping dill seeds for mustard seeds one day, adding whole peppercorns the next. The beauty of refrigerator pickles is they’re completely customizable to your taste.
One last pro tip: Label your jars with the date! After a week or two in the fridge, you’ll want to remember which batch is the newest (and definitely don’t ask me how I learned this lesson…).
Variations for Refrigerator Pickles
Oh boy, wait till you see how creative you can get with these! The basic recipe is just the starting point – here’s how I love to mix things up in my kitchen.
For heat lovers, toss in some red pepper flakes. Sweet tooth? Extra sugar does the trick. Want more tang? Mustard seeds add this great pop! My neighbor even adds fresh lemon peel sometimes – genius, right?
Spicy Refrigerator Pickles
If you like things with kick, here’s my go-to: add a teaspoon of red pepper flakes and couple slices of jalapeño to the jar. The heat builds as they pickle – perfect for burgers or snacking straight from the fridge!
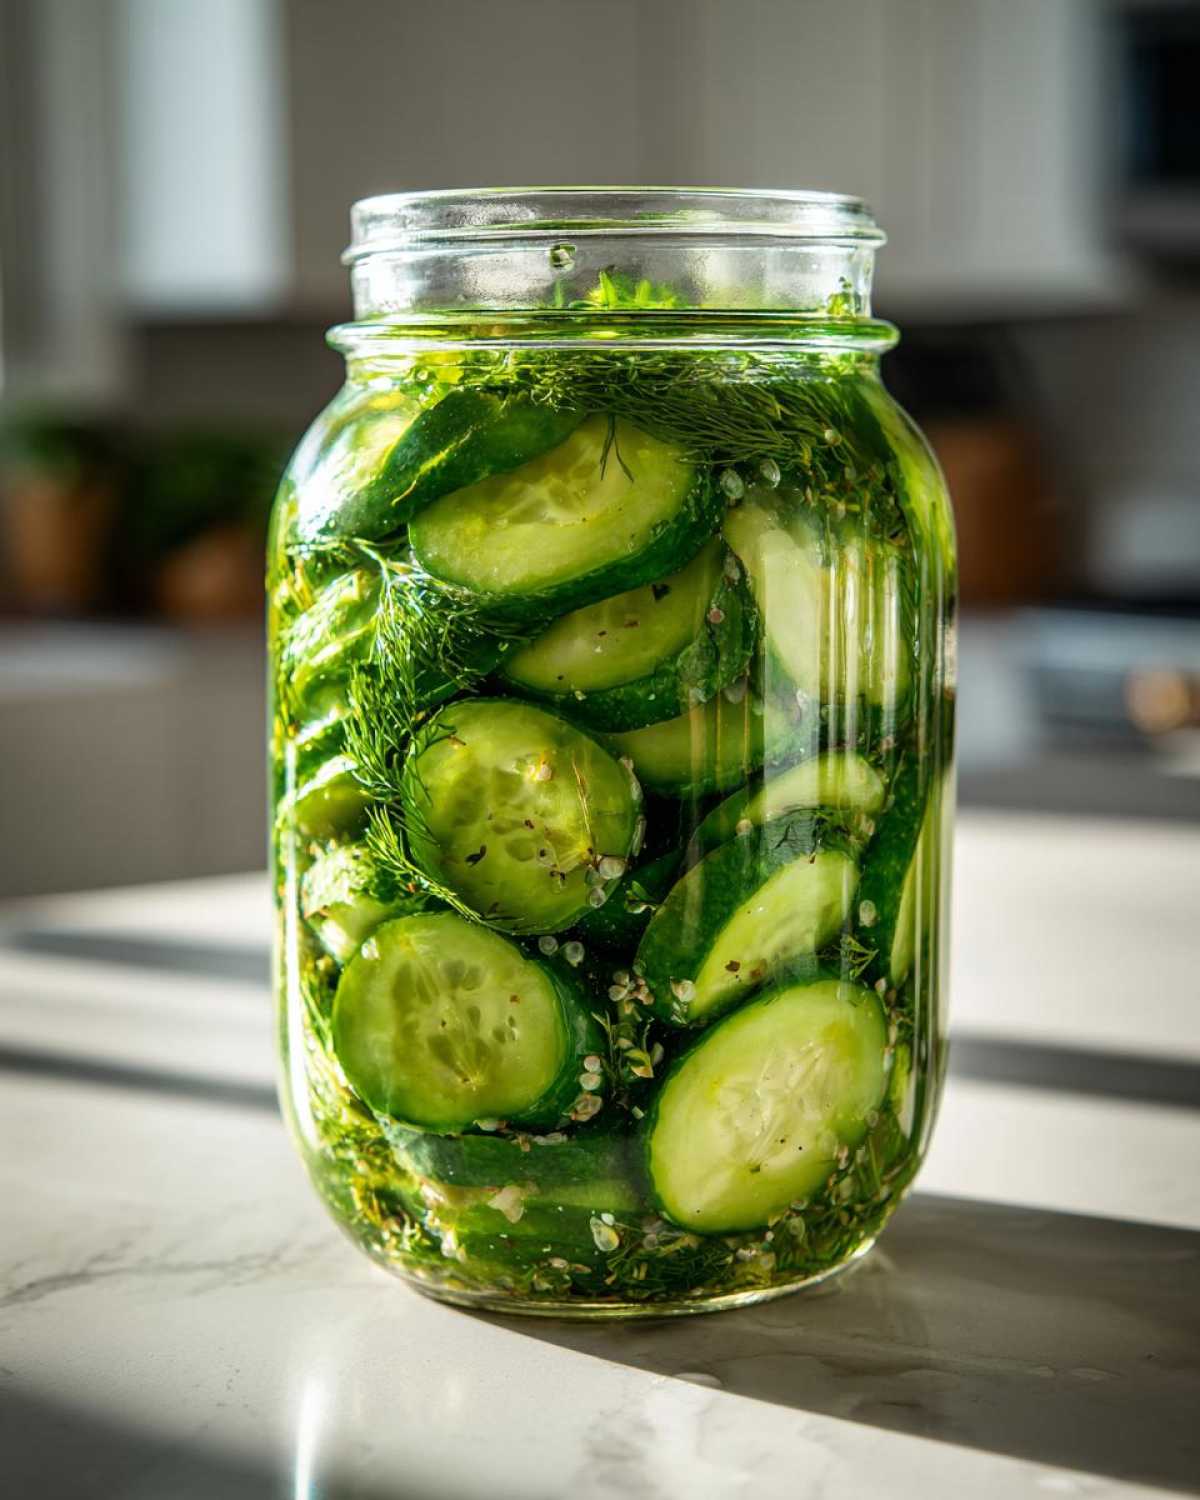
Serving and Storing Refrigerator Pickles
Oh my gosh – these refrigerator pickles are practically begging to be eaten! My favorite way? Straight from the jar with my fingers (no shame!). But they’re also amazing chopped into tuna salad, piled high on burgers, or served alongside grilled meats. That tangy crunch takes any meal up a notch!
Storage is a breeze – just keep them tightly sealed in the fridge where they’ll stay crisp and delicious for about 2 weeks (if they last that long in your house!). I always make a double batch because…well…mine tend to disappear fast! Pro tip: The flavor actually gets better after a few days as all those spices really soak in. Happy pickling!
Nutritional Information
Now, I’m no nutritionist, but here’s the skinny on these refrigerator pickles: Each crunchy quarter-cup serving comes in at about 10 calories – practically guilt-free snacking! The sodium’s around 290mg (most from that flavor-packed brine), and there’s just 1g of sugar per serving. Keep in mind these numbers can vary slightly depending on your exact ingredients and how big you slice those cukes!
Frequently Asked Questions
I get asked about refrigerator pickles all the time – here are the answers straight from my pickle-stained recipe notebook:
I get asked these questions all the time when friends see my fridge full of pickles – here are the answers straight from my brine-splattered recipe notebook:
How long do refrigerator pickles last?
They stay crisp and delicious for about 2 weeks in the fridge – if you can resist eating them all before then! After that, they start to lose their signature crunch. I always mark my jars with the date using a dry-erase marker (another kitchen hack I learned the hard way!).
Can I reuse the brine?
Nope, don’t do it! The brine loses its magic after the first use. That’s why I always make fresh brine for each batch – trust me, it makes all the difference. The good news? This recipe is so quick, making new brine takes just minutes!
Why are my pickles soft?
Oh honey, they’re probably using old cucumbers! Here’s what I tell my neighbors – only use cucumbers picked within the last 48 hours for refrigerator pickles. Older ones just don’t hold up. Also try adding a fresh grape leaf – the tannins work wonders for keeping them crisp!
Can I pickle other veggies this way?
Absolutely! This works great for bell peppers, carrots, even cauliflower. Just adjust the slicing thickness – thinner for softer veggies, thicker for crunchy ones. My kids adore pickled rainbow carrots – they look so pretty in the jar!
Do I need special jars?
Any clean glass jar works perfectly! I save all my spaghetti sauce and jam jars just for refrigerator pickles. Just make sure they’ve got tight-fitting lids. Mason jars look cute, but don’t feel like you need to buy anything special.
Easy Refrigerator Pickles
A quick, no-can water-bath pickle recipe that stays crisp in the fridge. Perfect for gardeners and home cooks looking for a simple, flavorful pickle.
- Prep Time: 10 mins
- Cook Time: 5 mins
- Total Time: 15 mins
- Yield: 1 quart 1x
- Category: Side Dish
- Method: No-Cook
- Cuisine: American
- Diet: Vegetarian
Ingredients
- 2 cups water
- 1 cup white vinegar
- 1 tbsp salt
- 1 tbsp sugar
- 2 cloves garlic, sliced
- 1 tsp dill seeds
- 4 cups sliced cucumbers
Instructions
- Combine water, vinegar, salt, and sugar in a saucepan. Bring to a boil, then remove from heat.
- Place garlic, dill seeds, and cucumbers in a clean jar.
- Pour the hot brine over the cucumbers, ensuring they are fully submerged.
- Let cool to room temperature, then cover and refrigerate for at least 24 hours before serving.
Notes
- Store in the refrigerator for up to 2 weeks.
- For extra crispness, add a grape leaf or bay leaf to the jar.
- Experiment with spices like mustard seeds, peppercorns, or red pepper flakes for different flavors.
Nutrition
- Serving Size: 1/4 cup
- Calories: 10
- Sugar: 1g
- Sodium: 290mg
- Fat: 0g
- Saturated Fat: 0g
- Unsaturated Fat: 0g
- Trans Fat: 0g
- Carbohydrates: 2g
- Fiber: 0g
- Protein: 0g
- Cholesterol: 0mg