 Skip to content
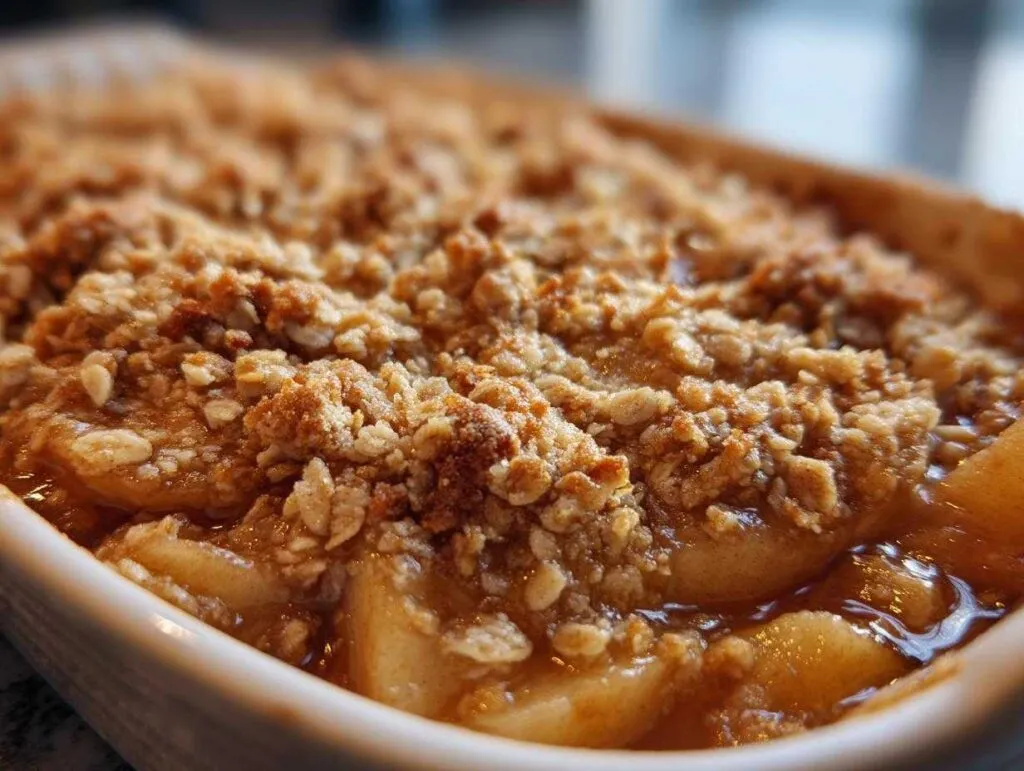
There’s nothing quite like the smell of warm apple crumble filling your kitchen on a crisp fall afternoon. That sweet, cinnamon-spiced aroma takes me right back to my grandma’s kitchen, where she’d let me help layer sliced apples into her favorite baking dish while she whipped up that buttery crumble topping. To this day, it’s my go-to dessert when I need something comforting, delicious, and ready in under an hour.
What I love most about apple crumble is how forgiving it is – no fancy pastry skills required! Just toss some apples with sugar and spices, mix up a simple topping, and let the oven work its magic. As someone who’s spent years testing recipes in my own kitchen (and eating way too many test batches), I can tell you this version hits all the right notes: tender apples, crispy topping, and just the right amount of sweetness.
Whether you’re making it for a weeknight treat or a holiday gathering, this old-fashioned dessert never fails to please. The best part? You probably have most of the ingredients in your pantry already. So grab those apples and let’s get baking!
- Why You'll Love This Apple Crumble
- Ingredients for the Best Apple Crumble
- How to Make Apple Crumble Step by Step
- Tips for the Perfect Apple Crumble
- Apple Crumble Variations
- Serving Suggestions for Apple Crumble
- Storing and Reheating Apple Crumble
- Apple Crumble Nutrition Information
- Frequently Asked Questions About Apple Crumble
- Share Your Apple Crumble Experience
Why You’ll Love This Apple Crumble
Trust me, once you try this recipe, you’ll understand why it’s been my go-to dessert for years. Here’s what makes it so special:
- Quick & easy: From peeling apples to pulling it out of the oven, you’re looking at under an hour – perfect when that dessert craving hits!
- Flavor bomb: The combination of tart apples, warm cinnamon, and that buttery crumble topping? Absolute magic.
- Weeknight hero: Uses simple pantry staples – no fancy ingredients required.
- Holiday-worthy: Fancy enough for Thanksgiving but easy enough for Tuesday night.
- Your choice: Love oats? Toss ’em in! Prefer classic? Leave ’em out! (I usually make both versions because I can never decide.)
Seriously, this apple crumble is the dessert equivalent of a cozy sweater – comforting, reliable, and always hits the spot.
Ingredients for the Best Apple Crumble
Here’s everything you’ll need to make my favorite apple crumble – I’ve tested these ingredients dozens of times to get that perfect balance of tart, sweet, and crunchy:
- 4 cups peeled and sliced apples – Granny Smith gives that perfect tartness, but Honeycrisp works beautifully if you prefer sweeter (and they hold their shape so well!)
- 1/2 cup granulated sugar – Just enough to sweeten those tart apples without overpowering them
- 1 teaspoon cinnamon – The warm spice that makes apple desserts sing
- 1 cup all-purpose flour – The base for our crumbly, buttery topping
- 1/2 cup rolled oats (optional) – My grandma always added these for extra texture, but the recipe works great without them too
- 1/2 cup packed brown sugar – Pack it in there for that rich molasses flavor
- 1/2 cup cold butter, cubed – Straight from the fridge – this is key for getting those perfect little crumbles
- 1/4 teaspoon salt – Just a pinch to balance all that sweetness
See? Nothing fancy – just good, honest ingredients that come together to make something truly special. Now let’s get mixing!
How to Make Apple Crumble Step by Step
Okay, let’s dive into the fun part – making that glorious apple crumble! I promise it’s easier than you think, and I’ll walk you through each step so you get perfect results every time. Just follow along, and soon your kitchen will smell like a cozy autumn dream.
Preparing the Apple Filling
First things first – grab your favorite 8×8 inch baking dish (or a similar size – this recipe isn’t picky!). Toss those beautiful apple slices with the granulated sugar and cinnamon until they’re all coated and glistening. Don’t be shy – really get in there with your hands if you want! Spread them evenly in the dish, and don’t worry if it looks like a lot – they’ll soften and settle as they bake.
Making the Crumble Topping
Now for the magic – the crumble! In a medium bowl, whisk together the flour, brown sugar, salt, and oats if you’re using them. Here’s my secret: cube that cold butter and drop it in, then use your fingers to pinch and rub everything together until it looks like coarse breadcrumbs. You want some pea-sized butter pieces remaining – that’s what gives you those irresistible crispy bits!
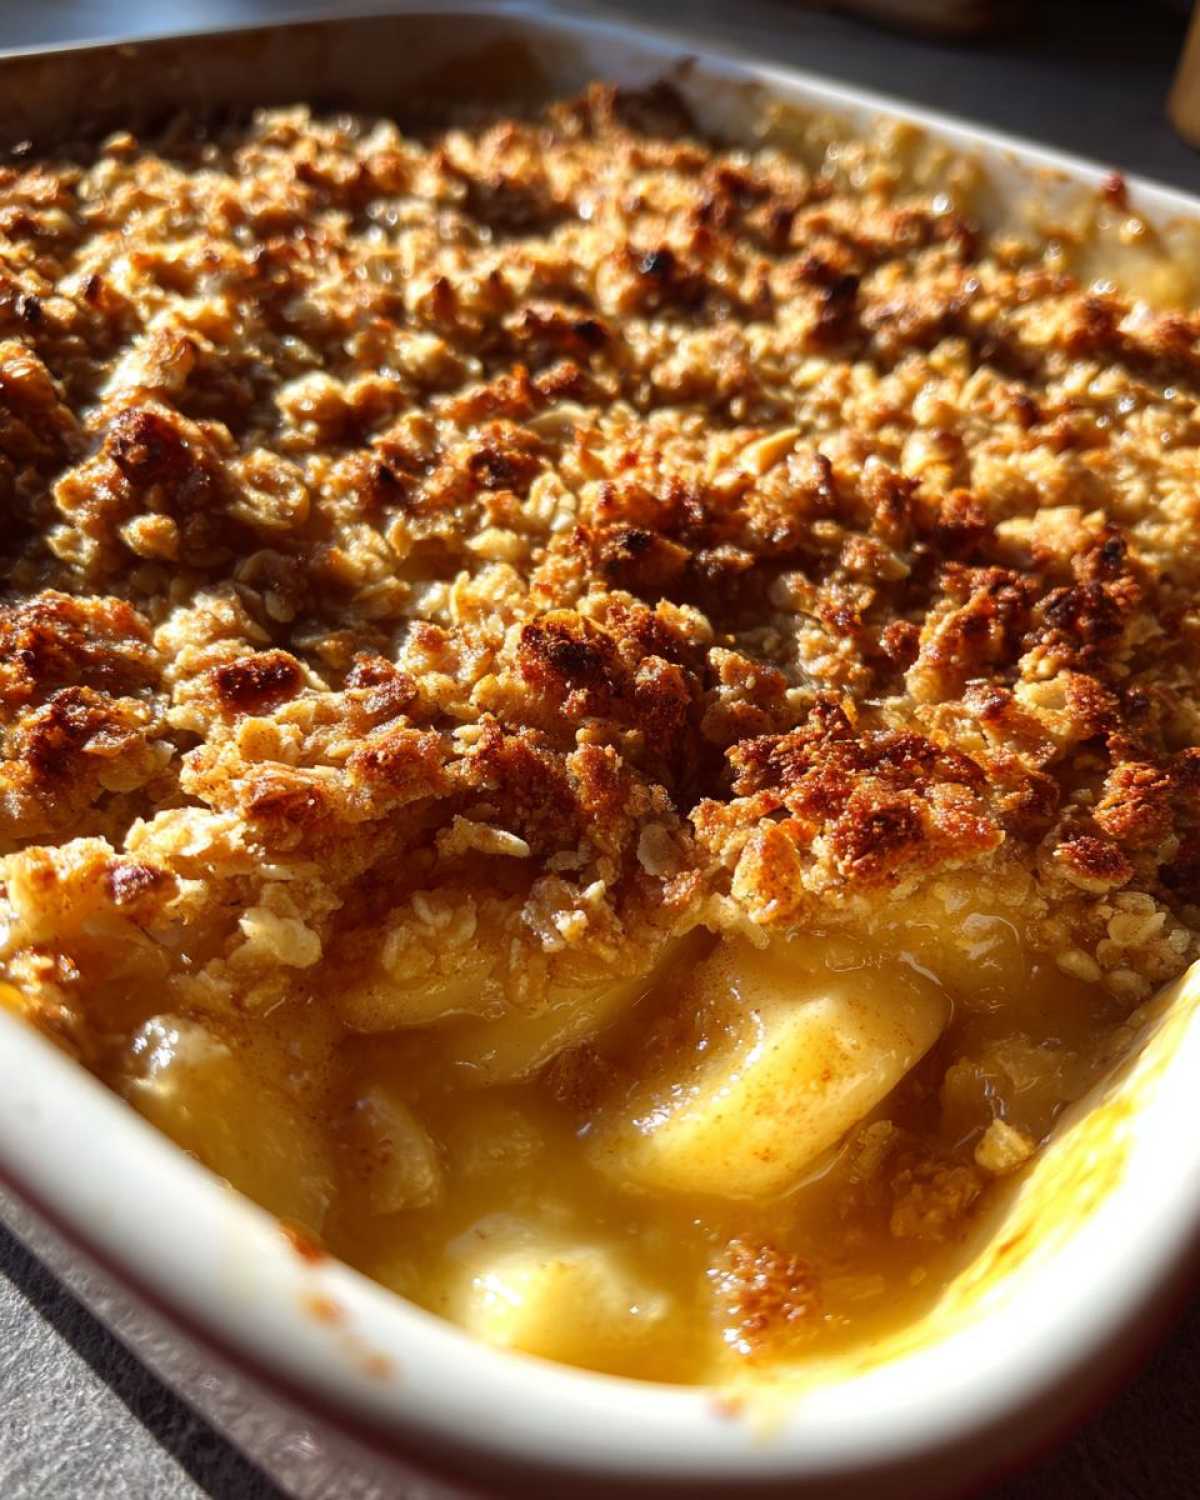
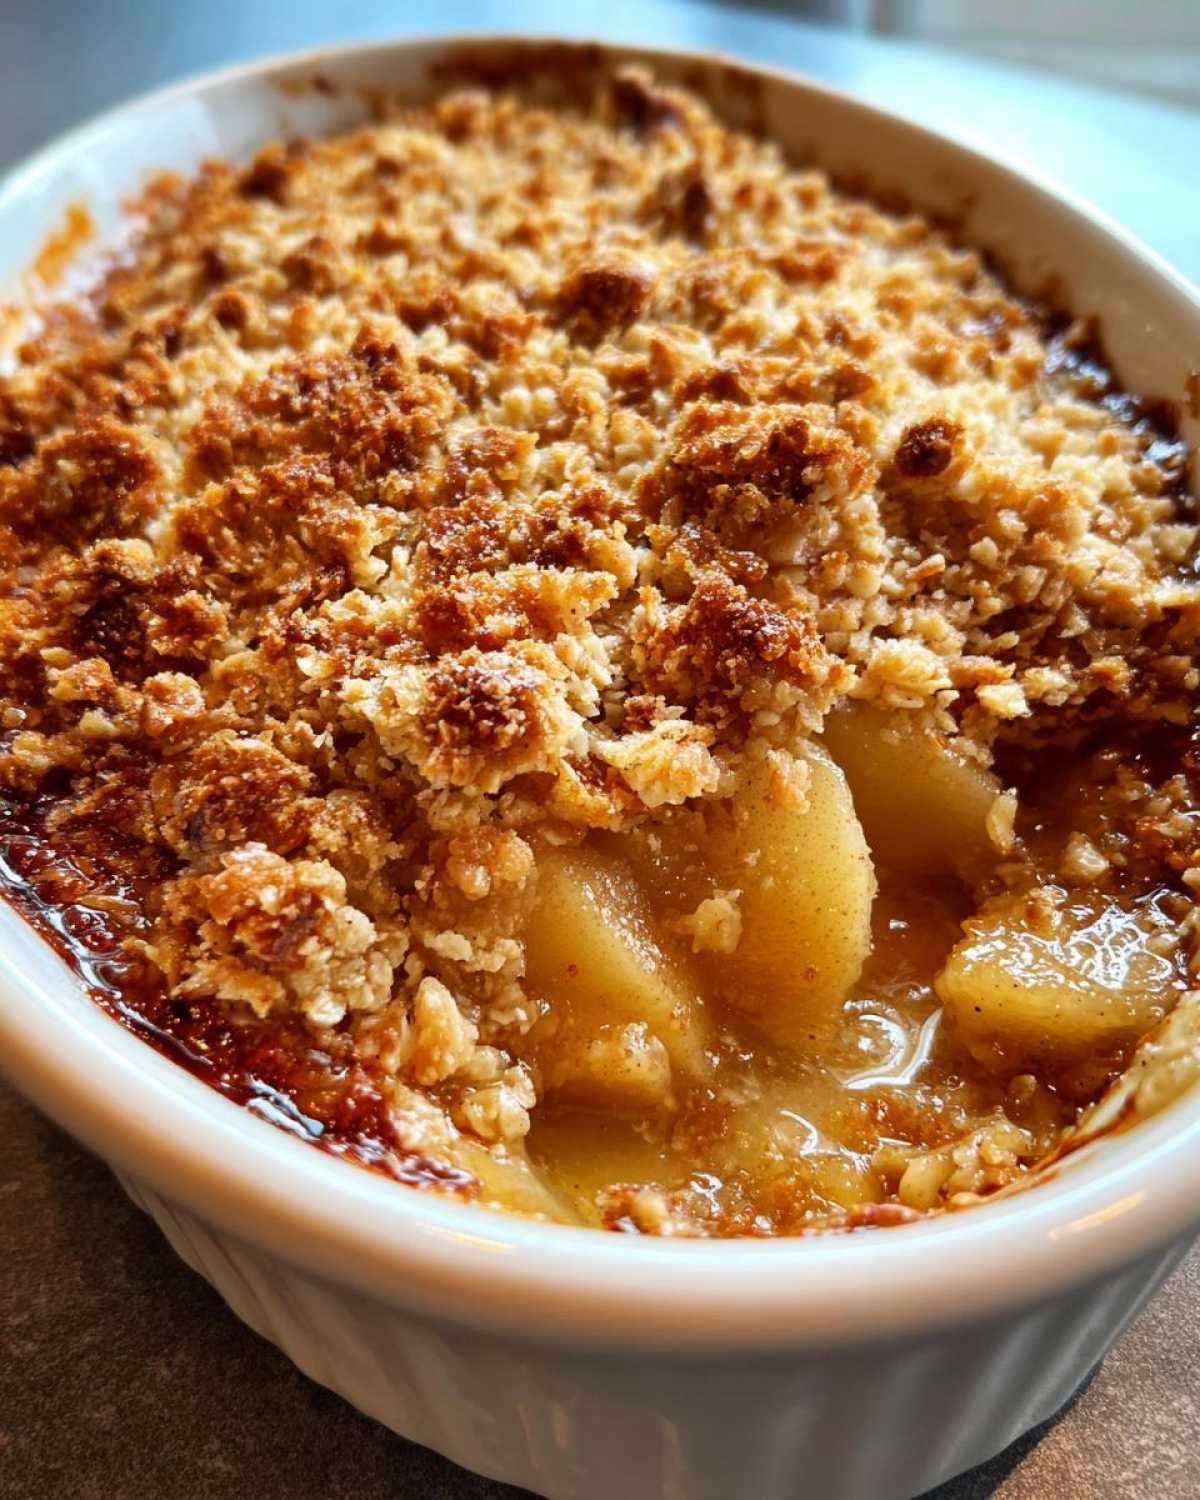
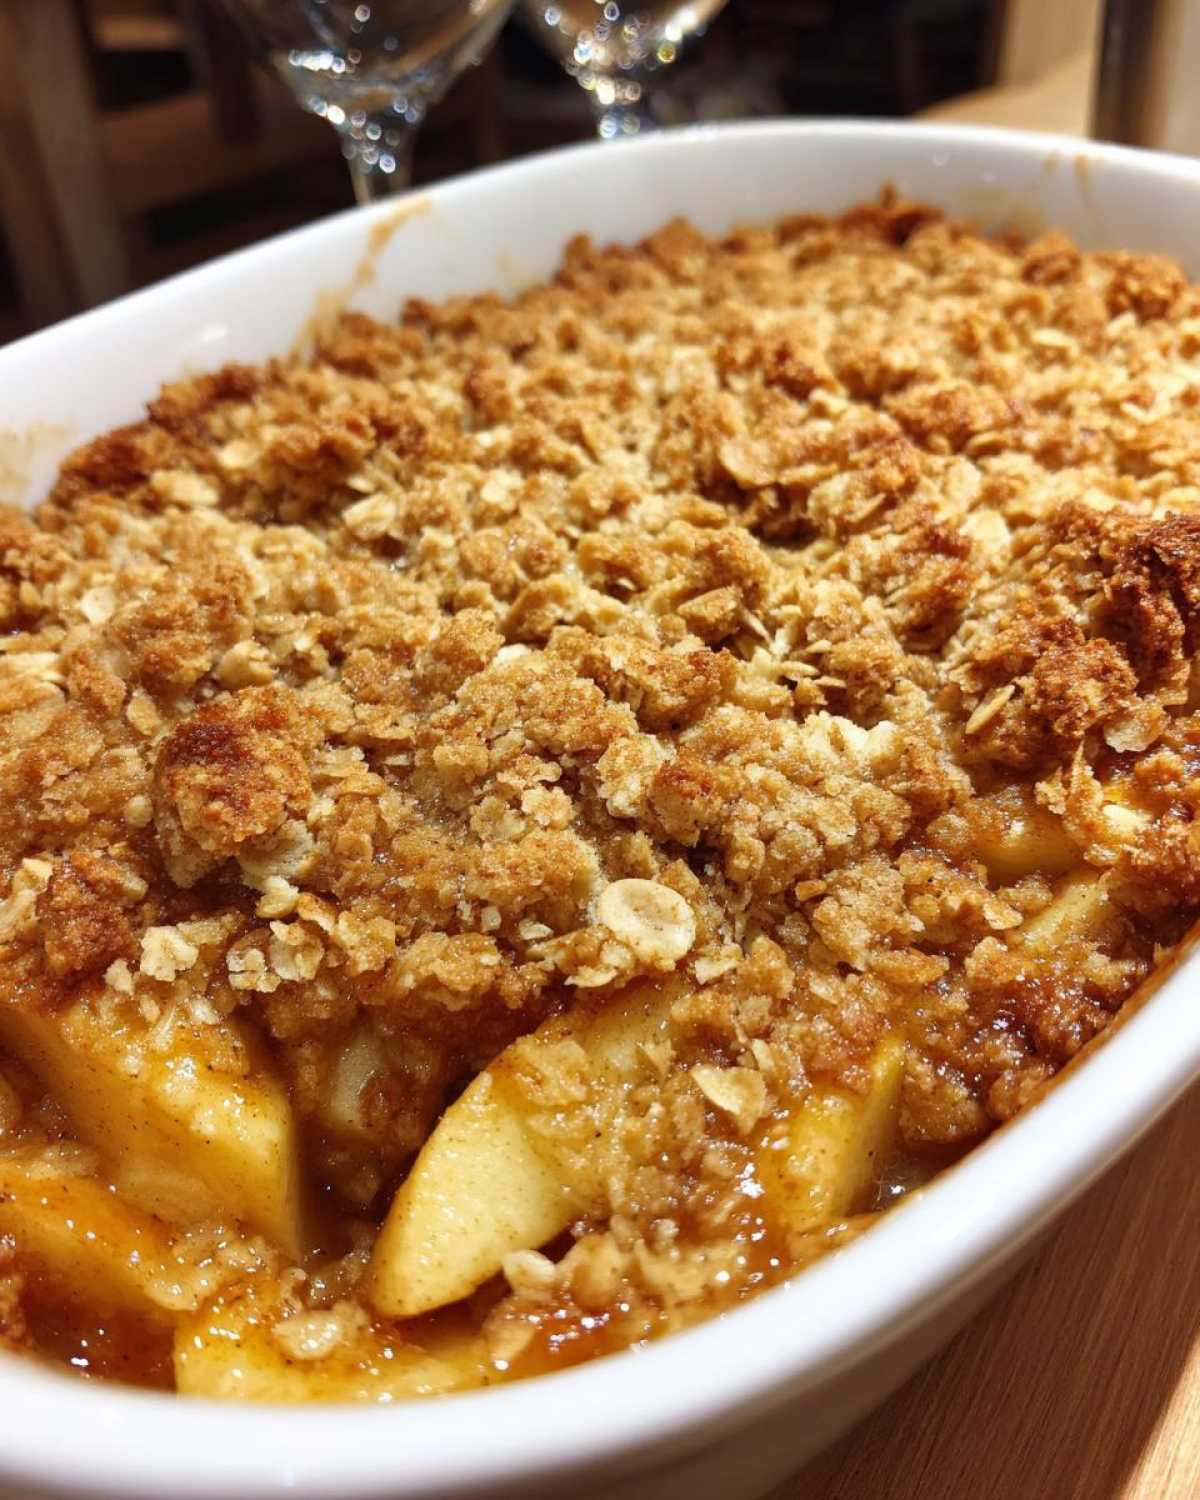
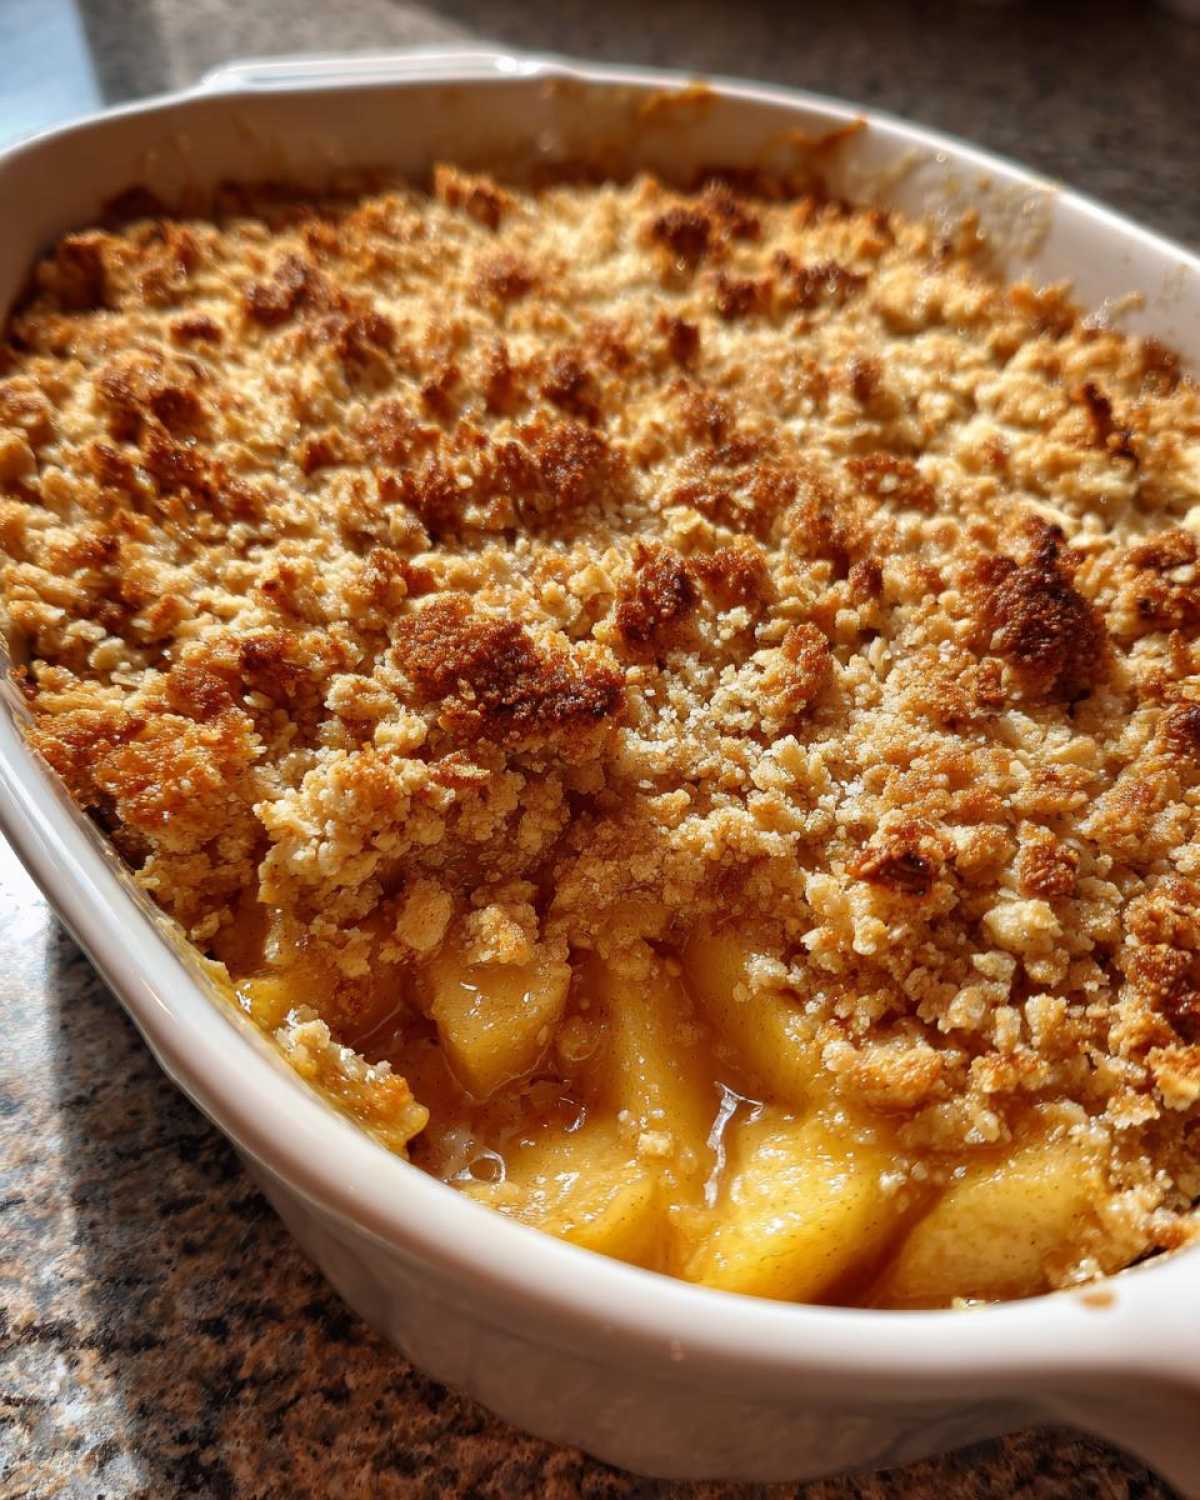
Baking and Serving Your Apple Crumble
Sprinkle that glorious crumble topping over your apples – no need to press it down. Pop it in your preheated 375°F oven and bake for 30-35 minutes until the top is golden brown and you can see those apple juices bubbling up around the edges. Resist the urge to dig in immediately! Let it cool for about 10 minutes – trust me, those molten apple juices need time to thicken up. Serve warm with a scoop of vanilla ice cream melting over the top… absolute perfection!
Tips for the Perfect Apple Crumble
After making this apple crumble more times than I can count (and taste-testing every single one!), I’ve picked up some foolproof tricks to guarantee dessert success:
- Apple wisdom: Mix tart Granny Smiths with sweeter Honeycrisps for balanced flavor – about 2 cups of each. Their firm texture holds up beautifully during baking.
- Leftover magic: Store any extra (if there is any!) covered in the fridge for up to 3 days. The topping stays surprisingly crisp!
- Reheating hack: Pop servings in a 350°F oven for 10 minutes to revive that just-baked warmth and crispness. Microwaving makes the topping soggy – don’t do it!
- Small batch solution: Halve all ingredients and use a loaf pan when baking for two. It bakes in about 25 minutes – just watch for that golden color.
Oh! And always make extra topping – I always sneak spoonfuls straight from the bowl!
Apple Crumble Variations
This classic dessert is so fun to customize! My grandma always added a handful of chopped pecans to the topping for extra crunch. Sometimes I’ll mix in a teaspoon of pumpkin pie spice with the cinnamon for a fall twist. If you’re feeling adventurous, try swapping half the flour for rolled oats – it creates the most delightful texture. The best part? You really can’t mess it up!
Serving Suggestions for Apple Crumble
Nothing beats a warm scoop of vanilla ice cream melting over this cozy dessert! For special occasions, I love adding a dollop of fresh whipped cream with a dusting of cinnamon. It’s perfect for both quick weeknight treats and fancy holiday meals – just add your favorite topping and enjoy!
Storing and Reheating Apple Crumble
Here’s the good news – if you somehow have leftovers (rare in my house!), they keep beautifully! Just cover the baking dish tightly with foil or transfer portions to an airtight container. It’ll stay fresh in the fridge for up to 3 days. When you’re ready for round two, pop individual servings in a 350°F oven for about 10 minutes – that brings back the crispy topping and warm, gooey center perfectly. Microwaving works in a pinch, but trust me, the oven method keeps that magical texture intact!
Apple Crumble Nutrition Information
Nutritional values will vary slightly depending on specific ingredients used. Please use this as a general reference rather than exact dietary information.
Frequently Asked Questions About Apple Crumble
I get asked these questions all the time when friends smell this dessert baking in my kitchen – here are the answers straight from my crumble-stained recipe notebook:
What are the best apples for apple crumble?
Granny Smith apples are my go-to for that perfect tartness that balances the sweet topping, but Honeycrisp work beautifully too! Their firm texture holds up during baking. For the absolute best flavor, I often mix both – about 2 cups of each. Avoid super soft apples like Red Delicious – they turn to mush!
Can you freeze apple crumble?
Absolutely! This is my freezer-meal secret. Bake it completely, let it cool, then wrap tightly in foil or plastic wrap. It keeps beautifully for up to 3 months. When ready to eat, thaw overnight in the fridge, then reheat at 350°F for about 15 minutes. The topping stays surprisingly crisp!
Do you have to use oats in apple crumble?
Not at all! The classic version skips oats entirely – just flour, butter, and sugar make an incredible topping. I love both versions equally. The oats add a nice chewiness, but leaving them out gives you that pure, buttery crumb texture.
How do I make a small batch apple crumble?
Easy! Just halve all the ingredients and use a loaf pan instead of an 8×8 dish. It bakes in about 25 minutes – keep an eye on it until the topping turns golden brown. Perfect for when you’re craving that cozy dessert but don’t need a whole pan tempting you all week!
Share Your Apple Crumble Experience
I’d love to hear how your baking adventure went! Did you customize the topping? Find the perfect apple blend? Drop a comment below – your kitchen stories make my day. Give it a star rating if this became a new favorite. For more inspiration, find me on Pinterest where I share weekly recipe ideas.
PrintEasy Apple Crumble

A comforting, old-fashioned dessert ready in under an hour. Perfect for weeknight or holiday meals.
- Prep Time: 15 minutes
- Cook Time: 35 minutes
- Total Time: 50 minutes
- Yield: 6 servings 1x
- Category: Dessert
- Method: Baking
- Cuisine: American
- Diet: Vegetarian
Ingredients
- 4 cups peeled and sliced apples (Granny Smith or Honeycrisp work best)
- 1/2 cup granulated sugar
- 1 tsp cinnamon
- 1 cup all-purpose flour
- 1/2 cup rolled oats (optional)
- 1/2 cup brown sugar
- 1/2 cup cold butter, cubed
- 1/4 tsp salt
Instructions
- Preheat oven to 375°F (190°C).
- Toss apples with granulated sugar and cinnamon. Spread in a baking dish.
- Mix flour, oats (if using), brown sugar, and salt in a bowl.
- Cut in butter until the mixture resembles coarse crumbs.
- Sprinkle topping over apples.
- Bake for 30-35 minutes until golden and bubbly.
- Let cool slightly before serving.
Notes
- Best served warm with vanilla ice cream.
- Store leftovers covered in the fridge for up to 3 days.
- Reheat in the oven at 350°F (175°C) for 10 minutes.
- For a small batch, halve the ingredients.
- Follow us on Pinterest for more recipes!
Nutrition
- Serving Size: 1 serving
- Calories: 320
- Sugar: 28g
- Sodium: 120mg
- Fat: 12g
- Saturated Fat: 7g
- Unsaturated Fat: 4g
- Trans Fat: 0g
- Carbohydrates: 52g
- Fiber: 3g
- Protein: 2g
- Cholesterol: 30mg