 Skip to content
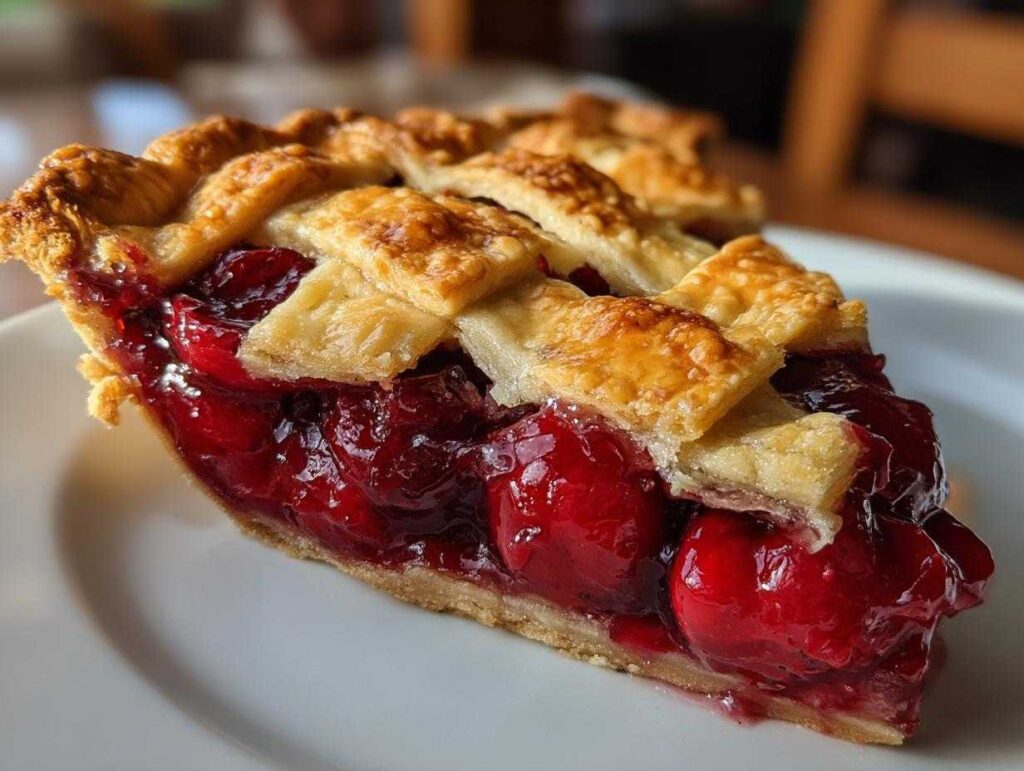
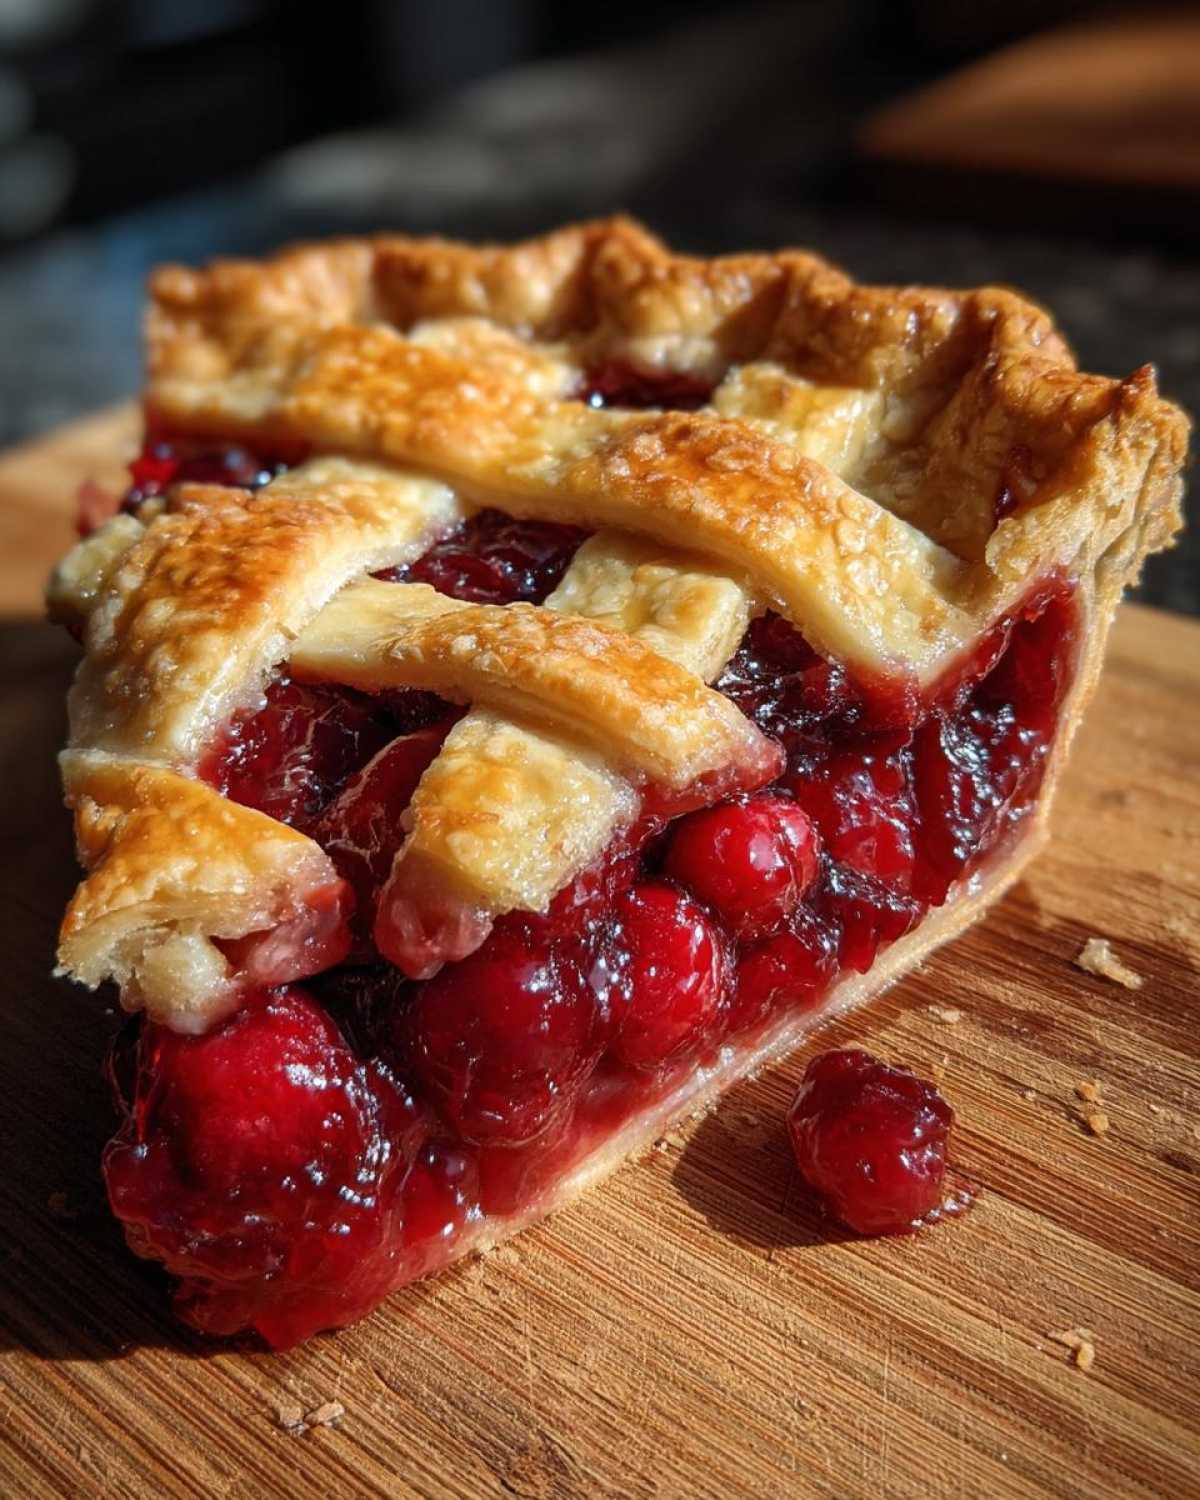
There’s something magical about pulling a bubbling cherry pie from the oven – that sweet-tart aroma filling the kitchen takes me right back to summers at my grandma’s house. She’d let me press the crust edges with a fork while she told stories about her own mother’s pie-making secrets. This recipe captures everything I love about classic cherry pie: a buttery, flaky crust that shatters at the first bite, hugging that perfect balance of juicy cherries just sweet enough with a bright tang of lemon. Whether it’s for Fourth of July or just because, this pie always disappears faster than I can say “seconds please!”
Why You’ll Love This Cherry Pie
Trust me, this isn’t just any cherry pie—it’s the kind that makes people sneak second slices when they think no one’s looking. Here’s why:
- That crust! Flaky, buttery layers that shatter perfectly—no sad, soggy bottoms here.
- Sweet-tart magic: Fresh cherries balanced with just enough sugar and a splash of lemon to make the flavors pop.
- Works for any occasion: Fancy enough for holidays, easy enough for lazy Sundays.
- Smells like nostalgia: That bubbling, cinnamon-kissed aroma? Pure happiness.
Plus, it’s practically foolproof—my 10-year-old niece could make this (and she has!).
Ingredients for the Perfect Cherry Pie
Here’s the truth—great cherry pie starts with great ingredients. I’ve learned the hard way that shortcuts just don’t cut it here. Gather these simple things, and you’re halfway to pie heaven:
For the Flaky Crust:
- 2 1/2 cups all-purpose flour (spooned and leveled—no packing!)
- 1 cup unsalted butter, chilled and cubed (I pop mine in the freezer for 15 minutes first)
- 1/2 teaspoon salt (the secret flavor booster)
- 6-8 tablespoons ice water (yes, ice cubes in the water—it matters!)
For the Luscious Filling:
- 4 cups cherries, pitted (fresh or frozen both work—see my note below)
- 1 cup granulated sugar (adjust up/down 1/4 cup based on your cherries’ sweetness)
- 3 tablespoons cornstarch (this keeps your filling from becoming soup)
- 1 tablespoon lemon juice (brightens everything up)
- 1/2 teaspoon vanilla extract (the cozy background note)
- 1 beaten egg (for that golden, glossy crust)
Cherry note: If using frozen, no need to thaw—just toss them in frozen and add 5 extra minutes to bake time. Fresh? Lucky you—taste one first to judge sugar needs!
How to Make Cherry Pie Step by Step
Alright, let’s get our hands floury! I promise this isn’t as intimidating as it looks—just follow these steps, and you’ll have a showstopper pie that’ll make your kitchen smell like a bakery.
Preparing the Crust
First rule of pie club: keep everything COLD. I toss my flour and salt together, then work in the butter with my fingers until it looks like coarse crumbs with some pea-sized bits left—those butter pockets are what create flakiness! Add ice water 1 tablespoon at a time, mixing just until the dough comes together when you squeeze it. Overworking = tough crust, so be gentle! Divide in half, flatten into disks, and chill for at least 30 minutes (overnight’s even better).
Making the Cherry Filling
While the dough chills, let’s tackle the filling. Toss your cherries (no need to thaw if frozen) with sugar, cornstarch, lemon juice, and vanilla. The cornstarch is our thickening hero—it absorbs the cherry juices as it bakes, so you get that perfect sliceable texture. If your cherries are super juicy, add an extra teaspoon of cornstarch. Let this sit for 10 minutes—you’ll see the sugar pulling out gorgeous ruby-red juices.
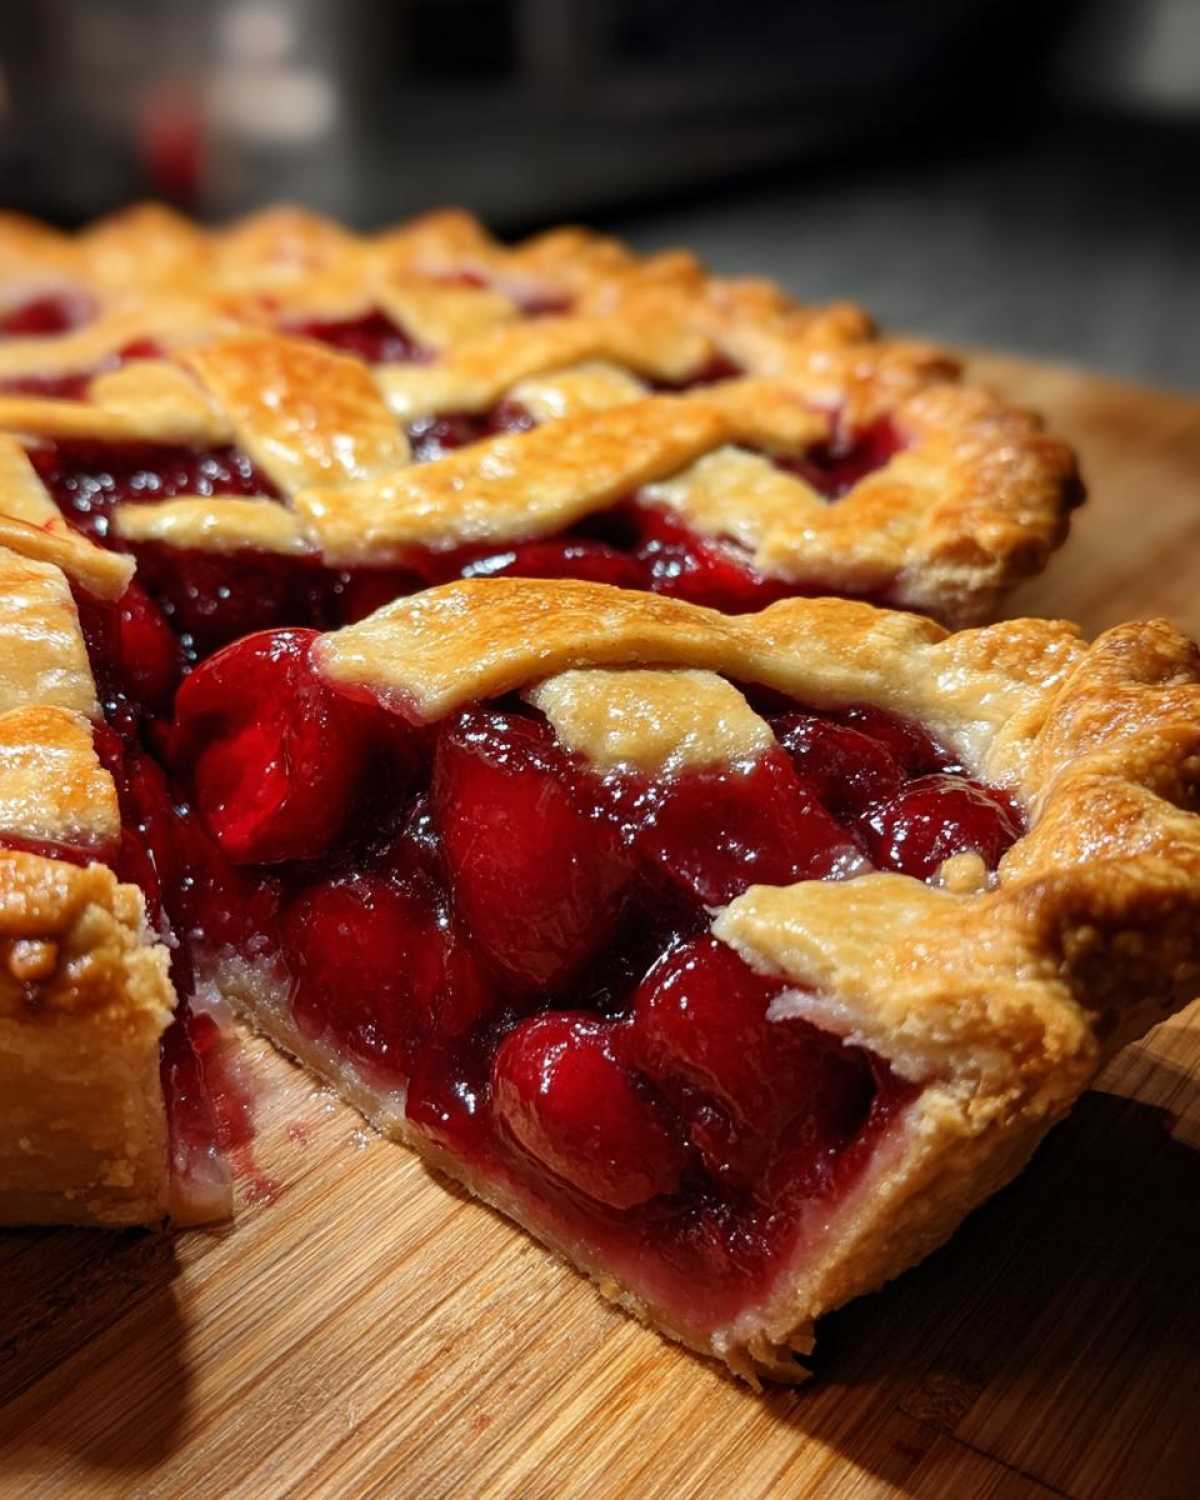
Assembling and Baking
Roll out one dough disk on a floured surface (I use a rolling pin covered in a flour-dusted tea towel) to about 1/8-inch thick. Drape it into your pie dish, leaving some overhang. Pour in the filling—don’t overfill, leave about 1/2-inch space at the top or you’ll have a bubbly mess! Roll out the second disk, lay it over the top, and crimp the edges with a fork or your fingers. Cut a few slits in the top (pretty ones if you’re feeling fancy), brush with beaten egg for that golden shine, and bake at 375°F for 45-50 minutes until the crust is deeply golden and you see thick bubbles in the vents. Pro tip: put a baking sheet underneath to catch any drips!
Expert Tips for the Best Cherry Pie
After years of trial and (many) delicious errors, here are my can’t-live-without pie secrets:
- Chill like you mean it: That 30-minute dough rest isn’t optional—cold butter equals flaky layers. I sometimes pop the assembled pie in the freezer for 10 minutes before baking.
- Drain those cherries: If using frozen, let them sit in a colander for 15 minutes to avoid a soggy bottom. Save the juice for cocktails!
- Wait to slice: I know it’s hard, but let the pie cool at least 2 hours—that filling needs time to set up properly.
- Bake hot and fast: A 375°F oven gives the crust that perfect golden crunch before the filling bubbles over.
- Egg wash magic: For extra shine, add a pinch of sugar to your egg wash before brushing.
Trust me—these little tricks make all the difference between “good” and “grandma-worthy” pie!
Cherry Pie Variations
Once you’ve mastered the classic, try these fun twists—my family can never decide which version they love most!
- Almond joy: Swap vanilla for almond extract in the filling and sprinkle sliced almonds on top before baking.
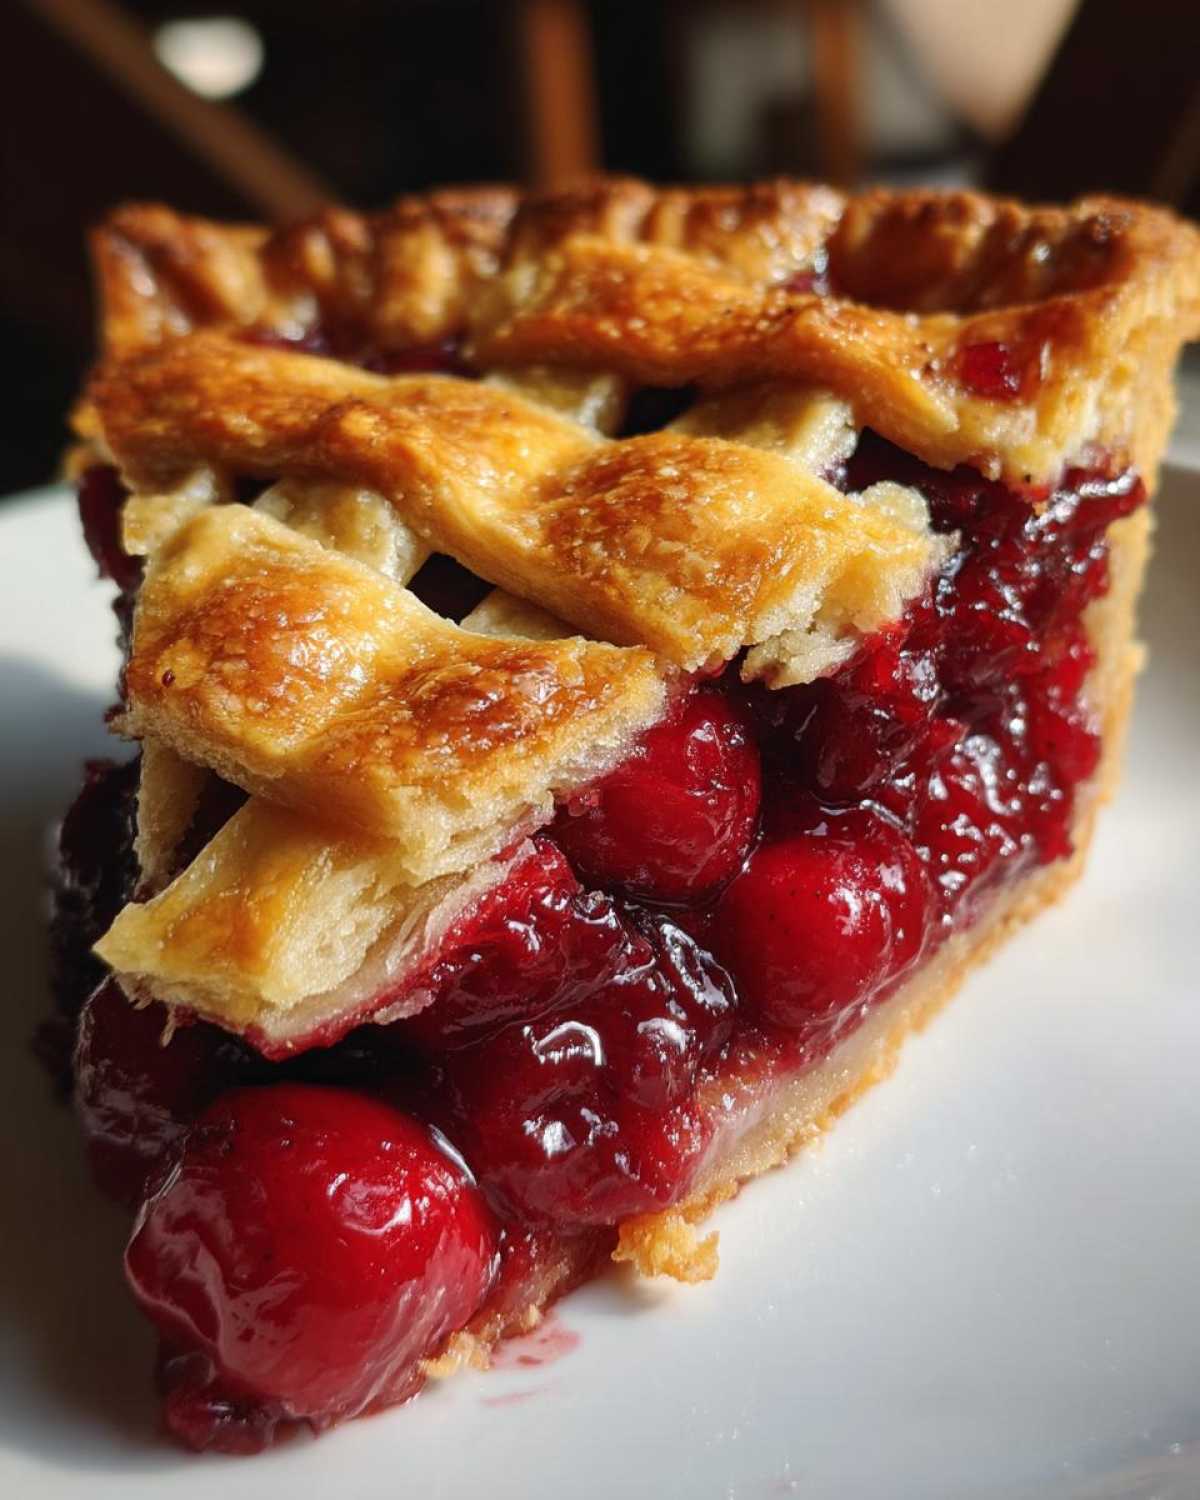
- Lattice love: Skip the full top crust and weave pretty lattice strips instead—it’s easier than it looks!
- Spiced up: Add 1/4 teaspoon cinnamon or cardamom to the filling for cozy warmth.
- Double cherry: Mix in 1/2 cup dried cherries for extra bursts of flavor.
My personal favorite? A splash of bourbon in the filling—just 1 tablespoon makes it taste like a fancy bakery pie!
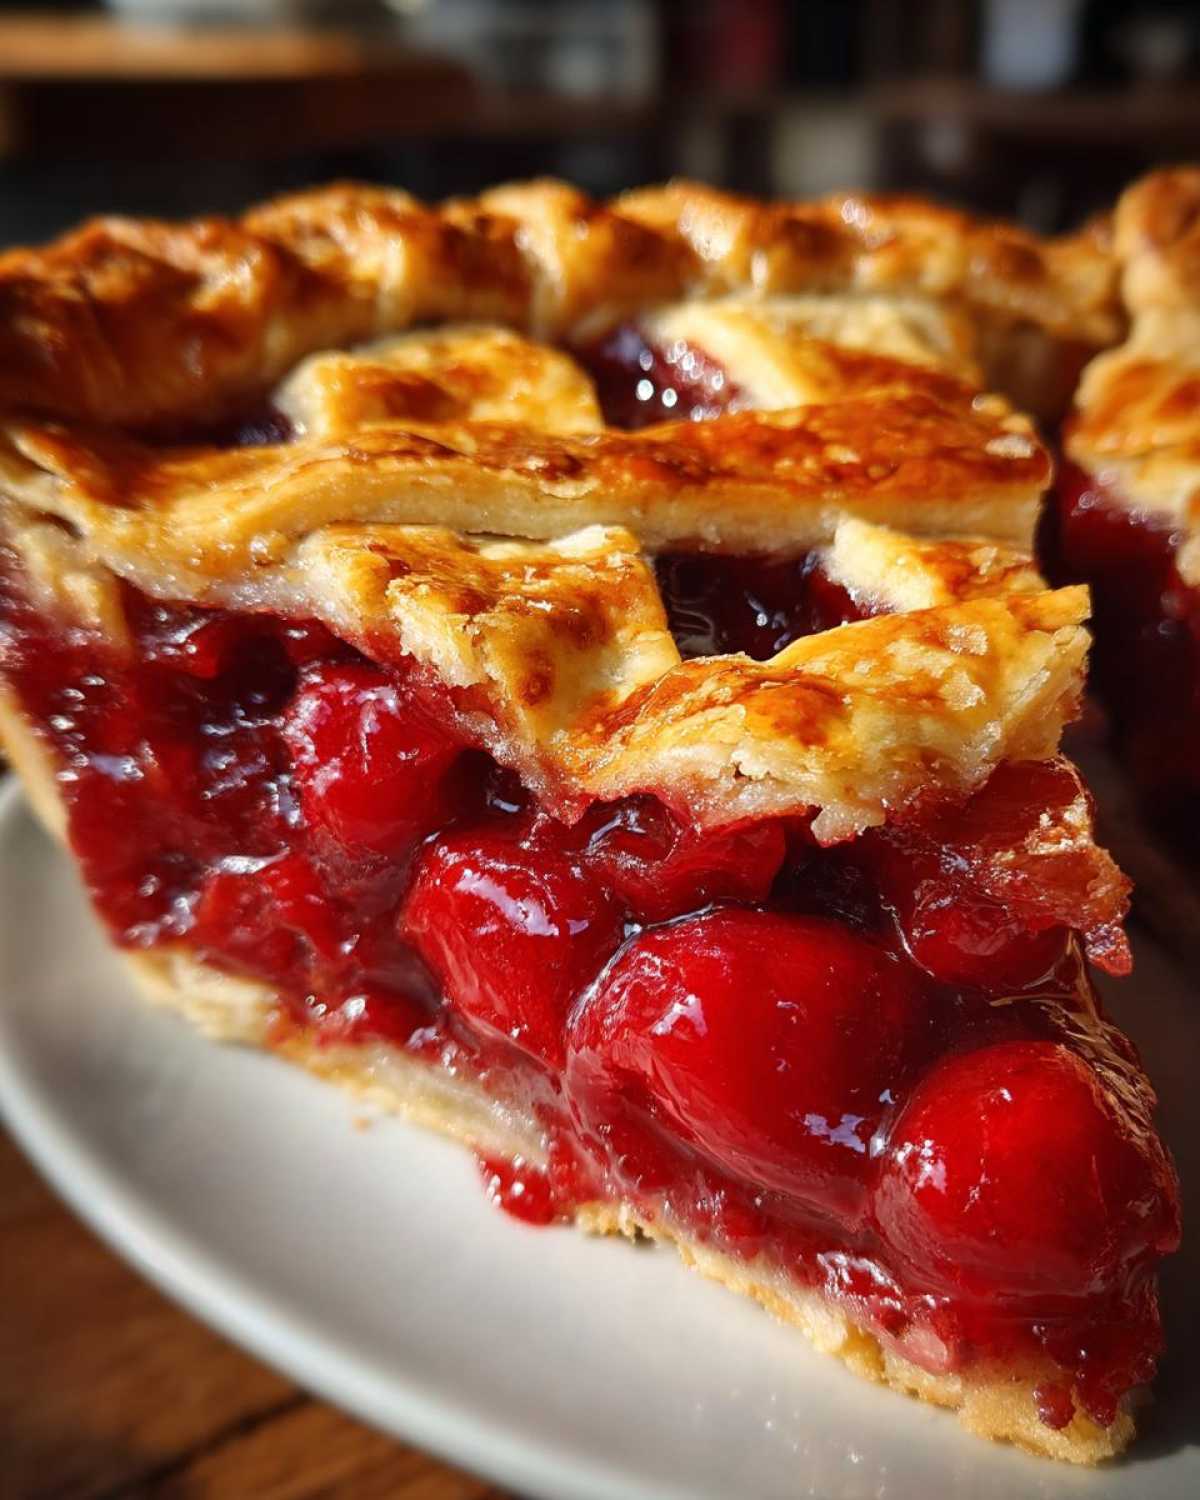
Serving and Storing Cherry Pie
Oh, that first warm slice with a melting scoop of vanilla ice cream? Pure bliss! I always serve mine slightly warm—just 10 seconds in the microwave does the trick. Leftovers (ha—as if!) keep beautifully at room temp for 2 days under a tea towel. For longer storage, freeze whole or sliced: wrap tightly in plastic, then foil. Thaw overnight in the fridge, then warm gently. Pro tip: frozen pie slices reheat perfectly in a toaster oven for single-serving cravings!
Cherry Pie FAQs
I get asked these questions all the time—here are the answers straight from my cherry-stained recipe notebook:
Can I use canned cherries instead of fresh/frozen?
You can, but drain them really well and reduce the sugar to 3/4 cup since they’re usually packed in syrup. The texture will be softer, but still delicious in a pinch!
How do I prevent a soggy bottom crust?
My triple-threat method: 1) Chill the dough thoroughly, 2) Sprinkle a tablespoon of crushed graham crackers or breadcrumbs on the bottom crust before adding filling, and 3) Bake on the oven’s lower rack. Works like a charm!
Why did my filling bubble over?
Ah, the classic pie volcano! You probably overfilled—leave that 1/2-inch space at the top. And always, always put a baking sheet underneath. (My oven still has stains from learning this the hard way.)
Can I make the dough ahead?
Absolutely! The disks keep in the fridge for 3 days or freeze for 3 months. Just thaw overnight in the fridge when you’re ready to bake. Some say the flavor actually improves!
Help—my crust is browning too fast!
Tent the edges with foil when they reach golden perfection (usually around 30 minutes in). The center will keep cooking while the edges take a break from the heat.
Nutritional Information
Here’s the scoop on what’s in each glorious slice (because yes, you should absolutely eat the whole thing, but knowledge is power!):
- Calories: 320
- Sugar: 25g
- Fat: 14g (8g saturated)
- Carbs: 45g
- Protein: 4g
Values are estimates and vary by ingredients. Pro tip: Pair with vanilla ice cream for the full experience—I won’t tell if you don’t track it!
Share Your Cherry Pie Experience
Did your pie turn out golden and glorious? Or maybe you tried one of the fun variations? I’d love to hear about your cherry pie adventures! Drop a comment below with your tips, tricks, or just to brag about that perfect flaky crust. And if you snapped a photo of your masterpiece, tag me—nothing makes me happier than seeing your kitchen wins!
PrintHeavenly Cherry Pie Recipe with a 4-Ingredient Crust

A classic cherry pie with a flaky crust and sweet-tart filling. Perfect for any occasion.
- Prep Time: 30 minutes
- Cook Time: 50 minutes
- Total Time: 1 hour 20 minutes
- Yield: 8 servings 1x
- Category: Dessert
- Method: Baking
- Cuisine: American
- Diet: Vegetarian
Ingredients
- 2 1/2 cups all-purpose flour
- 1 cup unsalted butter, chilled and cubed
- 1/2 teaspoon salt
- 6–8 tablespoons ice water
- 4 cups fresh or frozen cherries, pitted
- 1 cup granulated sugar
- 3 tablespoons cornstarch
- 1 tablespoon lemon juice
- 1/2 teaspoon vanilla extract
- 1 egg, beaten (for egg wash)
Instructions
- Preheat oven to 375°F (190°C).
- Mix flour and salt in a bowl. Cut in butter until crumbly.
- Add ice water, 1 tbsp at a time, until dough forms.
- Divide dough in half, shape into disks, and chill for 30 minutes.
- Roll out one disk for the bottom crust and place in a pie dish.
- Mix cherries, sugar, cornstarch, lemon juice, and vanilla in a bowl.
- Pour filling into the crust.
- Roll out the second disk for the top crust. Place over filling, seal edges, and cut slits.
- Brush with egg wash.
- Bake for 45-50 minutes until golden brown.
Notes
- Use cold butter for a flaky crust.
- If using frozen cherries, thaw and drain excess liquid.
- Let pie cool before slicing.
Nutrition
- Serving Size: 1 slice
- Calories: 320
- Sugar: 25g
- Sodium: 150mg
- Fat: 14g
- Saturated Fat: 8g
- Unsaturated Fat: 5g
- Trans Fat: 0g
- Carbohydrates: 45g
- Fiber: 2g
- Protein: 4g
- Cholesterol: 45mg