
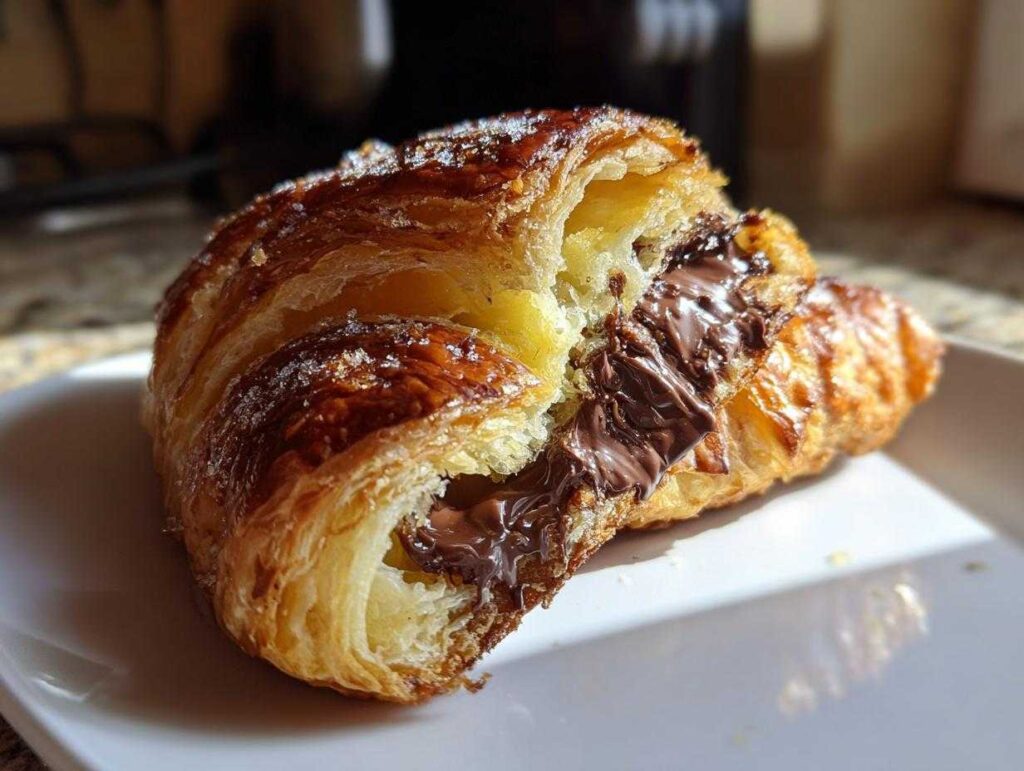
Oh, listen up, because if you’re anything like me, walking past a French bakery and smelling those buttery, flaky towers of heaven just sends your heart soaring! I’m Sophia, and honestly, bringing that bakery magic home without spending all day on lamination is my personal mission. The secret to truly amazing, bakery-style **chocolate croissant** results is right here. We’re getting those gorgeous, flaky layers you dream about, but we’re using a little cheat—high-quality, store-bought puff pastry. Trust me, this method makes achieving a perfect Pain Au Chocolat accessible for everyone, even on a busy Tuesday morning!
- Why You Will Love This Easy Chocolate Croissant Recipe
- Essential Ingredients for Flaky Chocolate Croissants
- Equipment Needed for Bakery Style Croissants at Home
- Step-by-Step Instructions: How to Make Chocolate Croissants
- Tips for Success When Making Homemade Croissants
- Storage and Reheating Instructions for Your Chocolate Croissant
- Serving Suggestions for Pain Au Chocolat
- Frequently Asked Questions About Chocolate Croissant Recipe
- Share Your Best Chocolate Croissant Creations
Why You Will Love This Easy Chocolate Croissant Recipe
I know what you’re thinking: homemade croissants take forever! But that’s the beauty of this recipe. I want you to experience that flaky, buttery dream without needing to master culinary science first. This recipe targets that craving for a quick chocolate croissant fix!
- Speedy Prep Time: I promise, with perfectly thawed puff pastry, you’re looking at maybe 20 minutes of hands-on time. That means you can actually make these for a weekday breakfast if you plan ahead!
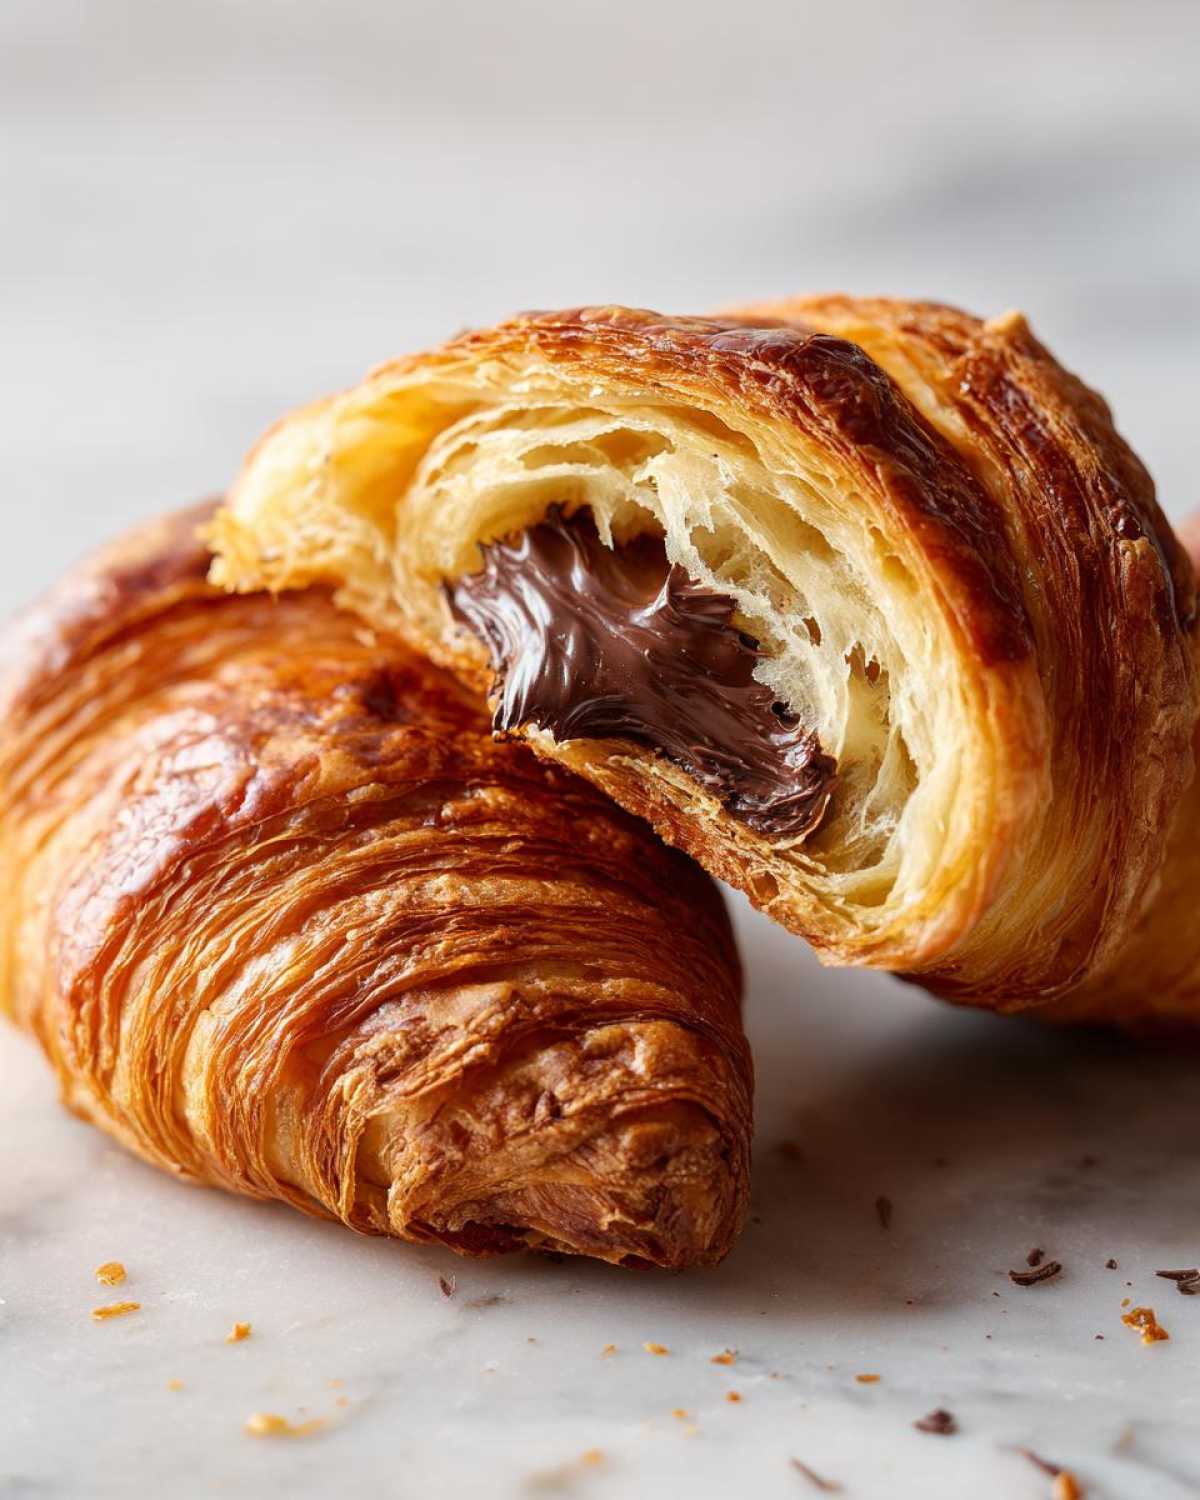
- Unbeatable Flakiness: Even though we’re taking a shortcut, the puff pastry still delivers incredible, delicate, shatteringly flaky layers when baked right. It tastes genuinely buttery; I promise you won’t miss the headache of making dough from scratch.
- Perfect Chocolate Burst: Nothing beats that moment when you bite into the warm croissant and the rich chocolate melts right there in your mouth. We use simple sticks, and it makes all the difference for an indulgent morning pastry.
- Weekend Brunch Winner: These instantly elevate any Saturday spread. They look impressive, feel fancy, but they are secretly so simple to pull off. Who doesn’t love looking like a pastry genius?
Essential Ingredients for Flaky Chocolate Croissants
Okay, this is where we set ourselves up for success! Because we’re using store-bought puff pastry, the quality of the rest of your ingredients really has to shine. Don’t skimp here—the fewer ingredients we use, the better they have to be! Grab pen and paper, or just snap a photo of your screen, because here is exactly what you need to make these buttery croissants.
- One standard package (about 14.1 ounces) of frozen puff pastry. And listen closely: it *must* be thawed according to the package directions! No shortcuts on the thaw time, please.
- Four ounces of really great chocolate. I tell everyone to use bittersweet or semi-sweet; it cuts through the richness of the pastry beautifully. Cut these into sticks or use those handy chocolate batons if you can find them.
- One large egg for the wash—this is non-negotiable if you want that gorgeous golden shine!
- One tablespoon of water to thin that egg wash just a bit.
- A tiny sprinkle of granulated sugar, totally optional, but so pretty if you want that classic sugary crunch on top.
Ingredient Notes and Substitution Tips
Let’s talk quality control! Since this recipe is so simple, we rely on the flavor of two things: the pastry and the chocolate. For the puff pastry, I always check the ingredients list; I look for brands that use real butter, if possible, even though most standard frozen ones use oil. High-quality puff pastry is the bedrock of that incredible flaky pastry texture we are aiming for.
Now, the chocolate! You absolutely need that bittersweet or semi-sweet chocolate. Milk chocolate melts too much, spreads out, and sometimes leaks everywhere, which can prevent the layers from puffing up nicely. We want that slightly intense, dark flavor contrast against the rich, almost savory pastry dough. If you use chocolate chips, they might not melt evenly, so using solid sticks or cutting a nice bar into batons is really the secret weapon here for a perfect filling every single time.
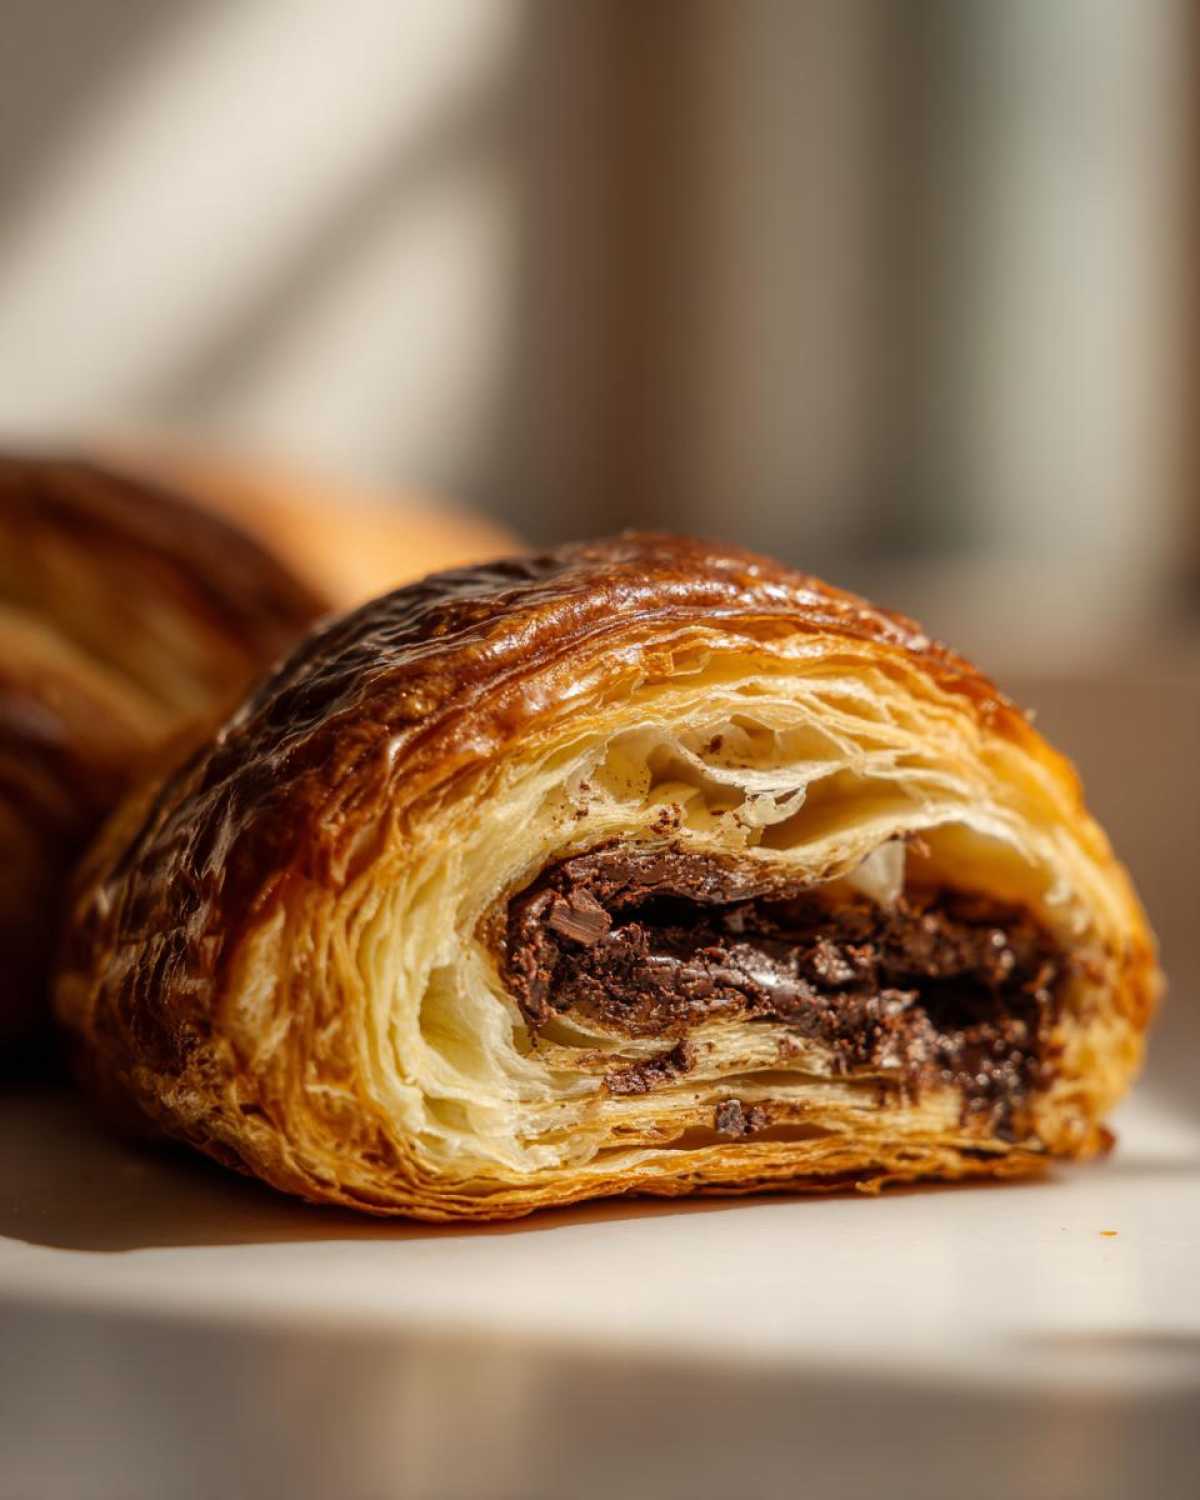
Equipment Needed for Bakery Style Croissants at Home
You truly don’t need a massive baker’s rack or a dough docker for this! Because we are using the wonderful convenience of pre-made puff pastry, we can keep the equipment list super short. This keeps the focus where it should be: making sure everything is cold and you get those gorgeous baked layers!
Here are the few essential things I always pull out when I’m making these Puff Pastry Croissants so you can get the best results possible:
- A clean, flat surface for rolling and cutting. Don’t worry about adding too much flour—the pastry is already slick enough!
- A good, sharp knife or a pizza cutter. Cutting cleanly is important so you don’t smash the delicate, frozen layers of the puff pastry before they even hit the oven.
- Two reliable baking sheets. Seriously, use two! Pastry spreads, and if you crowd them, they steam instead of puffing up, making them greasy instead of flaky.
- Parchment paper. This is your best friend! It keeps the pastry from sticking, which is crucial when the butter starts melting in the oven, and it makes cleanup a dream.
- A small bowl and a pastry brush. The brush is for applying that egg wash we talked about—it’s what gives your homemade croissants that beautiful, shiny, deep golden color that screams ‘French bakery’!
See? You probably already have most of this stuff ready to go. We’re skipping the complicated rolling pins and bench scrapers and going straight to the delicious part!
Step-by-Step Instructions: How to Make Chocolate Croissants
Alright, time to get rolling! This is the hands-on part, and honestly, it’s incredibly fun once you get into the rhythm. We aren’t doing hours of folding and waiting; we’re transforming store-bought sheets into golden perfection in minutes. Remember what I always say: precision matters when dealing with puff pastry, even though this is the easy version. Make sure your pastry is nicely thawed—not sticky, but definitely pliable—before you start cutting, or you’ll tear those beautiful potential layers right away!
When you’re done with this assembly, make sure you have two baking sheets covered in that parchment paper we talked about. Space those little babies out! They need room to grow, to puff up into glorious, flaky towers. If they’re too close, they end up steaming each other, and we want crispness, remember?
Cutting and Assembling Your Chocolate Croissant
First things first, gently unfold your thawed puff pastry rectangles onto your lightly floured space. If it came in a block, roll it out until it’s roughly an eighth of an inch thick. Now, slice each sheet into six equal rectangles. If your pieces aren’t uniform, don’t stress too much, but try to keep them close so they bake evenly!
Take your chocolate sticks—remember, the solid ones are best—and place one piece right near the short edge of one rectangle. Roll the pastry *once* over that piece of chocolate. Then, place your second piece of chocolate near the new edge and keep rolling until you’ve rolled the whole thing up into that classic croissant crescent shape. This double-chocolate loading is what makes them worth every bite! The most important part here? Pinch that bottom seam closed firmly against the pastry. If that seam opens up in the oven, your chocolate runs out, and you end up with a flat, sad, buttery sheet instead of a beautifully rolled croissant!
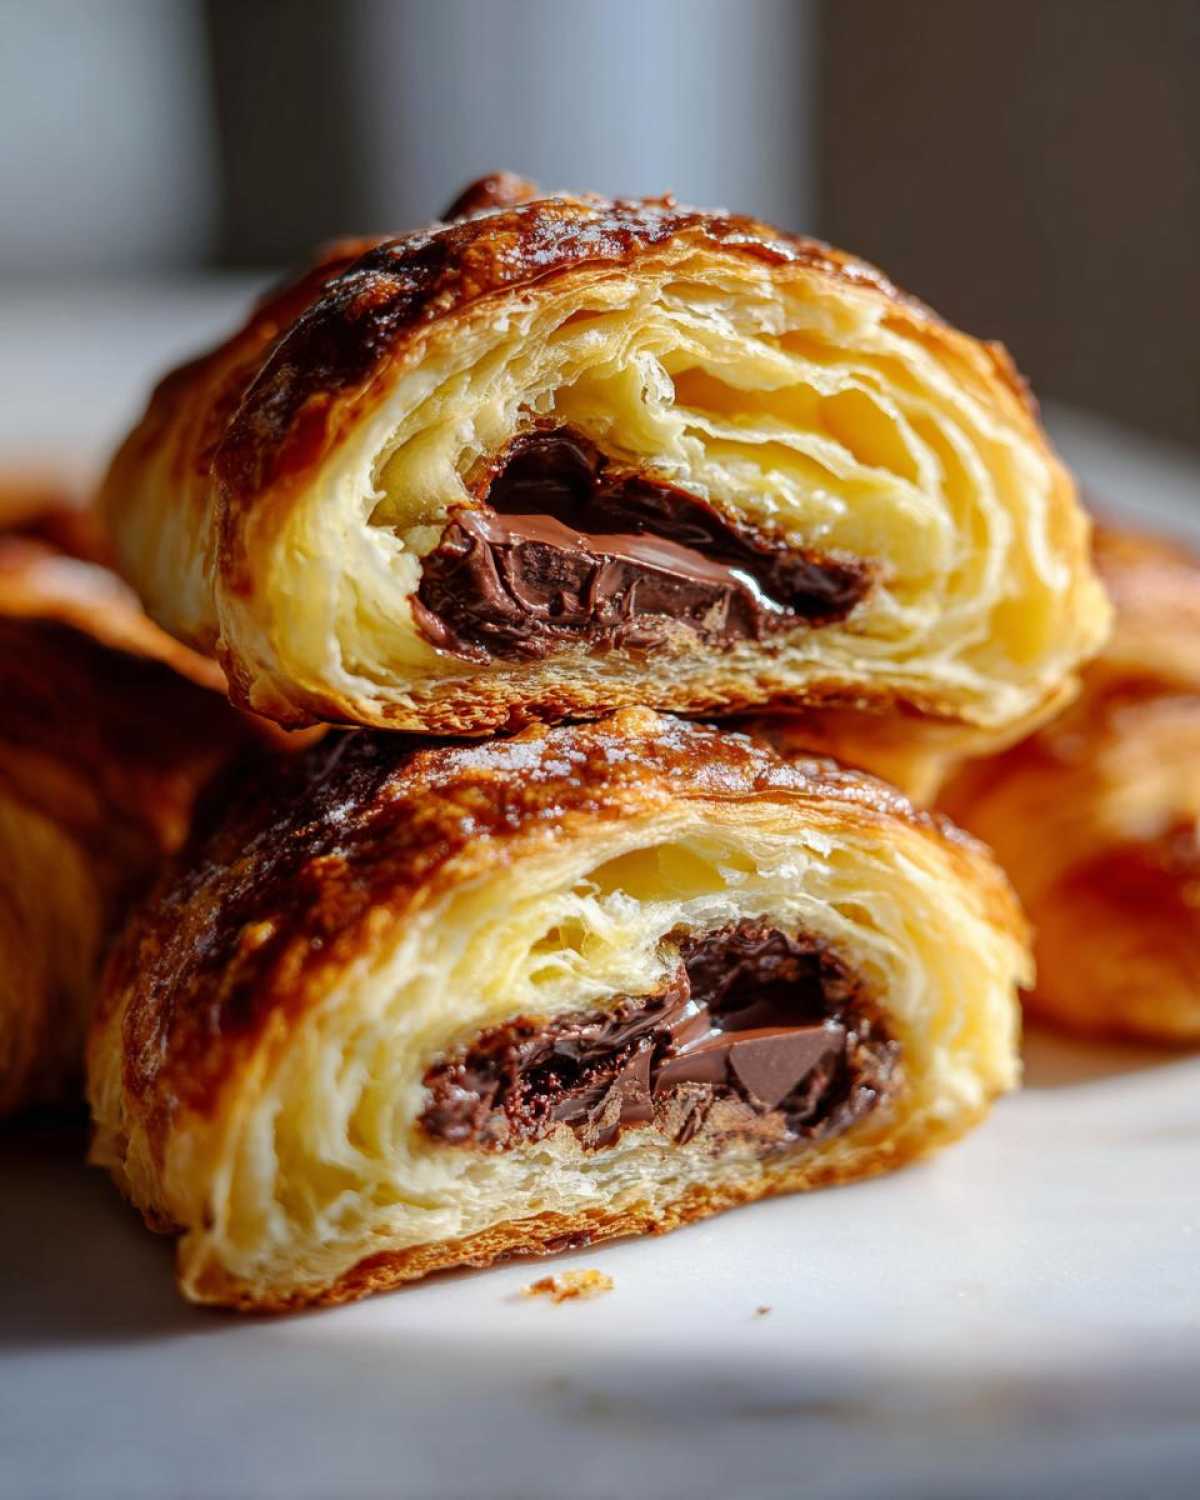
The Crucial Chill Time for Perfect Chocolate Croissants
Stop! Resist the urge to throw them straight into the hot oven! This step seems like wasted time, but I promise it’s crucial for that bakery-level structure. You need to pop those assembled chocolate croissants into the refrigerator for at least 20 minutes. Why? Because puff pastry is just layers upon layers of butter separated by dough. If the butter is soft when it hits the hot oven, it melts instantly, runs out, and you get that flat, greasy result. When the butter is cold and firm, it hits the heat, steams immediately, and forces those amazing flaky layers apart.
Think of this chill time as setting the structure. It locks in all the beautiful work you just did rolling them up. If your kitchen is warm, go ahead and chill them for 30 minutes. You can even make your dough assembly the day ahead and leave them covered in the fridge overnight for an extra impressive breakfast!
Achieving Golden Perfection: Baking the Chocolate Croissant
Once your little guys are nice and chilled—they should feel cool but still soft—it’s time for the egg wash. Whisk that egg really well with the tablespoon of water until it’s frothy. Then, using your pastry brush, gently coat the tops and sides of every croissant. Don’t let the wash drip down the sides into the layers, or you’ll seal the layers together! If you want that extra sparkle, a light dusting of sugar right before they go in is just heavenly.
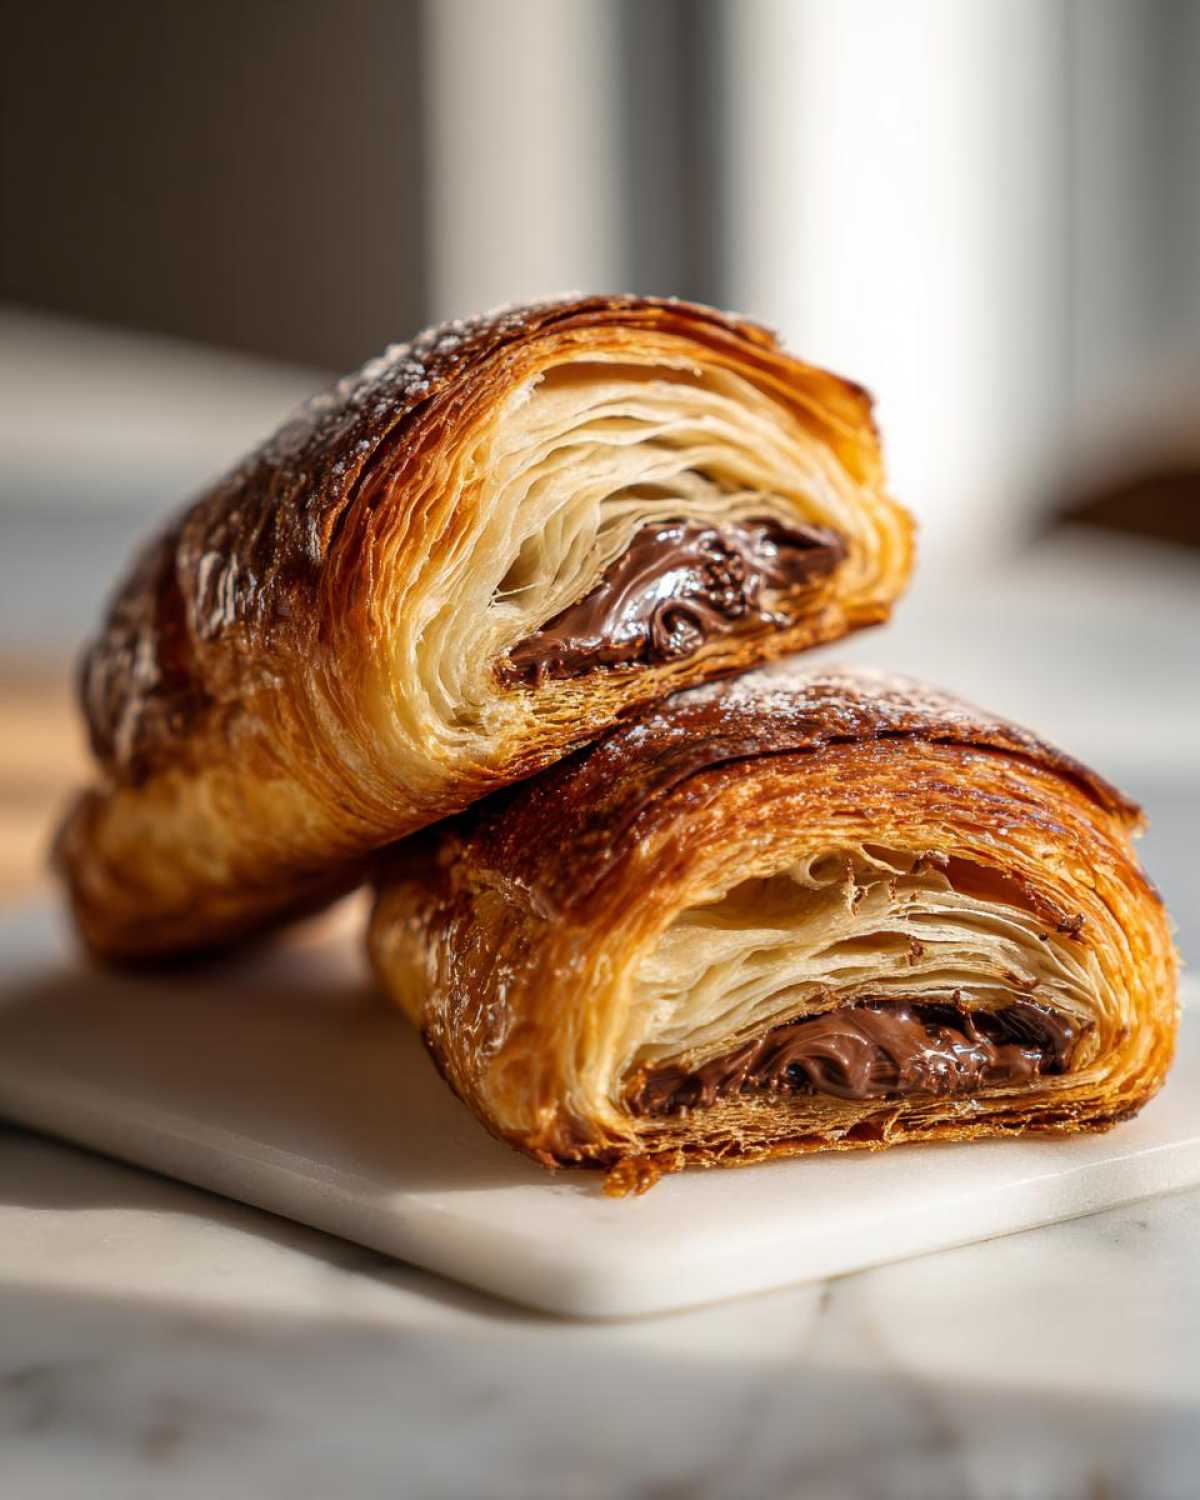
Pop your sheets into a preheated oven at 400°F (200°C). They only need about 15 to 20 minutes. Keep an eye on them! You are looking for them to be puffed high, deeply golden brown, and you should see the edges looking crispy. When they come out, they release the most incredible aroma; truly an indulgent morning pastry experience! Let them rest on the sheet for about five minutes before carefully moving them to a wire rack. That initial cooling period helps them set up so they don’t fall apart when you grab the first one—which you absolutely should do while they are still warm!
If you’re looking to try another treat using this incredible base, check out how I transform puff pastry for my Easy Pizza Pinwheels recipe! It’s a savory twist that uses the exact same principle!
Tips for Success When Making Homemade Croissants
Okay, so you’ve mastered the assembly and the chill time—that’s huge! But if you’re chasing that absolute, tear-apart, bakery-quality result that makes everyone ask where you bought them, I have a few extra little secrets I use, mostly picked up from trial and error (because I’ve definitely had some flatter croissants in my day!). This little bit of extra attention is what truly separates good homemade croissants from amazing ones.
The biggest thing to remember is temperature control. Puff pastry is temperamental! If your kitchen is warm—say, over 70°F—the butter in that pastry is going to start softening up right when you are trying to shape it. If that happens, don’t fight it! Just stop, pop the whole tray back into the fridge for 10 minutes. A cold pastry is a happy pastry, and happiness equals perfect layers.
Remember that little note about brushing with melted butter? I only do this when I have extra time, usually on a lazy Sunday when I’m planning for the week ahead. If you want next-level flakiness, after you roll your pastry rectangle but *before* you roll it around the chocolate, gently brush the top surface with some melted, unsalted butter. Then, roll it up as normal. This adds an extra layer of fat that contributes to an even better steam release while baking. It takes just two minutes extra, but wow, does it pay off!
Another thing I learned from making other layered doughs, like my homemade English muffins, is that the final shape matters for the puff. When you roll them, be gentle but firm when sealing that final edge. If the seal is weak, the steam escapes there instead of pushing the layers up. Pinch it tight! Also, make sure the tip of your croissant (the very end of the roll) is tucked neatly underneath so it doesn’t unravel while baking.
Lastly, never, ever skip the preheating! 400°F needs to be rock steady before those babies go in. A thermometer in your oven helps, because many home ovens lie about their temperature. A hot, steady start guarantees those beautiful golden, flaky layers that make every single effort worth it!
Storage and Reheating Instructions for Your Chocolate Croissant
Oh, the joys of having leftovers! Though, if you’re anything like me, these amazing chocolate croissants disappear fast. But when you do have a few left—maybe you hid one away for a special afternoon snack—you need to know how to treat them right. We definitely want to preserve that wonderful flaky texture we worked so hard for, and that means we have to be smart about storage.
For short-term storage—say, the next day—leave them at room temperature. Just make sure they are stored in an airtight container. If you leave them out on the counter exposed to the air, they will go stale and lose all their flaky magic almost instantly. You want that container to seal in any remaining moisture so they don’t dry out overnight.
If you’re worried about them lasting more than two days, or if it’s super humid where you live, freezing is actually a great option! Let them cool completely first, then wrap each one individually tightly in plastic wrap—like a little pastry present—and then place them inside a freezer-safe bag or container. They keep wonderfully for up to a month tucked away like that.
Now, let’s talk about reheating, because reheating a croissant is almost as important as baking it correctly! The microwave is your enemy here. It makes the pastry soft, chewy, and honestly, a little sad. We need to bring back that crisp, flaky exterior!
The absolute best way to revive one of these buttery croissants is either in a regular oven or, if you have one, an air fryer. Preheat your oven to about 325°F (160°C). Pop the croissant right onto a piece of foil or a small baking sheet and warm it for about 5 to 7 minutes. You just want it warm through and slightly crisp again. If you use the air fryer, keep the temperature lower, maybe 300°F, for just 3 or 4 minutes. You’ll hear that delightful little crunch when you tap it—that’s how you know you’ve succeeded in bringing your Pain Au Chocolat back to life!
Serving Suggestions for Pain Au Chocolat
We’ve baked them, we’ve perfected the flakiness—now it’s time to enjoy these amazing chocolate croissants! Serving them warm is essential, truly. That little bit of residual heat makes the chocolate inside gooey and luxurious. Honestly, standing over the cooling rack and eating one plain is a perfectly acceptable way to enjoy your handiwork, but if you’re serving these up for a crowd or turning it into a proper weekend brunch recipe, a few pairing ideas can really take things to the next level.
My absolute go-to, because what is a French pastry without the perfect cup of coffee? A strong, dark roast or perhaps a classic café au lait works wonders. The slight bitterness of the coffee cleanses the palate from the rich butter and chocolate, making you ready for the next bite. I love making a big pot of dark roast on Sunday morning just for this sole purpose!
If you are going for a full brunch spread, these beauties need something fresh to balance them out. Don’t drown them in sugar; let the pastry speak for itself. A simple bowl of mixed berries—strawberries, raspberries, maybe some tart blackberries—is perfect. The bright acidity of the fruit is such a nice contrast to the deep, bittersweet chocolate filling. You can serve them alongside something savory too, like my recipe for best scrambled eggs for a beautiful sweet-and-savory juxtaposition.
If you feel like they look a little too plain on the plate, you can always go back to Grandma’s simple dusting technique. A very light sifting of powdered sugar over the top just before serving adds a lovely visual element. I use a small sieve for this; you want a gentle snow effect, not a thick blanket. It’s elegant and doesn’t interfere with that fantastic crunchy crust!
No matter how you serve them, these Pain Au Chocolat deserve to be the centerpiece. They are sunshine made from puff pastry, and I hope they bring as much joy to your family mornings as they bring to mine!
Frequently Asked Questions About Chocolate Croissant Recipe
I know you might have questions floating around, especially if you usually tackle more complicated French pastry at home! Making quick, Easy Chocolate Croissants is simple, but sometimes little things trip us up. I’ve gathered the most common questions I get about this recipe so we can troubleshoot them together and ensure your batch is absolutely perfect. Ask away!
Can I make these chocolate croissants completely from scratch?
Oh, that’s the baker in you talking! Absolutely, you *can* make puff pastry from scratch, and it is incredibly rewarding when you do a proper lamination—the reward is huge! However, if you’re looking for that glorious, flaky result in under an hour total time like this recipe promises, I really steer everyone toward using a high-quality store-bought puff pastry. It cuts out nearly eight hours of chilling and folding time! If you absolutely must go scratch, go for it, but reserve that intense technique for a day when you have the whole weekend free.
What is the best chocolate to use in my Pain Au Chocolat?
This is key to getting that authentic, slightly grown-up flavor in your Pain Au Chocolat. I strongly recommend using solid chocolate sticks, often called ‘batons,’ if you can find them. They are perfectly sized for rolling inside. If you can’t find those specifically, just take a good quality bar of dark or bittersweet chocolate (around 60% cocoa solids is my sweet spot) and chop it into rectangular pieces that match the width of your pastry rectangle.
Please, please avoid standard chocolate chips! They have stabilizers in them so they hold their shape when baked in cookies, but that means when you try to melt them inside your croissant, they don’t melt smoothly. They often seize up a bit inside the dough and don’t give you that lovely, gooey texture when you bite in.
Why did my puff pastry croissants flatten instead of puffing up?
This is the most common sadness when working with puff pastry, and it almost always boils down to temperature control! There are two main culprits. First, if your pastry wasn’t chilled long enough after you assembled them (that 20-minute required chill time!), the butter melts too fast in the oven, oozes out, and the layers collapse flat. They need to be firm going in!
The second reason is usually the oven temperature. If your oven isn’t fully preheated to 400°F, the pastry enters a lukewarm environment. The butter melts slowly instead of steaming immediately, which is what forces the layers apart to create that signature puff. Make sure you wait until the oven says it’s ready, or even give it an extra five minutes just to be safe. Cold pastry + hot oven = glorious rise!
Share Your Best Chocolate Croissant Creations
Well, that’s it! You’ve done it! You’ve taken simple puff pastry and turned it into what looks and tastes exactly like those perfect, dreamy bakery style croissants at home. I’m so incredibly proud of you already! Now, I need to see them! Baking is all about community and sharing the joy, right?
Once you’ve managed to resist eating all of them straight off the cooling rack, please come back here and leave a comment for me. Let me know how they turned out for you! Did the chocolate melt perfectly? Did you opt for the sugar sprinkle or keep them naked? Your feedback genuinely helps other home cooks who are just starting out on their chocolate croissant recipe journey.
And if you share a photo on Instagram or Facebook? Tag me! I absolutely love seeing your beautiful bakes. It truly makes my day to see my recipes bringing deliciousness into your kitchen. For even more fun ideas on pastries and easy French treats, you can always find me over on Pinterest looking for new inspiration—come say hello over at my Pinterest page!
Thank you so much for baking with me today. Now go grab a cup of coffee, bite into that warm, flaky beauty, and know that you absolutely nailed that classic French pastry without any fuss!
PrintEasy Puff Pastry Chocolate Croissants (Pain Au Chocolat)

Make bakery-style chocolate croissants at home quickly using store-bought puff pastry. This recipe delivers flaky, buttery layers filled with rich, melted chocolate for an indulgent breakfast or brunch treat.
- Prep Time: 20 min
- Cook Time: 20 min
- Total Time: 40 min
- Yield: 12 servings 1x
- Category: Breakfast
- Method: Baking
- Cuisine: French
- Diet: Vegetarian
Ingredients
- 1 package (14.1 ounces) frozen puff pastry, thawed according to package directions
- 4 ounces bittersweet or semi-sweet chocolate, cut into sticks (or use chocolate batons)
- 1 large egg, beaten (for egg wash)
- 1 tablespoon water
- 1 teaspoon granulated sugar (optional, for sprinkling)
Instructions
- Prepare the puff pastry: Unfold the thawed puff pastry sheets onto a lightly floured surface. If using a block, roll it out into a rough rectangle about 1/8 inch thick. Cut each sheet into 6 equal rectangles (you should have 12 rectangles total).
- Prepare the chocolate: Cut the chocolate into pieces roughly the length of the short side of your pastry rectangles.
- Assemble the croissants: Place one piece of chocolate near the short edge of a pastry rectangle. Roll the pastry over the chocolate once, then place a second piece of chocolate near the new edge and continue rolling until you reach the end, forming a croissant shape. Pinch the seam closed gently.
- Arrange on baking sheets: Place the assembled chocolate croissants seam-side down on baking sheets lined with parchment paper, leaving space between them.
- Chill: Place the baking sheets in the refrigerator for at least 20 minutes. This helps the pastry hold its shape during baking.
- Preheat oven: Preheat your oven to 400°F (200°C).
- Apply egg wash: In a small bowl, whisk the egg with 1 tablespoon of water to create the egg wash. Gently brush the tops and sides of the chilled croissants with the egg wash. If desired, sprinkle lightly with granulated sugar.
- Bake: Bake for 15 to 20 minutes, or until the chocolate croissants are puffed, golden brown, and flaky.
- Cool slightly: Let the croissants cool on the baking sheet for 5 minutes before transferring them to a wire rack to cool further. Serve warm for the best experience.
Notes
- For extra flaky layers, you can brush the pastry with melted butter between rolling and chilling, though this adds time.
- Use high-quality chocolate for the best flavor in your pain au chocolat.
- If you want a shinier finish, brush the baked croissants with a little melted butter immediately after they come out of the oven.
Nutrition
- Serving Size: 1 croissant
- Calories: 300
- Sugar: 15
- Sodium: 250
- Fat: 18
- Saturated Fat: 10
- Unsaturated Fat: 8
- Trans Fat: 0
- Carbohydrates: 30
- Fiber: 2
- Protein: 5
- Cholesterol: 50