
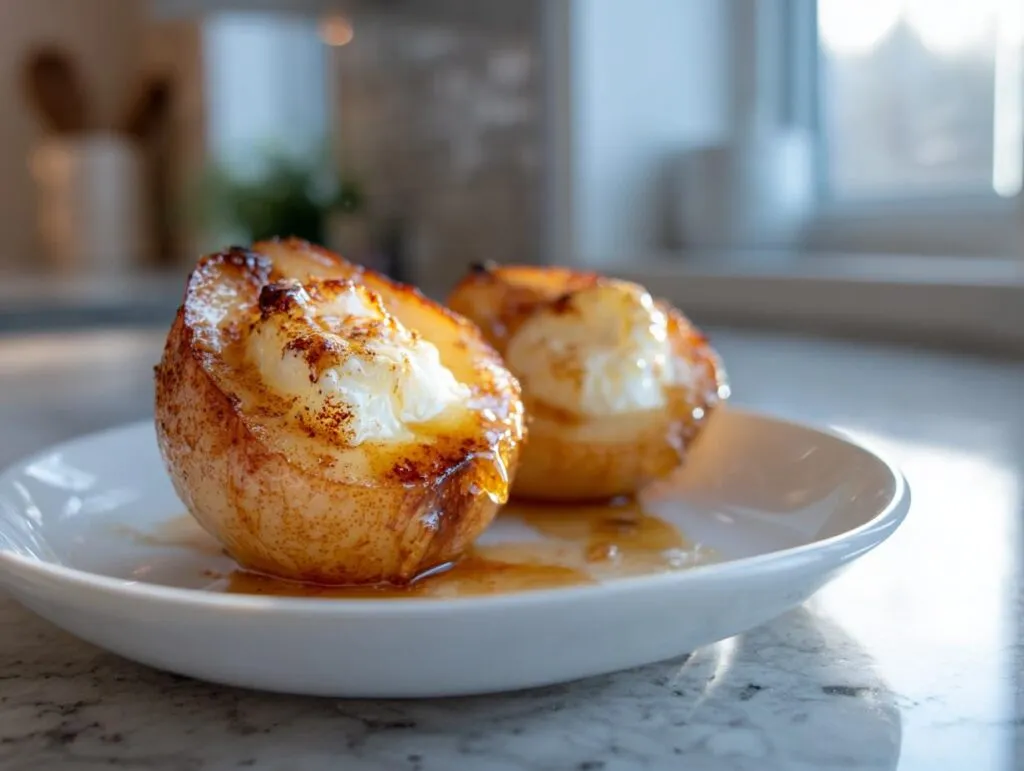
Oh, friends, do I have a treat for you today! When the weather turns chilly or I just need a moment of pure, comforting bliss, nothing beats bringing out a tray of warm, sweet fruit. Forget heavy cakes for just a second; we’re talking about something that feels both incredibly elegant and ridiculously simple: baked pears. My grandmother always baked apples, but I found my own niche with pears—they hold their shape so beautifully, making them perfect for drizzling with all the good stuff. If you loved my recipe for apple cinnamon oatmeal, you are going to *adore* this! We’re whipping up what I call The Ultimate Cozy Cinnamon Honey Baked Pears. Seriously, this is the easiest yet most impressive warm pear dessert you’ll ever make. Grab your honey and let’s get baking!
- Why You Will Love This Easy Baked Pear Recipe
- Ingredients for Cinnamon Honey Baked Pears
- How to Prepare The Ultimate Cozy Baked Pears
- Tips for Perfect Baked Pears Every Time
- Variations for Sweet and Savory Baked Pears
- Serving Suggestions for Your Baked Pears
- Storage and Reheating Instructions for Baked Pears
- Frequently Asked Questions About Baked Pears
- Nutritional Estimates for This Naturally Sweet Pear Recipe
Why You Will Love This Easy Baked Pear Recipe
Honestly, these baked pears check every single box. If you need an easy baked pear recipe that doesn’t take all day, this is it! They bake up quickly and feel so fancy—perfect for impressing company or just treating yourself after a long week. They are also a wonderful naturally sweet pear recipe.
- It’s so quick to make—we’re talking under 40 minutes total!
- The honey, cinnamon, and vanilla give you that perfect warm pear dessert aroma.
- They’re wonderfully healthy roasted pears disguised as dessert.
- You only need a handful of pantry staples to shine!
And if you enjoyed the spice in my roasted sweet potato recipe, you’re gonna hit that cozy spot perfectly with this fruit.
Ingredients for Cinnamon Honey Baked Pears
When you’re making something as simple as baked pears, the quality of your ingredients really matters, trust me! We don’t have a long list here, which is exactly why we need to pick the best fruit. I always go for firm, ripe Bosc or Anjou pears; they stand up perfectly to the heat and don’t turn into mush. If they’re too soft going in, you’ll end up with fruit soup!
Here is exactly what you need to create this simple baked fruit recipe magic:
- 4 firm ripe pears (Bosc or Anjou work best!)
- 4 tablespoons honey (Good quality local honey always tastes the best!)
- 1 teaspoon ground cinnamon
- 1/2 teaspoon vanilla extract
- 2 tablespoons water (This creates the essential steam in the pan!)
- Optional: 1/4 cup chopped walnuts for topping
See? So easy! Having these few items ready is all it takes to get these cozy treats into the oven in minutes.
How to Prepare The Ultimate Cozy Baked Pears
Okay, getting these classic cinnamon honey baked pears ready is like 10 minutes of pure zen before the oven does all the heavy lifting. The key here is making sure your pears are perfectly set up so they can soak up all that beautiful glaze while they bake. Follow these steps, and you’ll have the most gorgeous, tender fruit ready for dessert!
Prepping the Pears and Oven
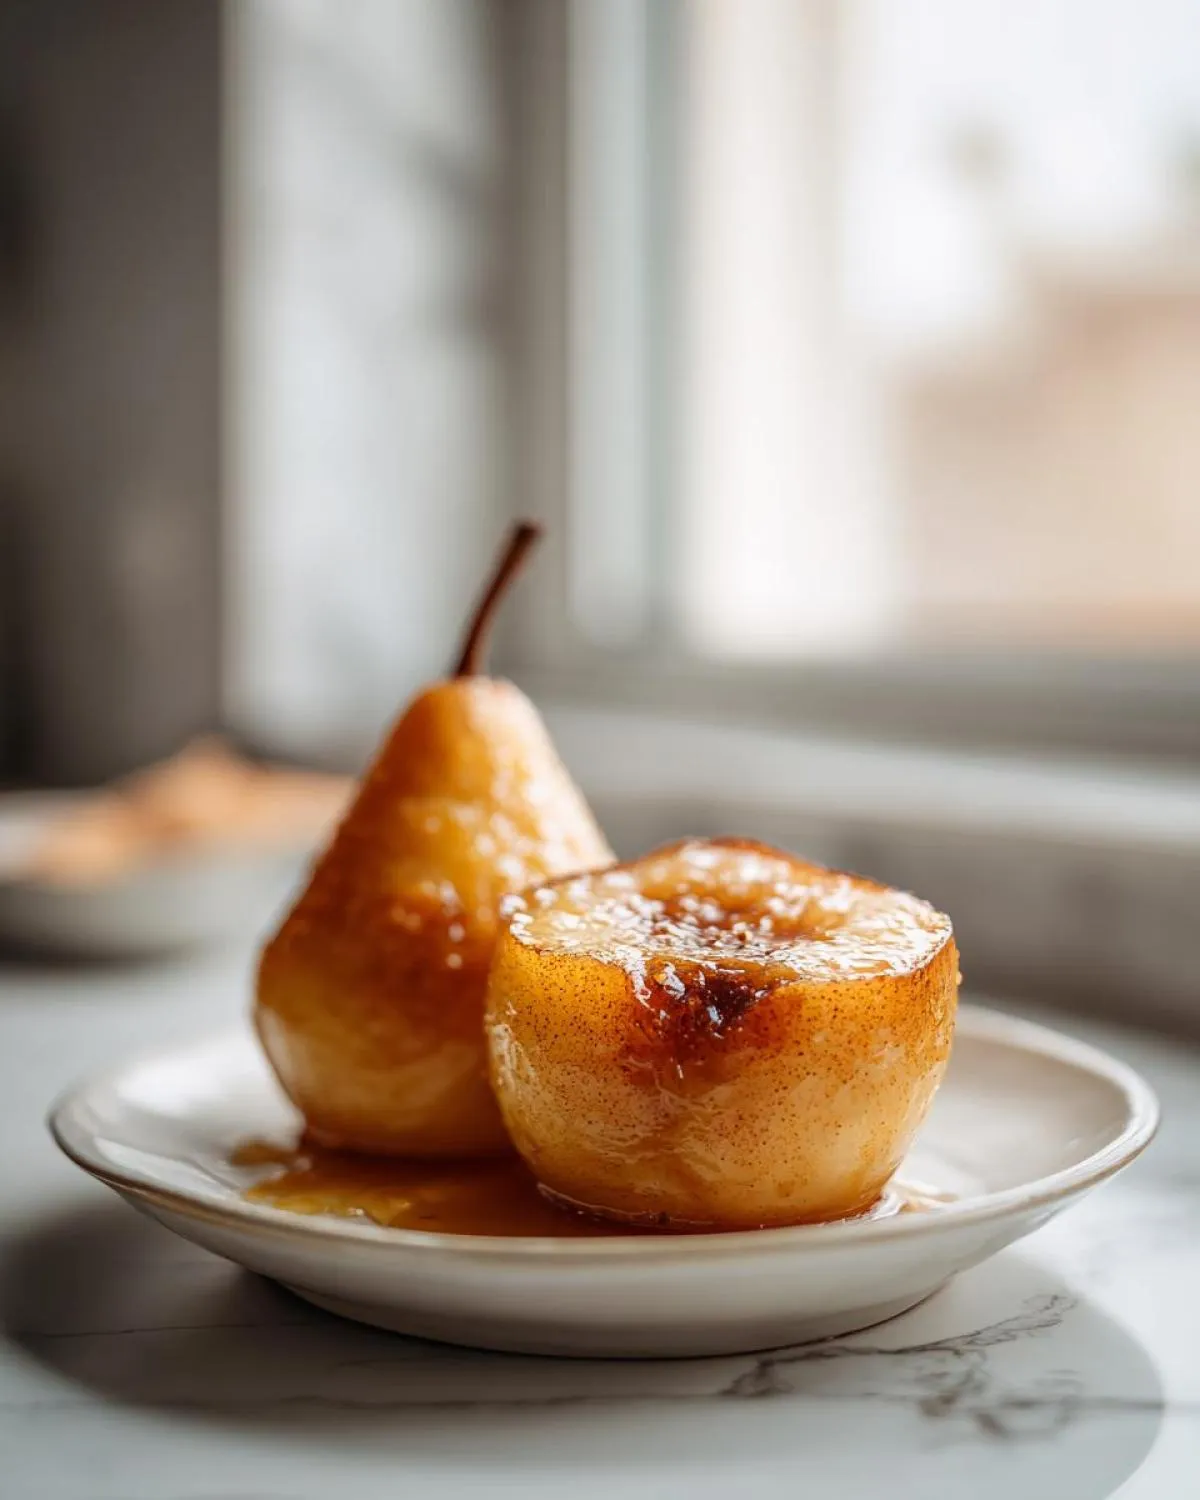
First things first, let’s get organized! Preheat your oven right away to 375°F (190°C). While that’s heating up, lightly grease whatever small baking dish you’re using—you don’t want any sticking later! Now, grab those pears. Wash them really well, then cut them right down the middle, lengthwise. This is crucial: use a melon baller or a tiny spoon and gently scoop out all the seeds right in the center. If the stems are still on, leaving them attached makes for such a lovely presentation later, like little edible ships!
Creating the Honey Cinnamon Glaze for Baked Pears
This is where the flavor explodes! Grab a small bowl—no need to drag out the mixer for this part. Just whisk together your four tablespoons of honey, one teaspoon of ground cinnamon, and that half teaspoon of vanilla extract until it’s smooth and looks shiny. You’re basically making liquid gold for your fruit. Smell that? That fragrance is exactly why we love these baked pears!
Baking and Finishing Your Warm Pear Dessert
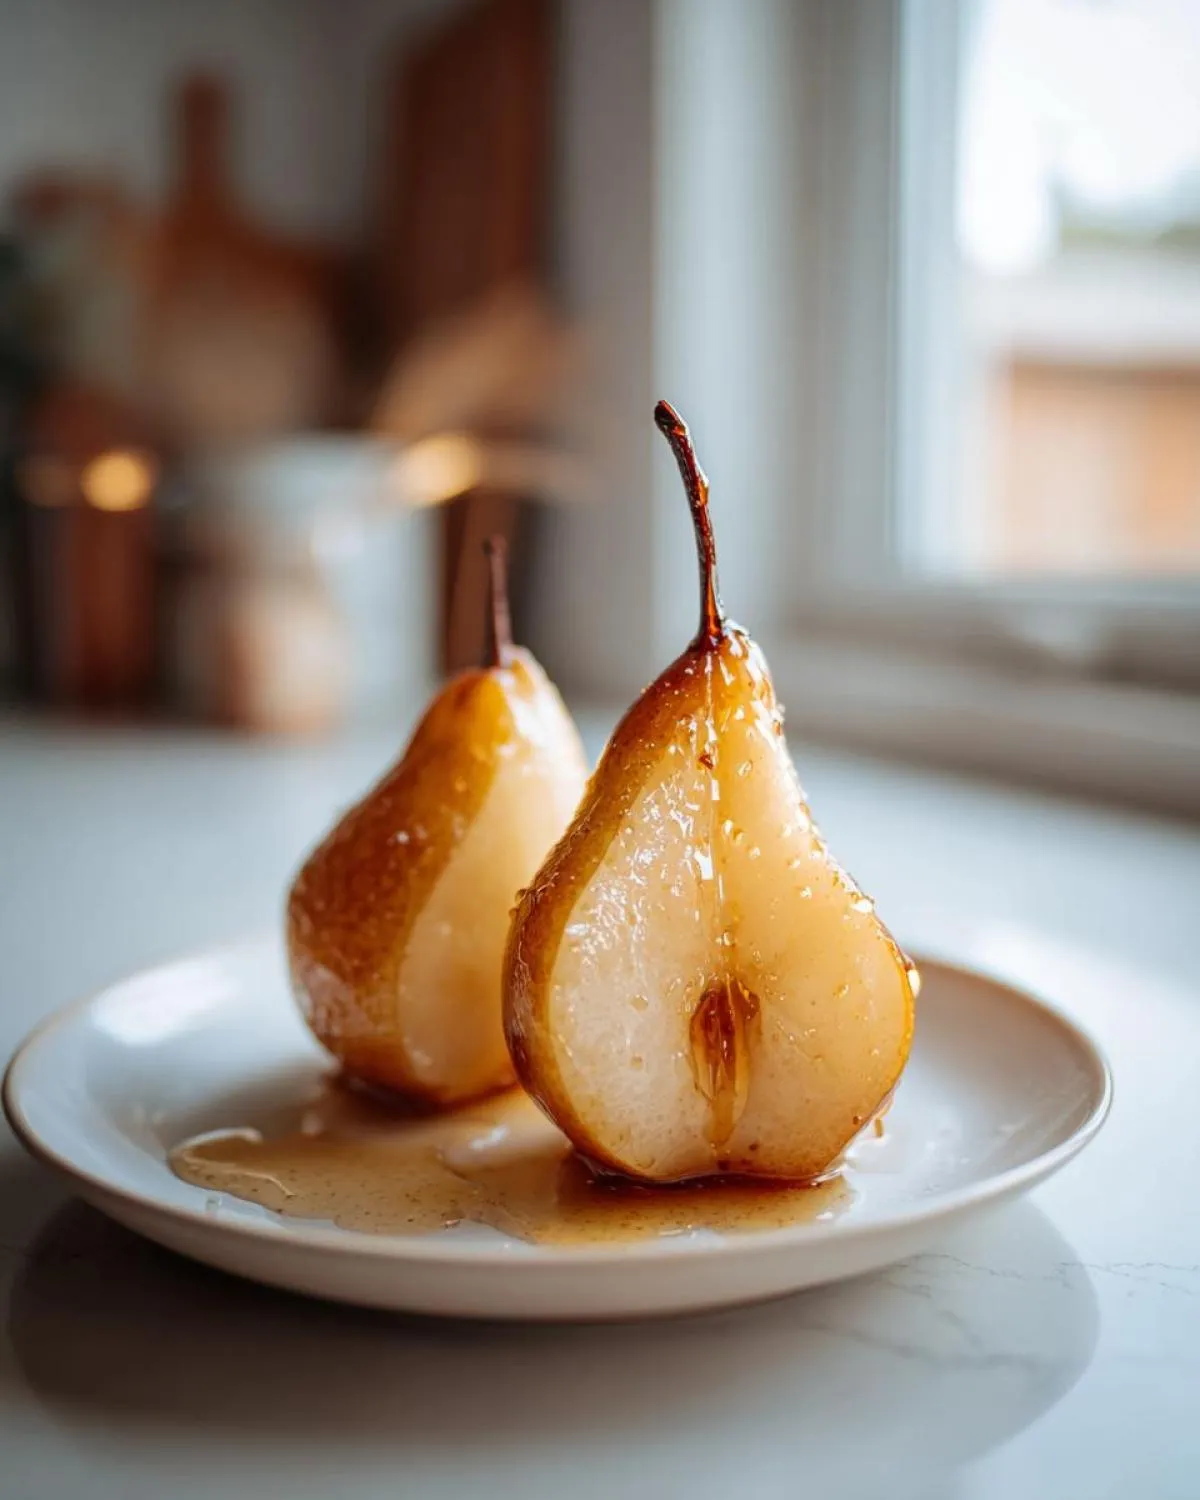
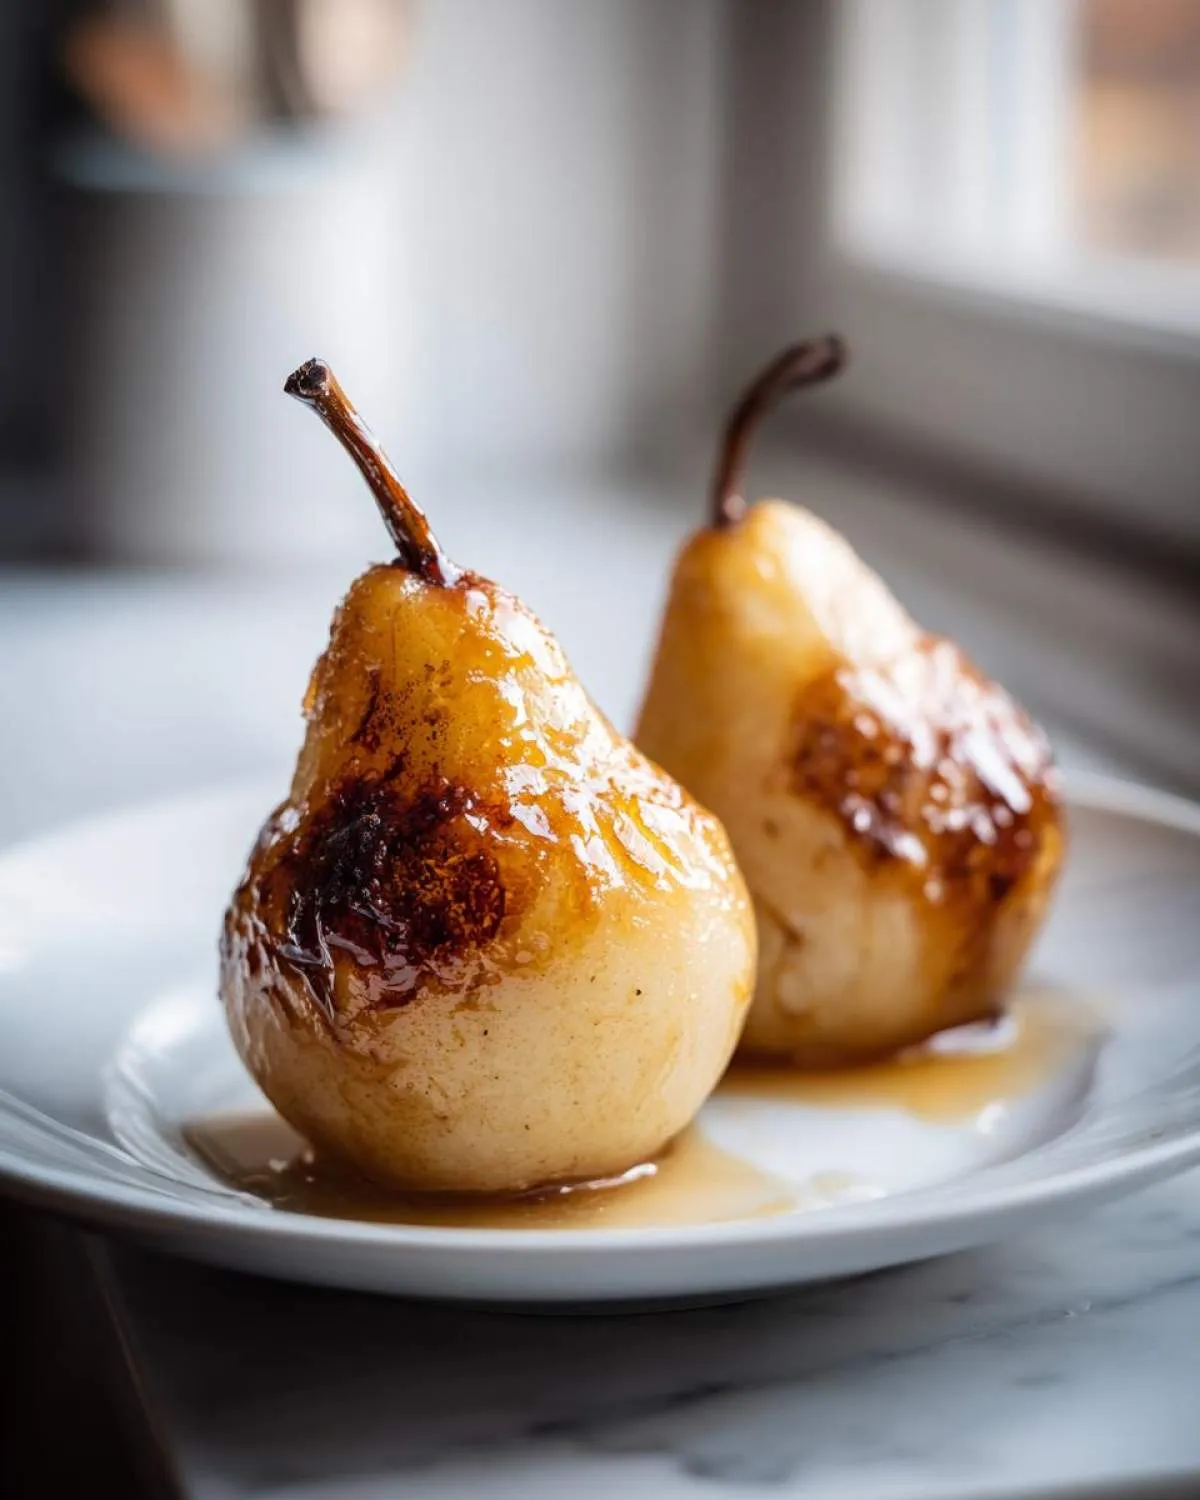
Now, arrange those hollowed-out pear halves cut-side up in your dish. Spoon that amazing honey cinnamon mixture evenly over the flat surface of each one. This is my little trick for extra-moist results: Pour the two tablespoons of water into the bottom of the baking dish around the pears. This creates steam and keeps everything from drying out! Pop them into the preheated oven for about 25 to 35 minutes. They’re done when you can easily pierce the center with a fork—remember, ripeness changes the time! If you’re using those walnuts, sprinkle them over during the last five minutes of baking just so they toast up nicely. When they come out, drizzle any extra juice from the pan right over the top. Enjoy this decadent warm pear dessert immediately!
If you want more cozy baking ideas, check out my recipe for moist spiced apple Bundt cake!
Tips for Perfect Baked Pears Every Time
Listen, even the easiest recipe can sometimes throw you a curveball, so I want to make sure your baked pears come out flawless! It all comes down to the fruit. You must pick firm, slightly under-ripe pears. If they are golf-ball hard, they might take too long; if they are mushy, they’ll disintegrate before they caramelize, which is what we want! We are aiming for that lovely tender-yet-structured texture, not soup!
Check your oven temperature if things aren’t right—ovens lie! Also, don’t skip that tiny bit of water in the bottom of the pan; that steam is what guarantees you get those tender edges while the honey concentrates on top, giving you that beautiful, slightly caramelized baked pears look we love. For presentation, always scoop out an extra bit of that warm honey glaze from the pan to pour over right before serving. It pairs wonderfully with the hint of vanilla, just like in my bourbon bread pudding!
Variations for Sweet and Savory Baked Pears
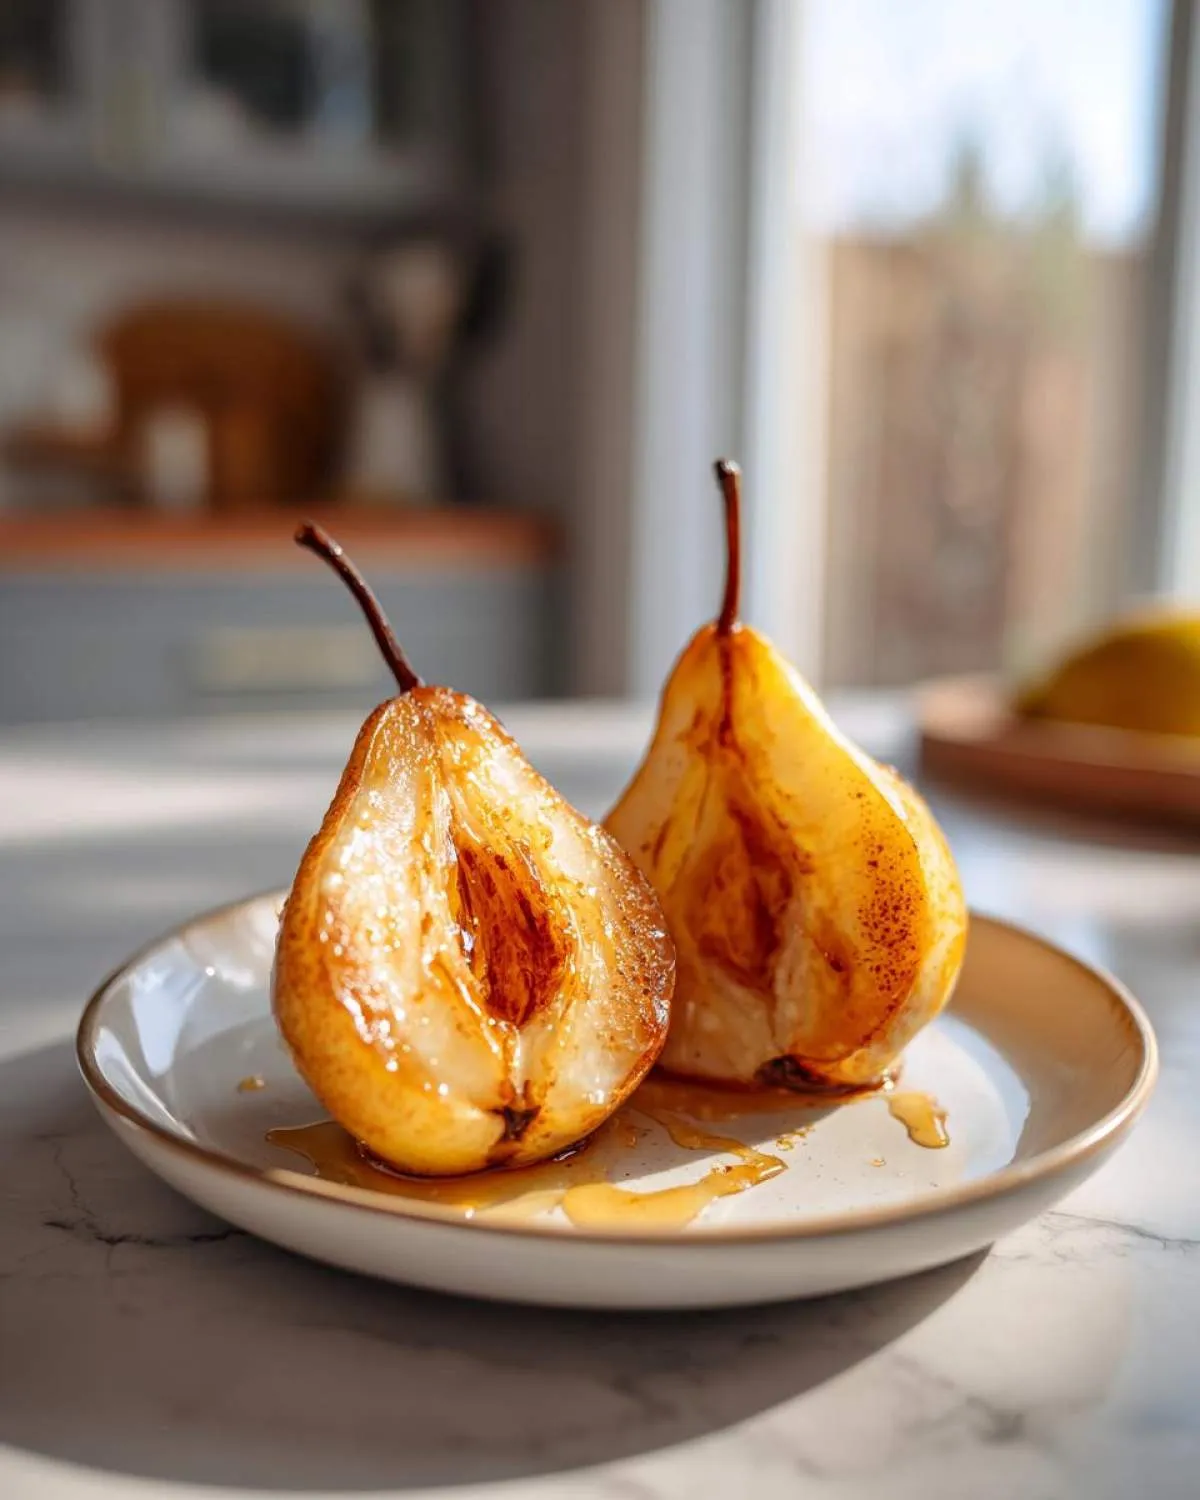
While this honey cinnamon version is my absolute favorite comfort food dessert idea, these beautiful baked pears are total chameleons! If you are feeling adventurous and want to dive into the world of sweet and savory baked pears, you have so many options. You can keep them naturally sweet or push them into appetizer territory. Don’t forget to check out my recipe for whipped ricotta with hot honey if you love that sweet/salty contrast! We always share beautiful ideas gathered from the web on our boards on Pinterest too!
Making Baked Pears with Walnuts
To add a little satisfying crunch to our classic preparation, just follow the main recipe! The walnuts are sprinkled over the tops during the last five minutes of baking time. This toasts them up just enough so they aren’t raw, but they don’t burn while the pears finish softening. Seriously, this little addition makes them feel instantly gourmet.
Creating Elegant Pear Dessert Options with Cheese
If you want a truly stunning appetizer or a lighter holiday baked fruit option, you have to try adding cheese! Carefully place a small dollop—maybe a teaspoon—of soft goat cheese right into the cored center of the pear half before you pour the honey glaze over it. The cheese melts slightly and gets tangy and creamy. A few tart cranberries sprinkled on top alongside the honey? Wow! That combination is perfect for an elegant pear dessert that surprises everyone.
Serving Suggestions for Your Baked Pears
The beautiful thing about these warm, spiced baked pears is that they are pretty much perfect just as they are when they come out of the oven, especially with that glorious sticky glaze pooling in the bottom of the dish. But if you’re making this for a special dinner or want to elevate it into a truly elegant pear dessert, I have a couple of quick serving tricks up my sleeve!
The absolute classic move is serving them warm with a scoop of fantastic vanilla bean ice cream. The contrast between the warm spice and the cold creaminess is heaven—you can find my favorite no-bake ideas over on my no-bake Oreo pie recipe if you’re hosting!
For something a little lighter, a dollop of thick, chilled Greek yogurt is amazing. The slight tang cuts through the sweetness of the honey beautifully. Either way, make sure you spoon plenty of that pan sauce right over the top before serving!
Storage and Reheating Instructions for Baked Pears
Okay, so you somehow managed to have leftovers of these unbelievably delicious baked pears? Good job—that means you know how to resist temptation! But seriously, they keep really well, which is great because they taste fantastic the next day.
The goal when storing any baked fruit is to contain the moisture without letting the fruit soggy. I always transfer the leftover pears and any of that amazing honey glaze from the baking dish into a nice, tight-sealing airtight container. You want to make sure they cool down completely before you seal them up, otherwise, condensation will build up inside, and nobody wants that!
These will keep perfectly happy in the refrigerator for about three to four days. They are still tasty cold, but let’s be real, we want them warm!
When you are ready to eat them again, I recommend reheating them gently. Avoid the microwave if you can, because it can sometimes make the fruit a bit too soft too fast. If you have a little time, just place them in a small oven-safe dish, maybe add a tiny splash of water or just a touch more honey to the bottom, and heat them at 300°F (150°C) for about 10 minutes. If you absolutely must use the microwave, do short 15-20 second bursts until they are just warmed through. They are ready when they smell fragrant again and are soft to the touch. Easy peasy for your next comfort food dessert ideas!
Frequently Asked Questions About Baked Pears
I know you might have a few final details swirling around as you get ready to make your first batch of these gorgeous baked pears! It’s totally normal, and I want to make sure you feel totally confident. People ask me all the time about which pears to choose, because that impacts the final texture of this simple baked fruit recipe.
Here are the big ones I hear about how to bake pears successfully!
What type of pear is best for baking?
I always tell people: stick to the firm ones! Bosc and Anjou are my favorites because they have strong flesh that softens beautifully without collapsing into mush when baked. If you use something super ripe, like a Bartlett that’s ready to eat right now, it’s going to break down too much in the oven for this recipe. You want structure for that lovely presentation!
How do I stop my baked pears from getting too mushy?
This is all about timing and ripeness, just like we discussed! First, use those firm pears. Second, don’t overbake them! Start checking at the 25-minute mark. You want them tender enough to pierce easily with a fork, but if you poke them and the fork goes through with zero resistance, pull them out immediately. Also, that water in the bottom of the pan creates steam, which helps them cook evenly instead of drying out and collapsing!
Can I turn this into a savory baked pears dish?
Oh, absolutely! That’s one of the best parts about this foundation recipe. You can easily make sweet and savory baked pears by following the instructions, but instead of just honey and cinnamon, you add a small slice of goat cheese right into the core opening. A sprinkle of fresh thyme or some tart dried cranberries on top makes it savory perfection for an appetizer. It’s delicious!
If you love those spiced undertones but need something a bit denser for a main event, you should definitely check out my sweet potato pound cake recipe next!
Nutritional Estimates for This Naturally Sweet Pear Recipe
One of the joys of making baked pears is that they feel indulgent without actually being heavy. Knowing that you’re eating real, whole fruit sweetened naturally makes them a perfect choice when you’re looking for healthier dessert options!
As much as I wish I could give you a lab-tested breakdown for every single variation you might try (especially if you add those savory goat cheese bits!), I can give you the estimated nutritional breakdown for the base cinnamon honey baked pears recipe we just made. These numbers are based on one pear half serving, without added toppings like ice cream or extra nuts, but do remember these are just estimates!
Here is what you can generally expect from one serving:
- Serving Size: 1 pear half
- Calories: 210
- Sugar: 35g (Mostly natural fruit sugar and honey!)
- Fat: 1g
- Protein: 1g
- Carbohydrates: 55g
- Fiber: 7g
See that fiber content? That’s why I love this as a simple baked fruit recipe for the afternoon—it’s satisfying! Just keep in mind that if you go heavy on toppings like walnuts for crunch, or if you use a giant drizzle of caramel sauce on top, those numbers are going to shift a bit. Enjoy this naturally sweet treat guilt-free!
PrintThe Ultimate Cozy Cinnamon Honey Baked Pears
Bake ripe pears until tender with a simple glaze of honey and cinnamon. This easy baked pear recipe creates a warm, comforting dessert perfect for any occasion.
- Prep Time: 10 min
- Cook Time: 30 min
- Total Time: 40 min
- Yield: 4 servings 1x
- Category: Dessert
- Method: Baking
- Cuisine: American
- Diet: Vegetarian
Ingredients
- 4 firm ripe pears (Bosc or Anjou work well)
- 4 tablespoons honey
- 1 teaspoon ground cinnamon
- 1/2 teaspoon vanilla extract
- 2 tablespoons water
- Optional: 1/4 cup chopped walnuts for topping
Instructions
- Preheat your oven to 375°F (190°C). Lightly grease a small baking dish.
- Wash the pears. Cut each pear in half lengthwise and use a melon baller or small spoon to scoop out the core and seeds. Leave the stem end intact if possible for presentation.
- Place the pear halves cut-side up in the prepared baking dish.
- In a small bowl, whisk together the honey, cinnamon, and vanilla extract.
- Spoon the honey mixture evenly over the cut surface of each pear half.
- Pour the 2 tablespoons of water into the bottom of the baking dish to prevent sticking and create steam.
- Bake for 25 to 35 minutes, or until the pears are tender when pierced with a fork. Baking time depends on the ripeness of your fruit.
- If using walnuts, sprinkle them over the pears during the last 5 minutes of baking.
- Carefully remove the pears from the oven. Drizzle any remaining pan juices over the top before serving warm.
Notes
- For an elegant pear dessert, serve immediately with a small scoop of vanilla bean ice cream or Greek yogurt.
- If you want a sweet and savory baked pears option, try topping halves with a small piece of goat cheese before baking.
- This recipe is naturally sweet and fits well into healthy roasted pears plans.
Nutrition
- Serving Size: 1 pear half
- Calories: 210
- Sugar: 35
- Sodium: 5
- Fat: 1
- Saturated Fat: 0
- Unsaturated Fat: 1
- Trans Fat: 0
- Carbohydrates: 55
- Fiber: 7
- Protein: 1
- Cholesterol: 0